Sites 01 / 15
Getting Started
Create your first site, fall back in love with HTML, and publish it to the web — all in a few minutes.
Getting Started
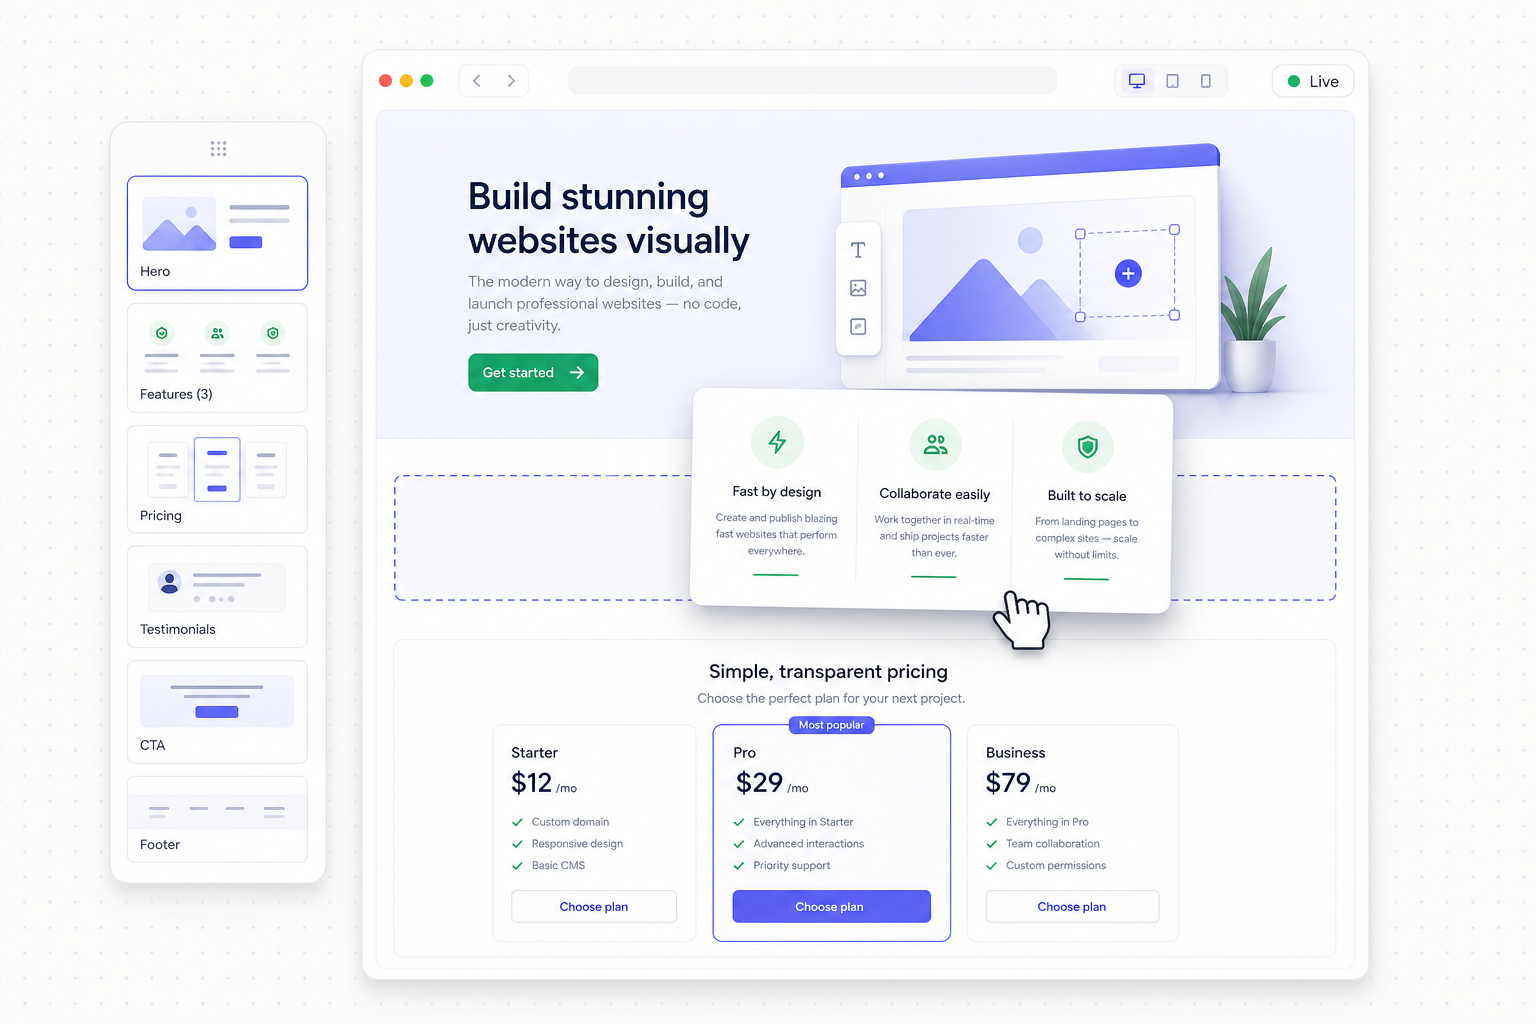
Welcome to DevDojo Sites 👋
Sites is going to help you rediscover your joy and excitement for building websites. You write plain HTML with Tailwind CSS and a sprinkle of Blade — the same templating language Laravel developers already know — and Sites adds just enough magic on top ⚡: layouts, reusable components, JSON-powered content, a library of prebuilt sections, and one-click publishing.
No build steps. No config files. No node_modules folder the size of the moon. 🌕 Just you, your ideas, and a live preview that keeps up. 🏄♂️
What is a site, exactly?
A site is a small slice of a Laravel app — a folder of files laid out the way Laravel lays them out:
resources/views/pages/index.blade.php          your homepage (about.blade.php → /about)
resources/views/components/layouts/main.blade.php   the shared shell around every page
resources/views/components/nav.blade.php        reusable pieces you drop in anywhere
resources/data/collections/team.json             data your pages can loop over
resources/css/site.css                           your custom CSS
public/robots.txt                                files copied straight to your site root
If you can edit HTML, you can build a site. And if you can't (yet)? The starter templates and prebuilt sections will carry you a long way. 🔥
Why .blade.php? Every template file ends in .blade.php. It's an ordinary HTML document that also understands Blade tags like {{ $name }} — so your editor highlights it as HTML, and the same file would render unchanged if you ever grew your site into a full Laravel app. That's the whole idea: your site is real, portable code.
The dashboard
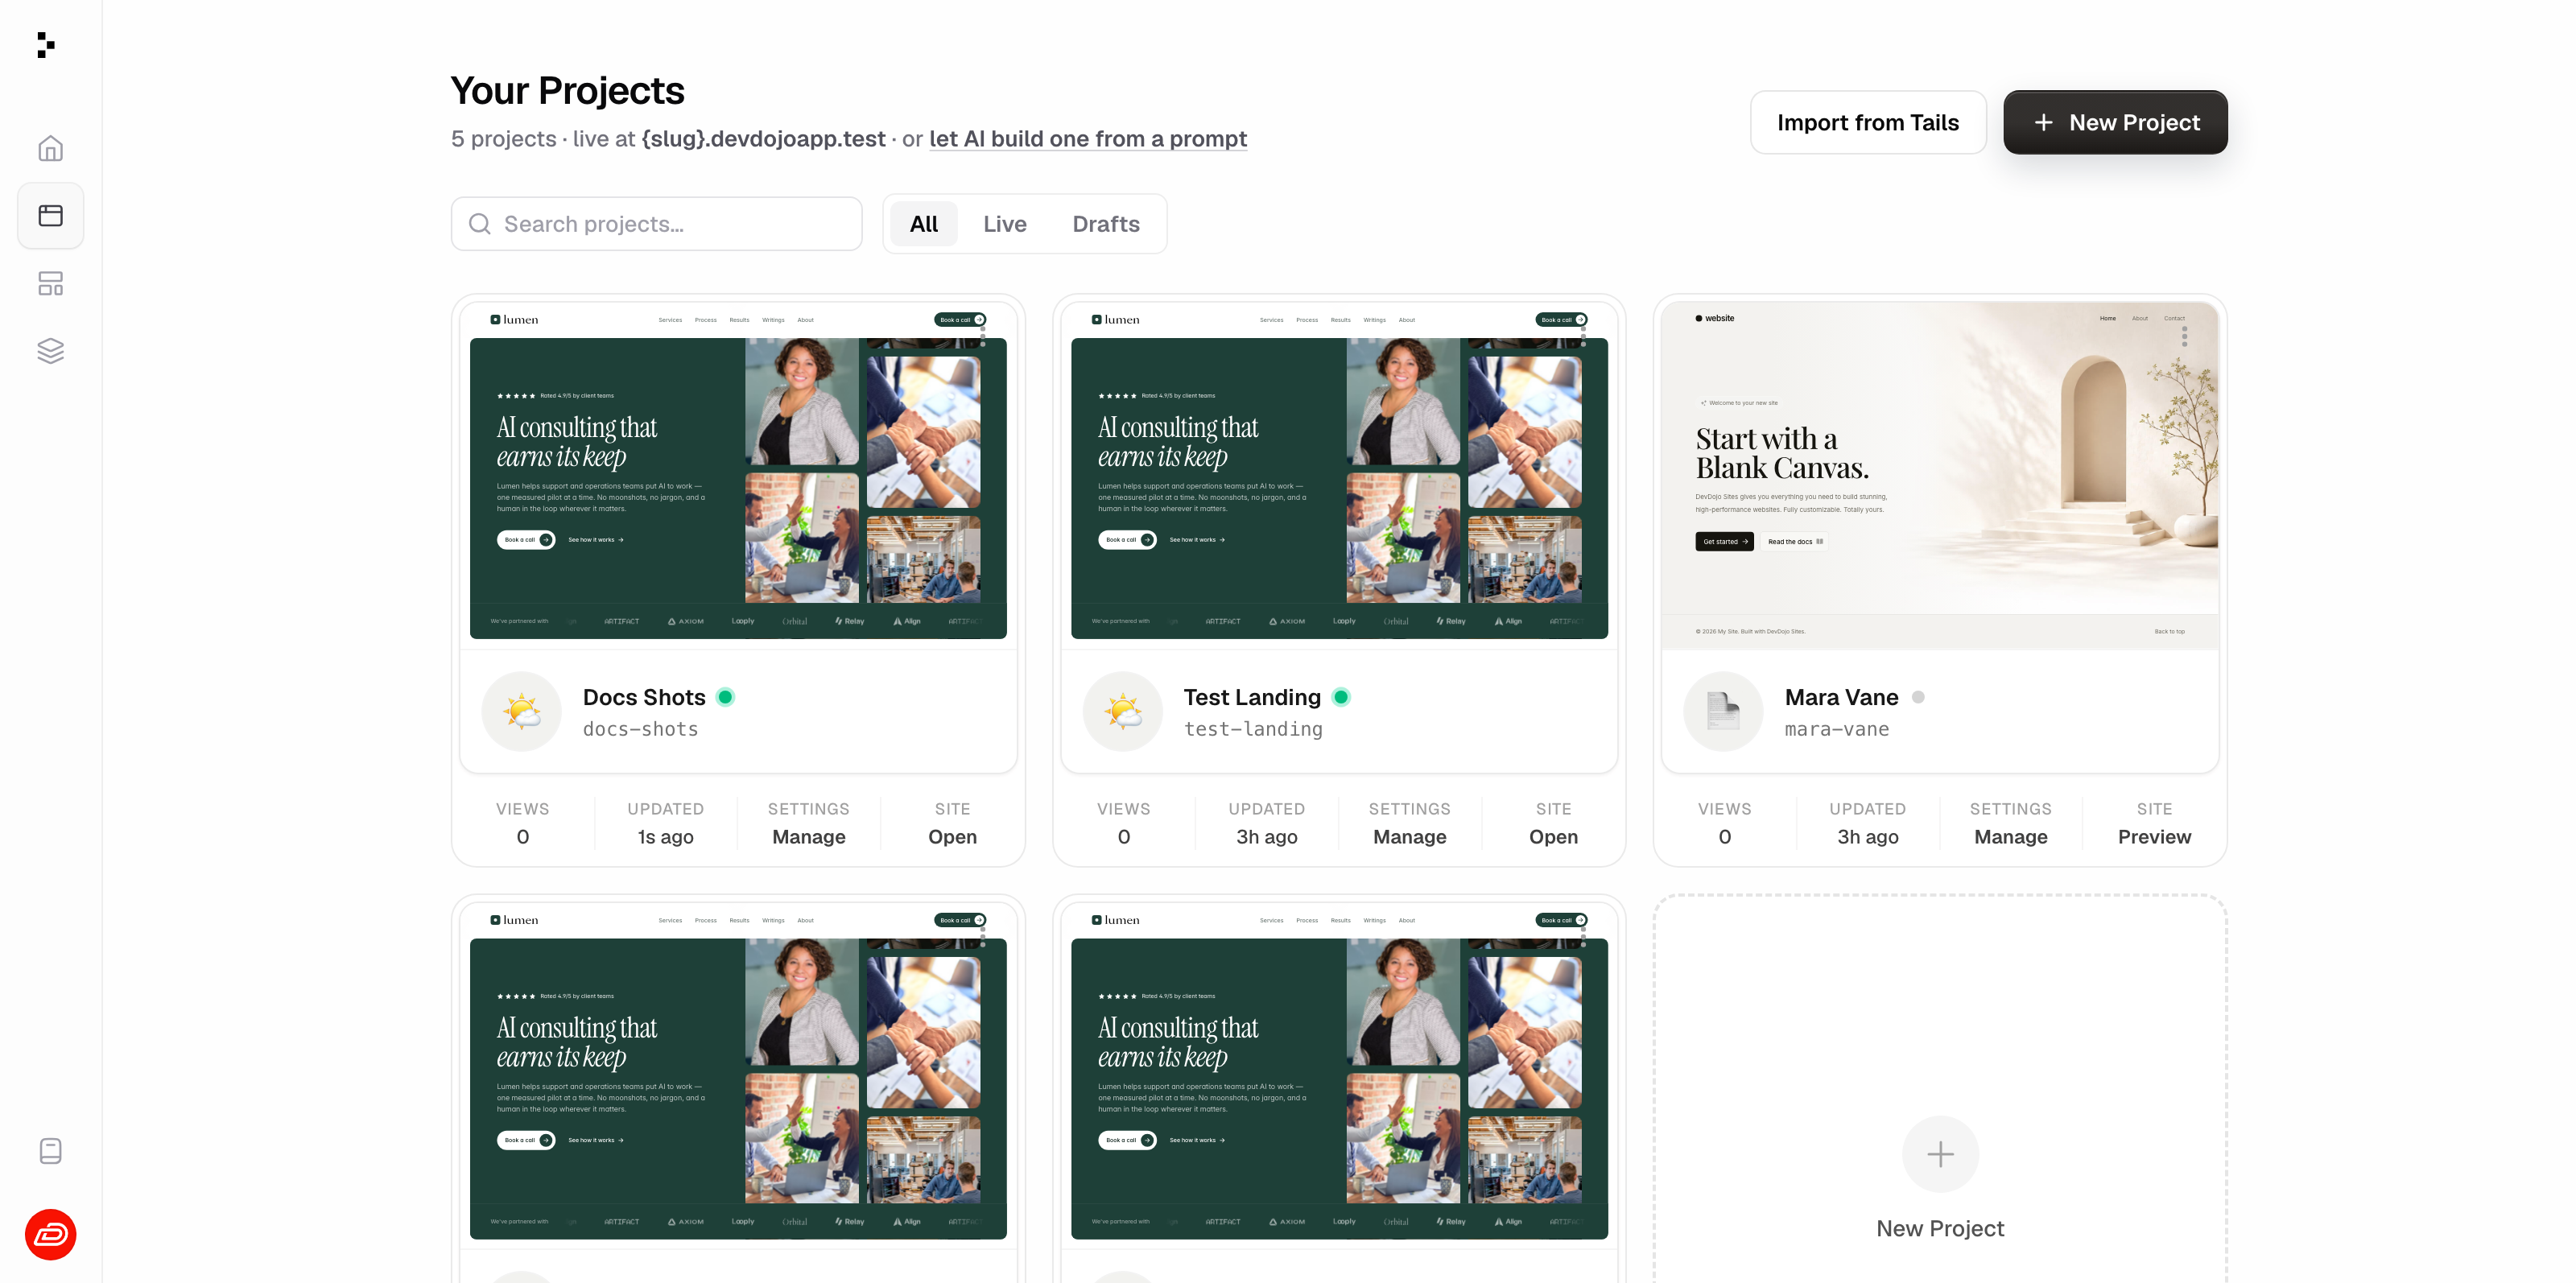
The dashboard opens with a prompt — "What kind of site should we build?" — and lists every site you've made as a card below it: name, web address, a Live or Draft badge, and when you last touched it. Hover a card for quick actions: open the live site, copy its link, download a ZIP, or delete the site.
Press ⌘K (or click Search in the sidebar) from anywhere in the dashboard to open the command palette — jump straight to any of your sites or designs, start a new one, or hop to Templates, Settings, or the docs without touching the mouse.
Create your first site
The fastest way is to describe it ✨ — on your dashboard, type what you want into the prompt box:
"a landing page for my coffee shop, warm colors, a menu section"
Press Enter and you land straight in the builder on the homepage. Prompt-first sites do not preselect a starter template: depending on the platform's active design mode, the AI's first move may be to write down a design system for your brief — resources/design.md, covering colors, type, spacing, and a ready-to-use set of design tokens — before it paints the real navigation and hero from that document (see Your Site's Design System); by default it instead paints straight against the platform's own built-in premium design bar, with no separate document. Either way, it keeps that homepage visible while it finishes the remaining sections and 2–3 page site. Every internal navigation and call-to-action link must have a finished page before the build is marked ready. Each file ticks by in the AI panel, and you can safely close the tab — we'll email you the moment it's ready.
Prefer to start from a template? Also great:
- Click start from a template just under the prompt box.
- Give it a name — this also becomes your site's web address (a site called "Mara's Portfolio" lives at
maras-portfolio). - Pick a starter template — Blank for the minimal skeleton, or any of the complete sites in the gallery (Lumen, Aria, and friends).
- Click Create Site, and you're dropped straight into the builder.
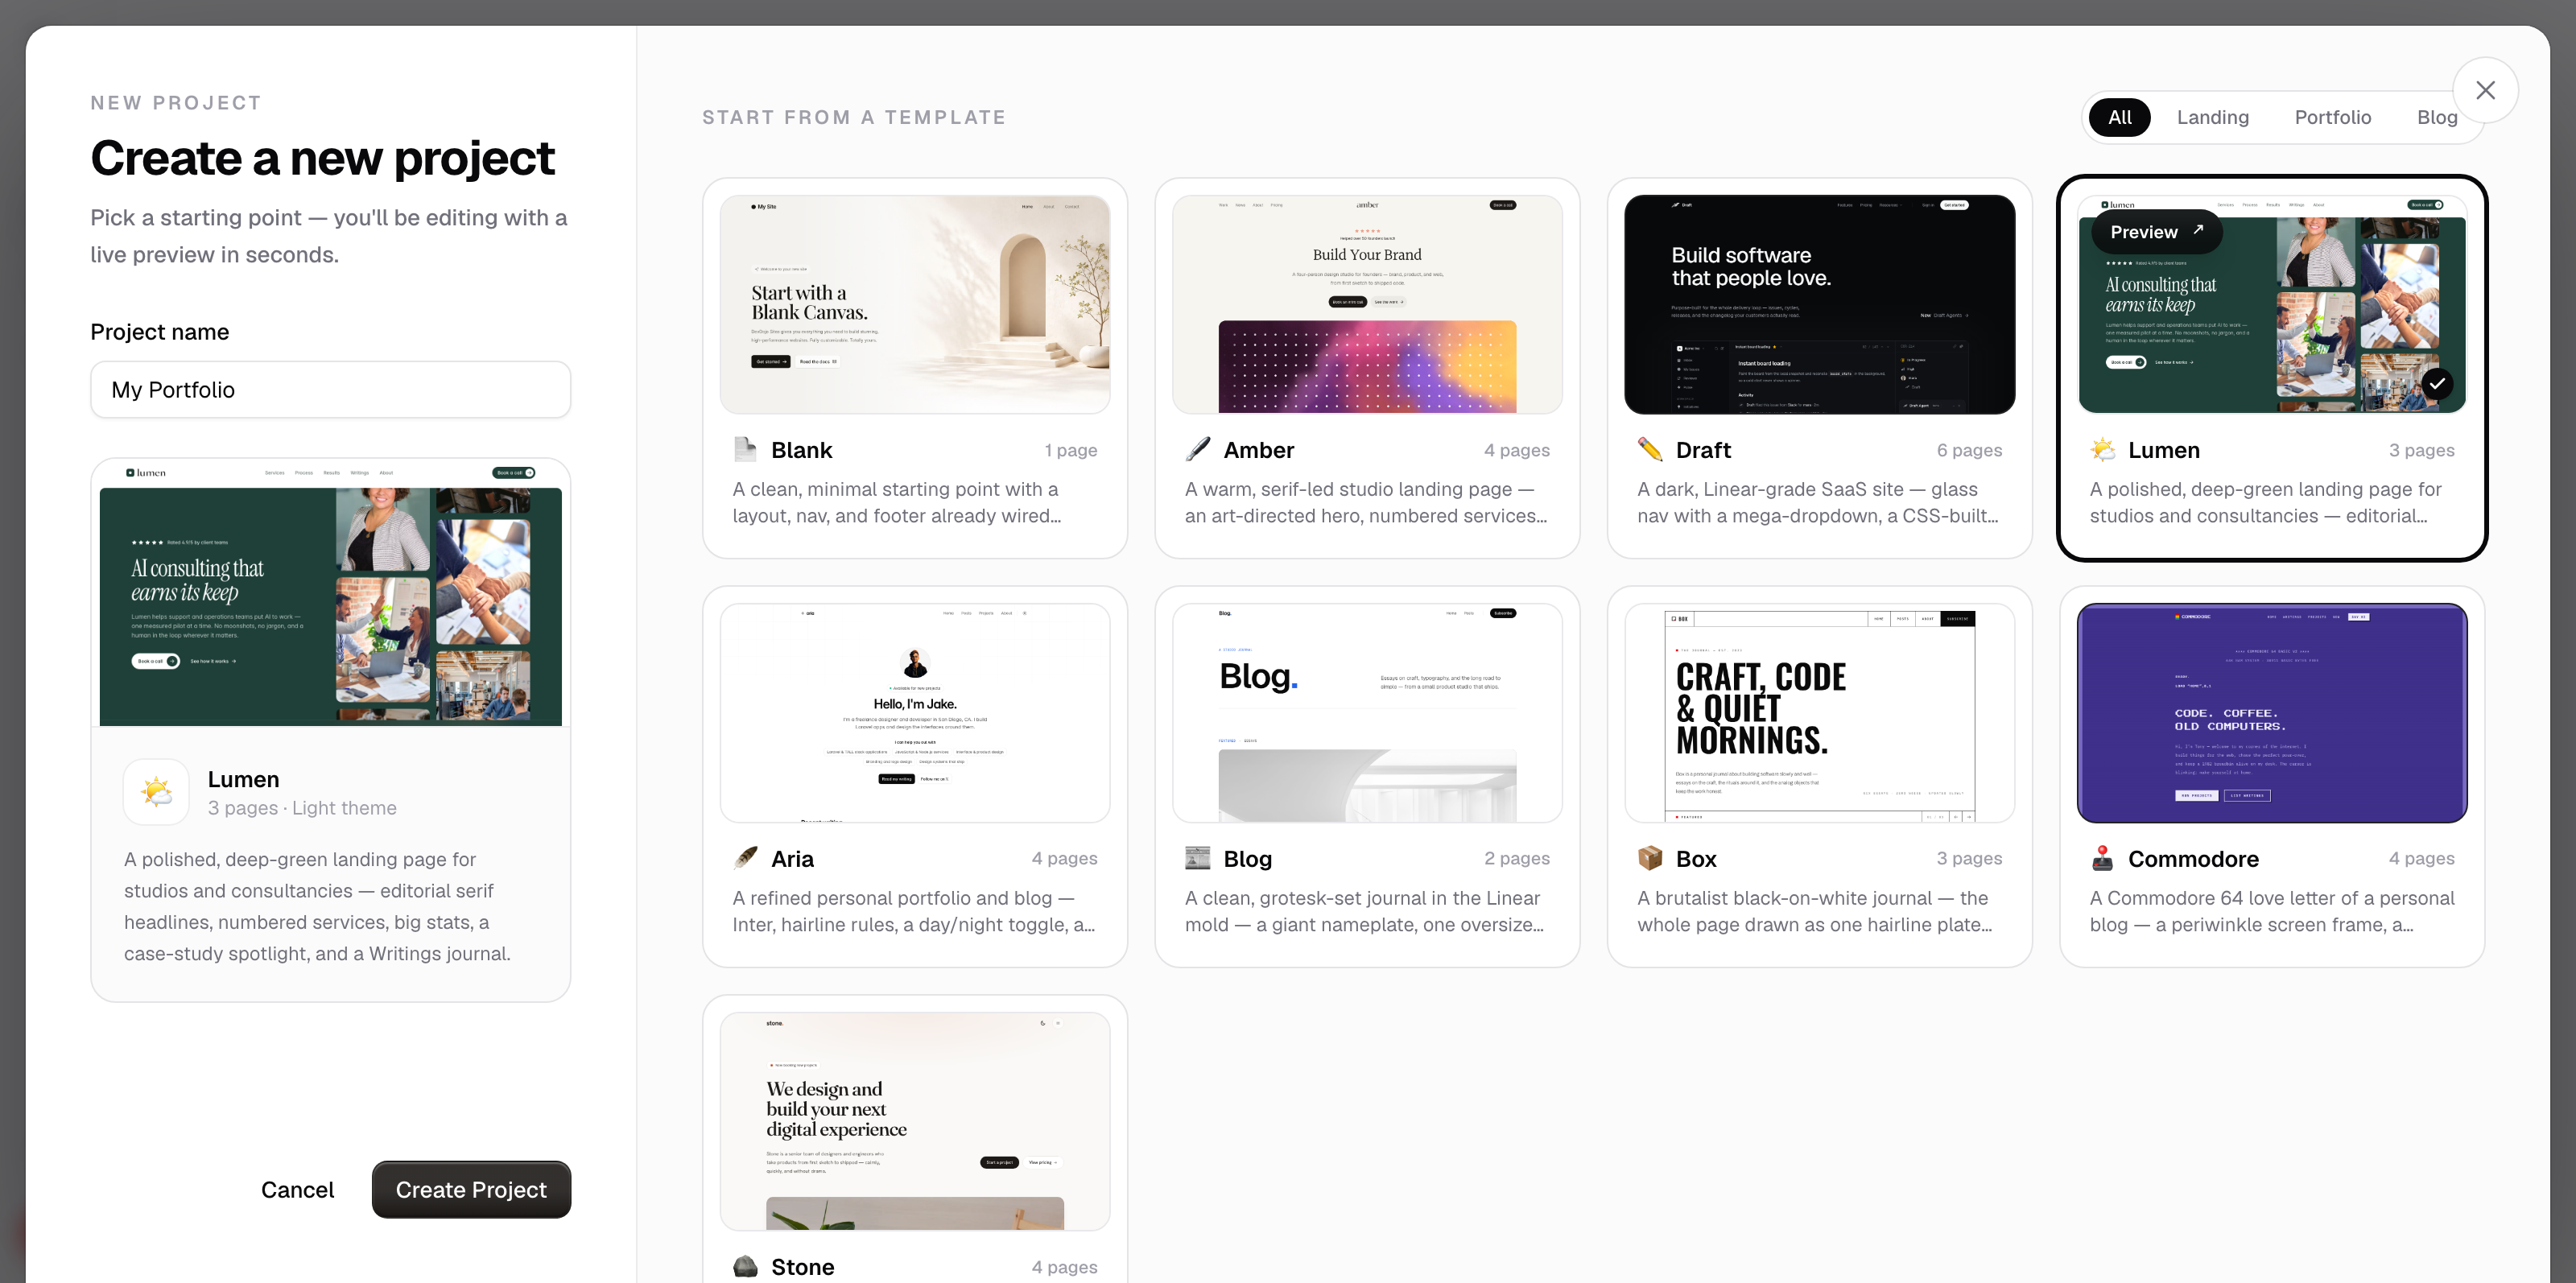
Not sure which template? Start with Lumen — it leans on nearly every feature Sites has, so it doubles as a live tutorial. (More in Templates.)
A tour of the builder
The builder has three modes, switched with the Preview / Edit / Code control front and center in the top bar. All three show the same files — pick whichever fits the moment, or bounce between them. Down the left edge runs a slim activity rail — Assistant, Pages, Content, Media — and clicking an item opens that panel beside the canvas (one at a time; click again to tuck it away). With everything closed, the canvas fills the screen and a floating "Ask AI…" composer waits at the bottom — type there and the Assistant opens with your request already running.
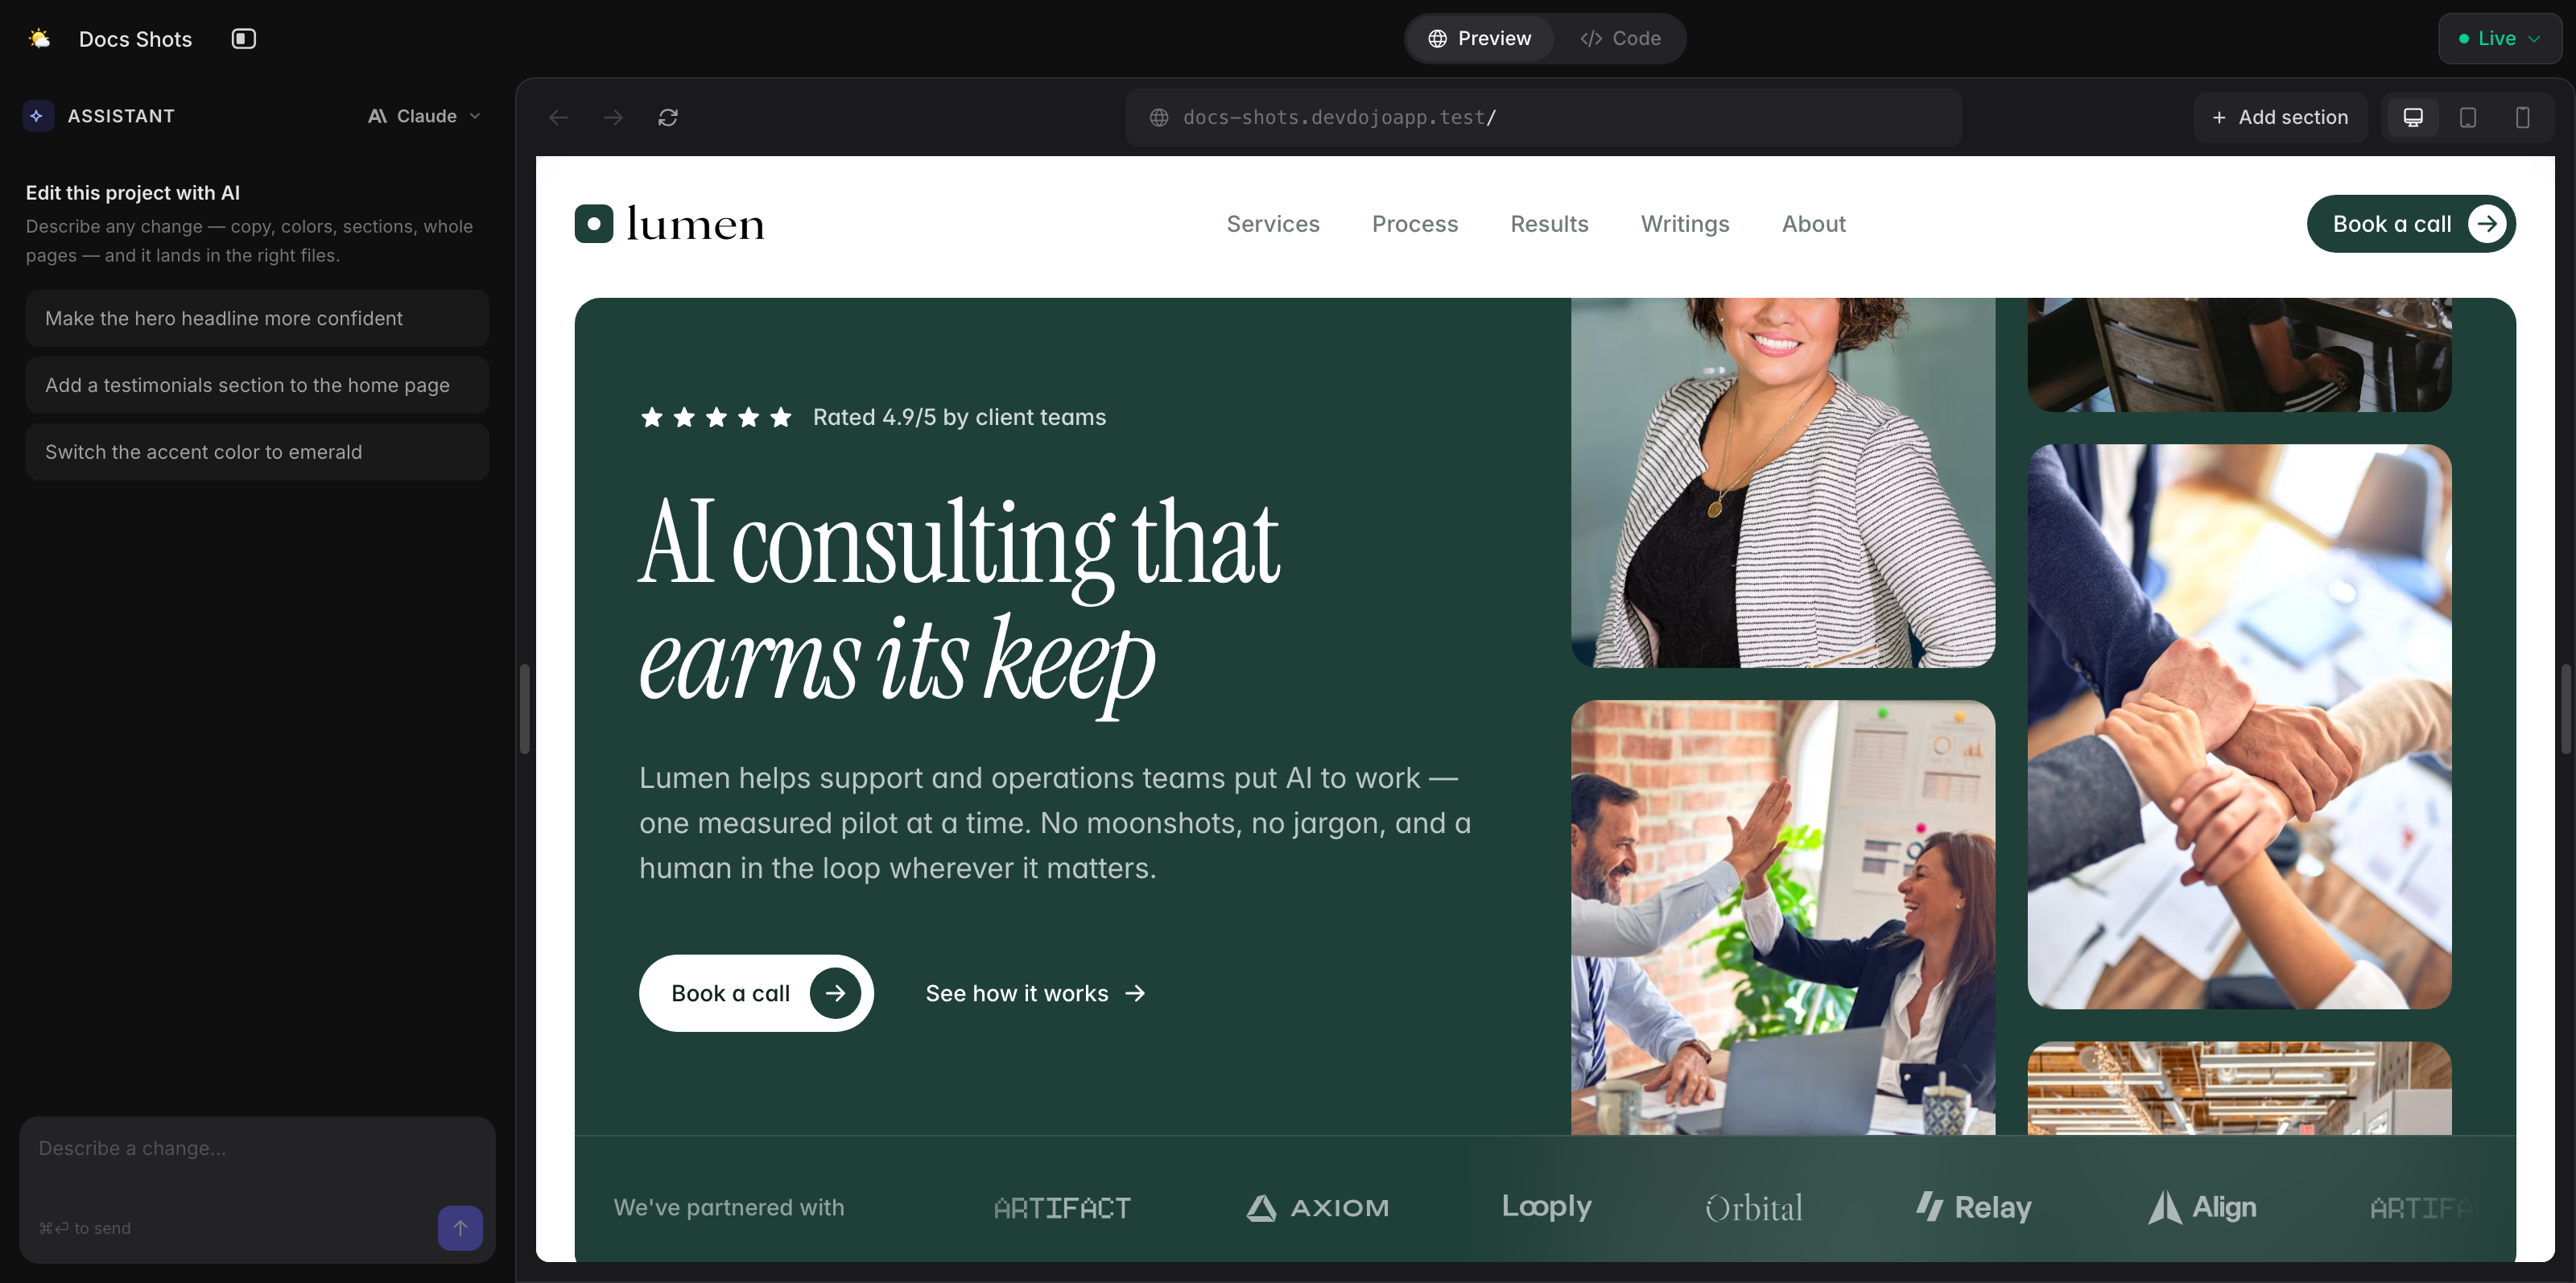
Preview 👀
Your site exactly as a visitor sees it — click around, follow links, switch pages, resize to any device. No outlines, no editing chrome, nothing in the way.
Edit 🎨
The default mode. The same live canvas, awake: hover a section and it outlines with a name chip; click it and its options slide in over the Assistant — friendly form fields for its text, images, and links, with a back arrow returning to the chat. A floating toolbar handles move / duplicate / edit content / edit code / delete, and + Add section pills between sections open a popup with a 289-section library — every section is built from your site's own design tokens, so it arrives already wearing your palette — plus "Community" and "My designs" tabs. The full story is in The Builder.
Code ⌨️
The code workspace: a real file tree beside a full-width code editor (a split toggle brings the live preview back alongside). The tree mirrors a Laravel site:
- resources/views/pages/ — the pages of your site. Each
.blade.phpfile here is a URL. - resources/views/components/layouts/ — shared page shells with a
{{ $slot }}where page content goes. - resources/views/components/ — your reusable pieces (nav, footer, sections…). Edit one, and it updates on every page that uses it.
- resources/data/ — JSON collections and your global
site.json. - resources/css/ and public/ — your CSS and verbatim files.
The toolbar above the tree uploads files, creates files and folders, and deletes; hovering a file reveals rename and delete buttons. The editor speaks HTML, CSS, JavaScript, JSON, and Markdown with full syntax highlighting, and changes autosave as you type — after a short pause, your work is saved and the preview refreshes. Press ⌘S to save immediately, or ⌘K to quick-open any file by name.
The live preview
The preview is your actual site, rendered live — not a mockup, the same rendering your visitors will see. Grab the drag handles on its left and right edges to freely resize it; as you drag, a badge shows the exact width and the Tailwind breakpoint you're at (like 1092px · lg) — perfect for finding exactly where your responsive design changes.
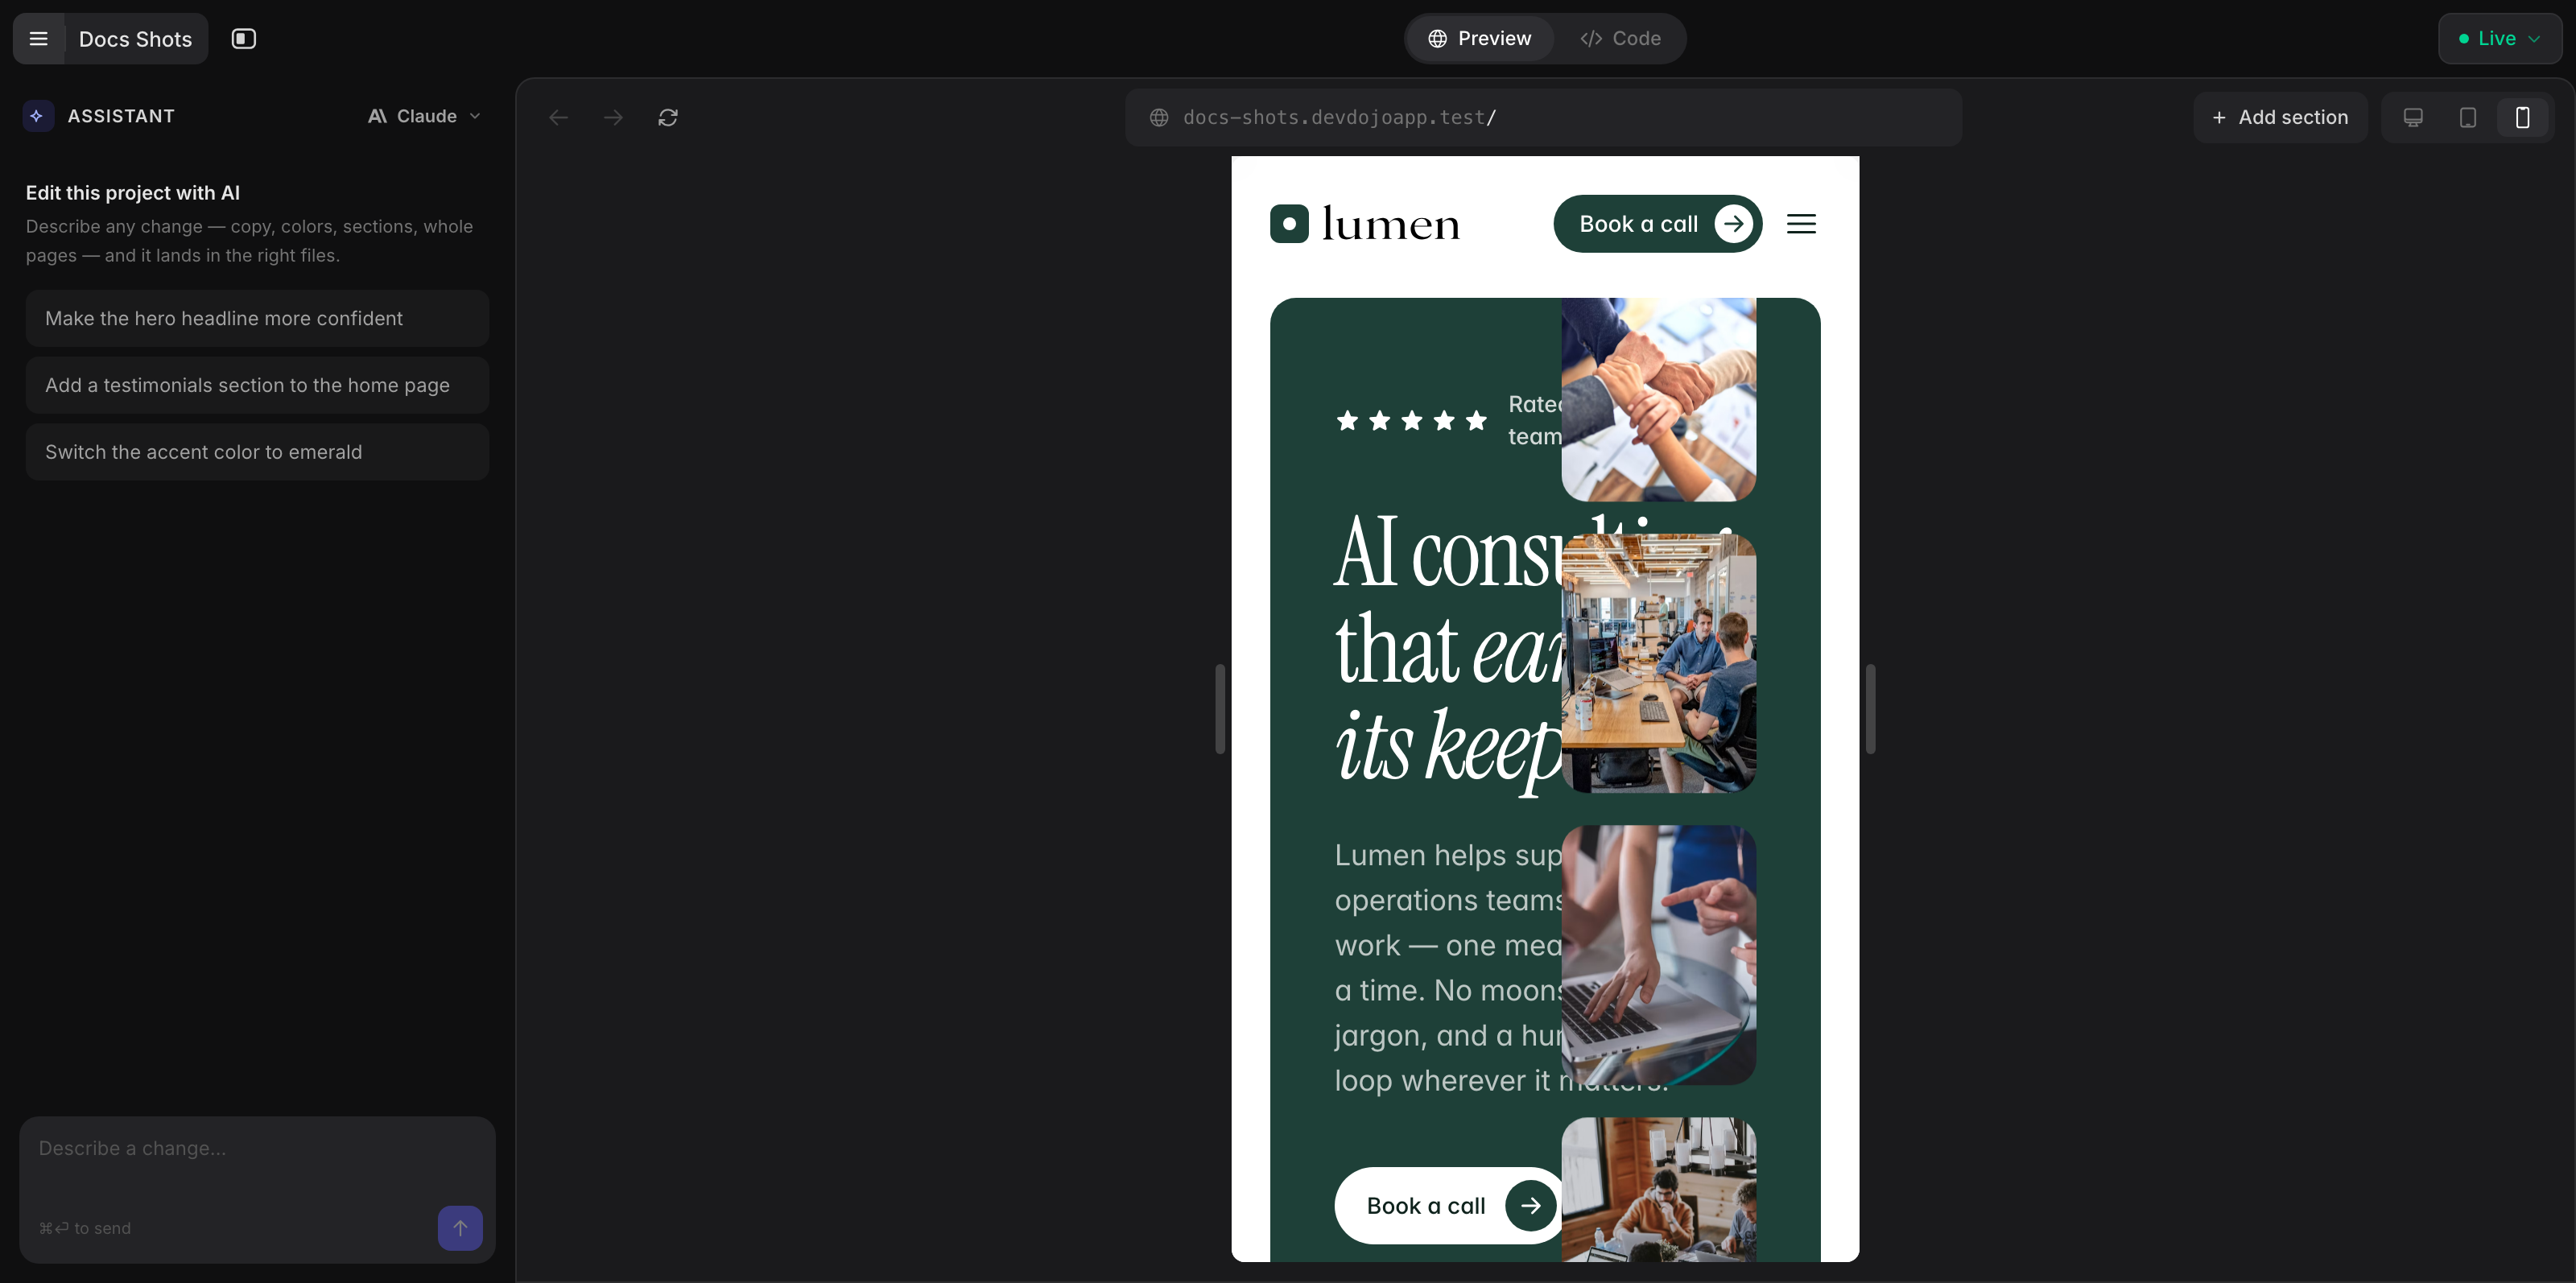
The top bar
The canvas lives on a white card with its own slim top bar. From left to right:
- The sidebar toggle — tuck the panel away or bring it back (⌘B).
- Preview / Edit / Code — the mode control: browse the site, edit the canvas, or open the code workspace.
- Your site's name, dead-center. Hover the bar and it swaps into the page pill — refresh plus the current page ("Homepage" for
/, the route for everything else) dropping down into the page switcher (each row has a settings gear, an open-in-tab arrow, and an inline New Page). - A device button that cycles Desktop → Tablet → Phone (also keys 1/2/3), an open-in-tab arrow (a full-tab preview of the page you're on — always your latest edits, even before you publish them), and Publish — ship it. 🚀
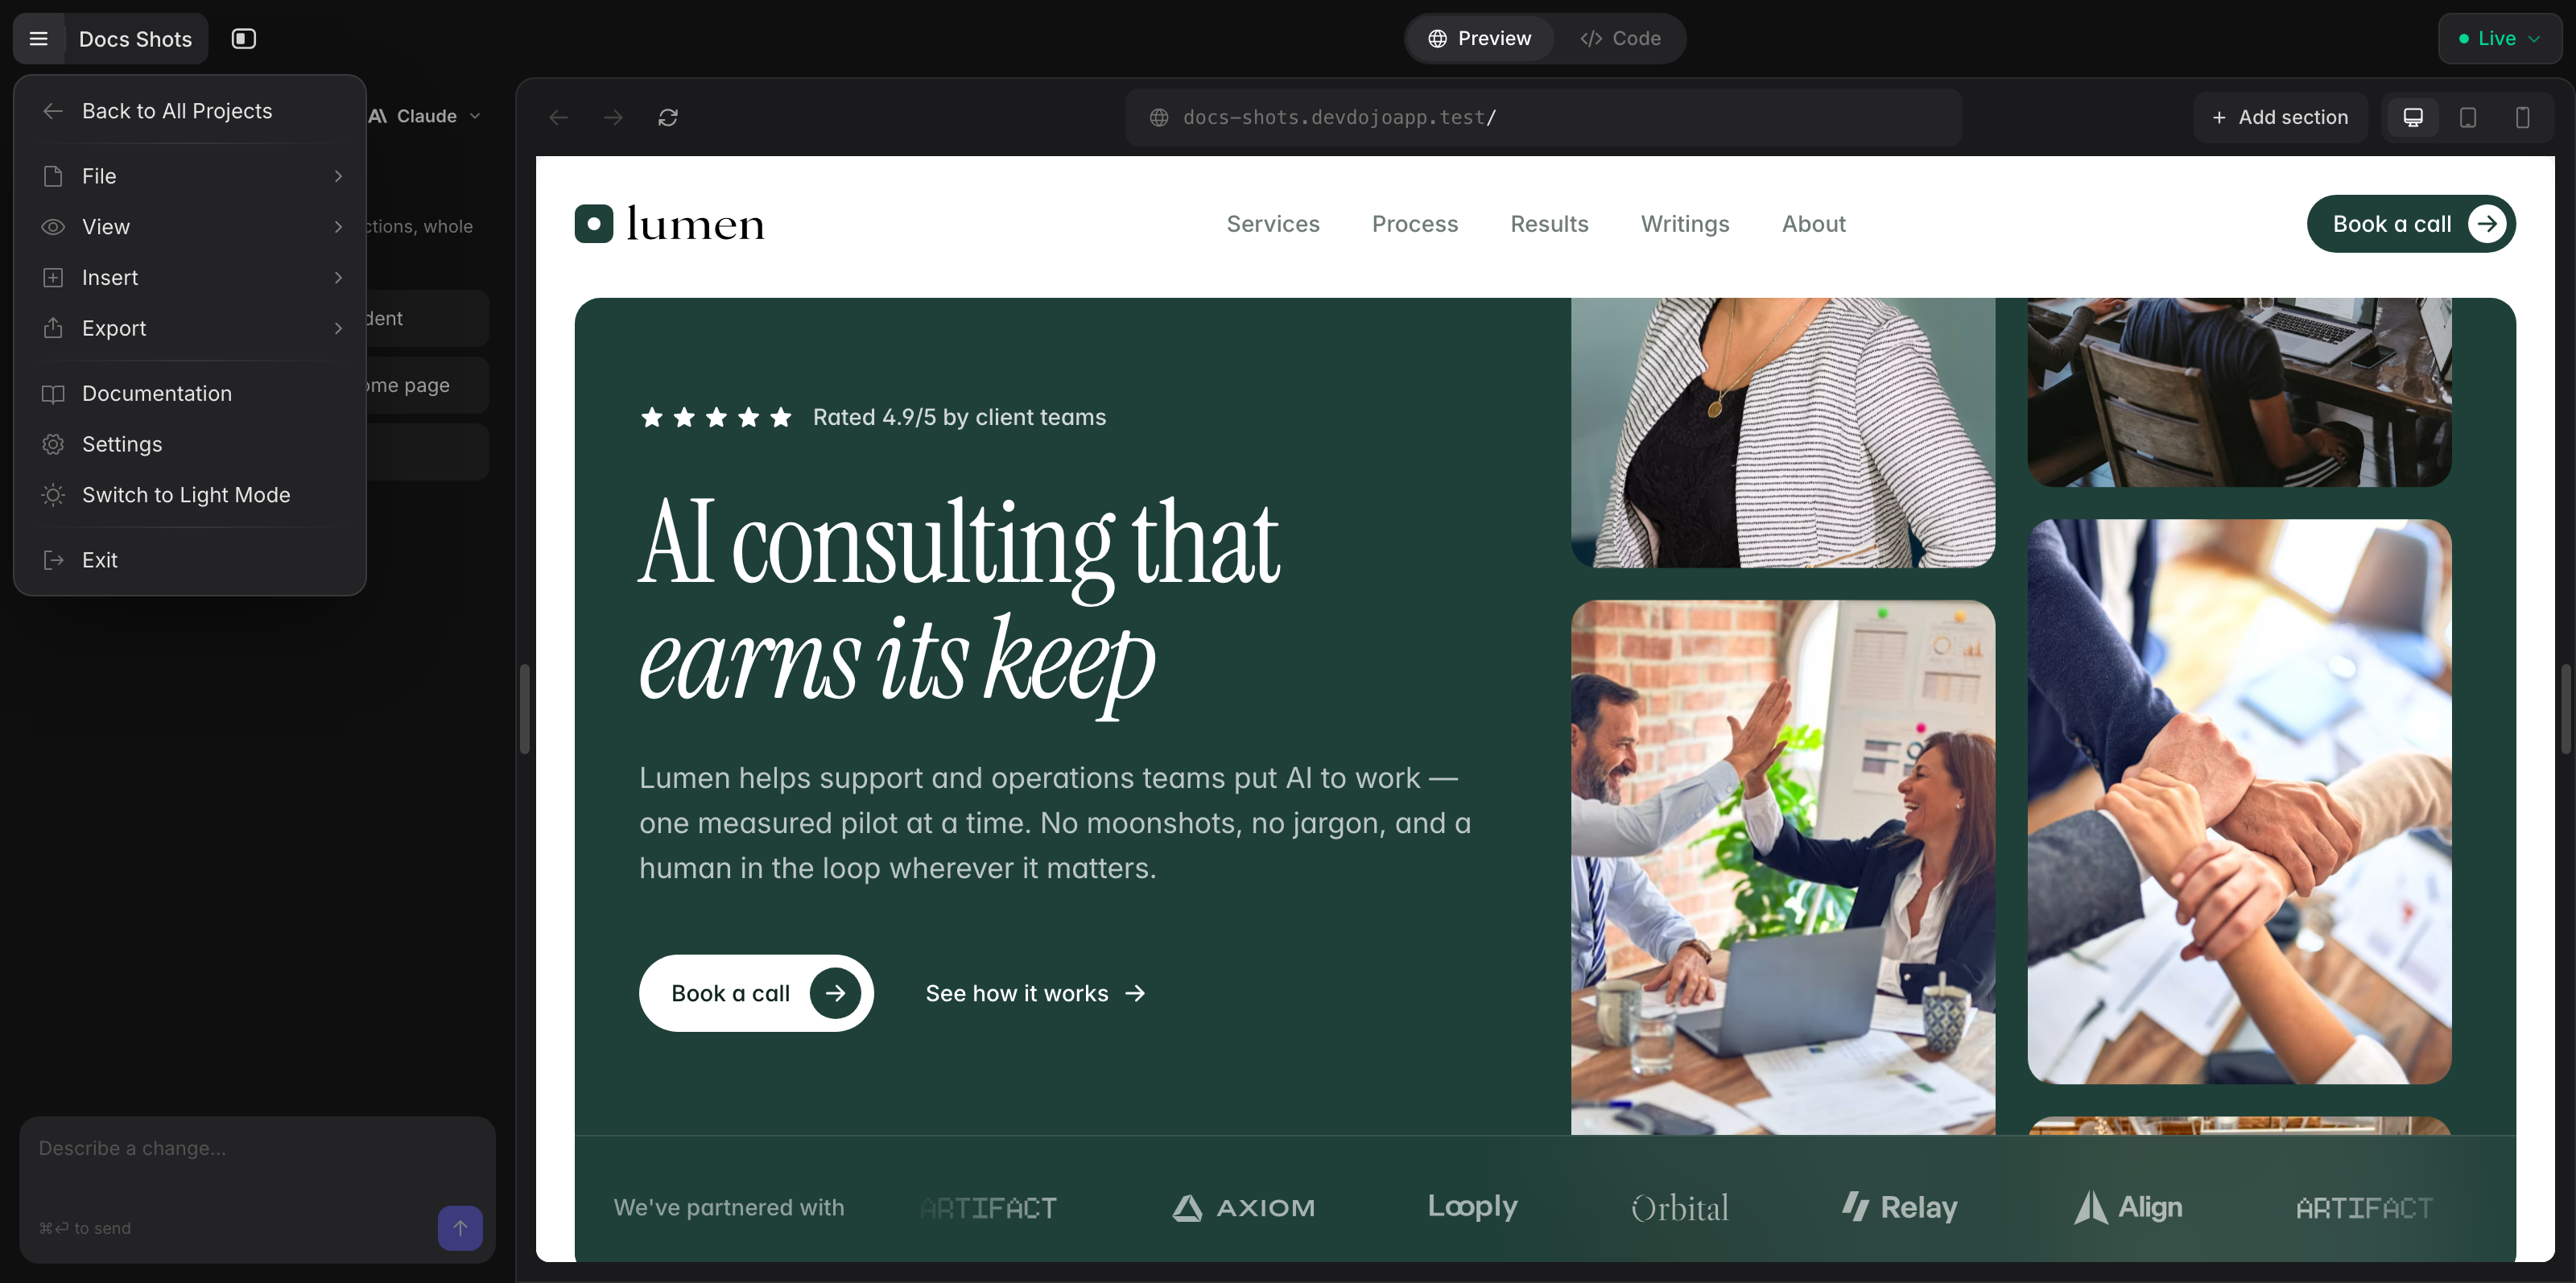
The builder menu — Documentation, Settings, Upload, Export, and more — lives at the top of the left rail: hover your site's icon and it becomes the menu button. Sections are added with the + pills right between sections on the canvas.
Keyboard shortcuts
| Shortcut | Action |
|---|---|
| ⌘S | Save the current file now |
| ⌘K | Quick-open any file |
| ⌘I | Focus the AI composer (the floating one when the panel is closed) |
| ⌘B | Collapse / expand the Assistant panel |
| ⌘⇧S | Toggle snapshot capture |
| Esc | Leave element-select / snapshot capture, close the annotation lightbox |
| Esc | Close a menu, selection, or the open panel — one layer at a time |
Make your first edit
Time to make it yours. Change the headline on your homepage — in Edit or Code:
Click the section holding your headline on the canvas. Its options slide in over the Assistant — find the headline field, type your new words, and watch the canvas update as you go. That's the whole loop: click, type, admire. ✨
Open resources/views/pages/index.blade.php (⌘K gets you there fast), change the headline, and pause for a moment — your work autosaves and the preview refreshes with your new words:
<h1 class="text-4xl font-bold">Hello, internet 👋</h1>
That's the whole loop: type, glance right, repeat.
Publish it 🚀
When you're ready for the world to see it, hit the blue Publish button. Your site goes live instantly at its own address, and the button becomes a Live menu where you can open the live site or unpublish. See Publishing for the details.
That's it. You just built and shipped a website. Told you this would be fun. 🎉
Where to next
- The Builder — the visual editor, section by section
- Your Site's Design System —
resources/design.md, and how to restyle a site - Page-Based Routing — a file is a URL; that's the routing system
- Layouts — the shell around your pages
- Components — build once, use everywhere
- Collections — data-driven pages
- Sections — the prebuilt section library
- Templates — what each starter gives you
- Publishing — preview, publish, export
- Syntax Reference — every tag and expression on one page