Sites 14 / 15
Publishing
Preview privately, publish instantly to your own URL, and export a ready-to-host copy of your site anytime.
Publishing
Your site has two lives: the private preview only you can see while building, and the published site the world sees. Here's how they fit together — and how to take your work with you.
Preview privately
The preview pane in the builder is your actual site, rendered live. Save a file and it refreshes. Only you can see it — preview URLs require you to be signed in, so half-finished pages stay between you and the editor.
- Check every width: drag the preview's edge handles (a width badge follows along) or press 1 / 2 / 3 for desktop, tablet, and phone.
- Want the full-browser experience? Click the open-in-tab arrow in the top bar — it always opens the preview of your latest edits, even after you've published.
Publish
When you're ready, click the blue Publish button in the top bar. Your site goes live at its own address, built from your site's slug:
https://your-slug.devdojo.site
The first time you publish, the builder asks you to choose your URL: the field holds your site's current slug with .devdojo.site beside it — keep it or type the address you want, then hit Publish. You can change it any time later on your site's settings page (the builder menu's Settings opens it in a new tab), where the slug also appears alongside your publish status.
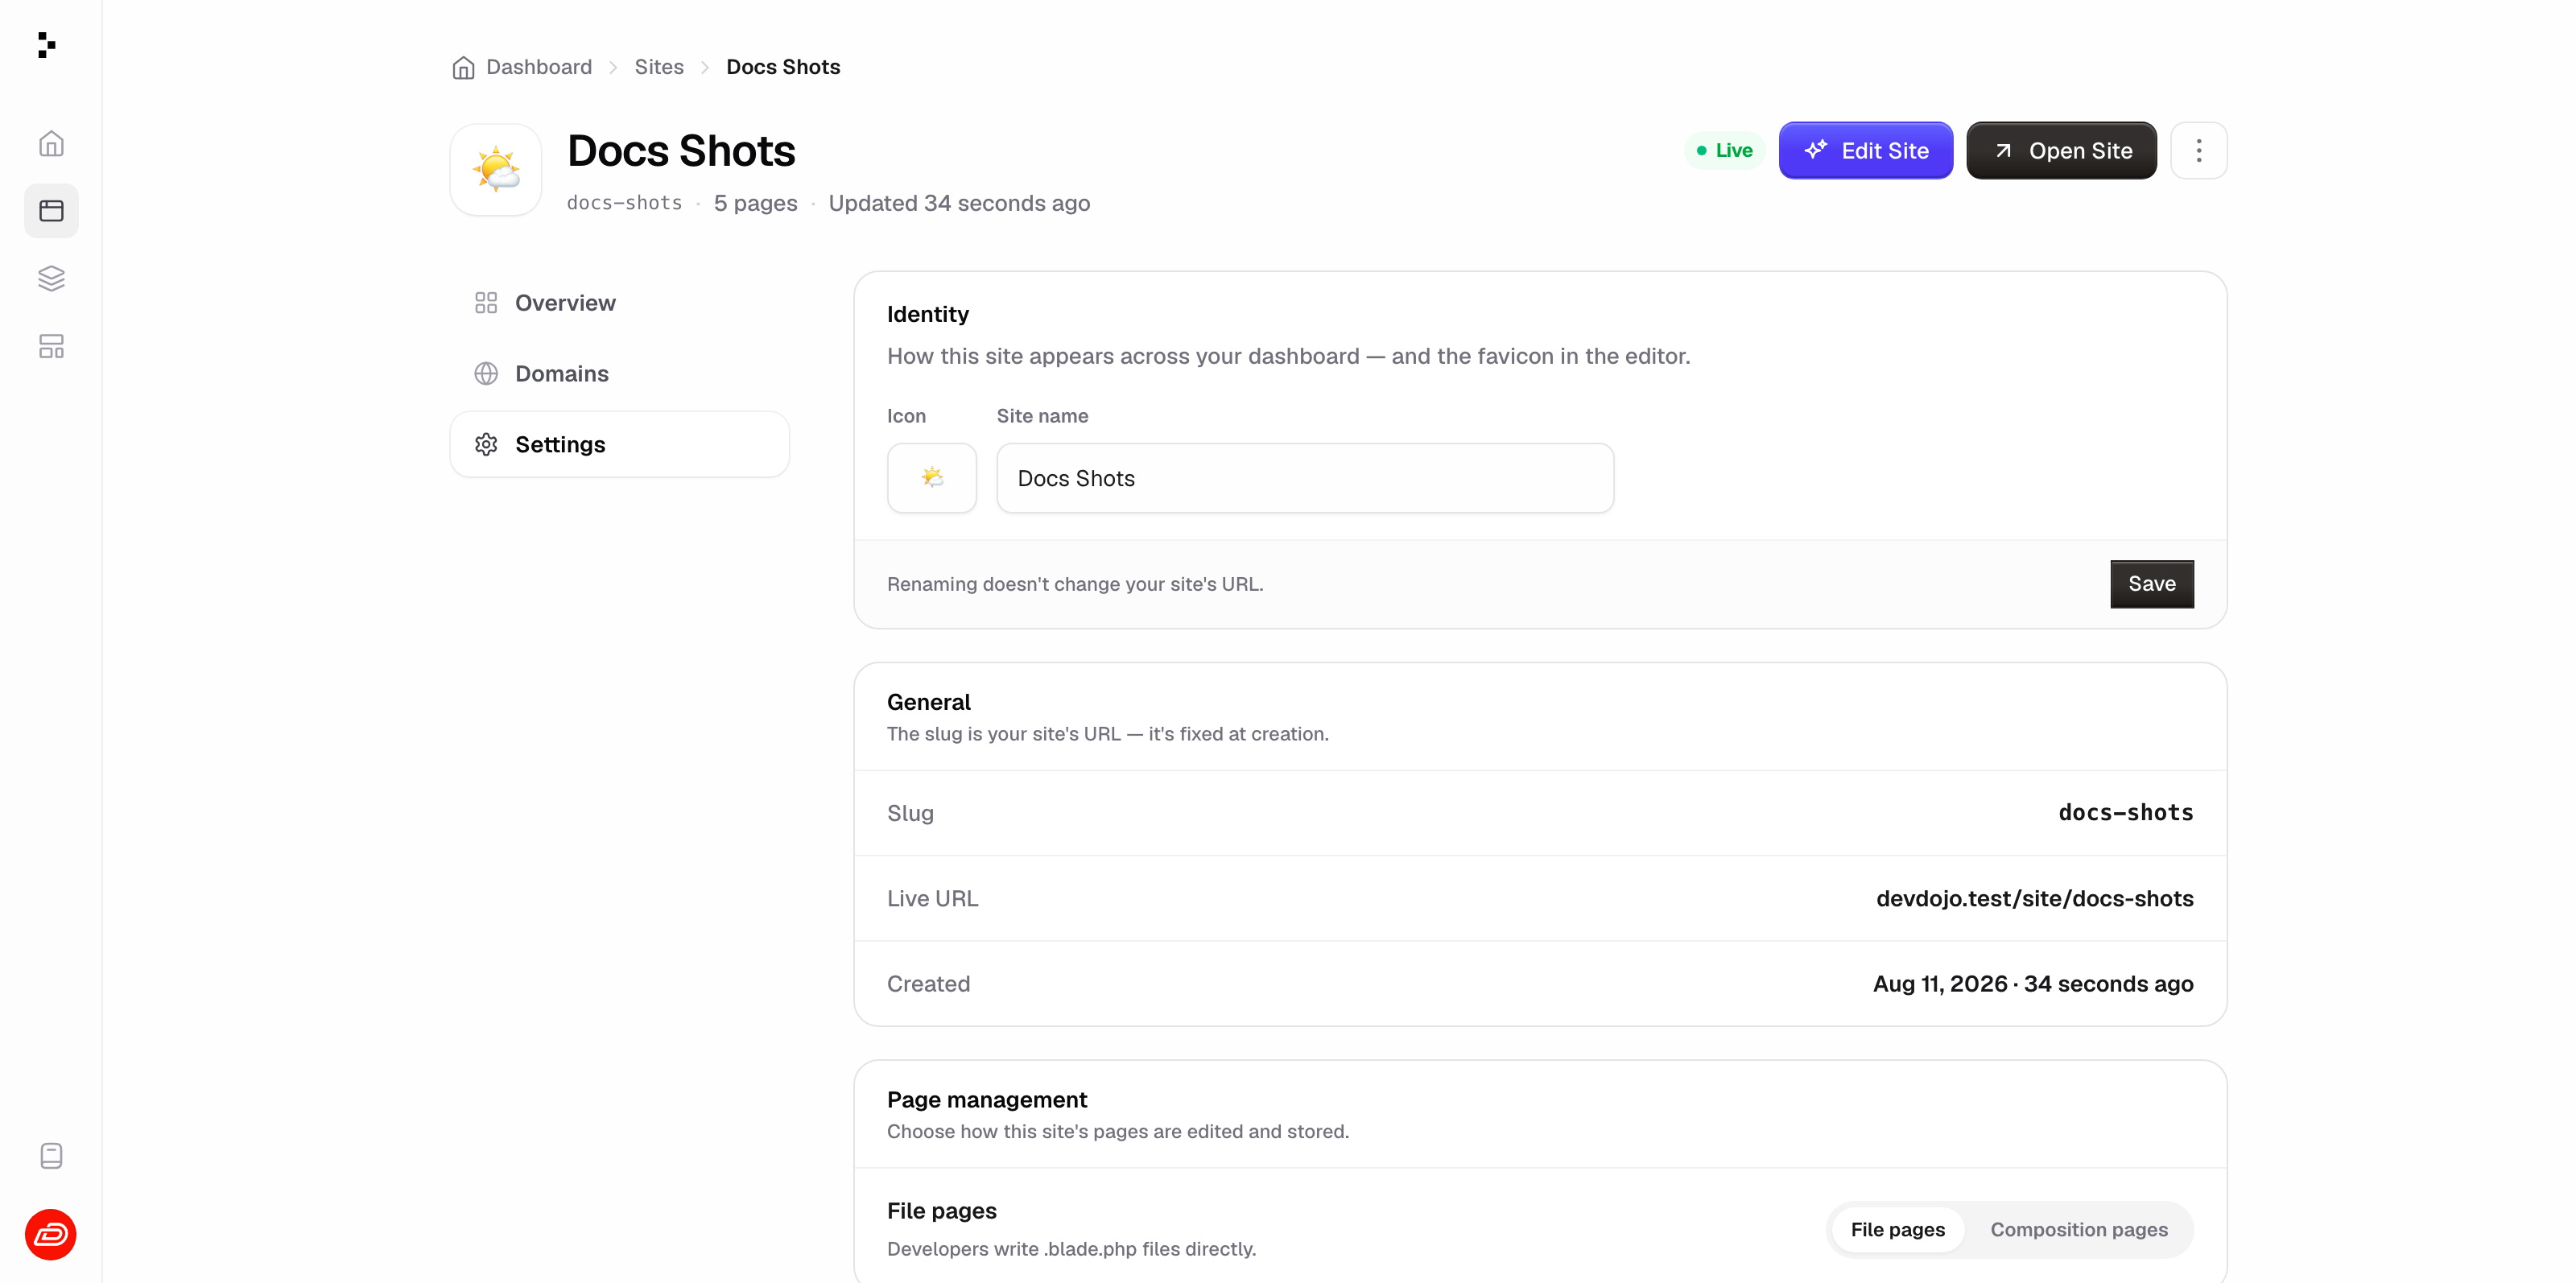
Two things worth knowing:
- Publishing is instant. No build queue, no waiting.
- Everything travels together — every page, plus anything in
public/(like yourrobots.txt, which is served from your site root). Your CSS ships too, inlined into each page.

Once you're live
The Publish button becomes a Live menu:
- Republish changes — pushes your latest saved edits to the live site. Keep building, then republish whenever you want the world to catch up.
- Unpublish — takes the site offline.
Unpublishing is instant and non-destructive. Visitors get a 404 right away, but nothing is deleted — everything is still in the builder, and publishing again brings the site right back.
Custom domains
Put your site on a domain you own — mysite.com instead of the .devdojo.site subdomain. One DNS record, and we handle everything else: the SSL certificate (issued and renewed automatically), the www redirect, and the switch-over. Custom domains are included on every paid plan — Maker includes 1, Craftsman 5, Codesmith 10, and Artisan unlimited (counted across all your sites; a domain and its www twin count as one). The included your-slug.devdojo.site address keeps working alongside either way.
1. Add the domain
Open Settings → Domains and type the domain — mysite.com or www.mysite.com, whichever you want visitors to see. We set up the other one too and redirect it to your pick automatically, so www.mysite.com and mysite.com both work from day one. (A subdomain like blog.example.com is set up on its own, no pair.)
2. Point it at us
Settings shows the exact record(s) to create at your DNS provider, with copy buttons:
| Type | Name | Value |
|---|---|---|
CNAME |
www |
to.devdojo.com |
CNAME* |
@ |
to.devdojo.com |
* At the root (@), some providers call this record ALIAS, ANAME, or CNAME flattening — any of them works. If yours only allows CNAME on subdomains, make www your primary instead; most registrars can forward the bare domain to www.
Where does this go? Every registrar calls it something slightly different — "DNS", "DNS records", "Manage DNS", or "Zone editor". Create the record there; nothing else to configure.
3. That's it — we take it from here
The Domains panel checks your DNS automatically every few seconds and walks each hostname through its stages: Waiting for DNS → Issuing certificate → Live. A Setup progress checklist shows exactly what each check found, in plain words — the record we saw (including a wrong one, named explicitly: "Found a CNAME pointing to parked.registrar.com — it needs to point to to.devdojo.com"), the certificate's current stage, and the network activation. If anything is ever blocked on our side rather than yours, the panel says exactly that. DNS usually lands within minutes (registrars are allowed up to 24 hours). You can close the tab — we keep checking in the background, and the domain goes live on its own.
Primary and redirect
One hostname of the pair is primary — it's the one that serves and the one search engines see. The other 308-redirects to it, path intact. Added mysite.com but want www.mysite.com canonical? Hit Make primary next to the www row and they swap instantly.
Once it's live
- Your published site serves from your domain, over HTTPS, certificate renewed forever.
- Your primary domain becomes the site's canonical address: it's what
sitemap.xmland the generatedrobots.txtpoint at. - Republishing doesn't change anything. The domain stays attached across publishes.
Removing a domain
Hit Remove in the Domains panel — the pair goes together, and your domain stops serving the site immediately. You can add it back any time, and your .devdojo.site address is unaffected throughout.
When something isn't working
- "That domain is part of the platform" — you entered a
devdojo.siteaddress. Custom domains are for domains you own; your platform subdomain is already set up under Included subdomain. - "That domain is already connected to another site" — the hostname is live on another site. Remove it there first.
- Stuck on "Waiting for DNS" — the record hasn't propagated yet, or points somewhere else. Check the Name field: some registrars append the domain automatically, so
wwwcan accidentally becomewww.mysite.com.mysite.com. - Stuck on "Issuing certificate" — the certificate authority is validating your hostname; this stage normally clears within a few minutes of DNS landing. If it's been hours, remove the domain and add it again.
SEO out of the box
Every publish — and every export — ships with the two files search engines look for first:
robots.txt— a permissive default that welcomes crawlers and points them at your sitemap.sitemap.xml— every page of your site at its clean URL (/,/about,/blog), with last-modified dates, built from the same pages you see in the builder.
You don't have to do anything — they're generated automatically from your site's live URL, so a custom domain shows up in them the moment it's verified. Want full control? Ship your own: a public/robots.txt or public/sitemap.xml in your site always wins over the generated file.
Your own 404 page
Add a page at pages/404.blade.php and it becomes your site's not-found page: any URL that doesn't match a page serves your design — with a proper 404 status, so search engines treat it correctly. Style it like any other page: layouts, sections, and components all work. No 404.blade.php? Visitors get a plain not-found response instead.
Export as a ZIP
Your site is yours. Menu → Export → Download ZIP hands you plain static files, compiled and ready to host anywhere — Netlify, GitHub Pages, an S3 bucket, or any web server:
- Every page is built out to clean URLs (
about.blade.phpbecomesabout/index.html, so/aboutjust works). - Your
public/files sit at the root, and your CSS is inlined into every page — no build step, no dependencies. - Layouts, components, and collections are all baked into the pages — the export is the finished HTML and needs no special server.
The ZIP is the rendered site, not your source. Your editable layouts, components, and collections always live in the builder.
Export source & import
Need the editable site itself, not the rendered output? Export source (in the builder's Export menu, or on the site's settings page) downloads your actual file tree — resources/ and public/, images as real files — plus a small devdojo-site.json manifest carrying the site's name and description. Unzip it, read it, edit it locally, keep it in git: it's the same tree you see in Code mode.
The manifest is what makes the archive round-trippable. On any site's settings page, Import source takes a source-export zip and replaces that site's contents with it:
- Import is destructive. Every current file is overwritten or deleted, and the site takes the archive's name and description. You'll be asked to confirm before anything happens — and the last 20 versions of each replaced file are kept as revisions, so a mistaken import is recoverable file by file.
- Nothing changes unless the whole archive is valid. The zip is checked first — the manifest, file sizes, and a full compile of every page. A broken archive is rejected with the reason, and your site is left exactly as it was.
- Stray archive litter (
.DS_Store,__MACOSX/, files outsideresources/andpublic/) is skipped and reported, so a zip re-compressed on macOS imports cleanly.
Together the pair moves a site anywhere a copy needs to go: between your own sites, from one account to another, or from a local environment to production.
Only source exports import. The static "Download ZIP" archive is compiled HTML with no manifest — the importer will tell you so and leave your site untouched.
The pre-publish checklist
- Click through every page in the preview — including at phone width.
- Check the
titleanddescriptionon your<x-layouts.main>tags (browser tabs and search results use them). - Replace any leftover template copy and placeholder links (
href="#"). - Spell-check the headline. It's always the headline.