Apps (Coming Soon) 14 / 32
Authentication Pages
A preview and overview of every authentication page that ships with DevDojo Auth.
DevDojo Auth contains many pages that provide functionality for the most common authentication use cases. Below is a preview and overview of all the available authentication pages.
Login
The login page. Visit this page at /auth/login.
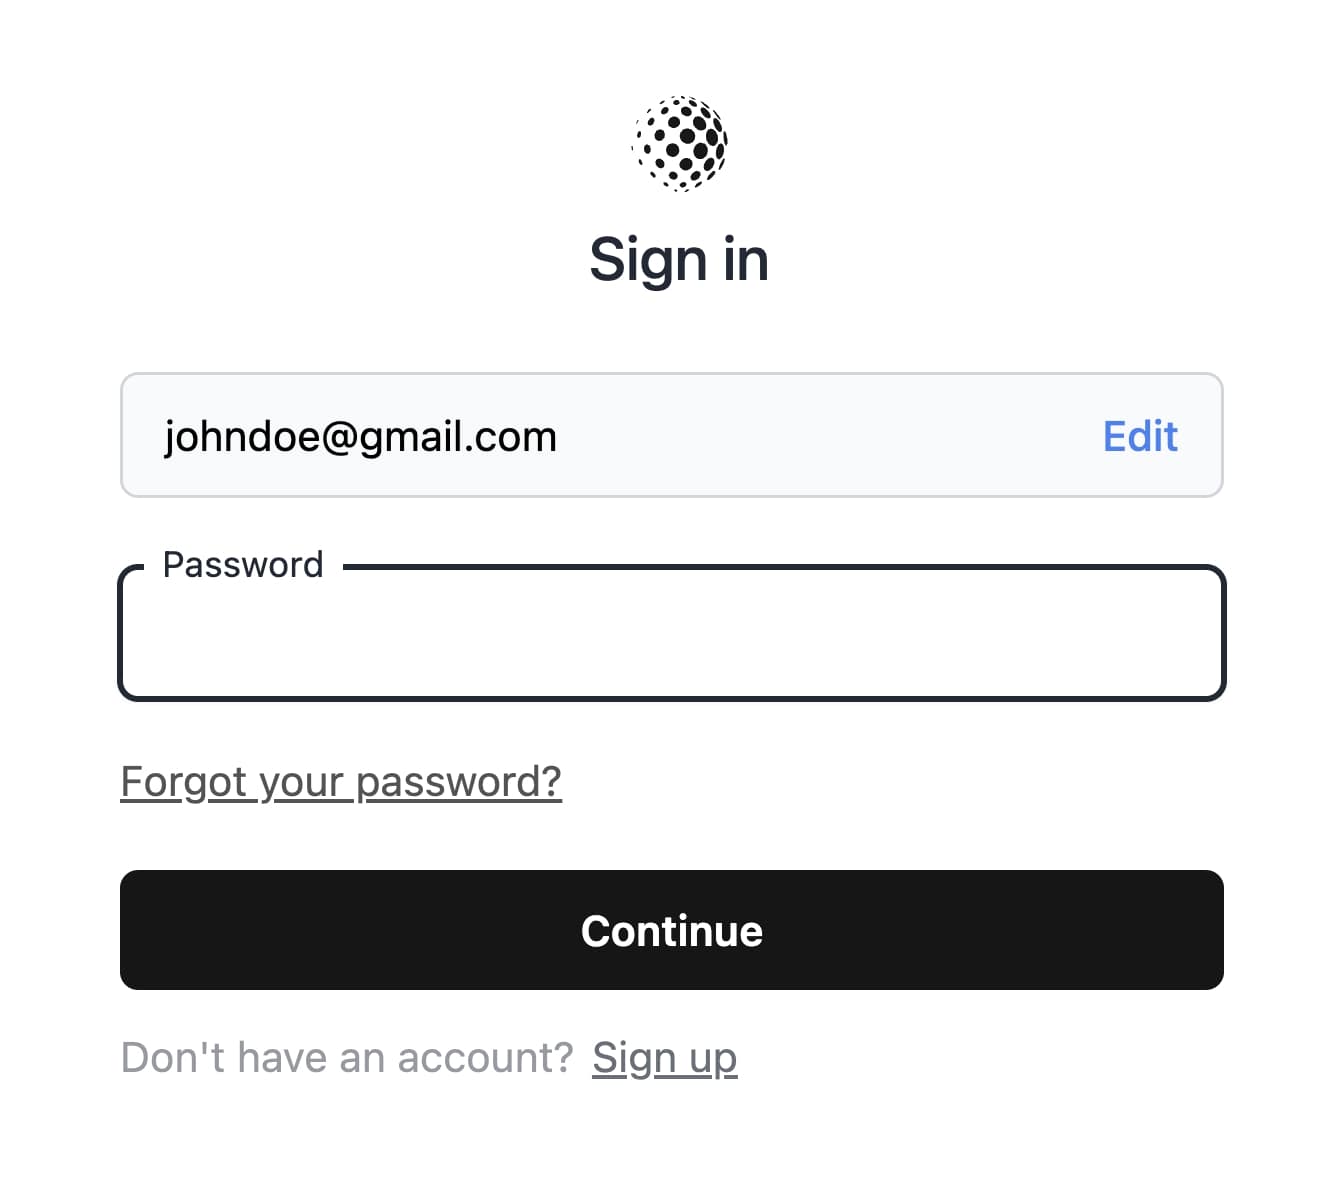
The login page is where a user can enter their email address and password and be authenticated in your application. You may optionally choose to show social provider links on this page.
Register
The register page. Visit this page at /auth/register.
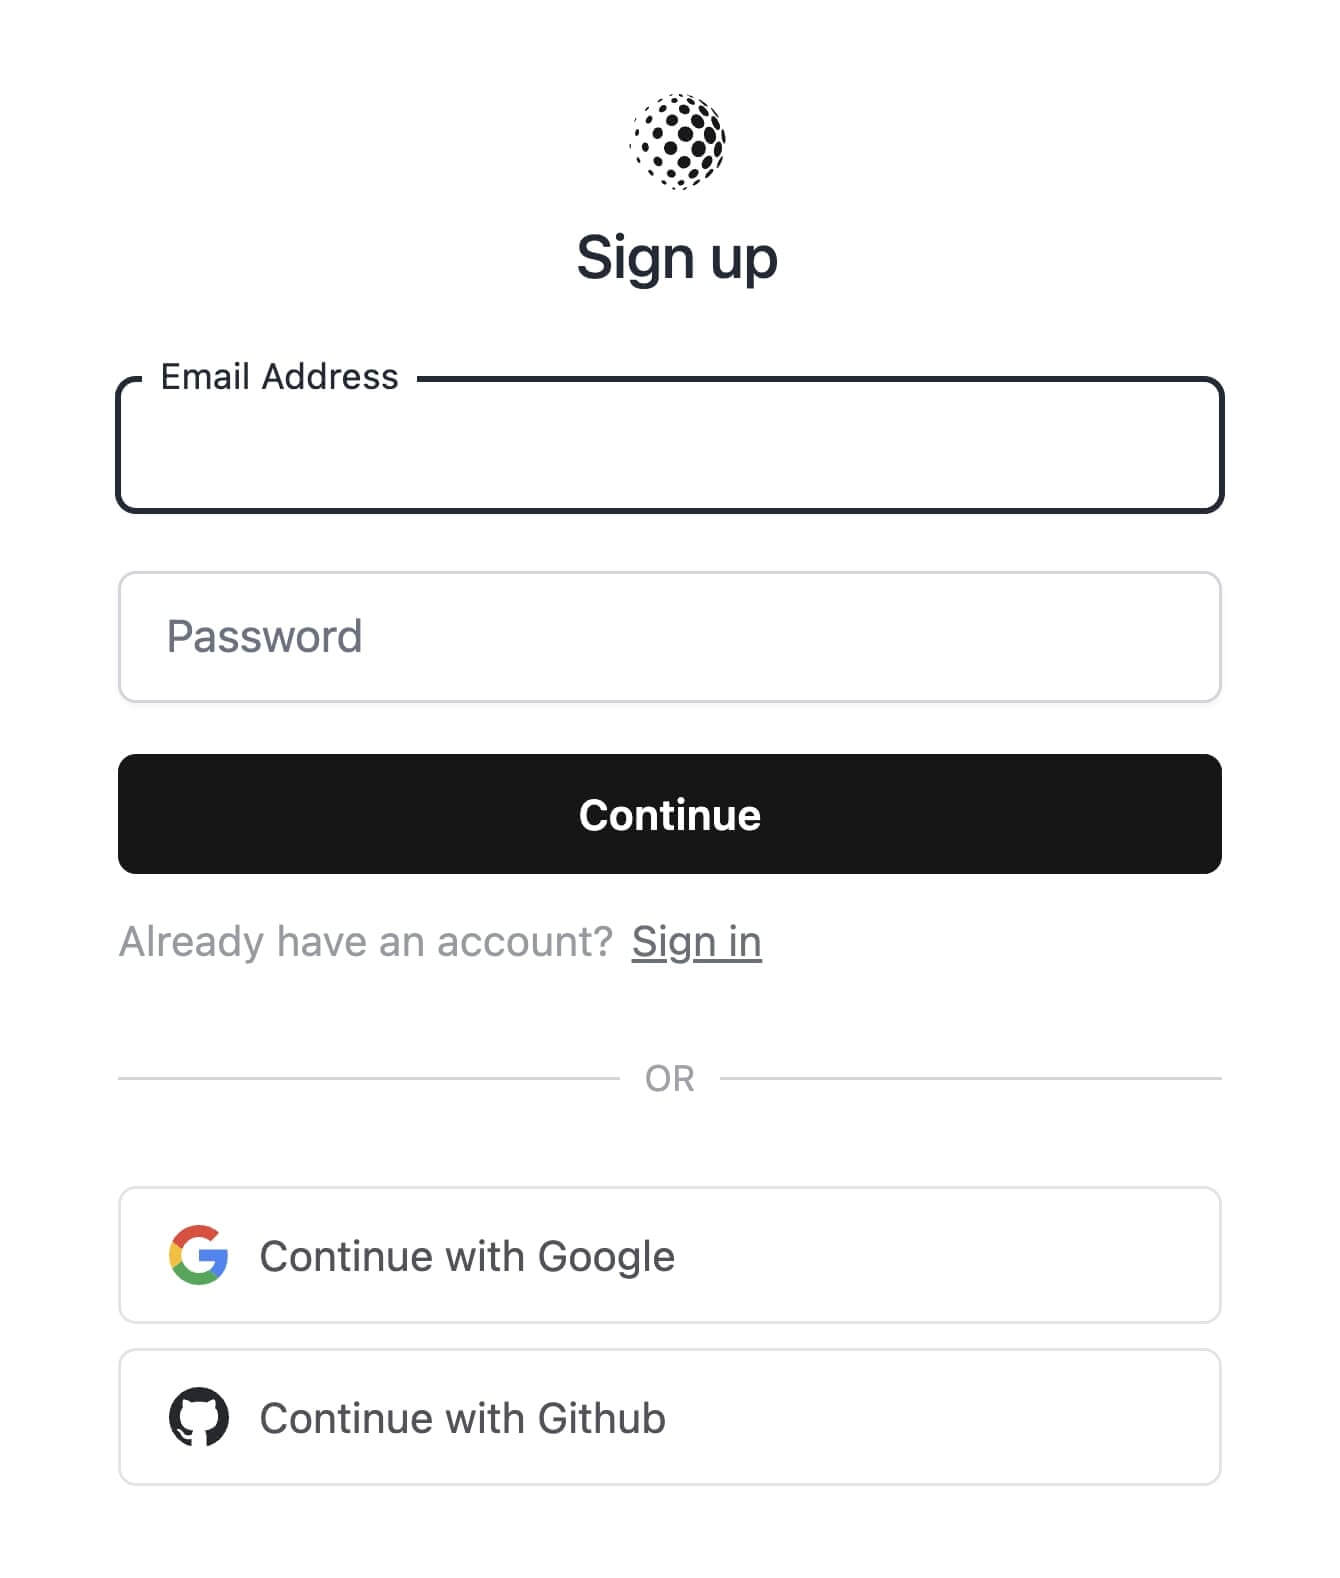
The registration page is where a user can sign up for a new account. Additionally, you can require users to provide their full name and allow them to register from any Social Provider.
Verify Email
The email verification page. Visit this page at /auth/verify.
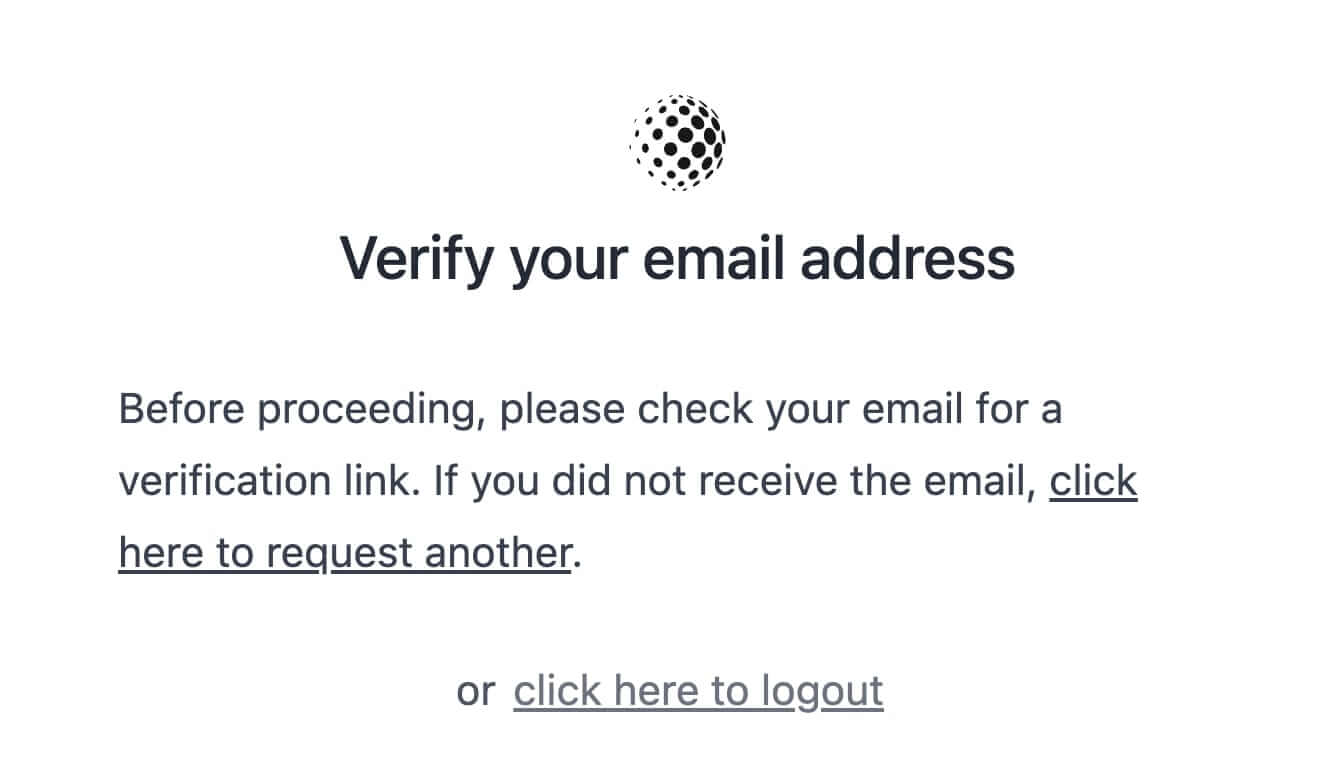
By default users are not required to verify their email. Toggle the Registration Require Email Verification option in the settings to show this screen after account creation.
Password Confirmation
The password confirmation page. Visit this page at /auth/confirm.
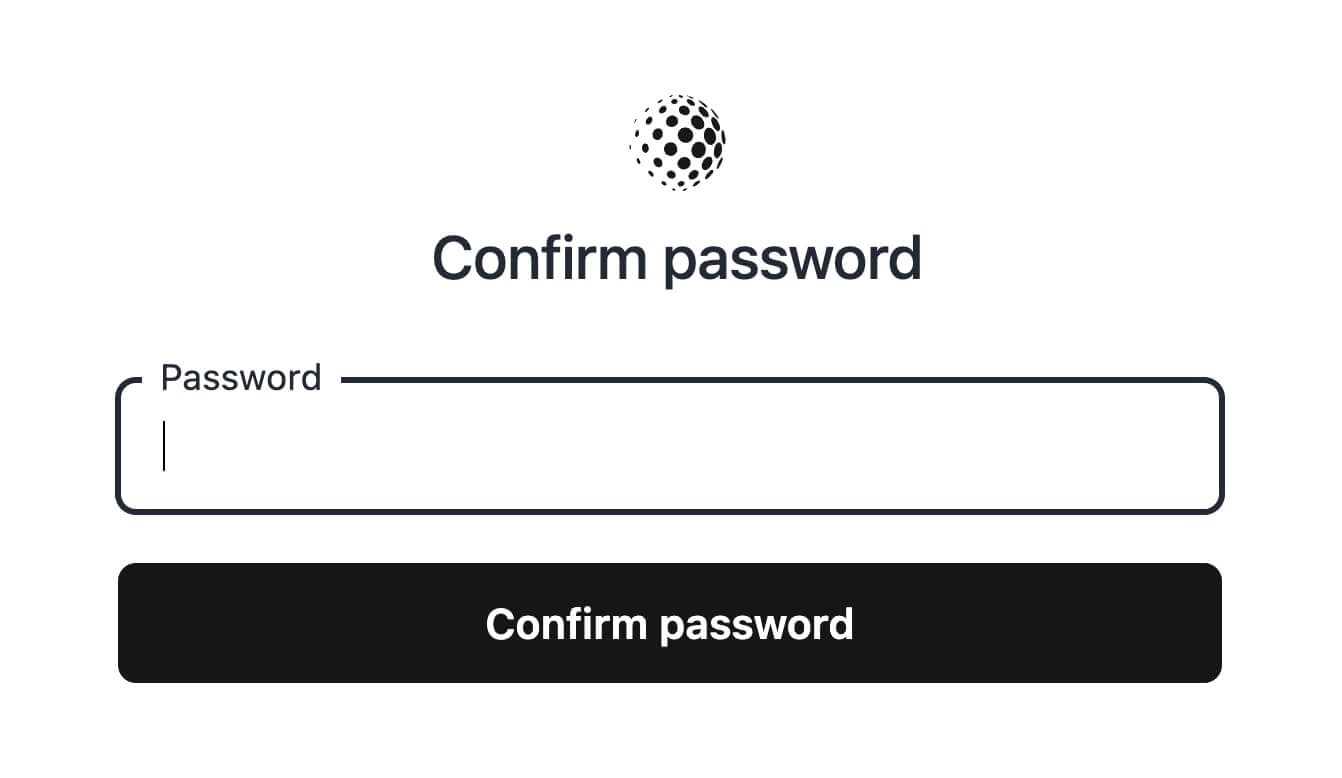
Add the password.confirm middleware to any page, and users will be required to confirm their password before gaining access to the page.
Password Reset Request
The password reset request page. Visit this page at /auth/password/reset.
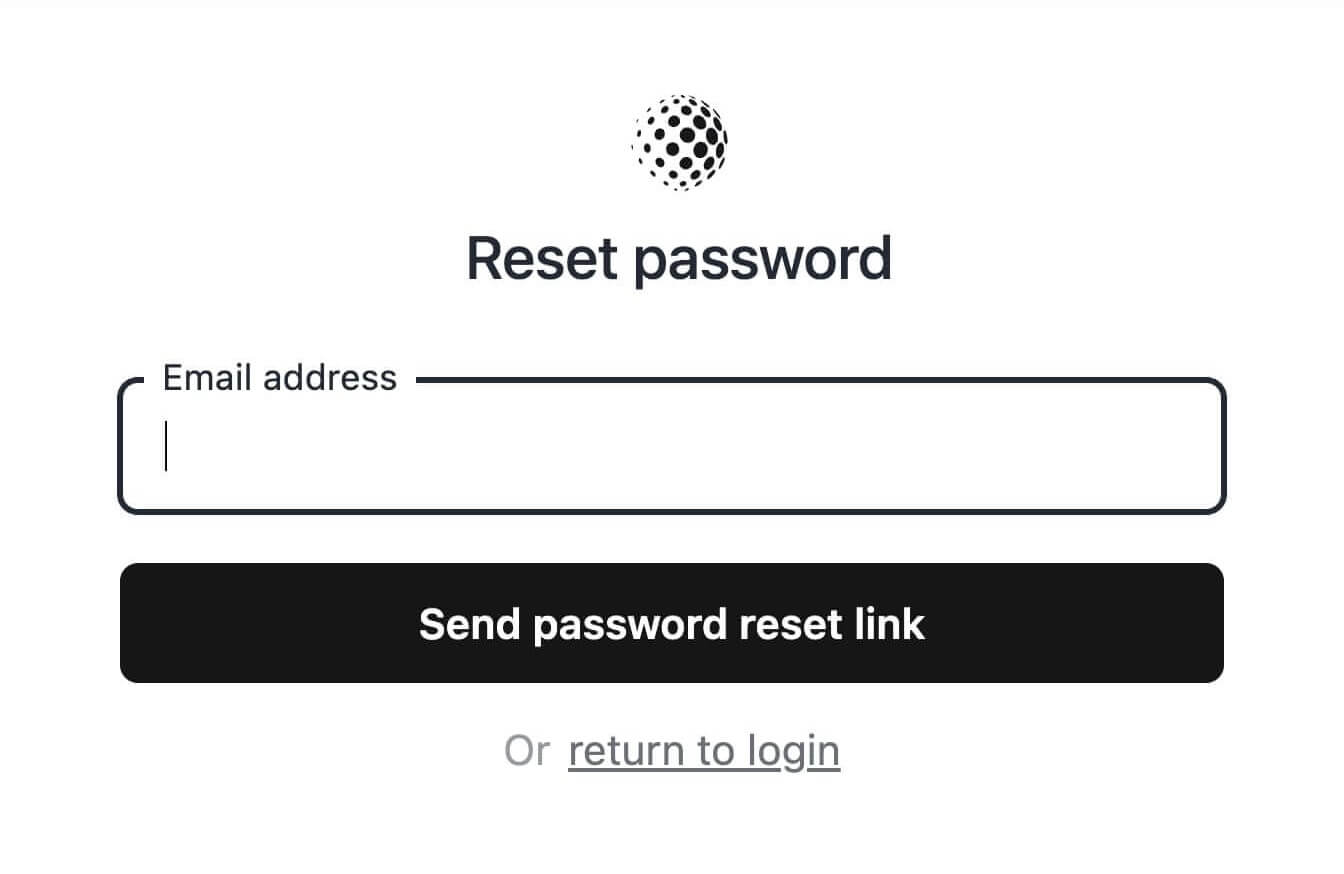
This page allows users to request the reset link that gets sent to their email.
Password Reset
The password reset page. Visit this page at /auth/password/ReAlLyLoNgToKeNhErE.
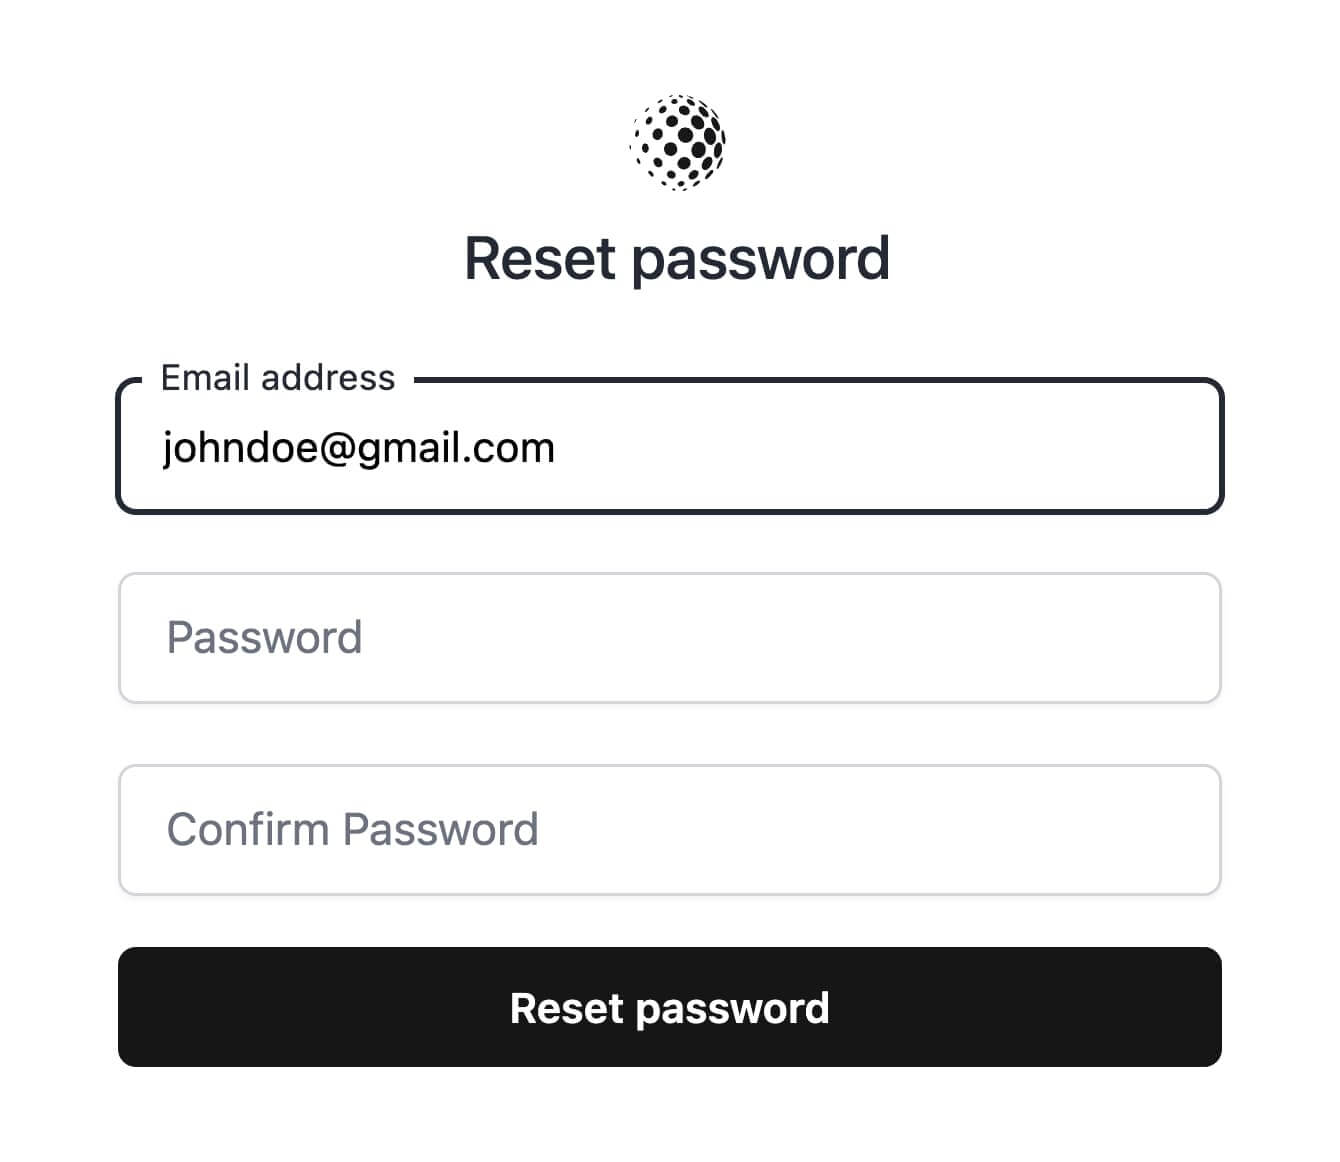
This is the actual password reset page. When the user clicks a link from their email to reset their password, this is the page they will see, allowing them to reset their password.
Two-Factor Challenge
The two-factor authentication challenge page. Visit this page at /auth/two-factor-challenge.
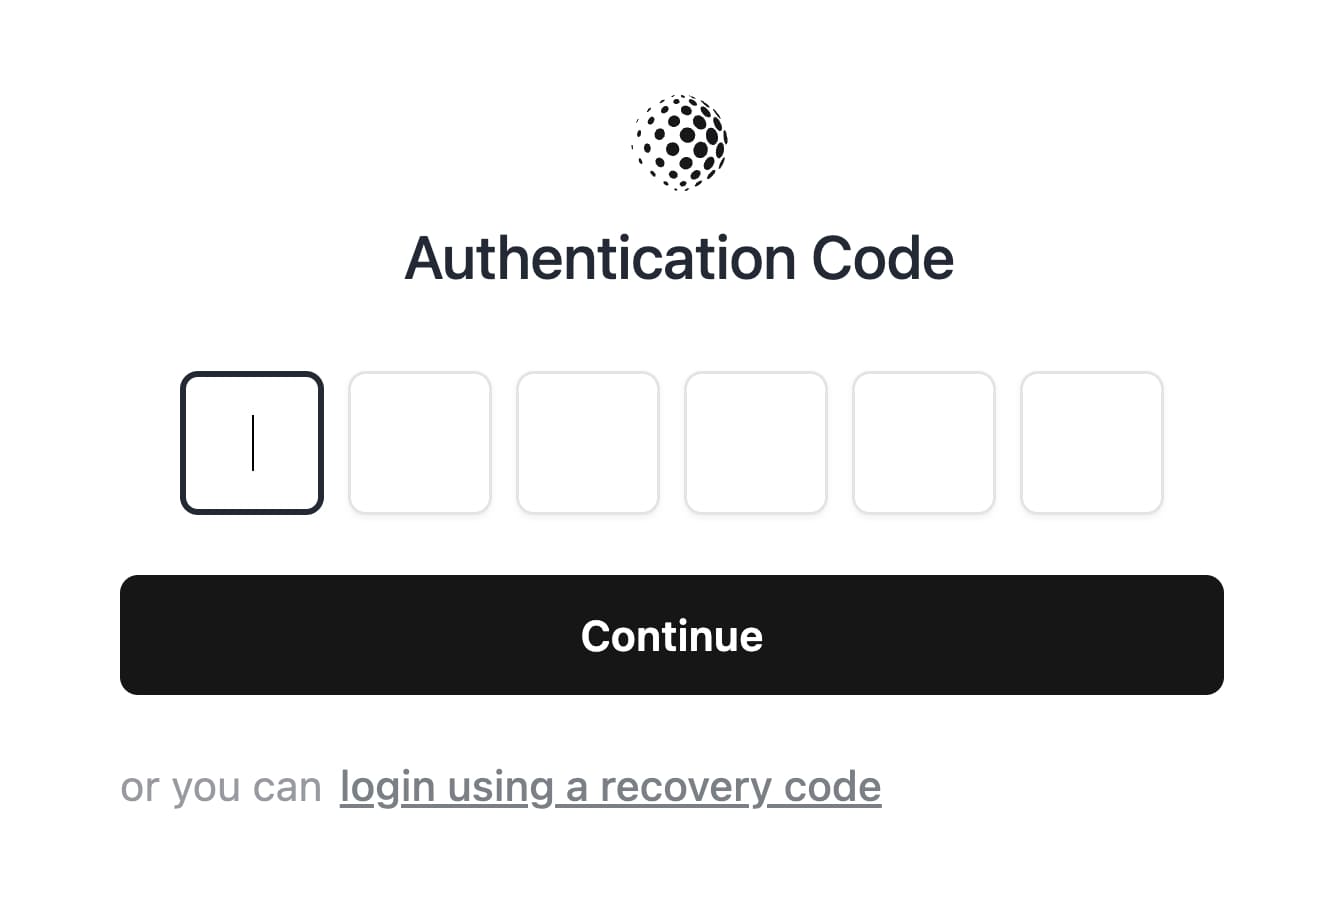
If you are using 2FA and the user has enabled 2FA for their account, this is the page they will see after attempting to log in. Learn more about Two-Factor Authentication here.
When using 2FA you need to have the Imagick extension installed to generate the QR code image. You'll also need to install the PHP extension via
composer require ext-imagick.
Two-Factor Setup
If you are not utilizing Jetstream, you'll want a way for users to enable two-factor authentication. You can do this by directing users to /user/two-factor-authentication, or you can iframe this page into your app.
Logout
You may also visit the /auth/logout route to log out and clear the user session.
Next, let's dive into the customizations you can implement in your authentication pages.