Installation
You can install MarkdownX in a new Tallstack application or an existing Tallstack application. If you would prefer to watch a video instead, you can watch it here 🍿.
Depending on the version of Livewire you are using, you will need to download the appropriate version of MarkdownX.
Installation is easy as 1, 2, 3. Because that's the number of files you need to copy into your project to get it installed. Here are those files as you will find them in the download.
- Controller:
- For Livewire v2:
app/Http/Livewire/MarkdownX.php - For Livewire v3:
app/Livewire/MarkdownX.php
- For Livewire v2:
- View -
resources/views/livewire/markdown-x.blade.php - Config -
config/markdownx.php
We will go into depth with each of these files later in the documentation.
All you need to do is move them over to their respective position in your Laravel application. After moving the files over to your application, you will need to make sure that Livewire has discovered the new MarkdownX component by running the following artisan command:
php artisan livewire:discover
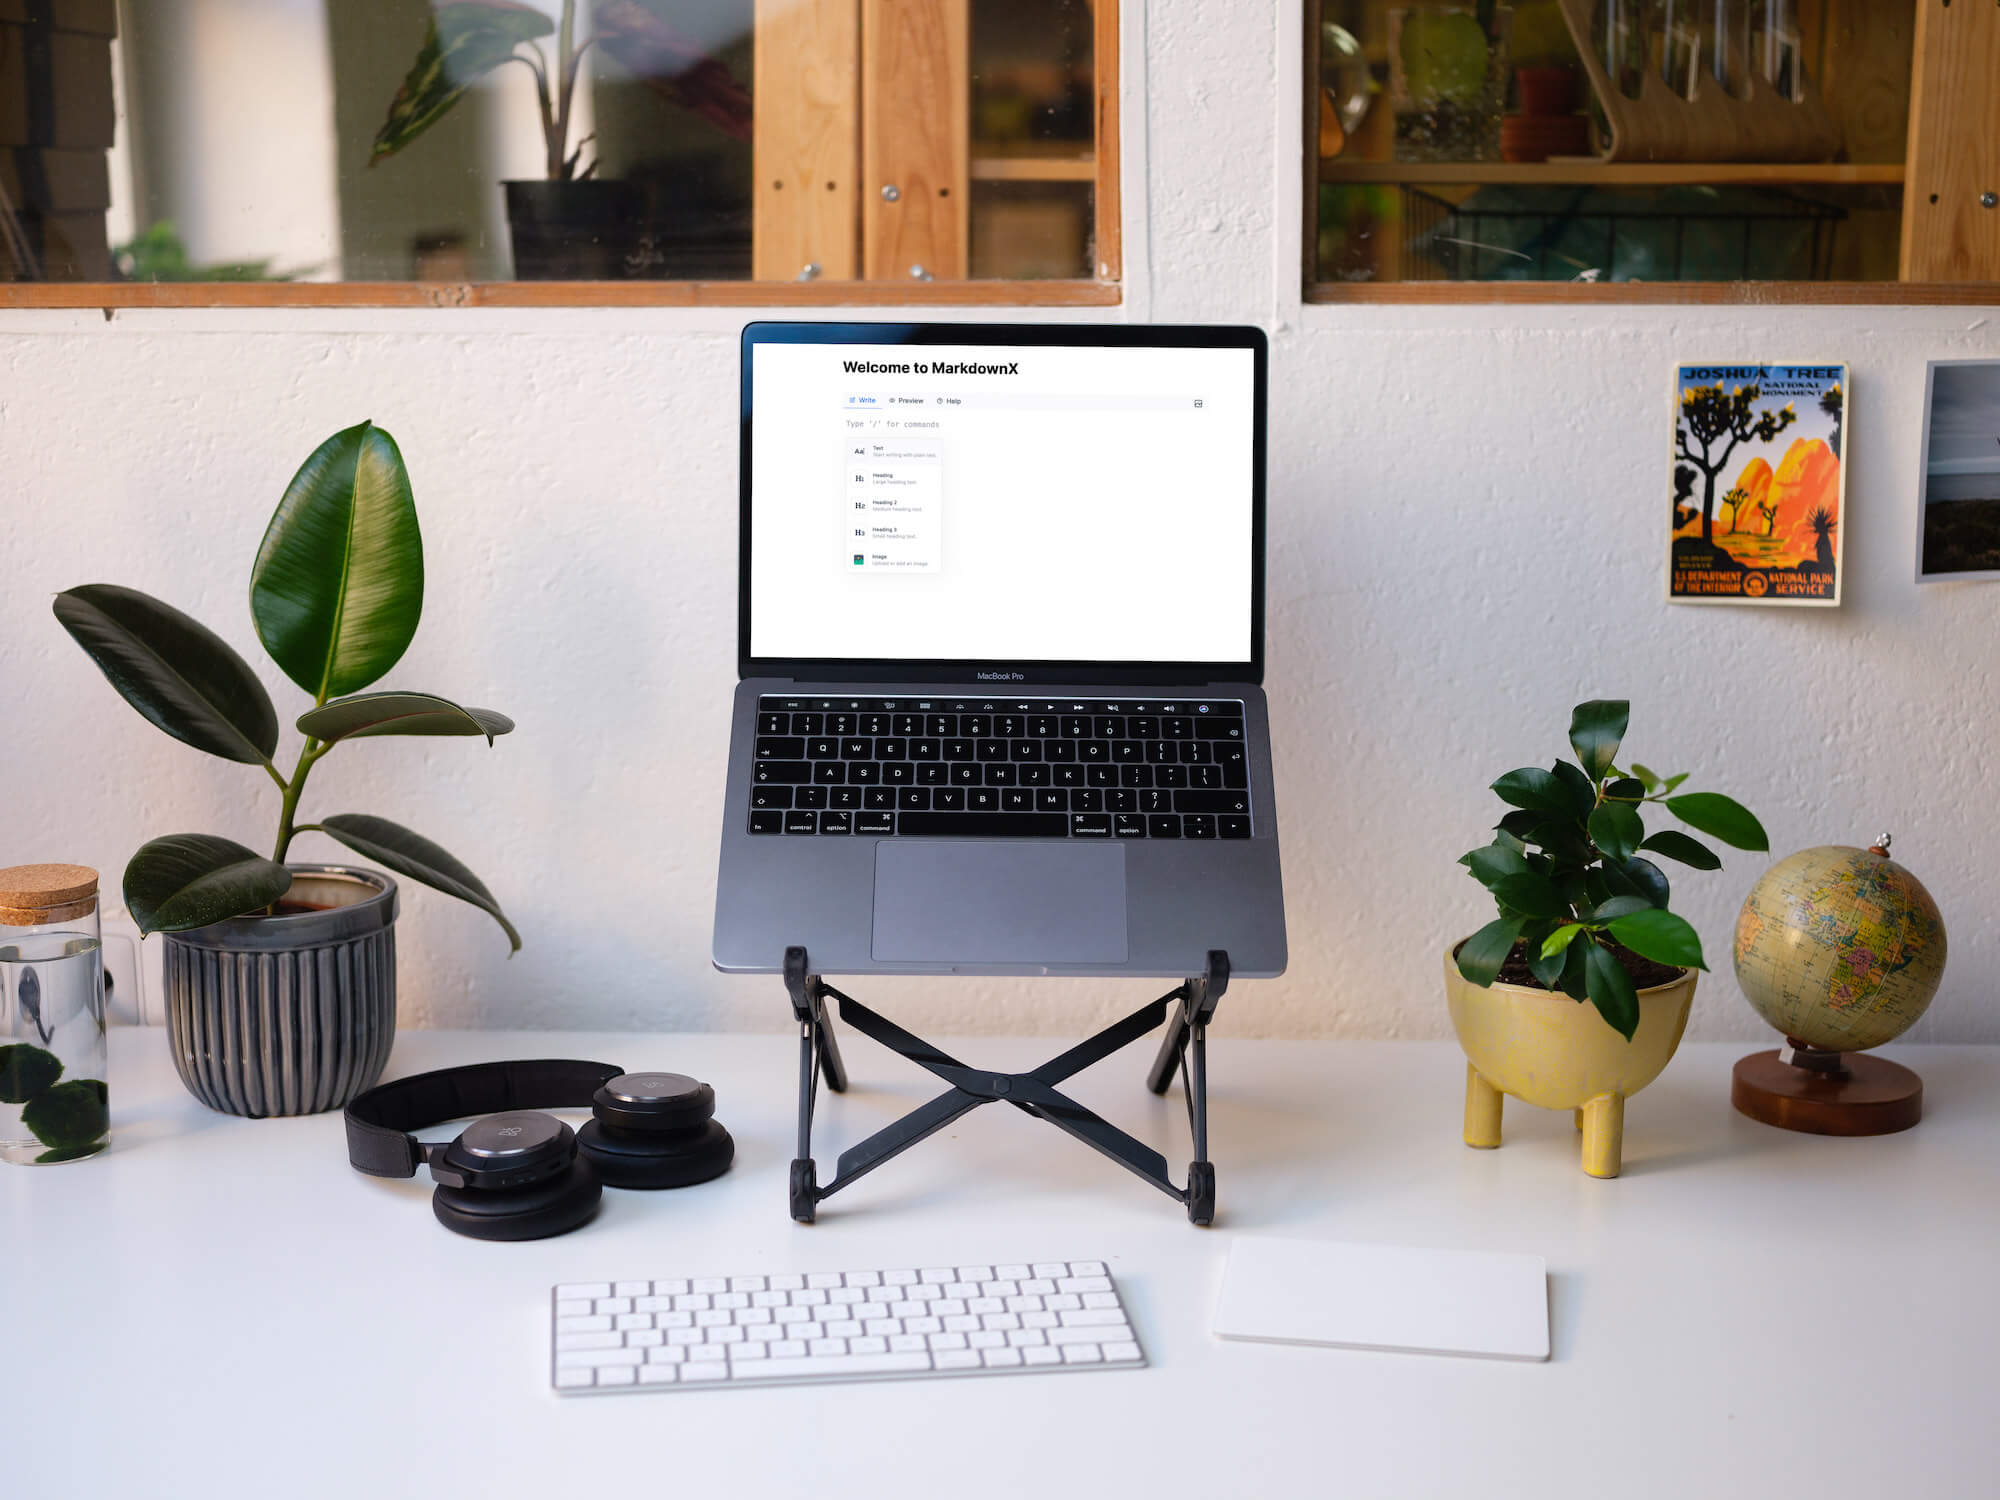
Boom 💥. We've just installed the MarkdownX component in your project. You can now use the livewire component inside any of your views by referencing the Livewire component:
<livewire:markdown-x />
You may want to add a few styles around that component to position it correctly:
<div class="max-w-4xl mx-auto">
    <h1 class="py-10 text-4xl font-bold">Welcome to MarkdownX</h1>
    <livewire:markdown-x />
</div>
That's it. You are now using the MarkdownX editor in your project 👏. In the next section we'll cover a few things that you should know to get the best out of this editor.