
If you’ve been up-to-date with the latest PHP frameworks such as Laravel, Symfony, and Slim you may have heard of a new term called ‘Composer’. If you find yourself questioning what this new term means and why you may need to use it, then this article is for you. In this quick run-down we'll be talking about WHY you would want to use Composer, WHAT is Composer, and finally HOW you can easily use it in your PHP applications.
WHY USE COMPOSER?
If you’ve been involved in PHP for sometime you may have found yourself re-creating the same type of functionality over and over again such as User Authentication, Application Routing, Database Management, and multiple Helper Classes and Functions. Well, wouldn’t it be nice to create this functionality once and re-use it in multiple projects?
Yeah, you’re probably saying to yourself “I can re-use some of my old code just by copying over a file or copying over some lines of code", but what if your environment changes or your codebase is drastically different? You may have to rewrite that class or make modifications to make it fit with your new app. If you had a better way of managing all of your code or dependencies, some kind of dependency manager, then re-using your code on new projects would be so much easier.
Thankfully, that’s exactly what Composer is here to do.
WHAT IS COMPOSER?
Composer is a dependency manager for PHP. Composer will allow you to manage your libraries, classes, and functions throughout your applications. These libraries and classes that you create for Composer are referred to as Packages.
You can find a ton of Composer packages readily available to use at: https://packagist.org/
HOW TO USE COMPOSER
In terminal or your command prompt, enter in the following command to install Composer:
$ curl -s https://getcomposer.org/installer | php
$ sudo mv composer.phar /usr/local/bin/composer
The first line above will install Composer and then it will move it to a folder so it is globally available. Next, we'll want to make sure it installed successfully. So, we'll type:
$ composerIf Composer installed successfully, you will see a list of Composer commands displayed in the output.
 View Website
 View Website
 View Website
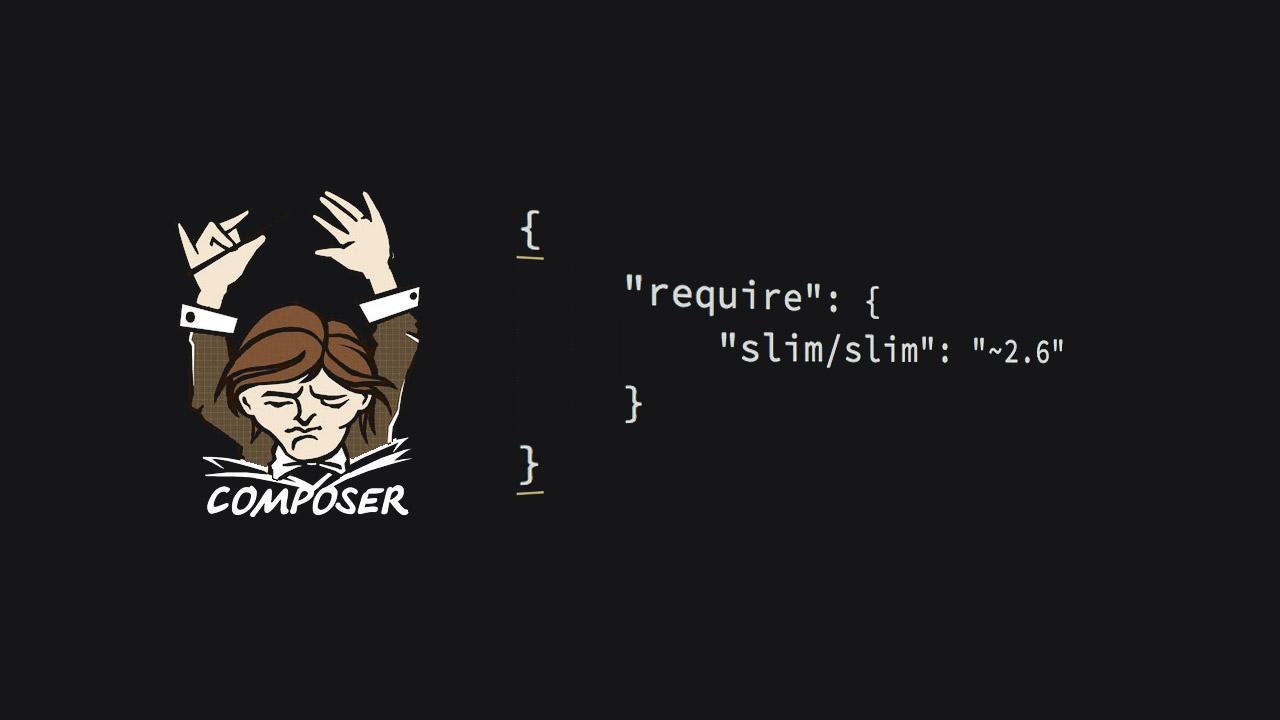
Next we’ll want to create a new folder for our application and add a new file to that folder called ‘composer.json’ with the following content:
{
    "require": {
        "slim/slim": "~2.6"
    }
}
Above we’re describing to Composer what we want to require in our app. And in this case we are going to include the Slim PHP framework version 2.6.
Then, we’ll need to run Composer. Go to that folder in your terminal or shell command and run:
$ composer installAfter that has successfully run and downloaded Slim, you’ll see a new folder called ‘vendor’ in your app folder. This is where all of Composer packages will be installed. Then, Composer creates an autoload file that you can include in your project that will include all the dependencies in your app. So go ahead and create a new file called index.php in your app folder and add the following contents:
<?php
require 'vendor/autoload.php';
And just like that you’ve included all those Composer dependencies and you can use them anywhere in your app. We can easily use the Slim framework by adding the following to our index.php.
<?php

require 'vendor/autoload.php';

$app = new \Slim\Slim();

$app->get('/hello/:name', function ($name) {
    echo "Hello, $name";
});

$app->run();
Thanks to Composer you can now “package” your libraries and share them very easily. There are already a ton of packages available at https://packagist.org/ that you can use in your own projects, and if you’re not leveraging Composer in your PHP apps, you’ll definitely want to start.
If you want to learn more about Composer head over to their documentation page.
Comments (0)