
Forge is a server management tool brought to you by the Laravel team. You can think of Forge as a GUI or interface for easily maintaining your servers.
Using Forge you can easily connect to your application server using many different hosting providers. In this example, we'll be using Digital Ocean as our hosting provider. Let's jump into it.
How to use Forge
Using Forge is very simple. We will go into more depth on using forge in this tutorial; however, here is a basic overview of how you use forge:
- Link your cloud provider (Digital Ocean in this case)
- Create a server
- Create a site (a default site is already provided per server)
- Link site to a GitHub repo
- Deploy!
Why use Forge?
There are so many reasons that you may want to use forge including domain configuration, auto-deploy, and reusable bash scripts. Each server that is configured with Forge comes with:
- Ubuntu 20.04
- PHP 7.4
- Nginx
- MySQL 5.7
Easily Configure Domains - Forge allows you to easily configure domains and subdomains on the fly. It will configure the domain in Nginx, map it to the appropriate directory, and get a site up and running.
Auto-Deploy - You can also deploy sites from any GitHub repo. This makes life much easier as a developer. By default, sites are manually deployed so you will have to click deploy to get the latest code on your server; however, you can optionally set any repo to auto-deploy. Setting up auto-deploy will deploy the latest code to your server whenever you push code to a specific branch in your repository.
Reusable Bash Scripts - When creating multiple servers, there are often many things that we must do for our specific environment. Forge lets users save those steps and reuse them across servers.
So Much More - Developing Laravel applications becomes much easier when you know that the deployment will match everything that your Laravel app needs. This includes things like cron jobs, server analytics, and more.
Now that we have talked about some of the benefits of using Forge, let's look at how we can deploy a Laravel application. For our purposes, we'll just be deploying the default Laravel install that comes out of the box.
 View Website
 View Website
 View Website
Deploying a Laravel App on Digital Ocean
After creating a Forge account, you'll want to get your account all set up by going into your settings.
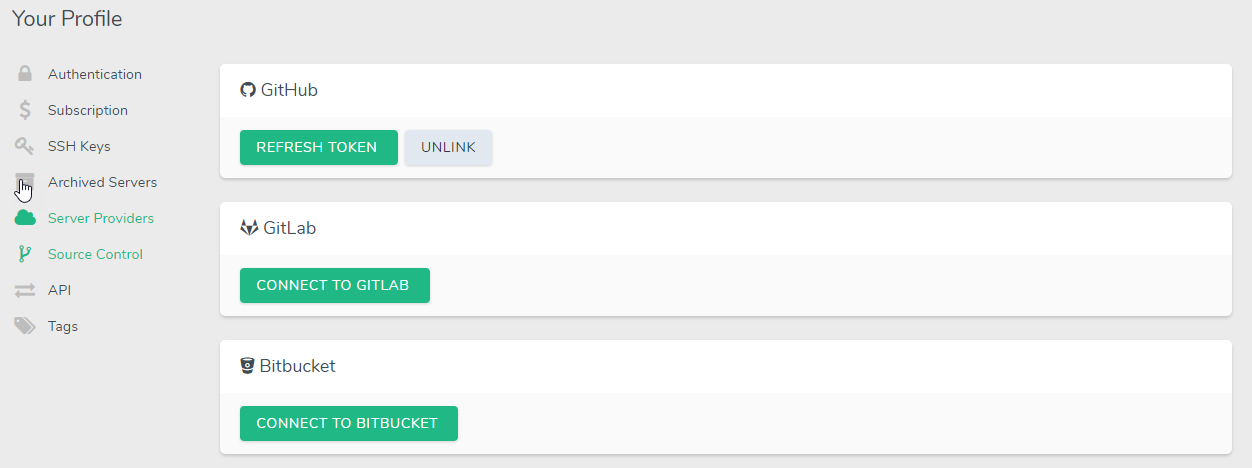
Link to GitHub or Bitbucket
If you want to deploy from either of these services, you'll need to link them to your Forge account. Go ahead and go through that process and you'll see both are linked and ready to go.
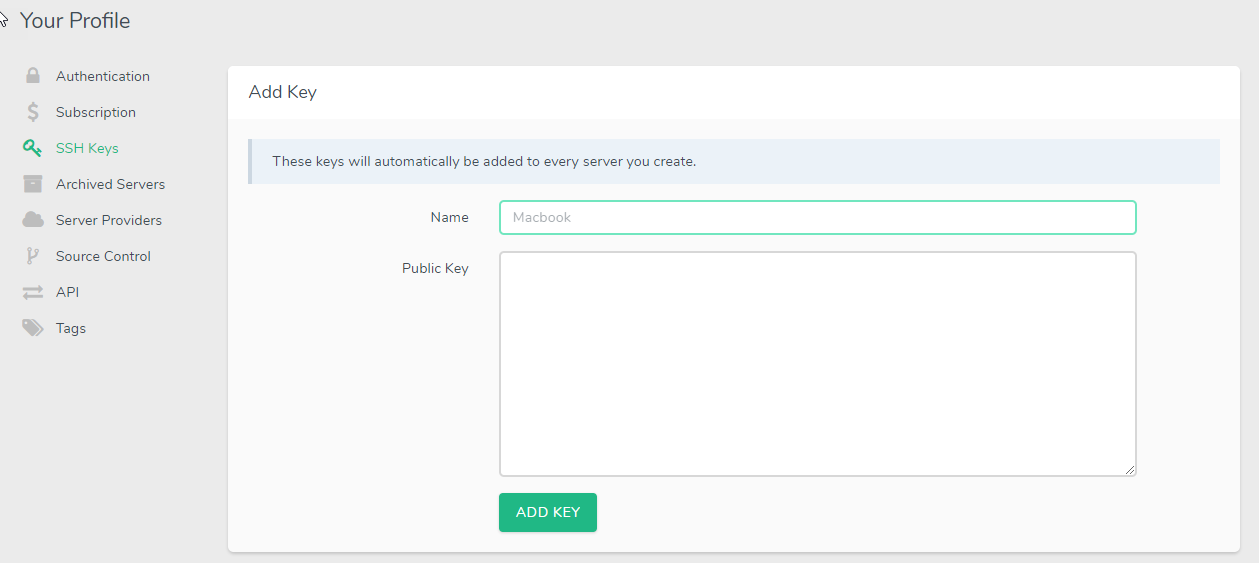
Add SSH Keys
The next simple step is to add your SSH keys in your settings. These SSH keys will be added to every server that Forge creates so that you can SSH into your server. Password authentication into a server is disabled by default and leads to a more secure server.
That's it for setting up what we'll need. The next step is creating servers and sites!
Creating Our Server
Let's move on to what Forge does best. Creating servers for us. Go back to the Dashboard and you'll see the interface to create servers.
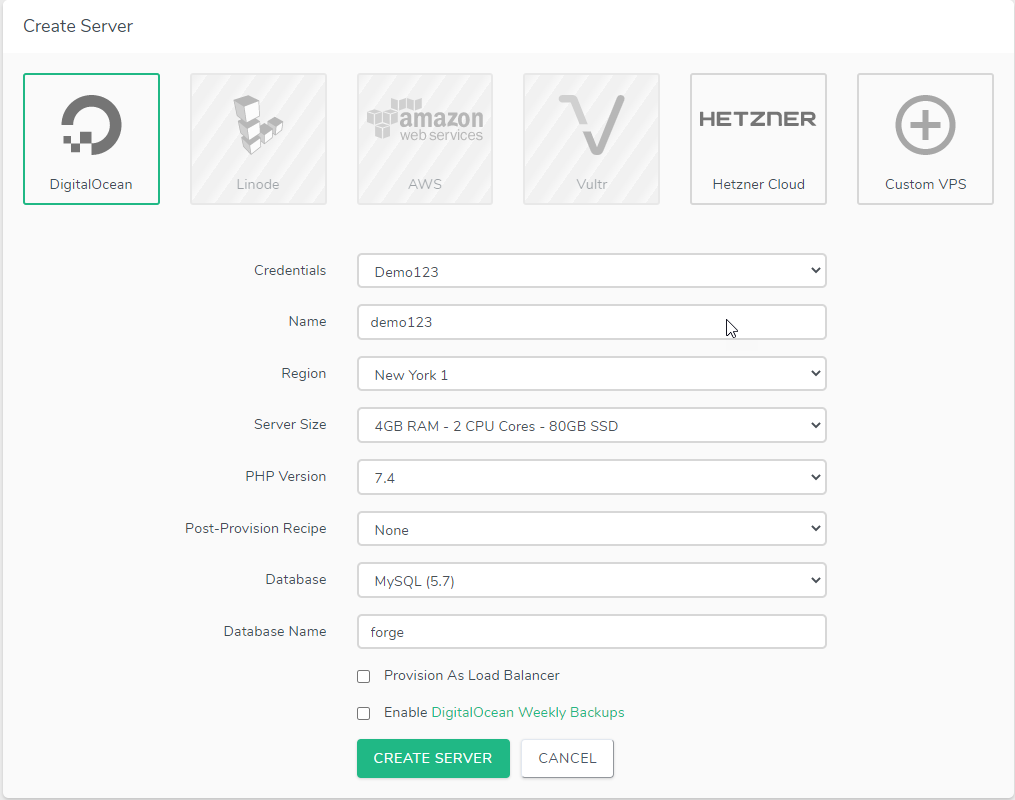
This is very straightforward, which is one of the reasons Forge is so great at its job.
Credentials - This will be any cloud provider that is supported in this situation the Demo123 account is from DigitalOcean
Name - This section is reserved for setting up the server name. It can be any name that you desire.
Server Size - The size of the server that you would like to create.
Region - Wherever you want your server to be located.
Database Name - If your application needs a database, then you can name it here. By default, it will be forge.
Once you have the configuration you like, go ahead, and click Create Server.

You will see that Forge is going through the steps of creating a server, configuring it and getting it ready based on the settings we just added.
Once our new server is ready to go, we can see that the server is active and successful.

Server Management Dashboard
Once we have our server ready to go, we can click Manage to start managing this specific server. From here, you can manage multiple things like:
- Sites
- SSH Keys
- Scheduler and cron jobs
- Daemons
- Networking
- Other meta settings
You can already see that Forge provides a lot of tools to help us manage our servers. For those who are not inclined to SSH into their servers and configure everything there, Forge has a good set of tools to get things done.
Server Tools
In addition to the main server configuration buttons, you also can manage a server at the bottom of the server dashboard.
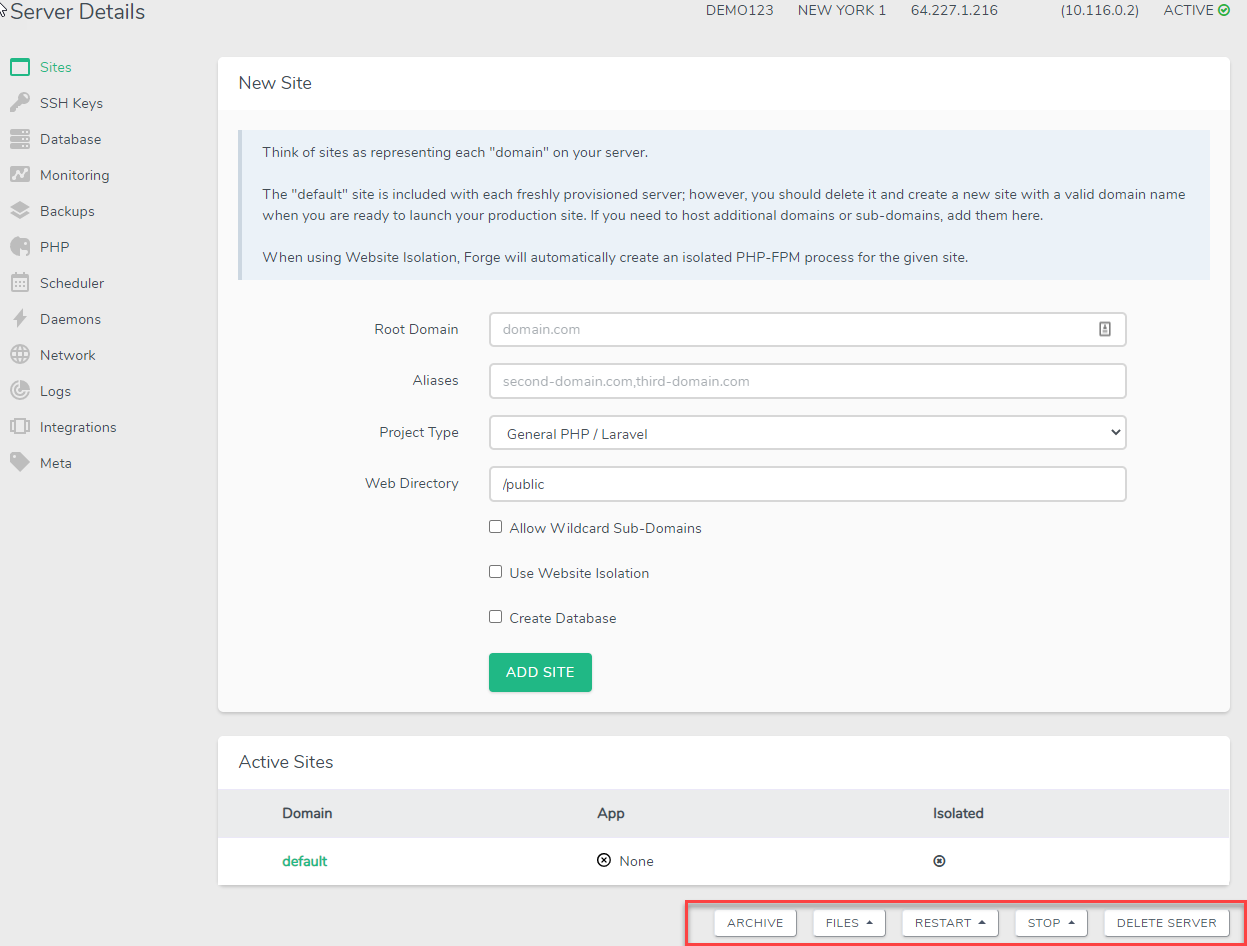
From the management tools at the bottom, you have several options to manage your server including the ability to:
- Archive the server for use later
- Edit config files (PHP FPM and PHP CLI)
- Restart services: (Server Nginx MySQL PHP)
- Stop services: (Nginx MySQL)
- Delete the server
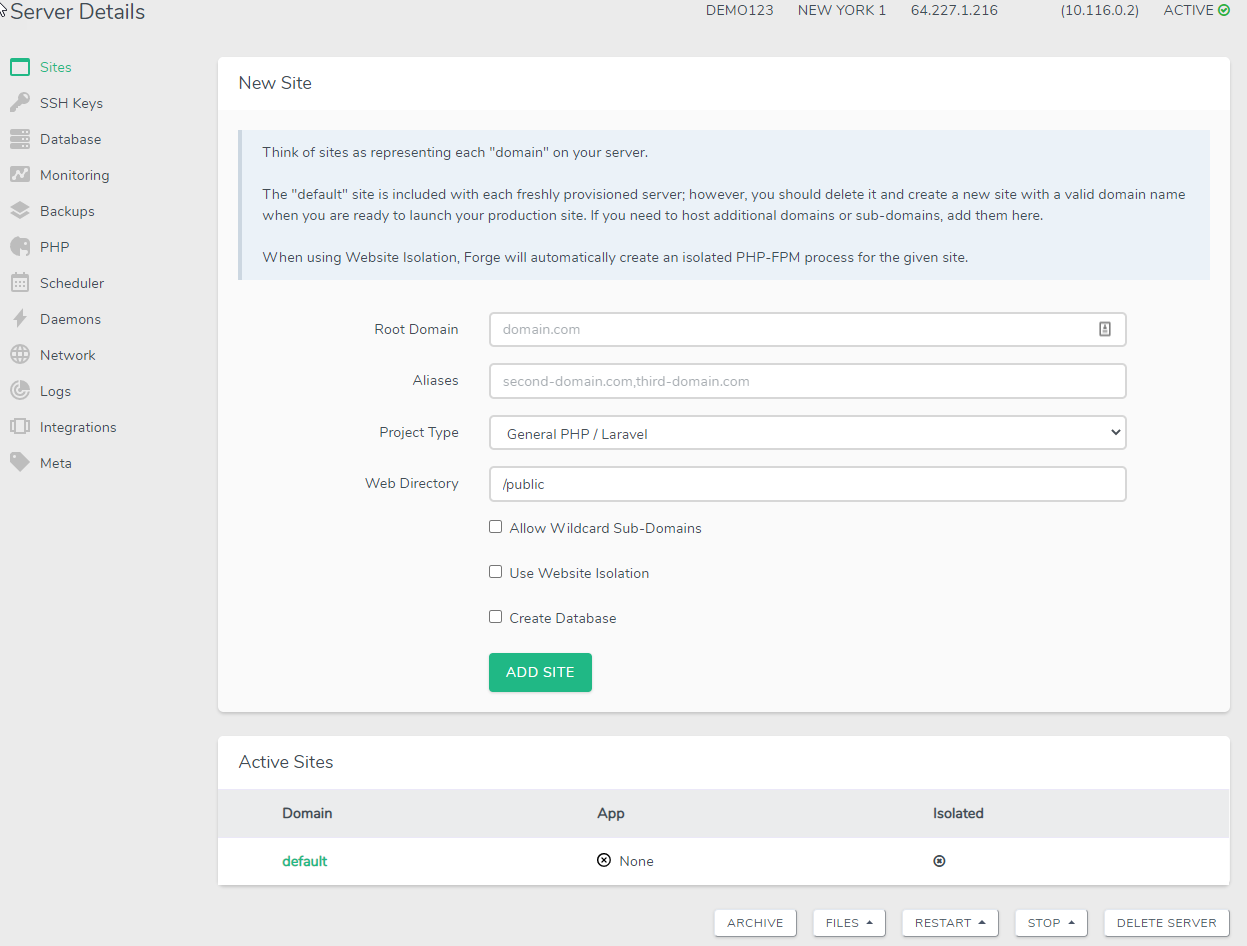
Site Management
Sites are going to be how we configure our applications. Forge and Nginx already have a default site configured. This will be the main site for this server. If you need more sites, feel free to delete this one and create new ones.
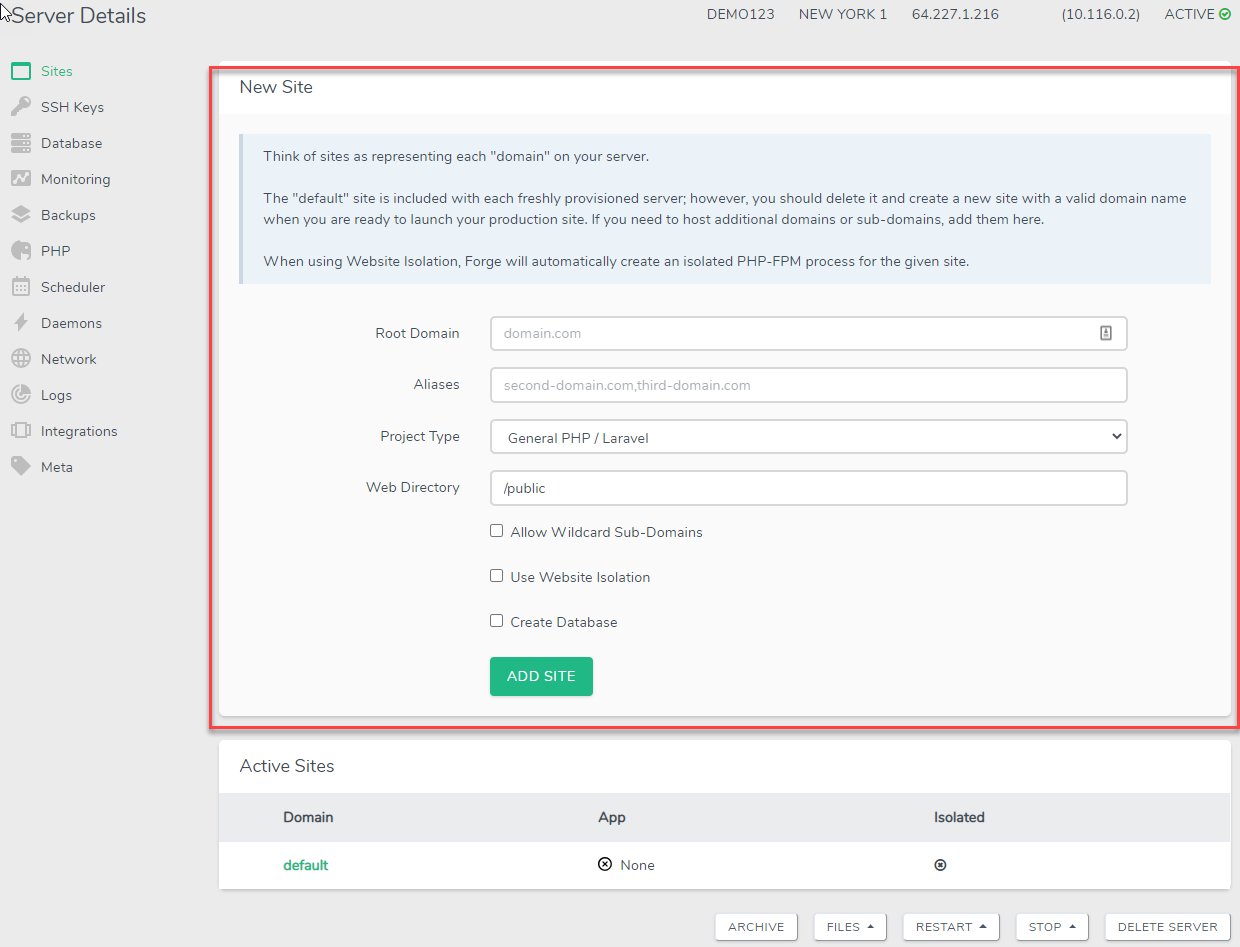
Notice that the directory for this default site is /public. This is how Laravel needs to be installed. Be sure to keep this in mind when deploying applications other than Laravel. This will tell Nginx where to look for your application.
To start managing a site, click the domain name. This now brings us to the site management area, which looks like this:
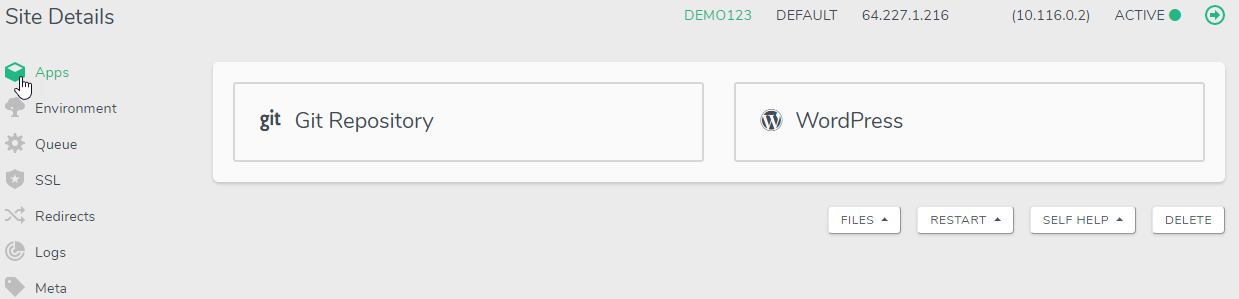
From this site dashboard, we have the ability to:
- Link to a git repo
- Create environment variables
- Create queue workers
- Manage SSL certificates
- Redirects
- Logs
- Meta
Let us add our Laravel install to the default site.
Deploying from GitHub
For simplicities sake, we'll use the GitHub Laravel repo and fork it into our account.
Once we have our repository, we can move forward and configure it with Forge. Next, all we need to do is fill out the form with our repo and we are good to go!
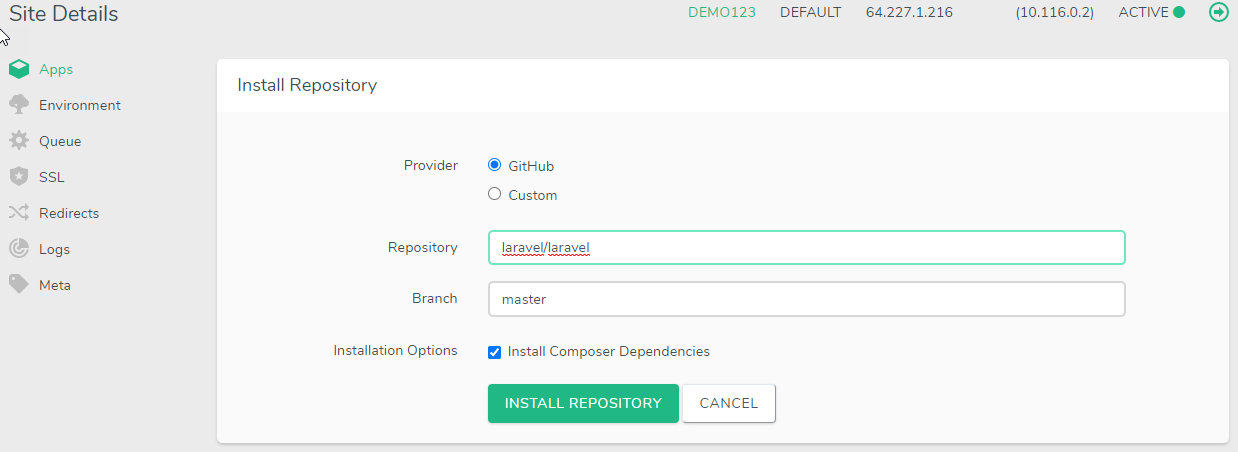
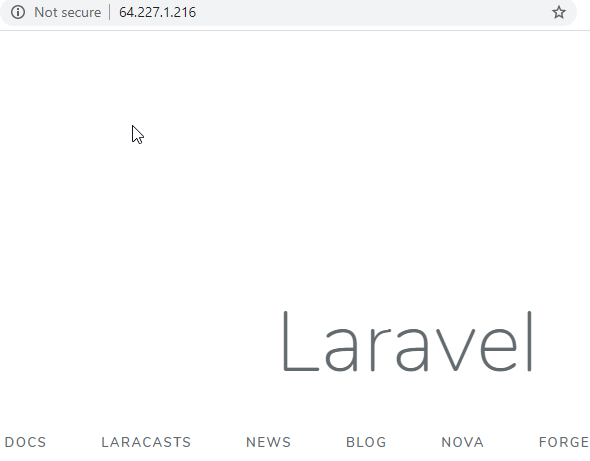
After everything is configured, our new application will be live and ready for the world to see. It's as simple as that!
After your site has been configured you'll now have a few more options in your Site Details section.
A few of those options include Enabling Auto-Deploy, Adjusting the Deploy Script, and a few others. Here are some of the important options you may want to look into.
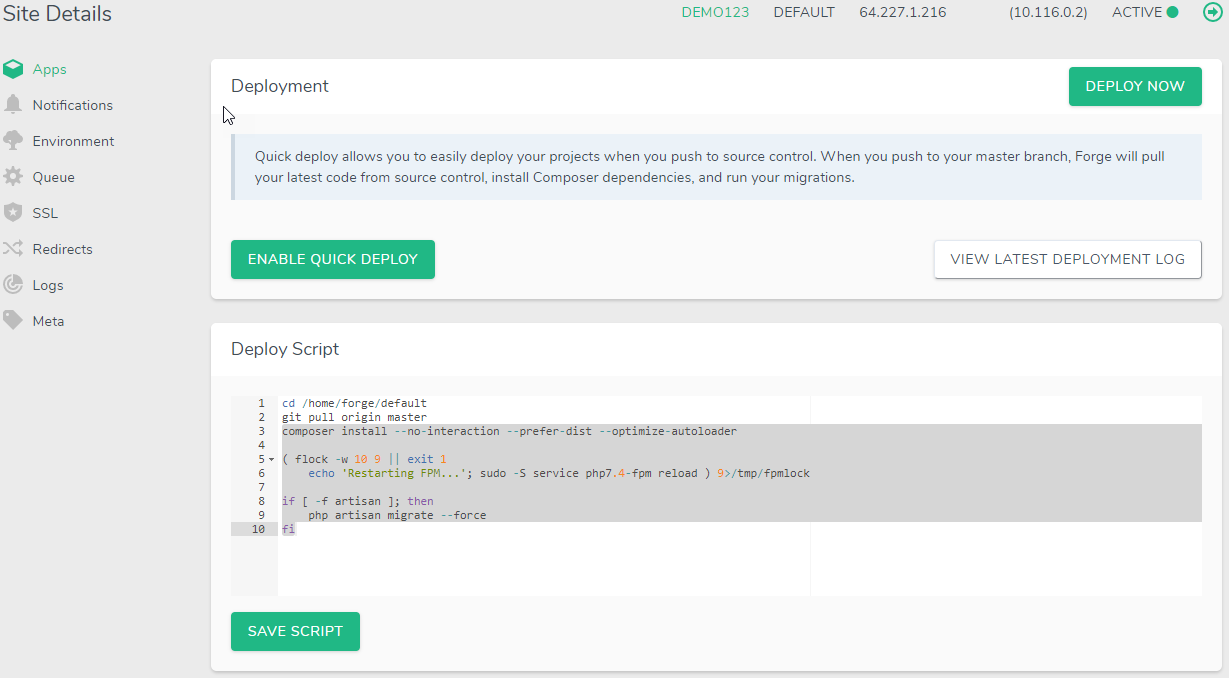
Enable Auto-Deploy
If you want your application to be deployed every time a push is made to that repo and branch, then just click Enable Quick Deploy.
Adjusting the Deploy Script
Forge will handle the git pull, composer install, and php artisan migrate for you every time the site is deployed. If you want to change how this works, click Edit Deploy Script. By default, the deploy script looks like:
Edit that script however you want your application to work. In addition to these deployment settings, you can also include third-party packages to be installed or configured.
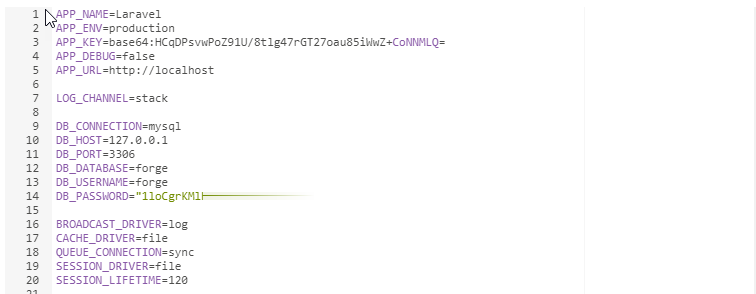
Environment Variables
Forge gives us the ability to edit and add environment variables. These environment variables will be used by our application. For instance, in a Laravel application under config/database.php, the following variables are used when connecting to a database.
Conclusion
This is a basic overview of how Laravel Forge works and how you can use Laravel Forge to deploy your Laravel Applications.
Using Forge makes managing your servers easy and enjoyable. Hosting your Laravel app is easier than ever before and with all the cool tools you can leverage just makes it a playground for configuring and deploying your application.
Comments (0)