

In our previous tutorials, we learned how to implement React table with multiple functionality using the react-table package. We also learned how to add modal to the React app using the react-modal package. Now, we are going to combine what we learned in those tutorials and apply it in this tutorial. We are going to display the details of the product information on the table in the modal when we click on a button in the table. We used the Fakestore API to fetch the data for our table. In this tutorial, we are going to make use of another Fakestore API to fetch the detailed information of the single product using its id from the table. Hence, the detailed information of the single product will be shown on the modal.
So, let's get started!
Integrating React Modal
In App.js, we need to import the Modal component from the react-modal package and also set the state that will handle the opening and closing of modal using the useState hook as shown in the code snippet below:
import Modal from "react-modal";
export default function App() {
  const [product, setProduct] = useState([]);
  const [modalIsOpen, setIsOpen] = useState(false);
Here, we have also defined another state that will store the information of single product once fetched from the Fakestore API.
Fetching product data
Now, we are going to create create a function that will fetch the single product information from the Fakestore API using the product id from the table. The function takes in the product id as a parameter which is used during making API call. The response from the Fakestore server is stored in the product state. The function also triggers the opening of the modal before fetching the API. The overall implementation is provided in the code snippet below:
function ViewProduct(id) {
    setIsOpen(true);
    fetch("https://fakestoreapi.com/products/"+id)
    .then((res) => res.json())
    .then((json) => setProduct(json));
    console.log(product)
  }
  function closeProductModal() {
    setIsOpen(false);
  }
The closeProductModal function handle closing of modal by setting the modalIsOpen state to false.
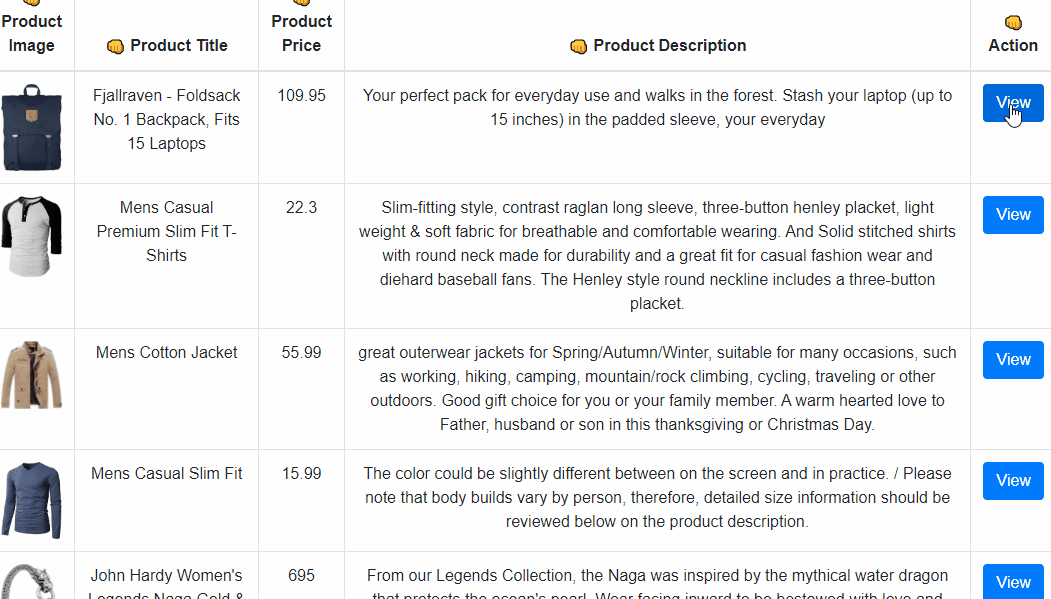
Add view button to table
In this step, we are going to add another column to the table that displays a button. The onClick event on the button will trigger the ViewProduct function with product id as a parameter. The overall implementation is provided in the code snippet below:
{
        Header: "Product Price",
        accessor: "price"
      },
      {
        Header: "Product Description",
        accessor: "description"
      },
      {
          Header: 'Action',
          accessor: 'id',
          Cell: ({ cell: { value } }) => {
              // alert(id)
              return <>
                  <a type="button" class="btn btn-primary" onClick={() => ViewProduct(value)}>
                      View
              </a></>
          }
      },
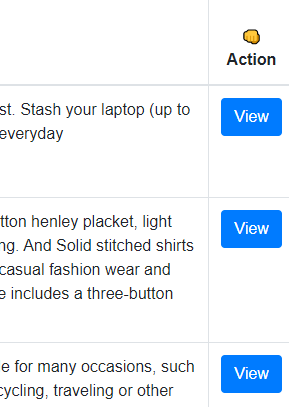
Hence, we will get the result as shown in the screenshot below:
 View Website
 View Website
 View Website
Add product information to modal
Now, we are going to use the Modal component in the render template of App.js file. The Modal component will hold the template for showing the product information. All the values stored in the product state once the ViewProduct function is triggered will be shown in the modal. The overall implementation is provided in the code snippet below:
return (
    <div className="App">
      <h1>Example of React table with FakeStore API</h1>
      <Modal
        isOpen={modalIsOpen}
        onRequestClose={closeProductModal}
        contentLabel="Example Modal"
      >
        <button  class="btn btn-danger" onClick={closeProductModal}>close</button>
         <div class="col-md-12">
         <div class="card flex-md-row mb-4 shadow-sm h-md-500">
            <div class="card-body d-flex flex-column align-items-start">
               <h6 class="mb-0">
                  <a class="text-dark" href="#">{product.title}</a>
               </h6>
               <div class="mb-1 text-muted small">{product.price} $</div>
               <p class="card-text mb-auto">{product.description}</p>

            </div>

         </div>

      </div>
      </Modal>
      <Table columns={columns} data={products} />
    </div>
  );
Hence, we will get the result as shown in the demo below:
Hence, we have successfully integrated modal along with React table in our React App.
Conclusion
The main objective of this tutorial was to demonstrate the use of Modal along with the table. It shows in which scenarios modals can be used. It prevents the navigation to another page to display the product details. We are also showing the product information on the same page where the table with product information exists. It stops the unnecessary navigation and webpage implementation. It also improves the overall performance of the app as there are no transitions taking place. Hence, this type of implementation of modal provides a great user experience and improves the usability of the overall web app.
Comments (0)