Step 1
Login into Ubuntu Desktop. Press Ctrl + Atl + T to open GNOME terminal. If for some reason the shortcut didn’t work, run the Terminal from the Ubuntu Dash.
Step 2
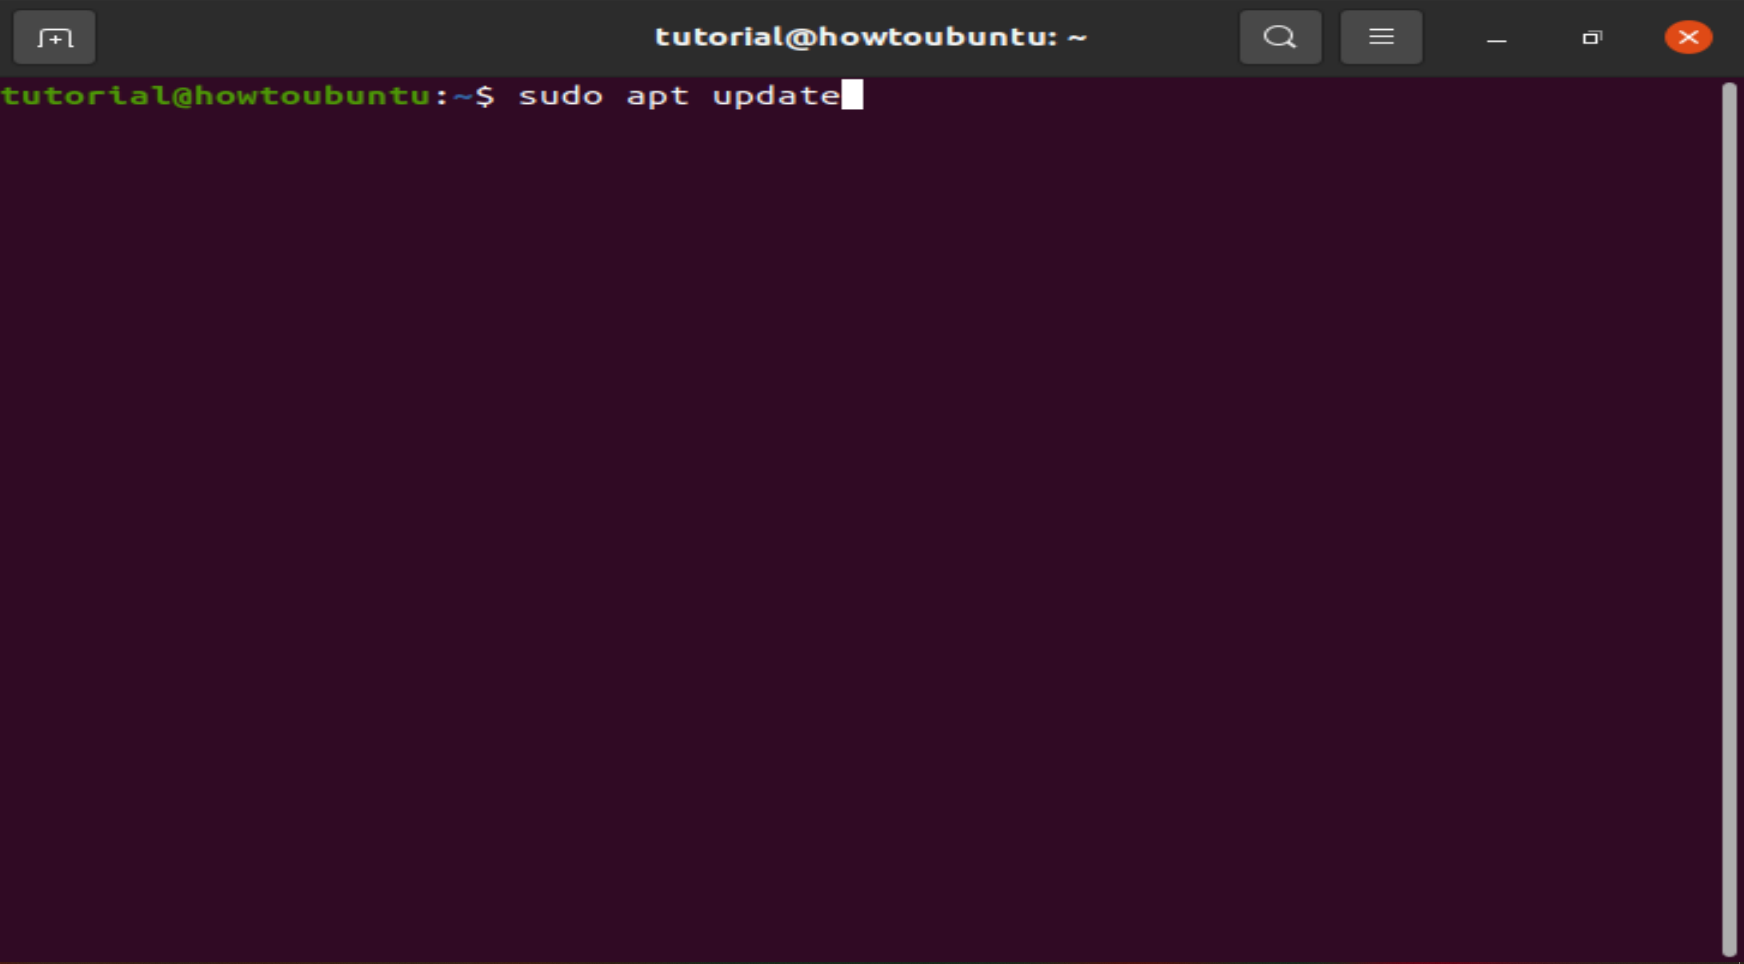
Run the following command in the terminal.
sudo apt update
 This command updates the Ubuntu package list with latest one. If this command is skipped, there is a good chance that Ubuntu might install older version of the softwares instead of the latest version due to the fact that it only had the older list with older version of softwares. So, whenever installing new software or intending to upgrade the software versions, it is a good idea to run this command first. The sudo prefix at the start of the command instructs the terminal to run the command as root since installing and upgrading softwares is a privilege operation and should not be performed by users which do not have sufficient access. Provide the user password when prompted by sudo and hit Enter.
Step 3
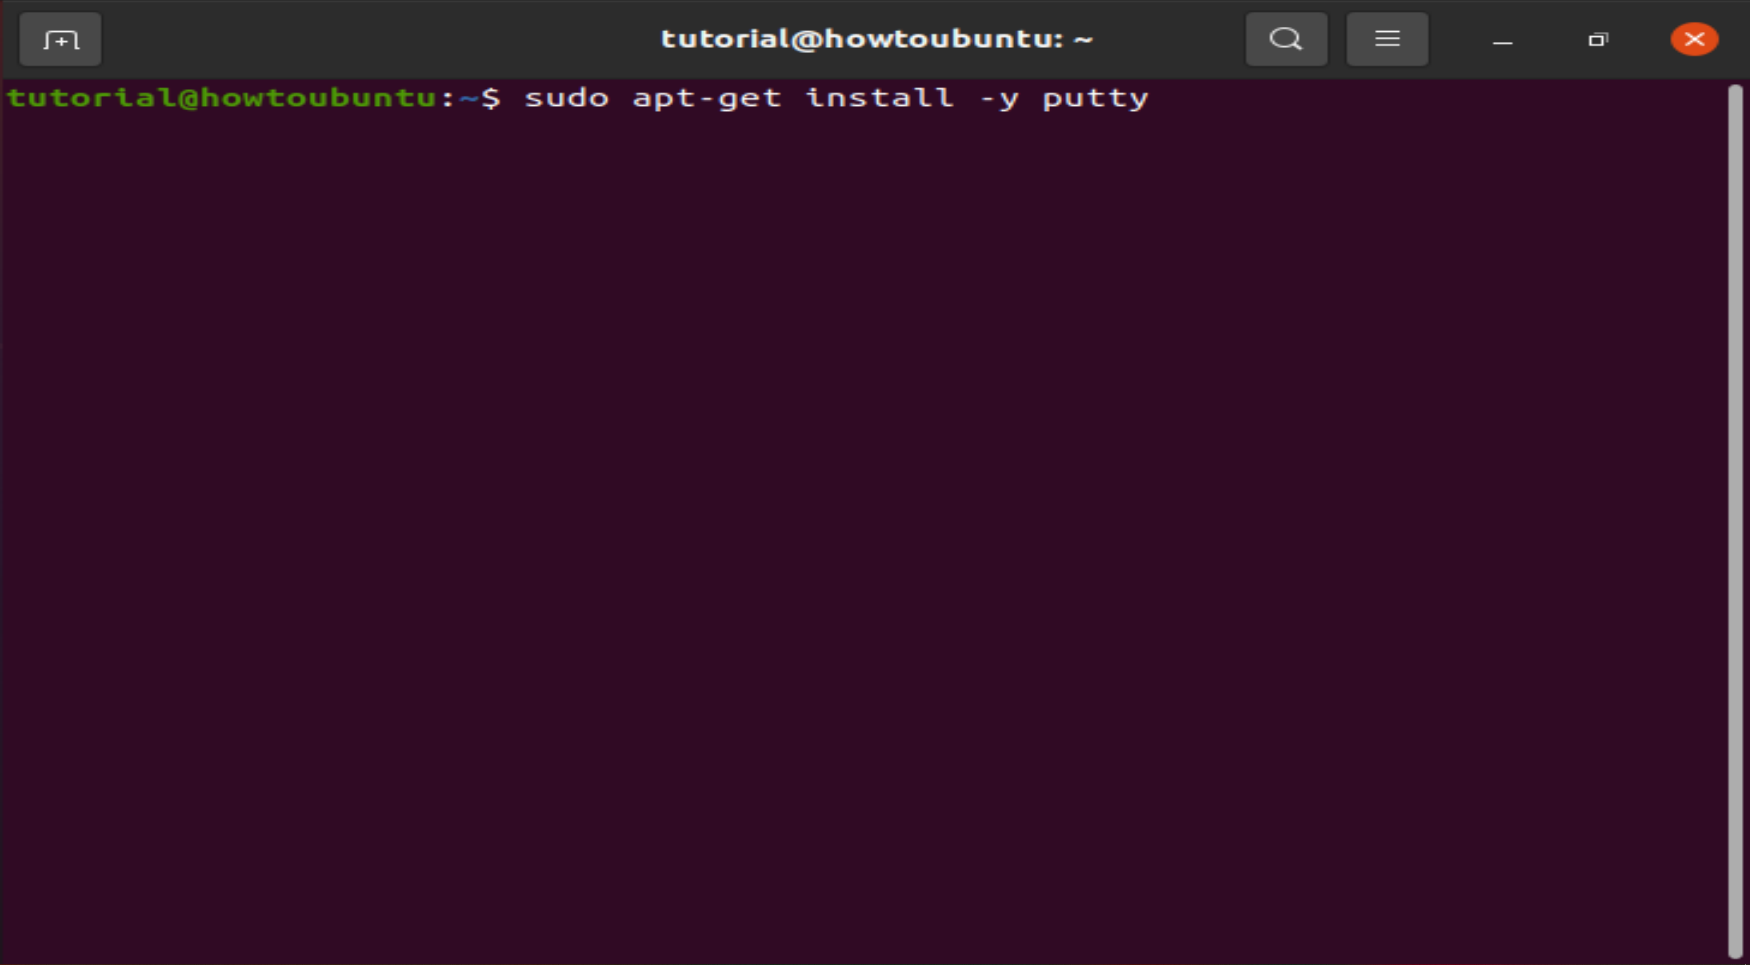
Install PuTTY using the command below.
sudo apt-get install -y putty

Step 4
PuTTY should be installed. Run it from the terminal using “putty” as command, or from the Dash.


Comments (0)