

How to install SSH server in Ubuntu
The procedure to install a ssh server in Ubuntu Linux is as follows:
Open the terminal application.
Now type the line of bash into the terminal.
sudo apt-get install openssh-server
 Press
Press y then enter to continue.
Enable the ssh service by typing:
sudo systemctl enable ssh
Start the ssh service by typing:
sudo systemctl start ssh
Test it by login into the system using:
ssh user@server-name
Let us see all Ubuntu OpenSSH server installation steps in details with config options.
1. Ubuntu Linux install OpenSSH server
First update the system using the apt command or apt-get command:
sudo apt update
sudo apt upgrade
Installing sshd server on Ubuntu Linux
To install openssh-server package, run:
 View Website
 View Website
 View Website
sudo apt install openssh-server
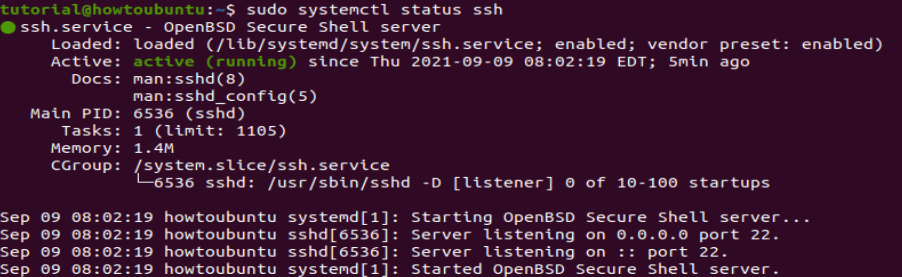
Verify that ssh service running
Type the following systemctl command:
sudo systemctl status ssh
 If not running enable the ssh server and start it as follows by typing the systemctl command:
sudo systemctl enable ssh
sudo systemctl start ssh
Configure firewall and open port 22
You must configure the Ubuntu Linux firewall called ufw.
sudo ufw allow ssh
sudo ufw enable
sudo ufw status
Test It
Now you can login from your desktop computer powered by Linux, *BSD, macOS, MS-Windows (putty client) or Unix-like system using the ssh command:
$ ssh user@server-ip
And your done!
Comments (0)