Tables are a common way to display data in your application. If you are building your application using Laravel you can take advantage of the Filament Table builder to add data tables to your application with ease 👌
Introduction
FilamentPHP is an admin panel built using the Tallstack; however, it's not just an admin panel, it's also an application toolkit with features like Form Builders, Notifications, and of course Table Builders.
In this tutorial we'll show you how simple it is to use the table builder in your Laravel application 👏
Installation and Setup
We'll start off by creating a new Laravel application with the following command:
laravel new table-builder
Next, we'll cd into that folder and install the table builder package:
composer require filament/tables:"^2.0"
Finally, we need to run the following commands to initiate our project as a Tallstack application and install the table builder.
php artisan tables:install
npm install
npm run dev
That's it. We have now installed the Table Builder package 🎉
Filling our application with data
Before we can test out a table view of data we'll need to add some data to our application.
Make sure to create a new database and add the correct database to your .env file. Now we can run:
 View Website
 View Website
 View Website
php artisan migrate
Since this is a new Laravel application we should have a users table that got created when we run the command. You'll also see a UserFactory located inside of database/factories/UserFactory.php, which will allow us to create some fake. We'll start by running:
php artisan tinker
Next, we'll run the following code inside of the tinker command:
\App\Models\User::factory(50)->create();
Now, look inside your database and you'll see that we now have 50 rows inside of our users table.
Creating Tables
Next, let's create a new livewire component to display our users.
php artisan livewire:make Users
We'll now have a new file located at App\Http\Livewire\Users.php which looks like this:
<?php

namespace App\Http\Livewire;

use Livewire\Component;

class Users extends Component
{
    public function render()
    {
        return view('livewire.users');
    }
}
We'll want to include the Filament Tables namespace: use Filament\Tables;, make our class implement Tables\Contracts\HasTable, and add the Tables\Concerns\InteractsWithTable trait. This will make our Users.php component look like this:
<?php

namespace App\Http\Livewire;

use Livewire\Component;
use Filament\Tables;

class Users extends Component implements Tables\Contracts\HasTable
{
    use Tables\Concerns\InteractsWithTable;

    protected function getTableQuery()
    {
        return \App\Models\User::query();
    }

    protected function getTableColumns(): array
    {
        return [
            Tables\Columns\TextColumn::make('name'),
            Tables\Columns\TextColumn::make('email'),
        ];
    }

    public function render()
    {
        return view('livewire.users');
    }
}
You can see we've also added a getTableQuery() method to our class. This is how we will query the data for our table. We've also included a getTableColumns() method, which is how we define the table columns.
To finish things up, we can open up our resources/views/livewire/users.blade.php view file and display the table with the following code:
<div>
    {{ $this->table }}
</div>
Before we can view this page in our browser we'll need to map a route to this component. Simple enough, add this to your routes/web.php:
use App\Http\Livewire\Users;

Route::get('users', Users::class);
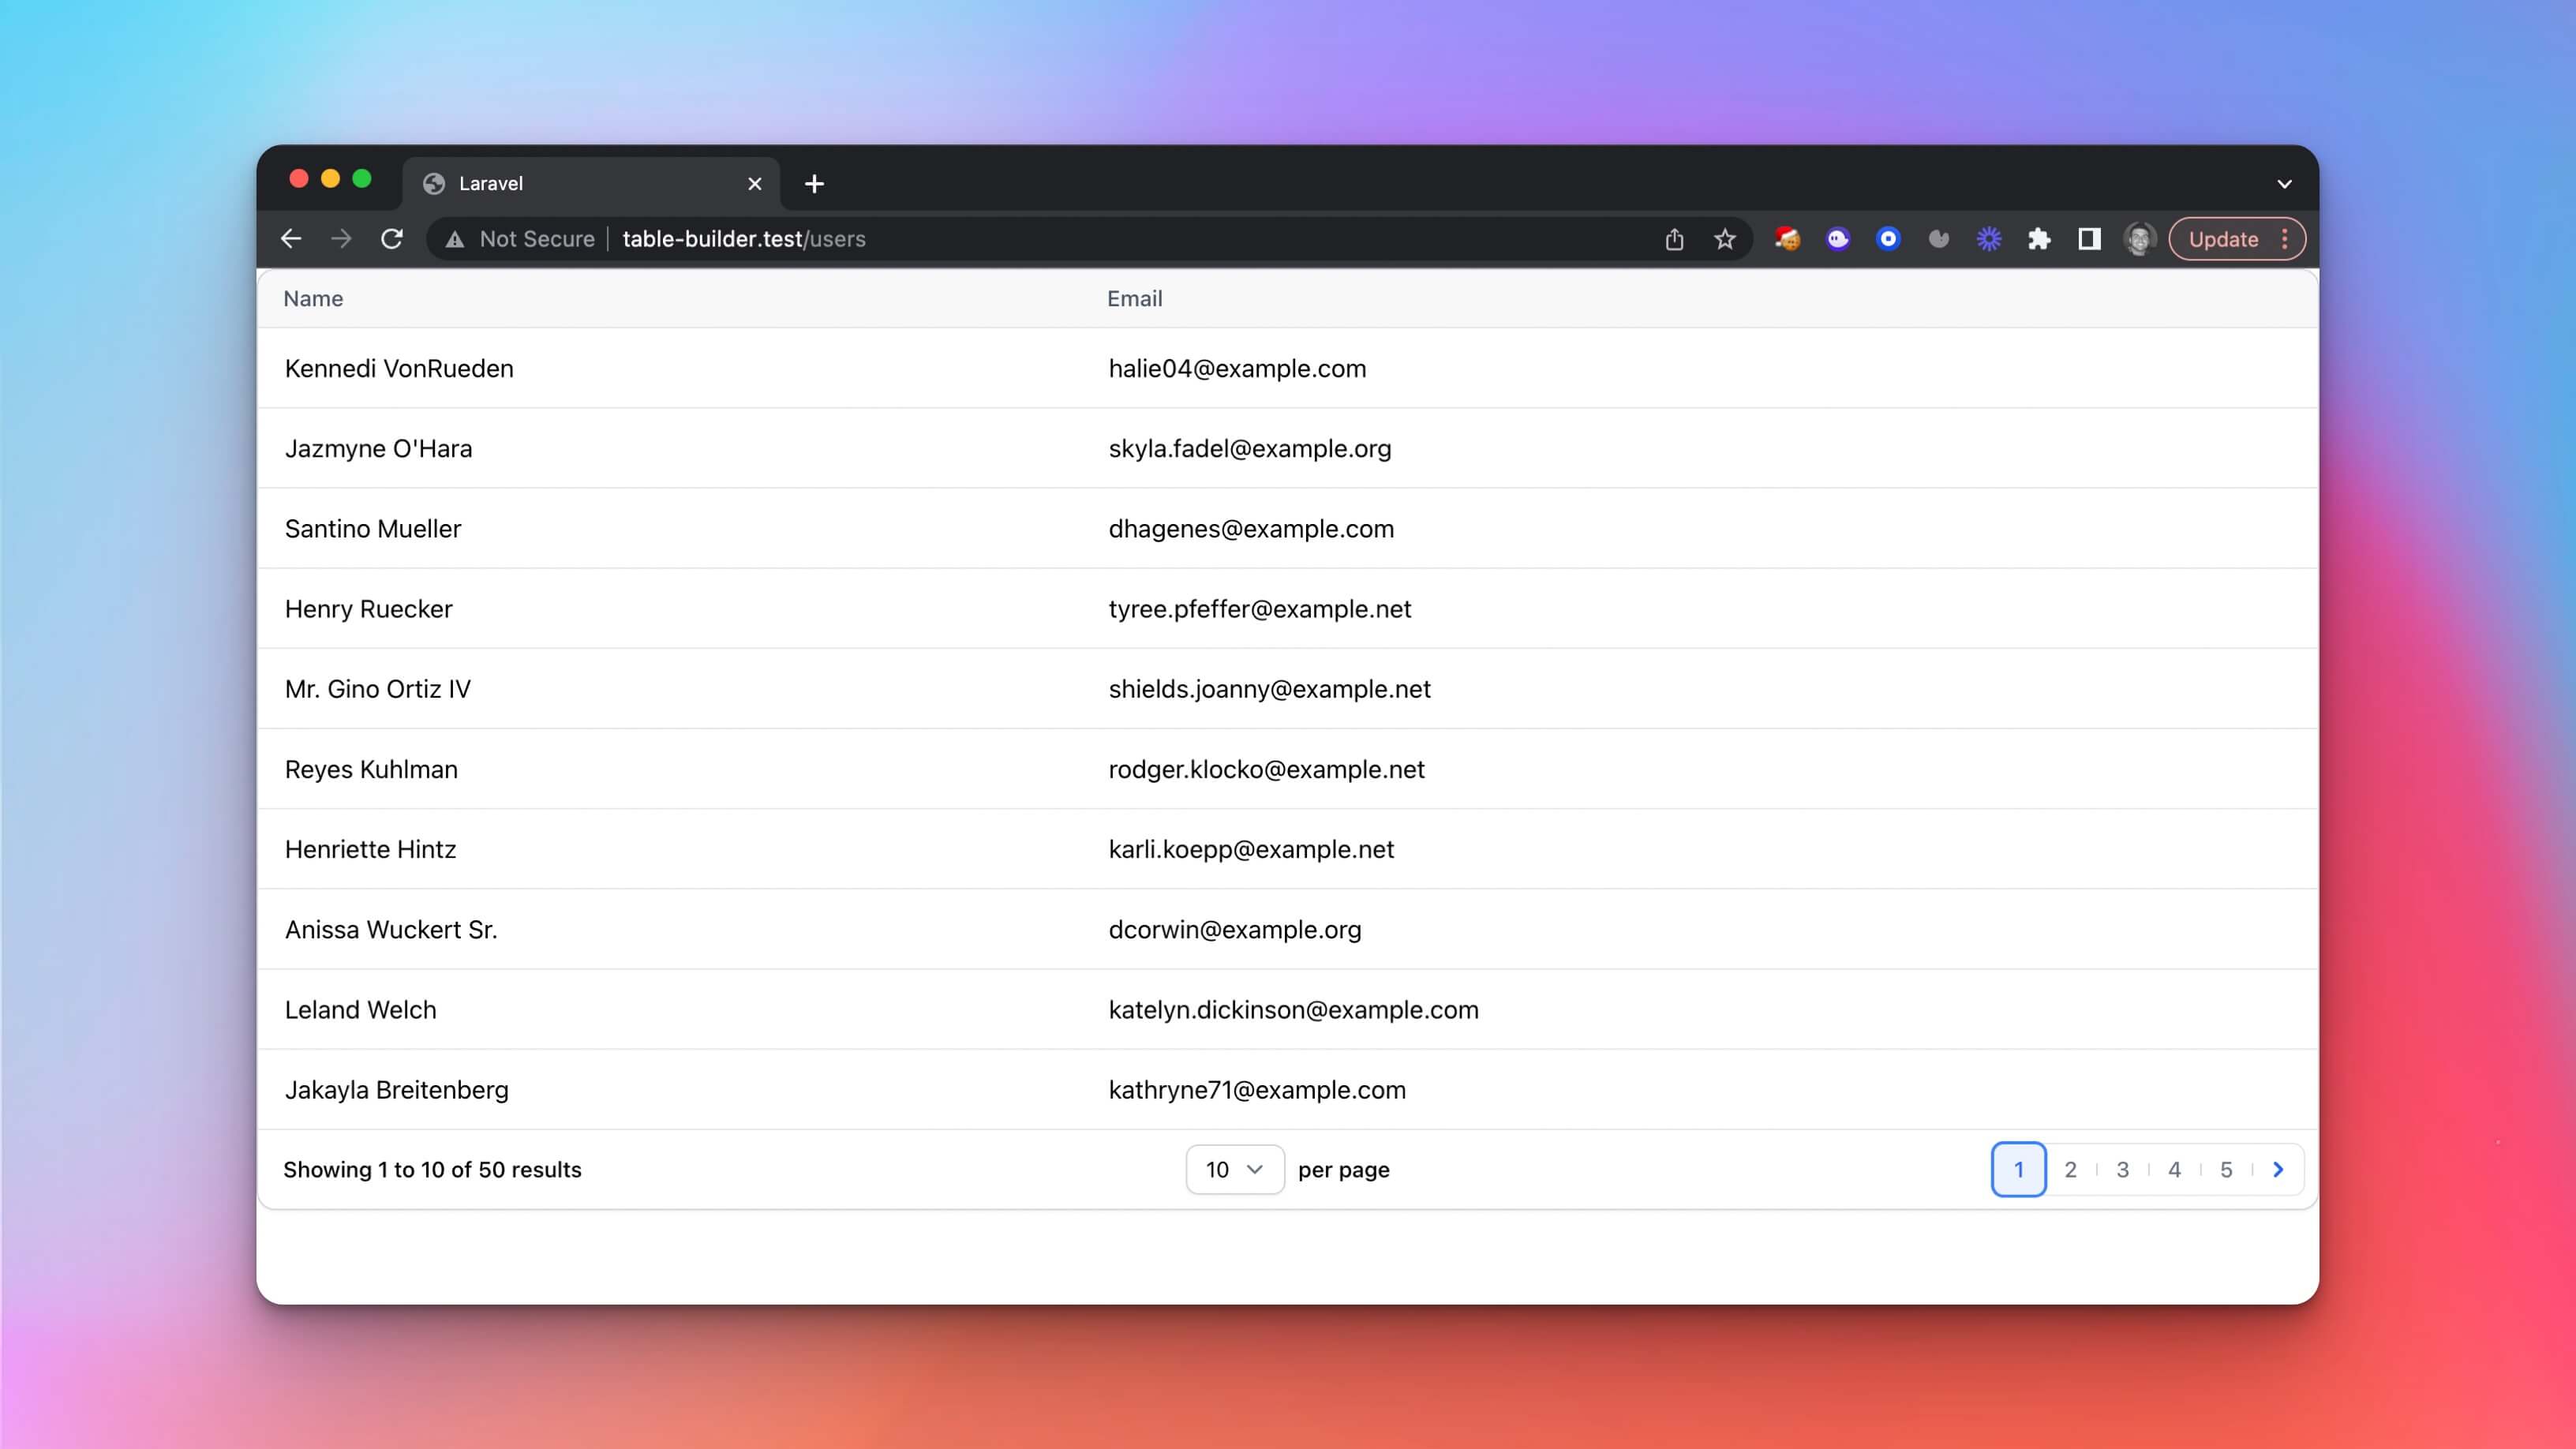
Now, if we visit this page in the browser we'll see the following 👇

How cool is that! We have sortable and paginated data tables 👏
Conclusion
There are a lot more options that you can add to your tables such as search, filter, and more. Be sure to read up more about this amazing package here.
I hope you found this tutorial useful and I hope that you'll use this package in your next project 😉


Comments (0)