
Introduction
Recently I had to setup a Docker Web Interface for one of my Docker hosts so that it could be easier for the rest of my team to check the status of our Docker Containers, restart them in case that they needed to and also go through the container logs directly via their browser.
After some research, I've noticed that there are quite a few solutions like Portainer, Kitematic, Dockstation and more. So I've decided to test a few them and my personal favorite was Portainer.
So in this tutorial, I'll walk you through the steps you need to take in order to get Portainer up and running and how to find your way around it.
Prerequisite
I will be using an Ubuntu 18.04 Droplet on DigitalOcean. If you wish to follow along and if you don't have a Digital Ocean account yet, you can sign up for DigitalOcean and get $100 free credit via this link here:
Once you have your account ready, you would also need the following:
- An Ubuntu 18.04 Droplet - you can follow the steps on how to do that here: https://www.digitalocean.com/docs/droplets/how-to/create/
- SSH Access to your Droplet
- Docker installed and running - to do that you can follow this step by step tutorial: https://www.digitalocean.com/community/tutorials/how-to-install-and-use-docker-on-ubuntu-18-04
Overview
Portainer is a lightweight management UI that allows you to easily manage your Docker host or Swarm cluster. Portainer is meant to be as simple to deploy as it is to use. It consists of a single container that can run on any Docker engine (Docker for Linux and Docker for Windows are supported).
Portainer Community Edition is the foundation of the Portainer world. With over 2 billion downloads throughout its history, it's a powerful, open-source management toolset that allows you to easily build, manage and maintain Docker environments. And it's completely free.
Portainer offers an intuitive interface that you could access directly via your browser.
 View Website
 View Website
 View Website
You can do almost all standard Docker operations via Portainer. Some of the key features include things like:
- Manage your Docker Containers - run/start/stop/restart/pause and etc.
- Manage your Docker Images: pull/build/export/delete
- Manage your Docker Networks
- Manage Docker Networks and Volumes
- Manage External Docker Hosts
- And lots more
Installation
In order to get the Portainer Web UI up and running, all you need to do is run the following command:
docker run -d -p 9000:9000 -v /var/run/docker.sock:/var/run/docker.sock portainer/portainerRundown of the command:
- docker run -d - with this part we are basically telling Docker to start a new container in the backgroud
- -p 9000:9000 - thanks to the -p flag we are telling the Docker daemon to bind port 9000 on the host and proxy the traffic to port 9000 to the container as this is the port that the
- -v /var/run/docker.sock:/var/run/docker.sock - This is a very important part if you are going to be using the Portainer service to manage containers that are running locally on the same host.
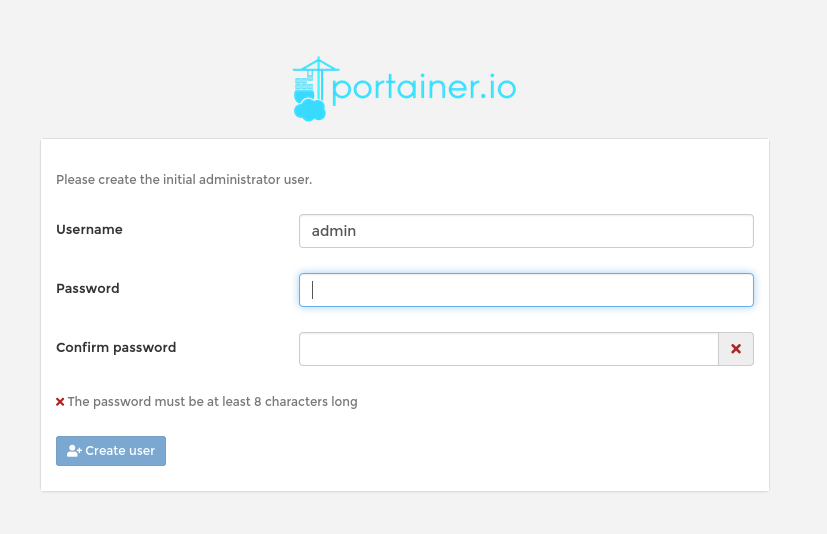
Once you run that, the Docker daemon would pull the Portainer image and spin up a new container. Then if you visit your Droplet's IP address on port 9000 you will be able to see the login screen and set up your username and password.
Note that you would need to make sure that port 9000 is open via your firewall if you have one enabled.
Configuration
Once you have Portainer up and running, and once you've created your admin account, you would be asked to add your first Docker host that you would like to manage.
In our case, we would just go for a local environment, but you can add a Remote server as well.
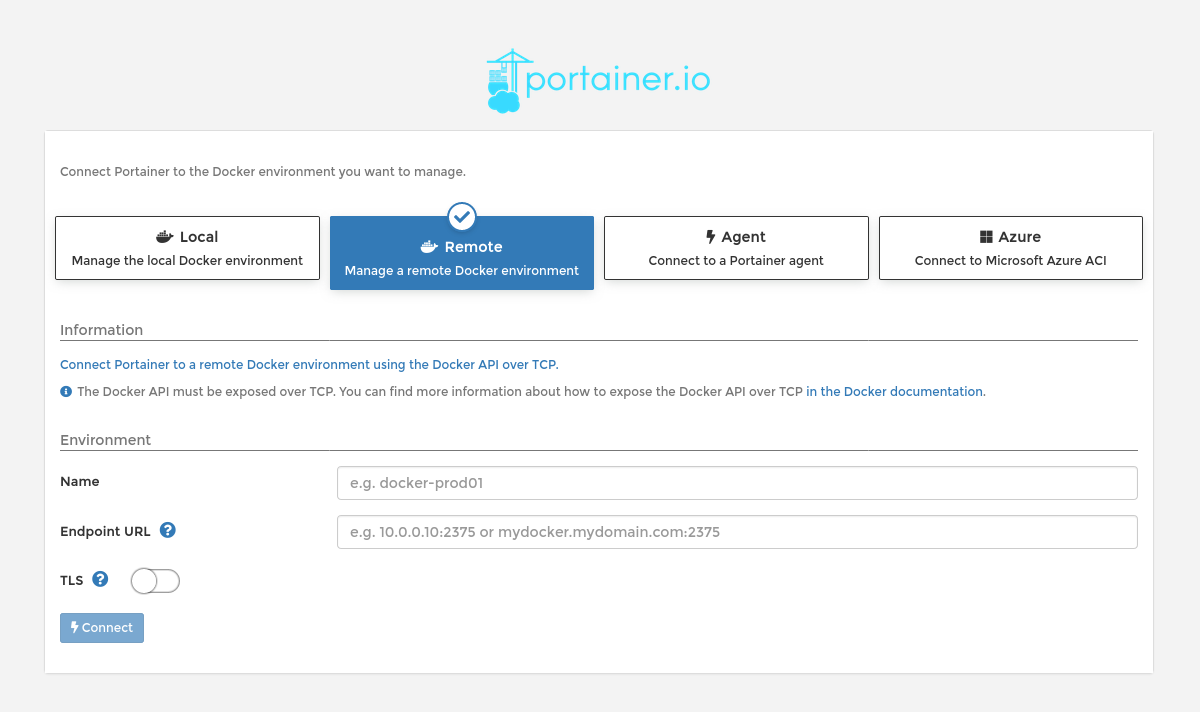
To do that just click on the 'Local' tab and hit Connect.
This is pretty much it, then you would be able to see your local docker host and the running containers.
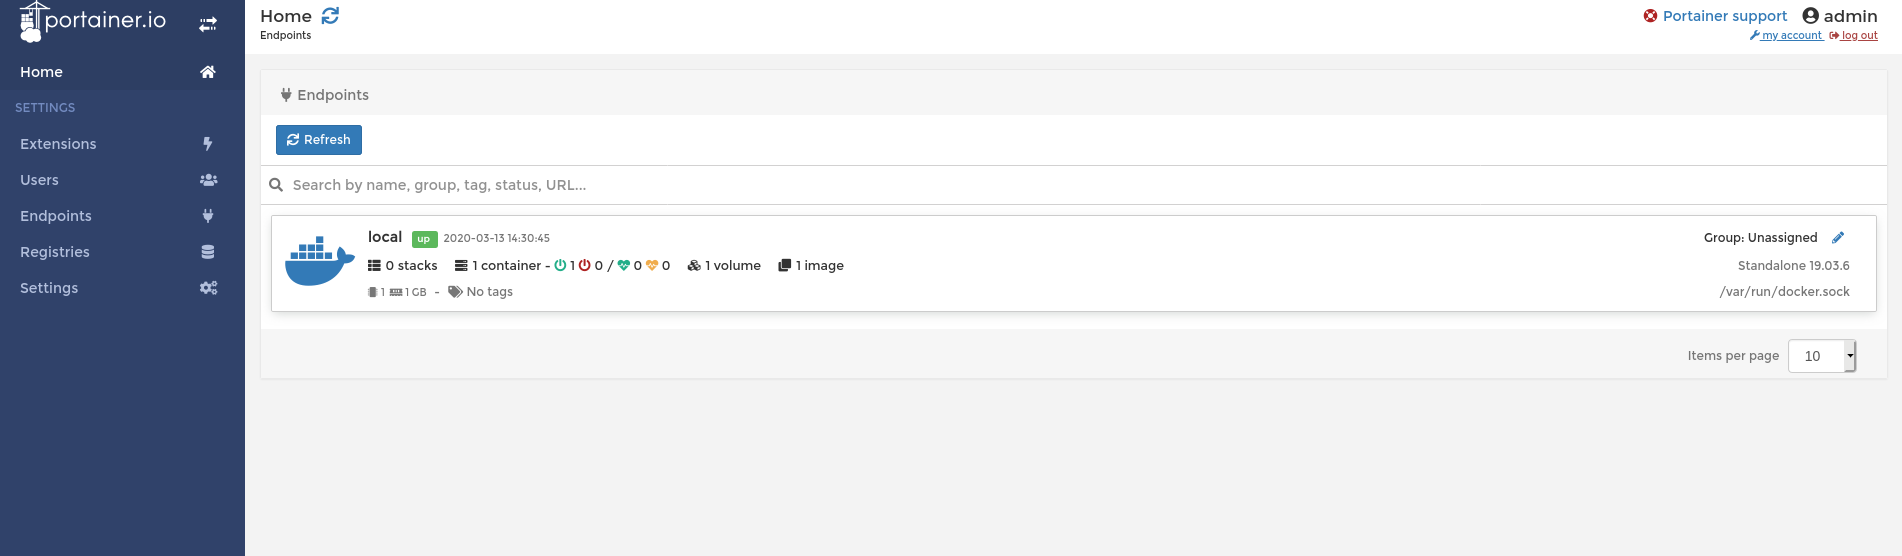
If you click on the local instance, you would get to the management panel for that instance, and through there you could fully manage your Docker host.
Running Containers
Once we've clicked on the local Docker instance, we can then go ahead and spin up our first container!
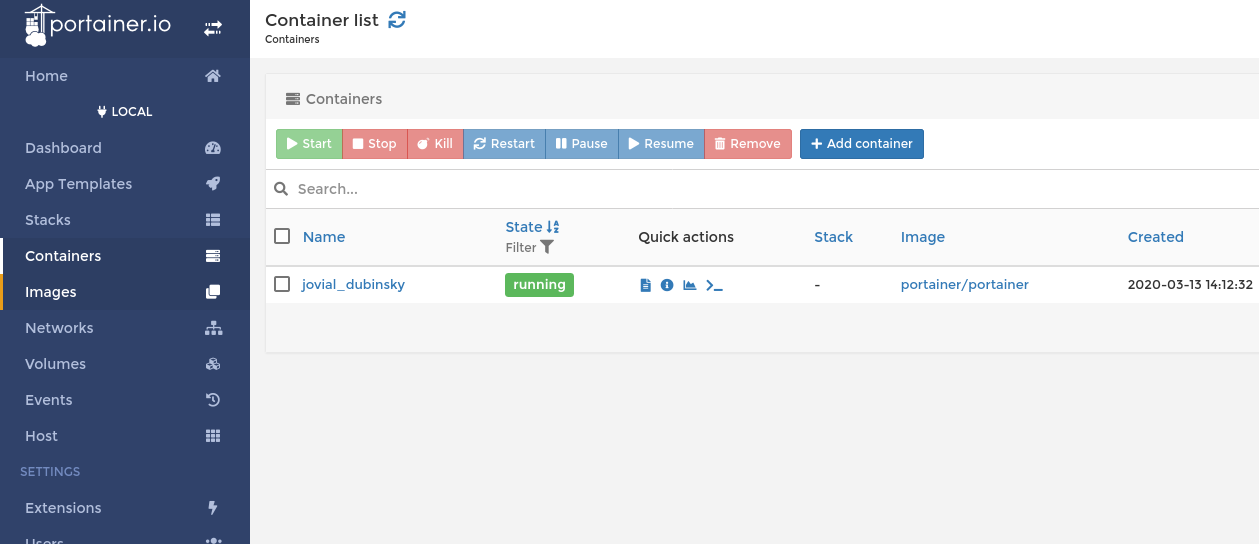
Just click on the Container tab on the left. You would get to a page where you will be able to see 1 container already running and this would be the Portainer container itself.
To spin up a new container, just click on the Add Container button.
This would take you to a screen where you can specify all kinds of things including:
- The Docker Registry that you would like to pull your image from
- The name of the image that you would like to use
- Name of the Container
Under the advanced container settings section, you can specify things like:
- The command and the logging
- Volumes
- Network
- Environment variables
- Labels
- Restart policy
- And etc.
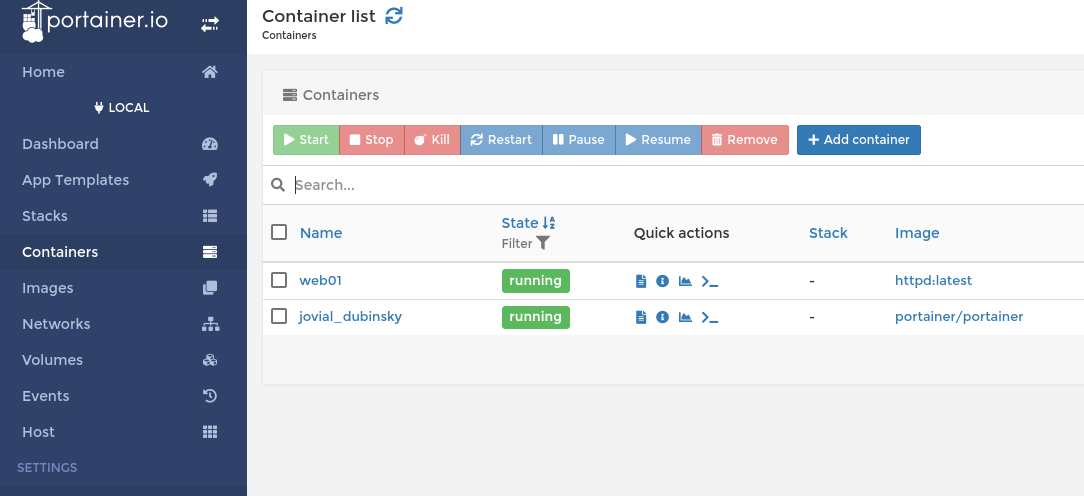
To keep things simple, I will just use the defaults and set the name of my container to "web01" and I will use the "httpd" Docker image, then I will just hit the "Deploy the container" button. And soon enough the container would be up and running and I will be able to see it via my dashboard.
After that, if you click on your web01 container, you would get to a management page where you can do things like starting, stopping, duplicating the container, renaming, checking the status and lots more.D
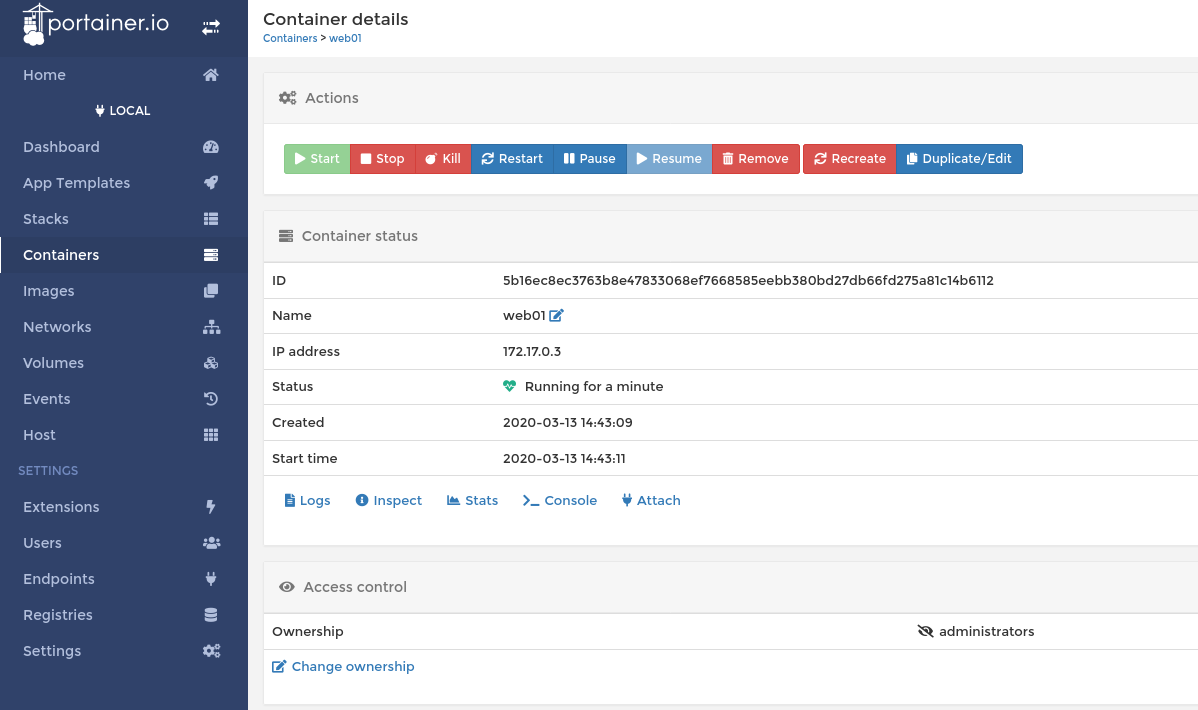
You can even check your container's logs and attach to the container itself if you need to.
Basically, you would be able to do almost everything that you could do via your command line directly via your browser.
Conclusion
You've learned how to spin up an instance of Portainer and manage your local Docker Containers easily via the Portainer Web Dashboard.
I would recommend deploying this on a Droplet and playing around with it. The dashboard is quite intuitive and easy to find your way around it but at the same time, it has a lot of powerful functionalities.
For more information, you could take a look at the official documentation here.
I hope that you find this useful! Let me know if you have any questions or feedback!
Comments (0)