

If you've ever wanted to create a chrome extension, you're in the right place. Creating a chrome extension is super easy and in this tutorial you will learn how to do this in 3 simple steps.
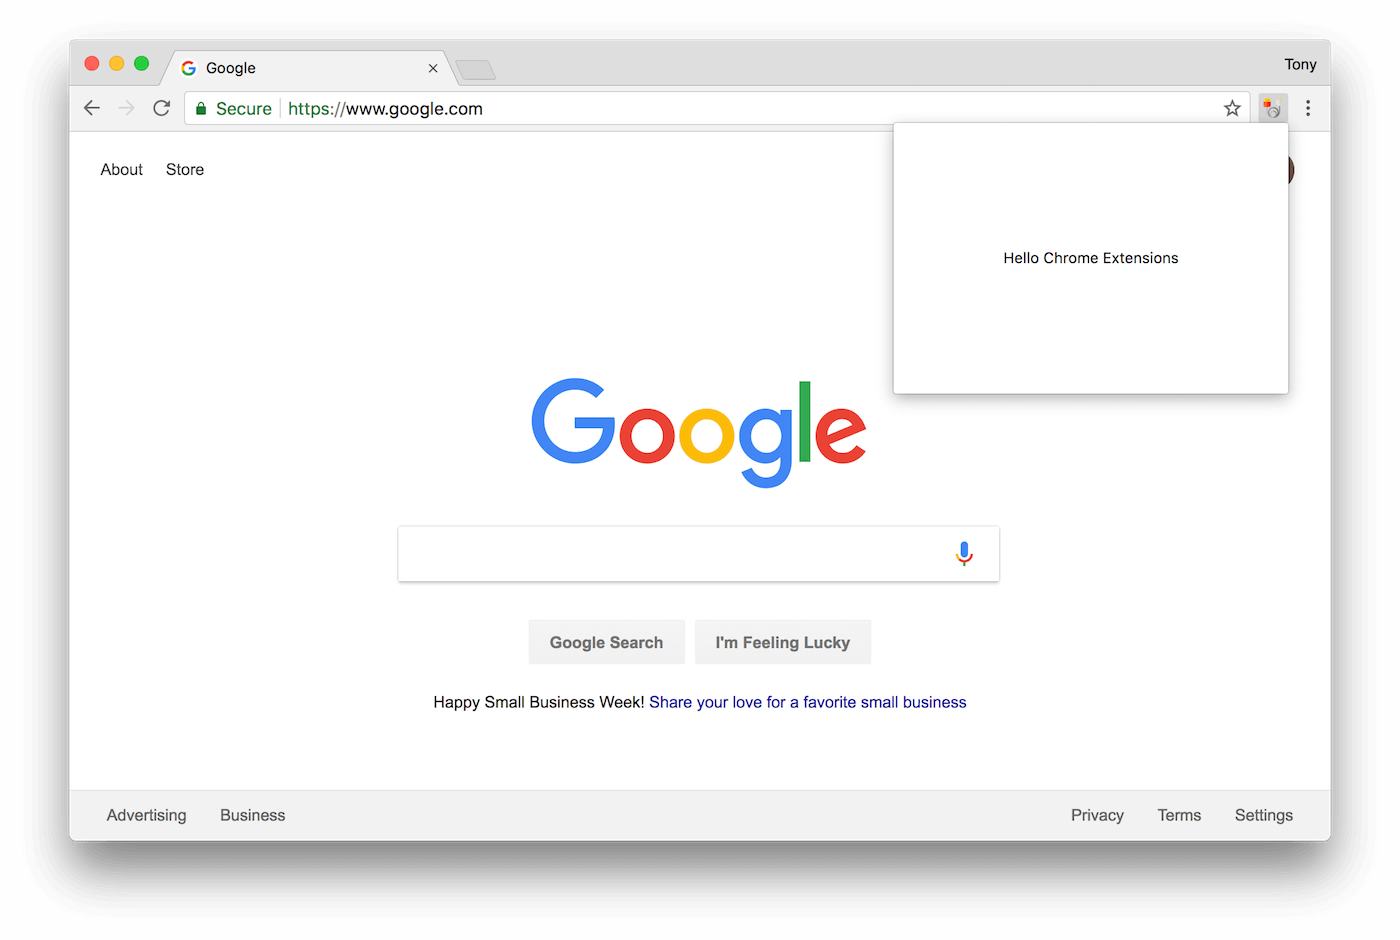
We are going to create a simple extension where the user can click on the icon and it shows a message "Hello Chrome Extensions".
Let's learn how easy this is to create.
1. Create a new directory and our manifest.json file
Before you get started you'll need to create a new folder for your extension. Let's call this folder my-first-extension.
Next, we need a manifest.json file. This file is used to explain to chrome what your extension is all about. Create a new file inside the my-first-extension folder and add the following:
{
	"manifest_version": 2,
	"name": "My First Chrome Extension",
	"description": "This is the description for your first chrome extension",
	"version": "1.0",
	"browser_action": {
 		"default_icon": "image.png",
 		"default_popup": "popup.html",
 		"default_title": "My First Chrome Extension"
 	}
}
And save it as manifest.json.
2. Create our popup.html file.
In our manifest.json file we are telling our extension that when the user clicks on our icon to display the popup.html file, so let's create that file now:
<!DOCTYPE html>
<html>
<head>
	<title>My First Chrome Extension</title>
	<style>
		#popup{
			width:300px;
			height:200px;
			text-align:center;
			line-height:200px;
		}
	</style>
</head>
<body>
	<div id="popup">
		Hello Chrome Extensions
	</div>
</body>
</html>
And save it as popup.html. Additionally, you'll see that we also reference an image.png. If you are following along you can use the following image https://github.com/tnylea/creating-your-first-chrome-extension/blob/master/image.png
 View Website
 View Website
 View Website
3. Load your extension
Finally, we need to load our chrome extension. You can visit the Chrome Extensions page by clicking Chrome Options -> More Tools -> Extensions, or you can visit chrome://extensions/ in your browser.
On this page you will see a list of all your extensions, then in the upper right corner you will see a button called Developer Mode
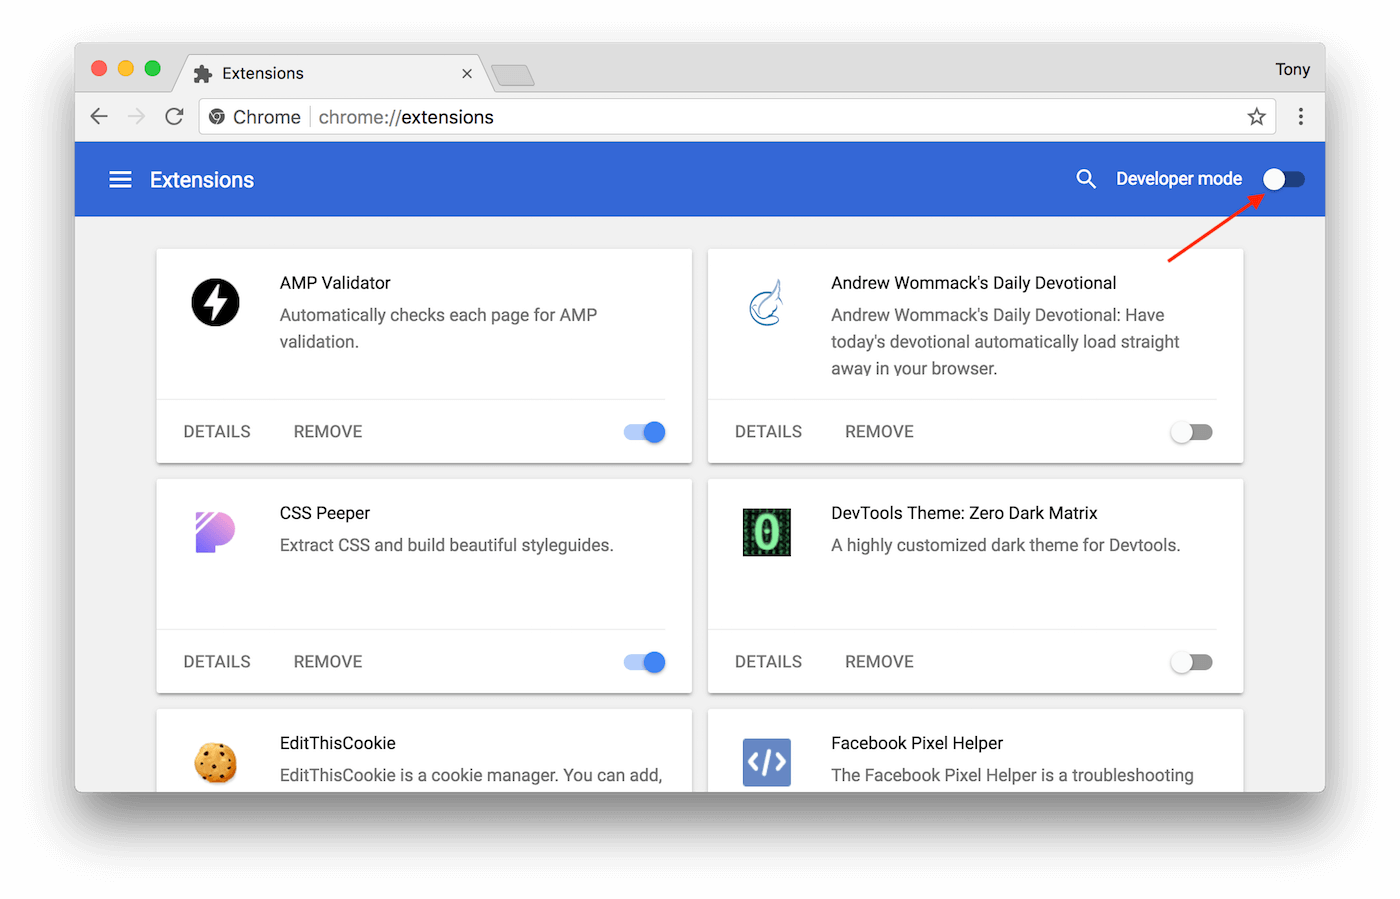
Click on that button and you will see a few more buttons appear just below it. Then, click on the Load Unpacked button.
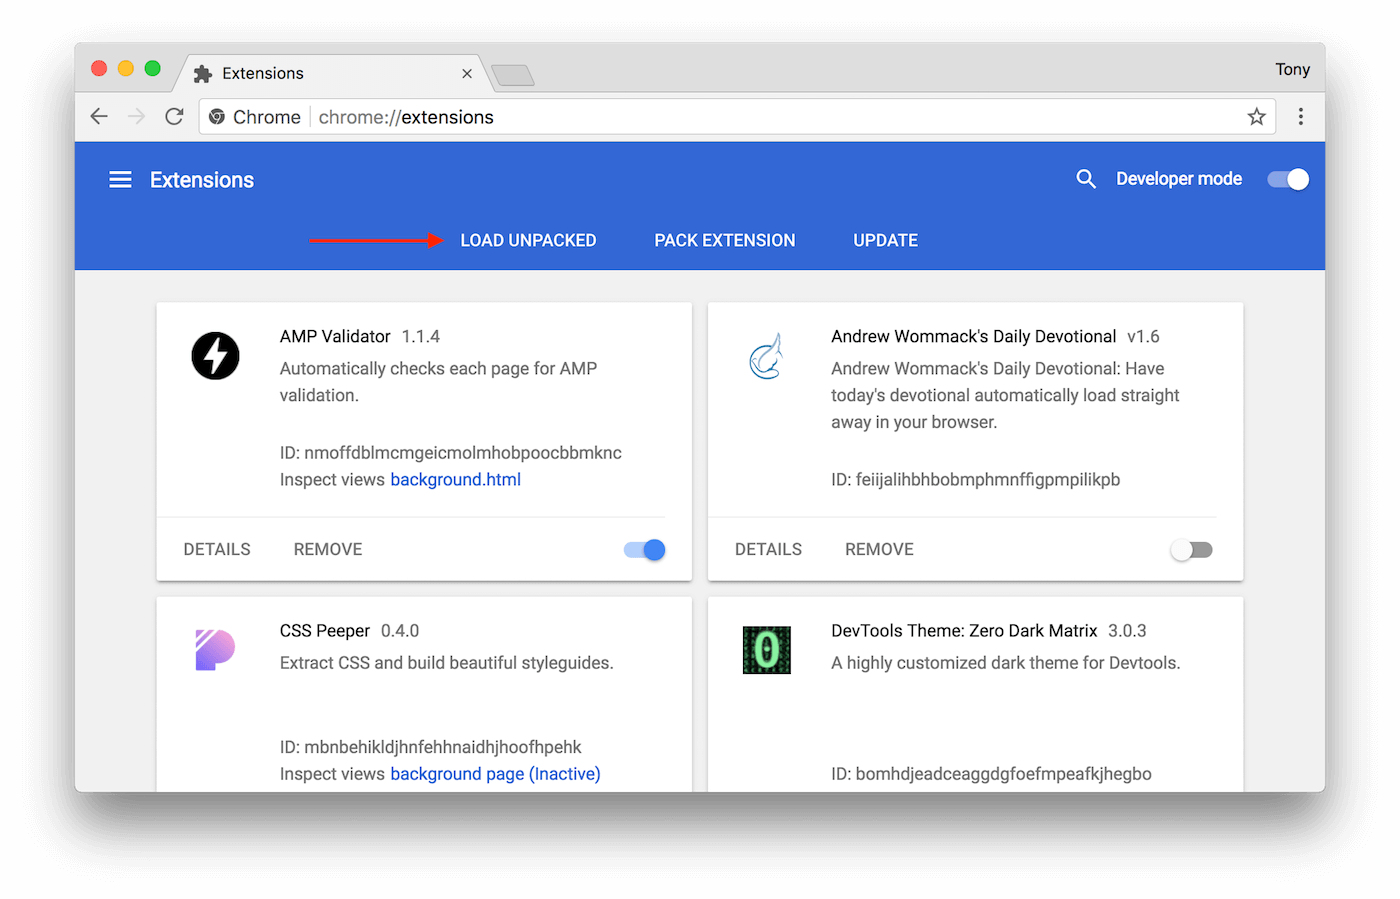
When you click on Load Unpacked a file dialog will popup asking you to locate your chrome extension folder. After you have located the folder and click Select you will now see your First Chrome Extension button.
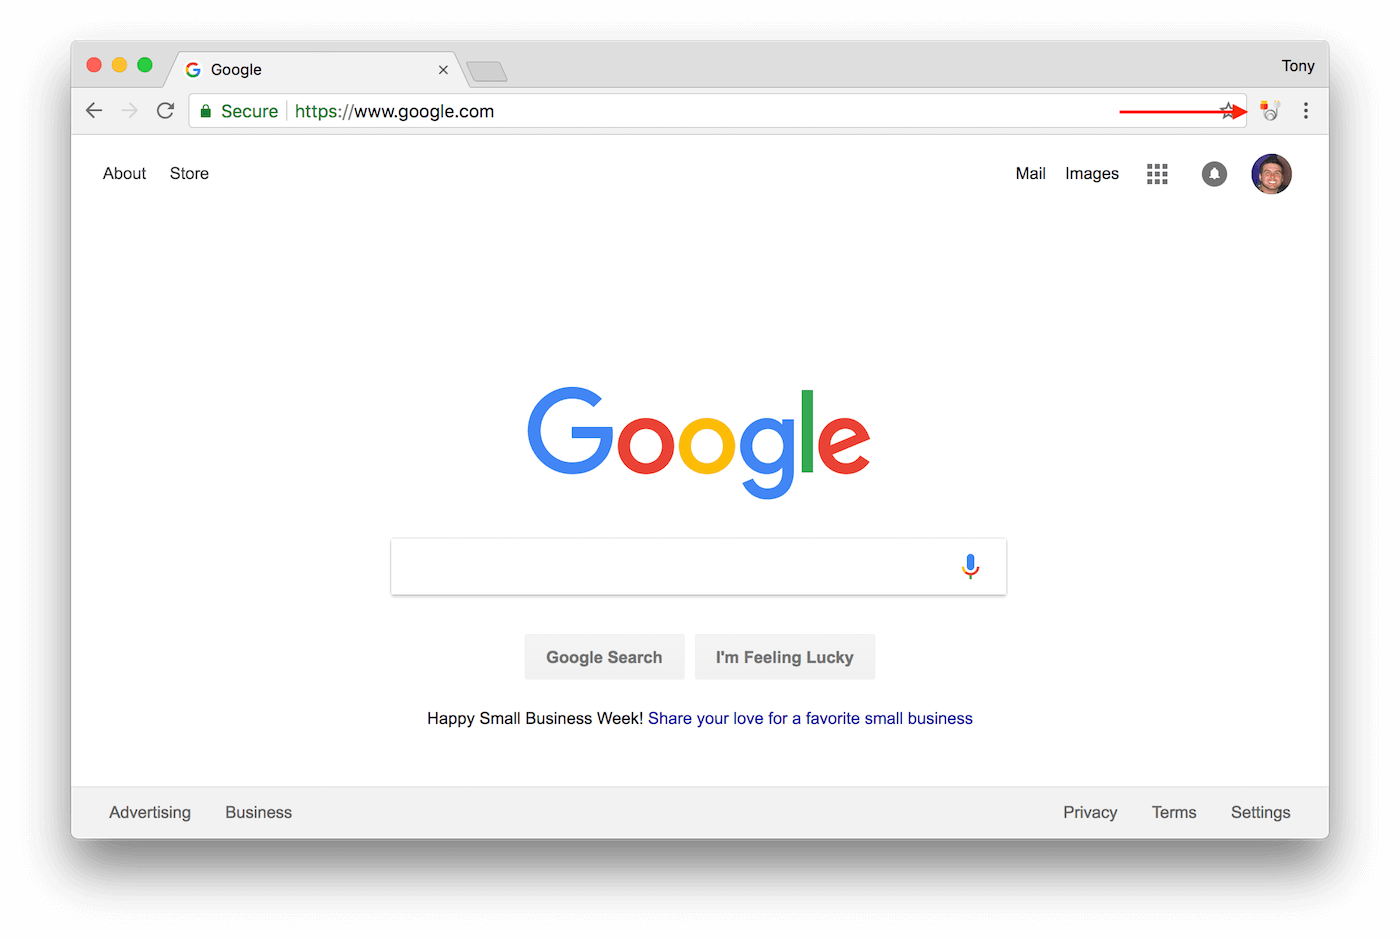
And that's all there is to it. Pretty simple stuff, right?
You can find the Github Repo for this extension here: https://github.com/tnylea/creating-your-first-chrome-extension
Bonus - Extensions can add custom JS and CSS to any website
Chrome Extensions can also run scripts based on the current URL you are visiting. Take a look at the following manifest.json file:
{
	"manifest_version": 2,
	"name": "My First Chrome Extension",
	"description": "This is the description for your first chrome extension",
	"version": "1.0",
	"content_scripts": [
 		{
 			"matches": ["https://www.google.com/*"],
 			"css": ["styles.css"],
 			"js": ["scripts.js"]
 		}
 	],
	"browser_action": {
 		"default_icon": "img.png",
 		"default_popup": "popup.html",
 		"default_title": "My First Chrome Extension"
	}
}
You'll see we have a new section called "content_scripts", this will allow you to match a specific URL and run some javascript or load some custom CSS for that URL! Pretty cool right.
Comments (0)