
Our MarkdownX editor is officially live and available on the DevDojo. It's also available for you to use in your TallStack applications 🍻.
If this is your first time hearing about the MarkdownX Editor, continue reading to learn more about how it can make writing in Markdown easier and more fun than ever before.
We're on ProductHunt today 😻, give us an upvote to support us!
What is MarkdownX
MarkdownX is like a <textarea> element with super powers ✨. It is a text editor with a beautiful interface that makes it easy for users to write in Markdown. The component has a pretty sweet dropdown that allows you to easily upload images, add lists, embed videos, and so much more!
A month ago I posted a tweet about a new editor I was building and it got a pretty huge response with nearly 500 likes and 50 retweets 🤯
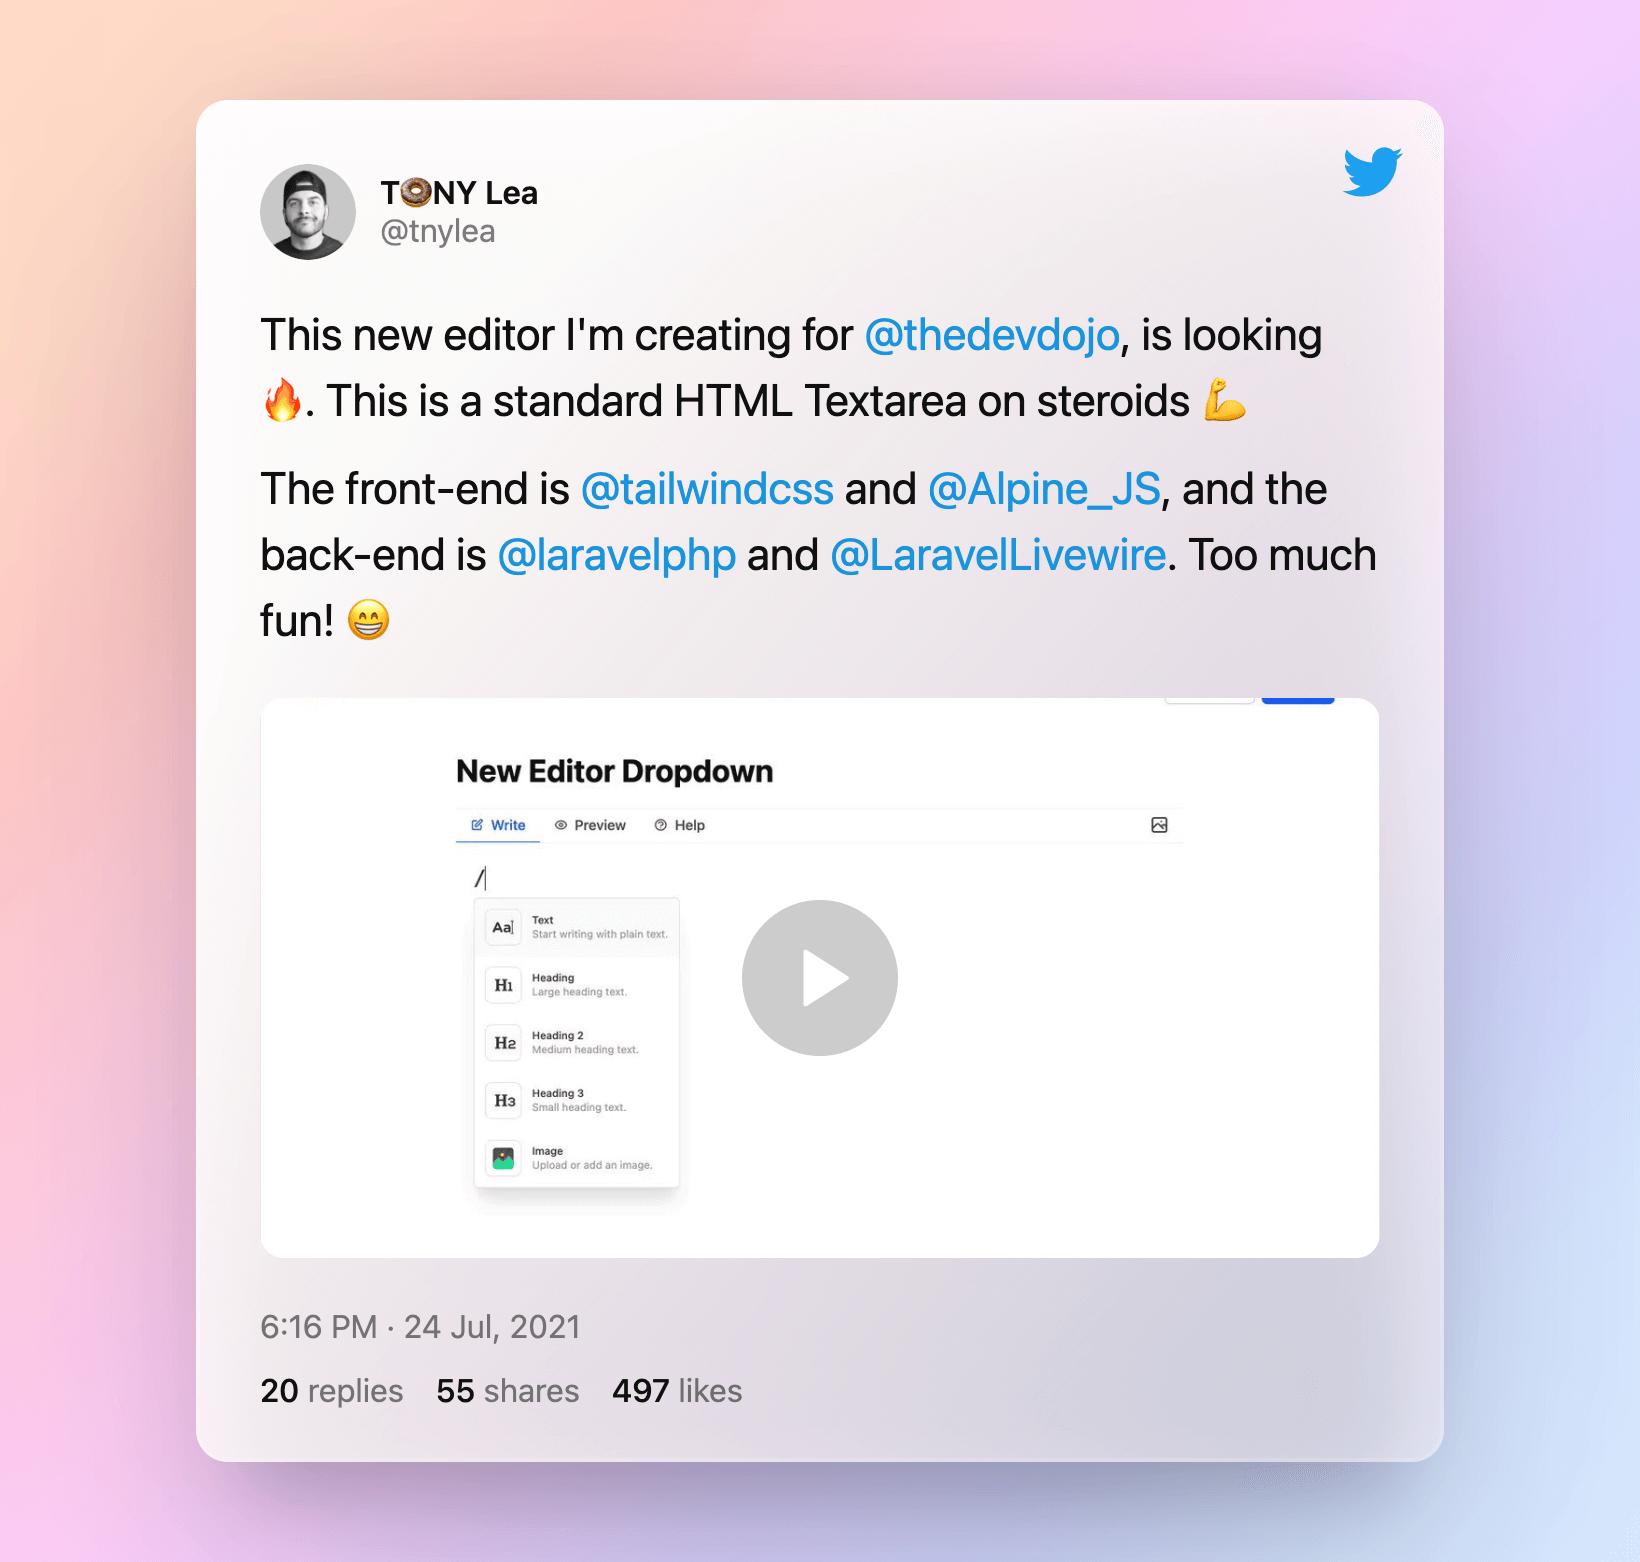
That set things in motion and I started working on a version that could be used with any Tallstack application. 🙌.
I'll show you the steps below 👇 on how to install this in a new Tallstack app.
1. 🔧 Create a new Laravel App
The first step is creating a new Laravel application. If you already have an existing Tallstack application, you can skip ahead to step 3.
 View Website
 View Website
 View Website
laravel new mdx
In this example, I'll install a new laravel app in a folder named mdx.
Then, go into that directory cd mdx, and we can move to the next step.
2. 🔩 Installing the Tallstack Pre-set
The Tallstack preset allows us to add TailwindCSS, Alpine, and Livewire in our new application with a few simple commands. You can find that preset here: https://github.com/laravel-frontend-presets/tall.
Let's run those commands in our new application:
composer require livewire/livewire laravel-frontend-presets/tall
php artisan ui tall
npm install
npm run dev
After we have run those commands, we should be able to visit our new site:
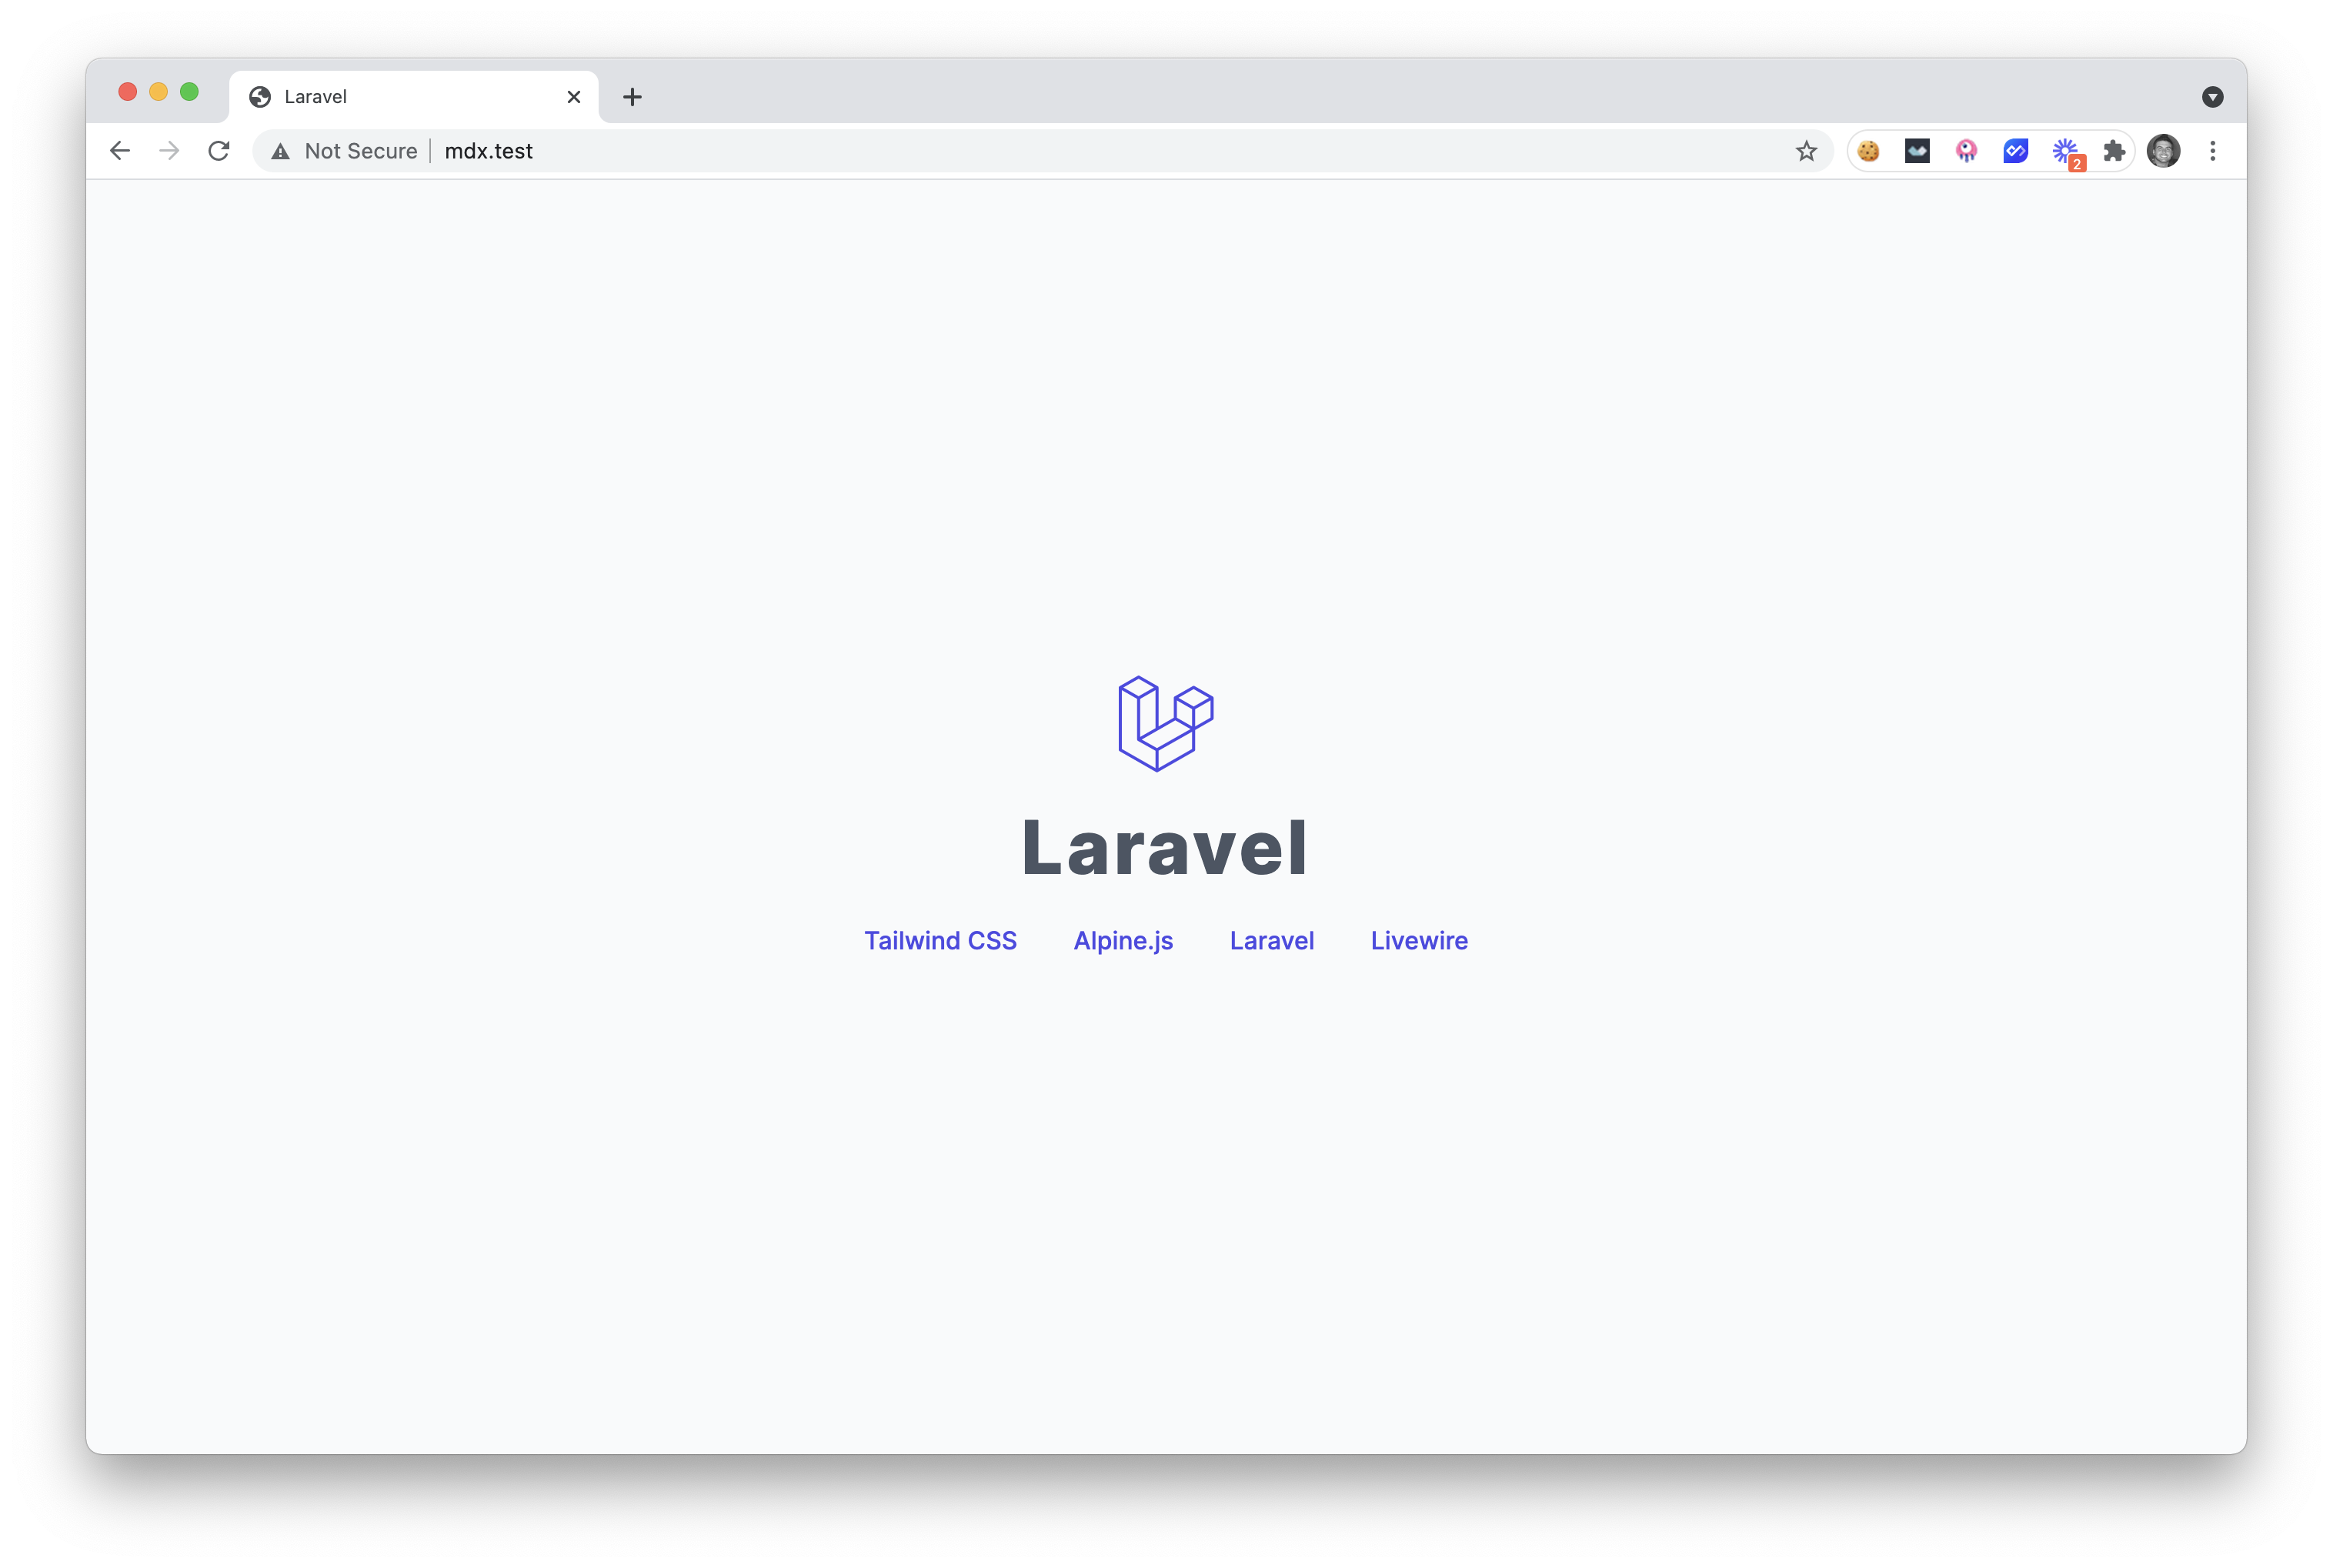
And we should have a new Tallstack application in front of us.
note: if you get an application key error, you may also need to run
php artisan key:generate.
Next up, we'll be moving the component files to our new application.
3. 🧩 Adding the MarkdownX Editor
Adding this component to your project is literally as easy as 1, 2, 3. Because that's how many files the MarkdownX editor includes. Here are those files:
- Controller - app/Http/Livewire/MarkdownX.php
- View - resources/views/livewire/markdown-x.blade.php
- Config - config/markdownx.php
After downloading a copy of the latest MarkdownX editor, you will need to move those files 👆 to their appropriate location in your Laravel application.
Note: make sure to run
php artisan storage:link, if you want to test out image uploading. The MarkdownX storage uses the local public disk by default, but you can change this in the config 😉.
After you have done this, we are now ready to test it out in our new application.
🧪 Test out the Editor
To test the editor in our new app we are going to modify the welcome page located at resources/views/welcome.blade.php, to look like this:
@extends('layouts.app')

@section('content')
    <livewire:markdown-x />
@endsection
If we visit our application homepage we'll see the editor in front of us 🤘.
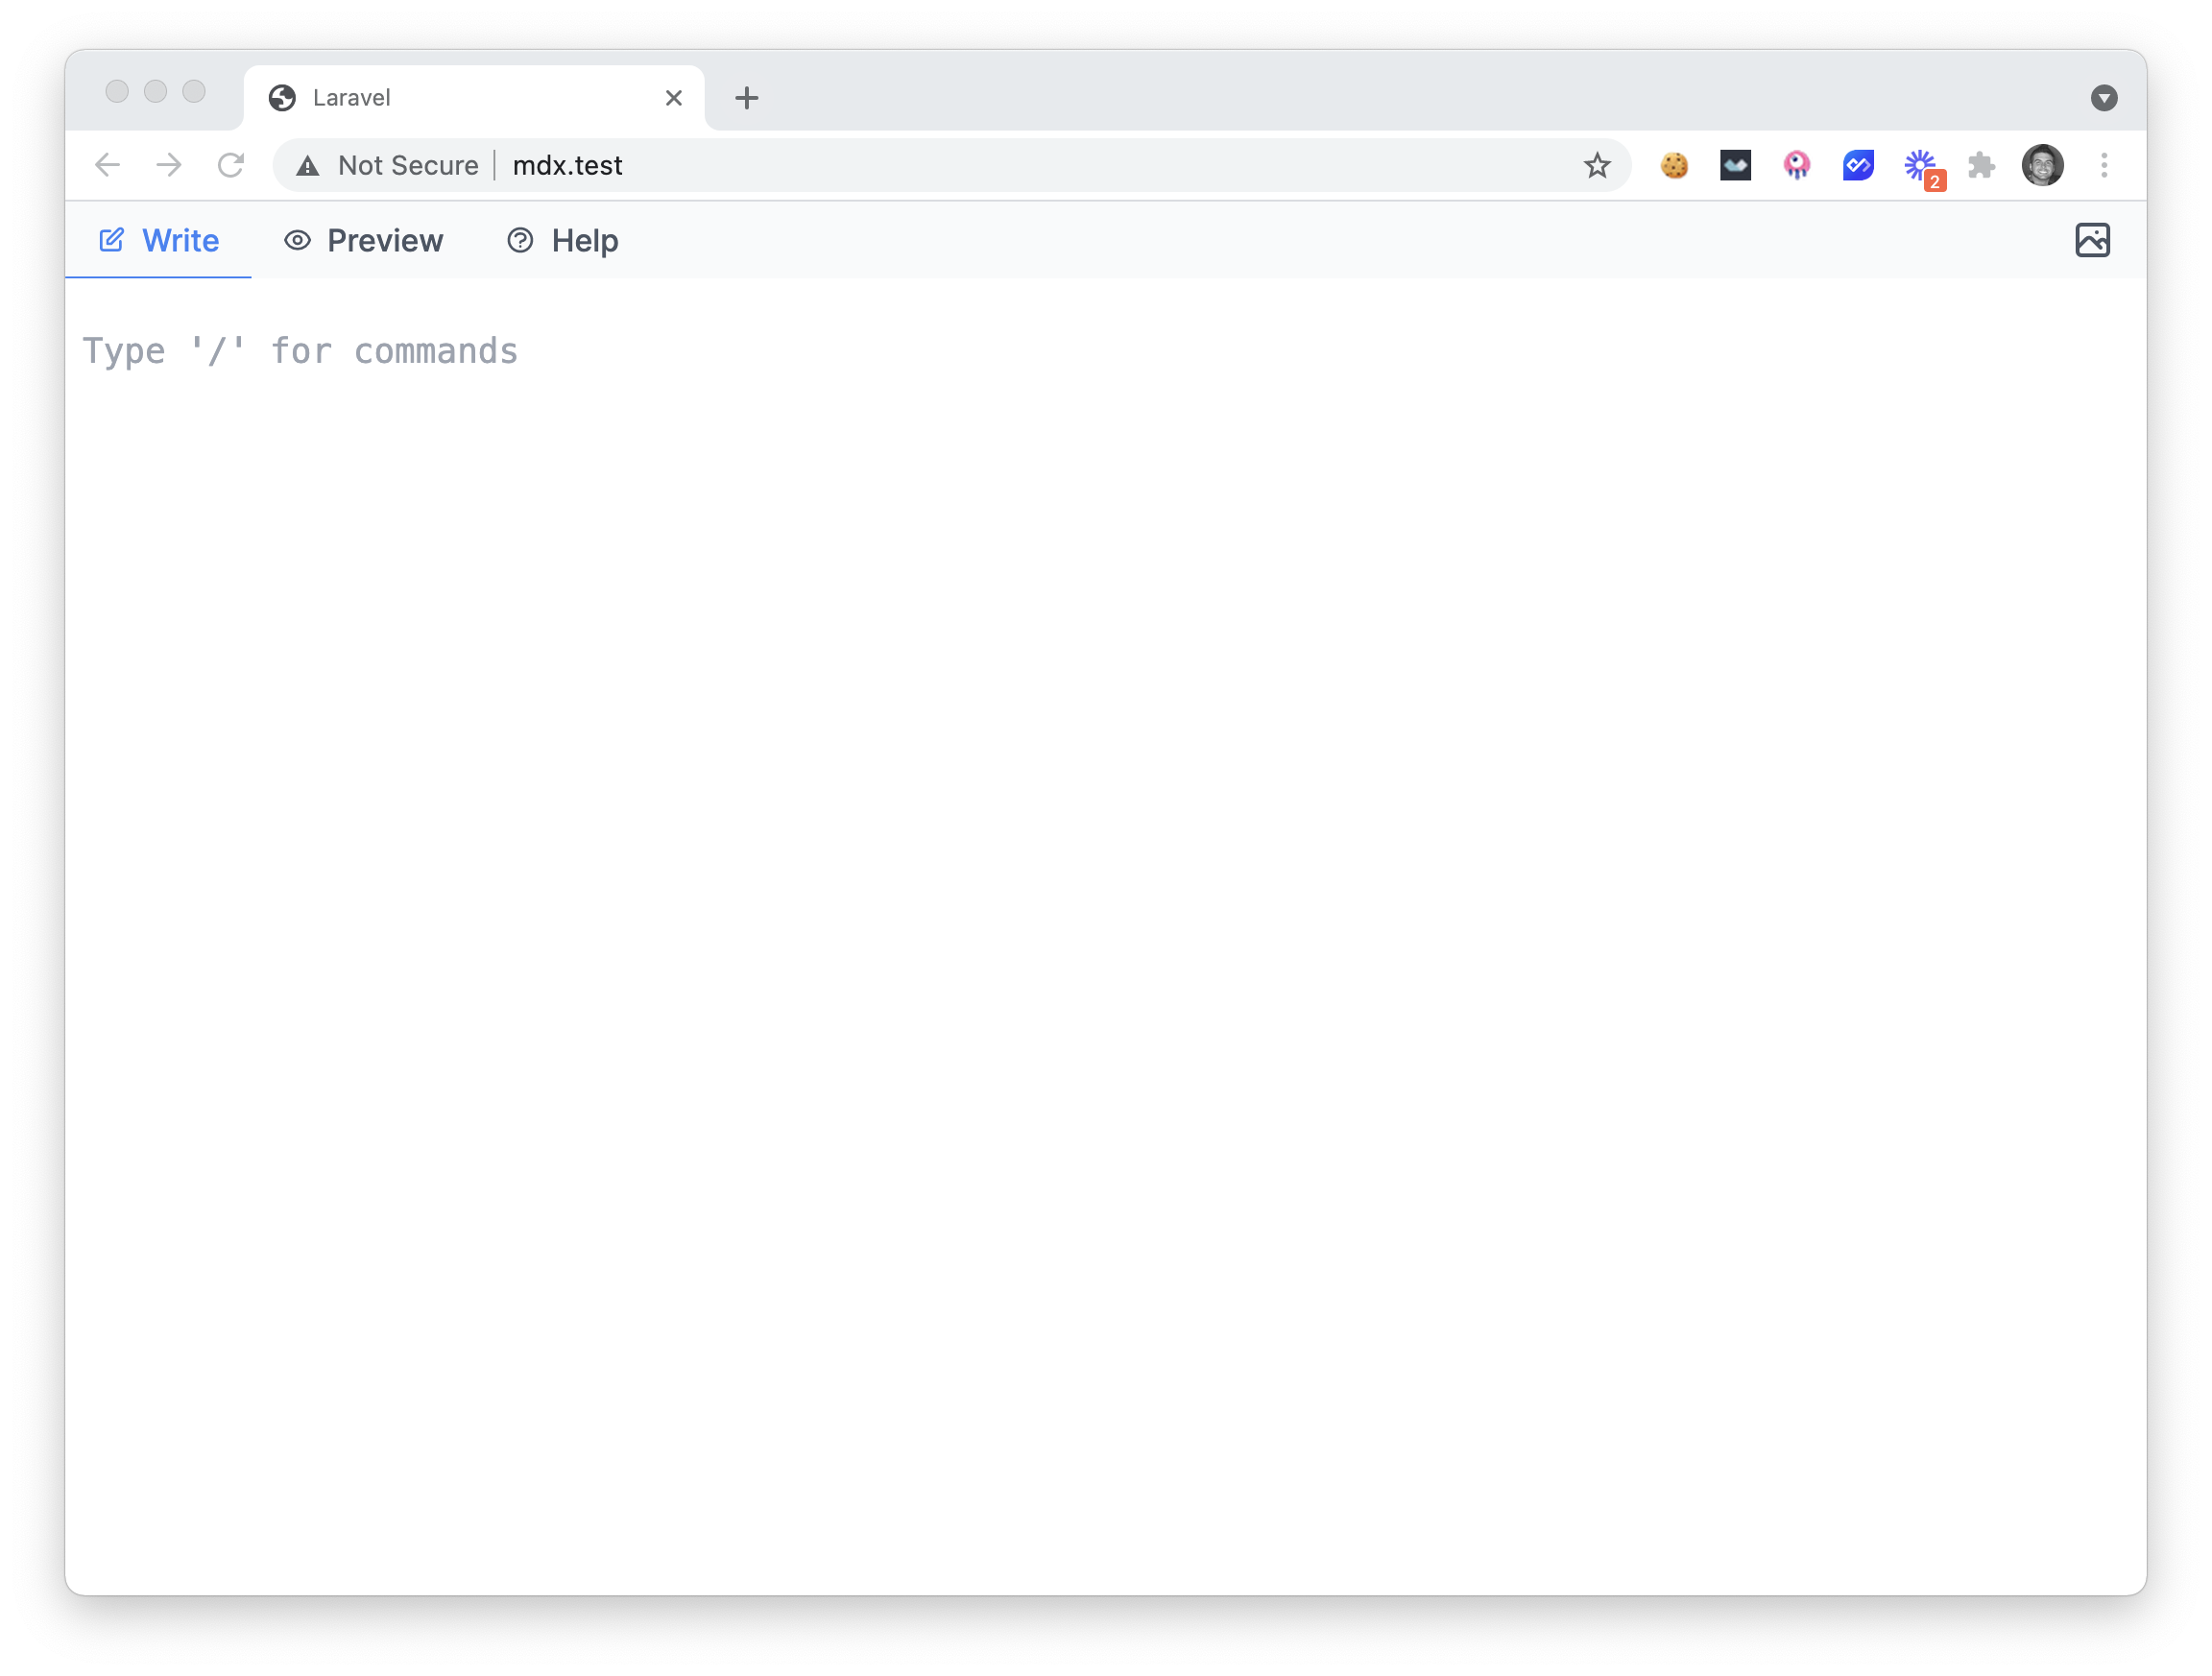
We can now drag-and-drop images, add videos, lists, and a bunch of other cool things that make writing more fun and easier than ever before.
Be sure to check out the official new landing page for MarkdownX here and the documentation here. I hope you find this component useful in your next project, and I hope you continue to build awesome stuff 🤘. See you soon!
Comments (4)