Hello Folks 👋
This is Savio here. I'm young dev with an intention to enhance as a successful web developer. I love building web apps with React. I have proved my superiority in frontend technologies.
Today, I'll show you the easiest and the fastest way to set up Tailwind CSS in your React App. So, be with me! Lets code something amazing!
Why Tailwind CSS?

Tailwind is designed to be component friendly. It is so much easier to separate a site's elements into smaller components and not pollute the codebase with objects or extraneous CSS classes. Furthermore, every class is inlined in the component, making it much easier to read and understand.
Create Your React Project
First of all, lets create a react project. Just use the command below to create a react app ⚛️.
npx create-react-app your_react_project_name
Setup Tailwind CSS
Now, lets check how we can setup tailwind css on the react app, we just created.
Install NPM Packages
We need some NPM packages to setup tailwind. These are the npm packages-
- PostCSS: A tool for transforming CSS with JavaScript
- Autoprefixer: PostCSS plugin to parse CSS and add vendor prefixes to CSS rules using values from Can I Use.
- Tailwindcss: A utility-first CSS framework packed with classes
So, lets install all of them, paste the command in the terminal ⬇️.
npm install tailwindcss postcss autoprefixer postcss-cli -D
Creating tailwind.css
After installing NPM packages, let's create a folder named styles inside src/ folder. Create a new tailwind.css and output.css. Here is the folder structure of src ⬇️
 View Website
 View Website
 View Website
src/
├── styles/
         ├── output.css
         └── tailwind.css
├── app.js
└── index.js
So, paste the following contents into tailwind.css.
@tailwind base;
@tailwind components;
@tailwind utilities;
Leave the output.css empty. It will be taken care by tailwindcss.
Creating Config Files
Now, lets create the config files. First, lets generate the default configuration file on tailwind css. Paste the code ⬇️ and you'll be good to go!
npx tailwindcss init --full
This command generates a tailwind.config.js with all the default configuration. Now, we have 2 more files to generate.
Create tailwindcss-config.js and postcss.config.js config file by using the following command.
npx tailwindcss init tailwindcss-config.js -p
Now, lets not touch the files, we can jump onto the last part!
Edit package.json
Here comes the last part, it is so simple, we just have to add a new command watch:css to the package.json. I have made it in the way, every time you start the app, it get automatically called. So, here goes the scripts part of package.json.
  "scripts": {
    "start": "npm run watch:css && react-scripts start",
    "build": "npm run watch:css && react-scripts build",
    "test": "react-scripts test",
    "eject": "react-scripts eject",
    "watch:css": "postcss src/styles/tailwind.css -o src/styles/output.css"
  },
Now, if we just run npm start we can see our output.css gets filled with the styles of tailwindcss. That means, Everything gone absolutely correct. 🎉
Testing Tailwind CSS
Now, it is time to test. To, use the styles of tailwind, we have to import output.css to our app.js.
import './styles/output.css'
Yeah, that's it. We're good to go! Lets add some tailwind styles.
Feel free to use the following code to test your app.
import "./styles/output.css";

function App() {
  return (
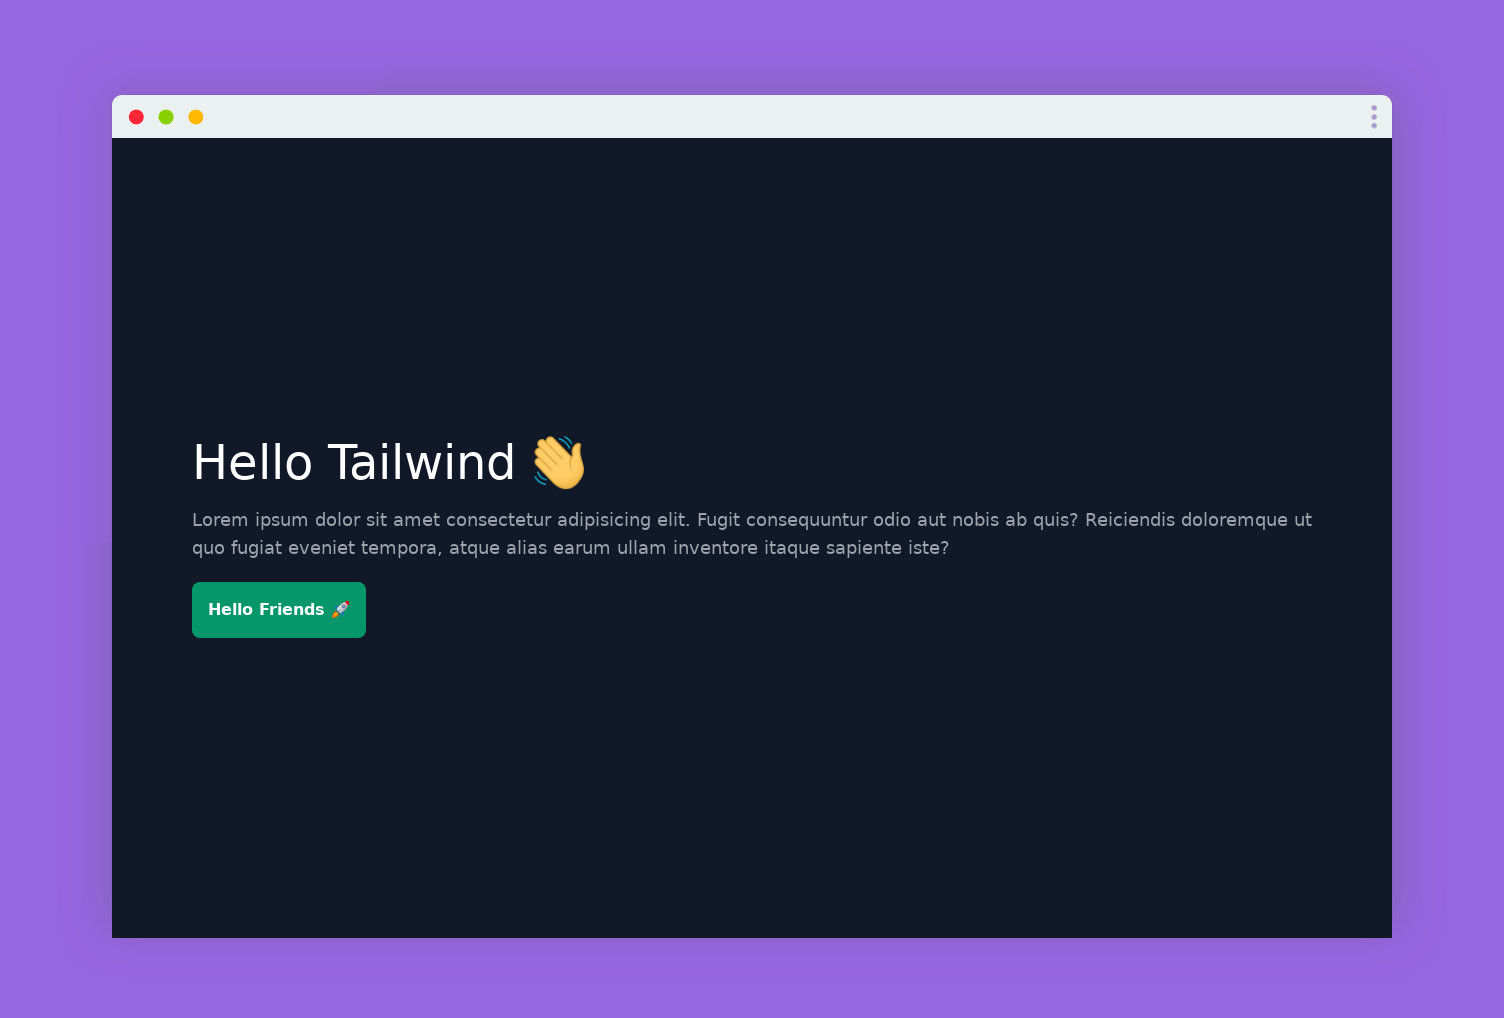
    <div className="bg-gray-900 p-20 h-screen flex justify-center items-start flex-col">
      <h1 className="text-5xl text-white">Hello Tailwind 👋</h1>
      <p className="text-gray-400 mt-5 text-lg">
        Lorem ipsum dolor sit amet consectetur adipisicing elit. Fugit
        consequuntur odio aut nobis ab quis? Reiciendis doloremque ut quo fugiat
        eveniet tempora, atque alias earum ullam inventore itaque sapiente iste?
      </p>
      <button class="p-4 bg-green-600 rounded-lg font-bold text-white mt-5 hover:bg-gray-600">
        Hello Friends 🚀
      </button>
    </div>
  );
}

export default App;
So, lets do npm start and check if it is working!

Hurray 🎉 That's it we could see our good-looking app in the browser. We just made it with a little line of code. That's all! I hope it was fast! 🚀
I have deployed it! So, have a demo 🚀 create-react-app-tailwind.vercel.app
I have created a starter repo on github - saviomartin/create-react-app-tailwind. It would be a good idea if you really wish to avoid these stuffs, just clone the repo and start app. You are good to go!
Star the repository! 🌟 saviomartin/create-react-app-tailwind
👀 Wrapping Up
Yeah, that's a wrap. Hope you enjoyed the article. Do not hesitate to share your feedback. I am on Twitter @saviomartin7. Give a follow!
Follow me on Github @saviomartin, Don't miss my amazing projects! 💯
I hope you learned to use Unsplash API and created an image search app, now go start building amazing apps. Feedbacks are greatly appreciated! 🙌
Have an amazing day!
🌎 Lets connect
🙌 Support
My projects are fueled by coffees ☕, get one for me!


Comments (0)