
Laravel has quickly become one of the most prominent web development frameworks of all time. That means there are a lot of new apps built every day. It also means that there are a lot of people in need of hosting Laravel applications.
We recently teamed up with Cloudways, an excellent hosting solution for Laravel, WordPress, PHP, and many others. So in this tutorial, I want to show you how you can use Cloudways to set up your Laravel application.
1. Sign up for a free account 🔑
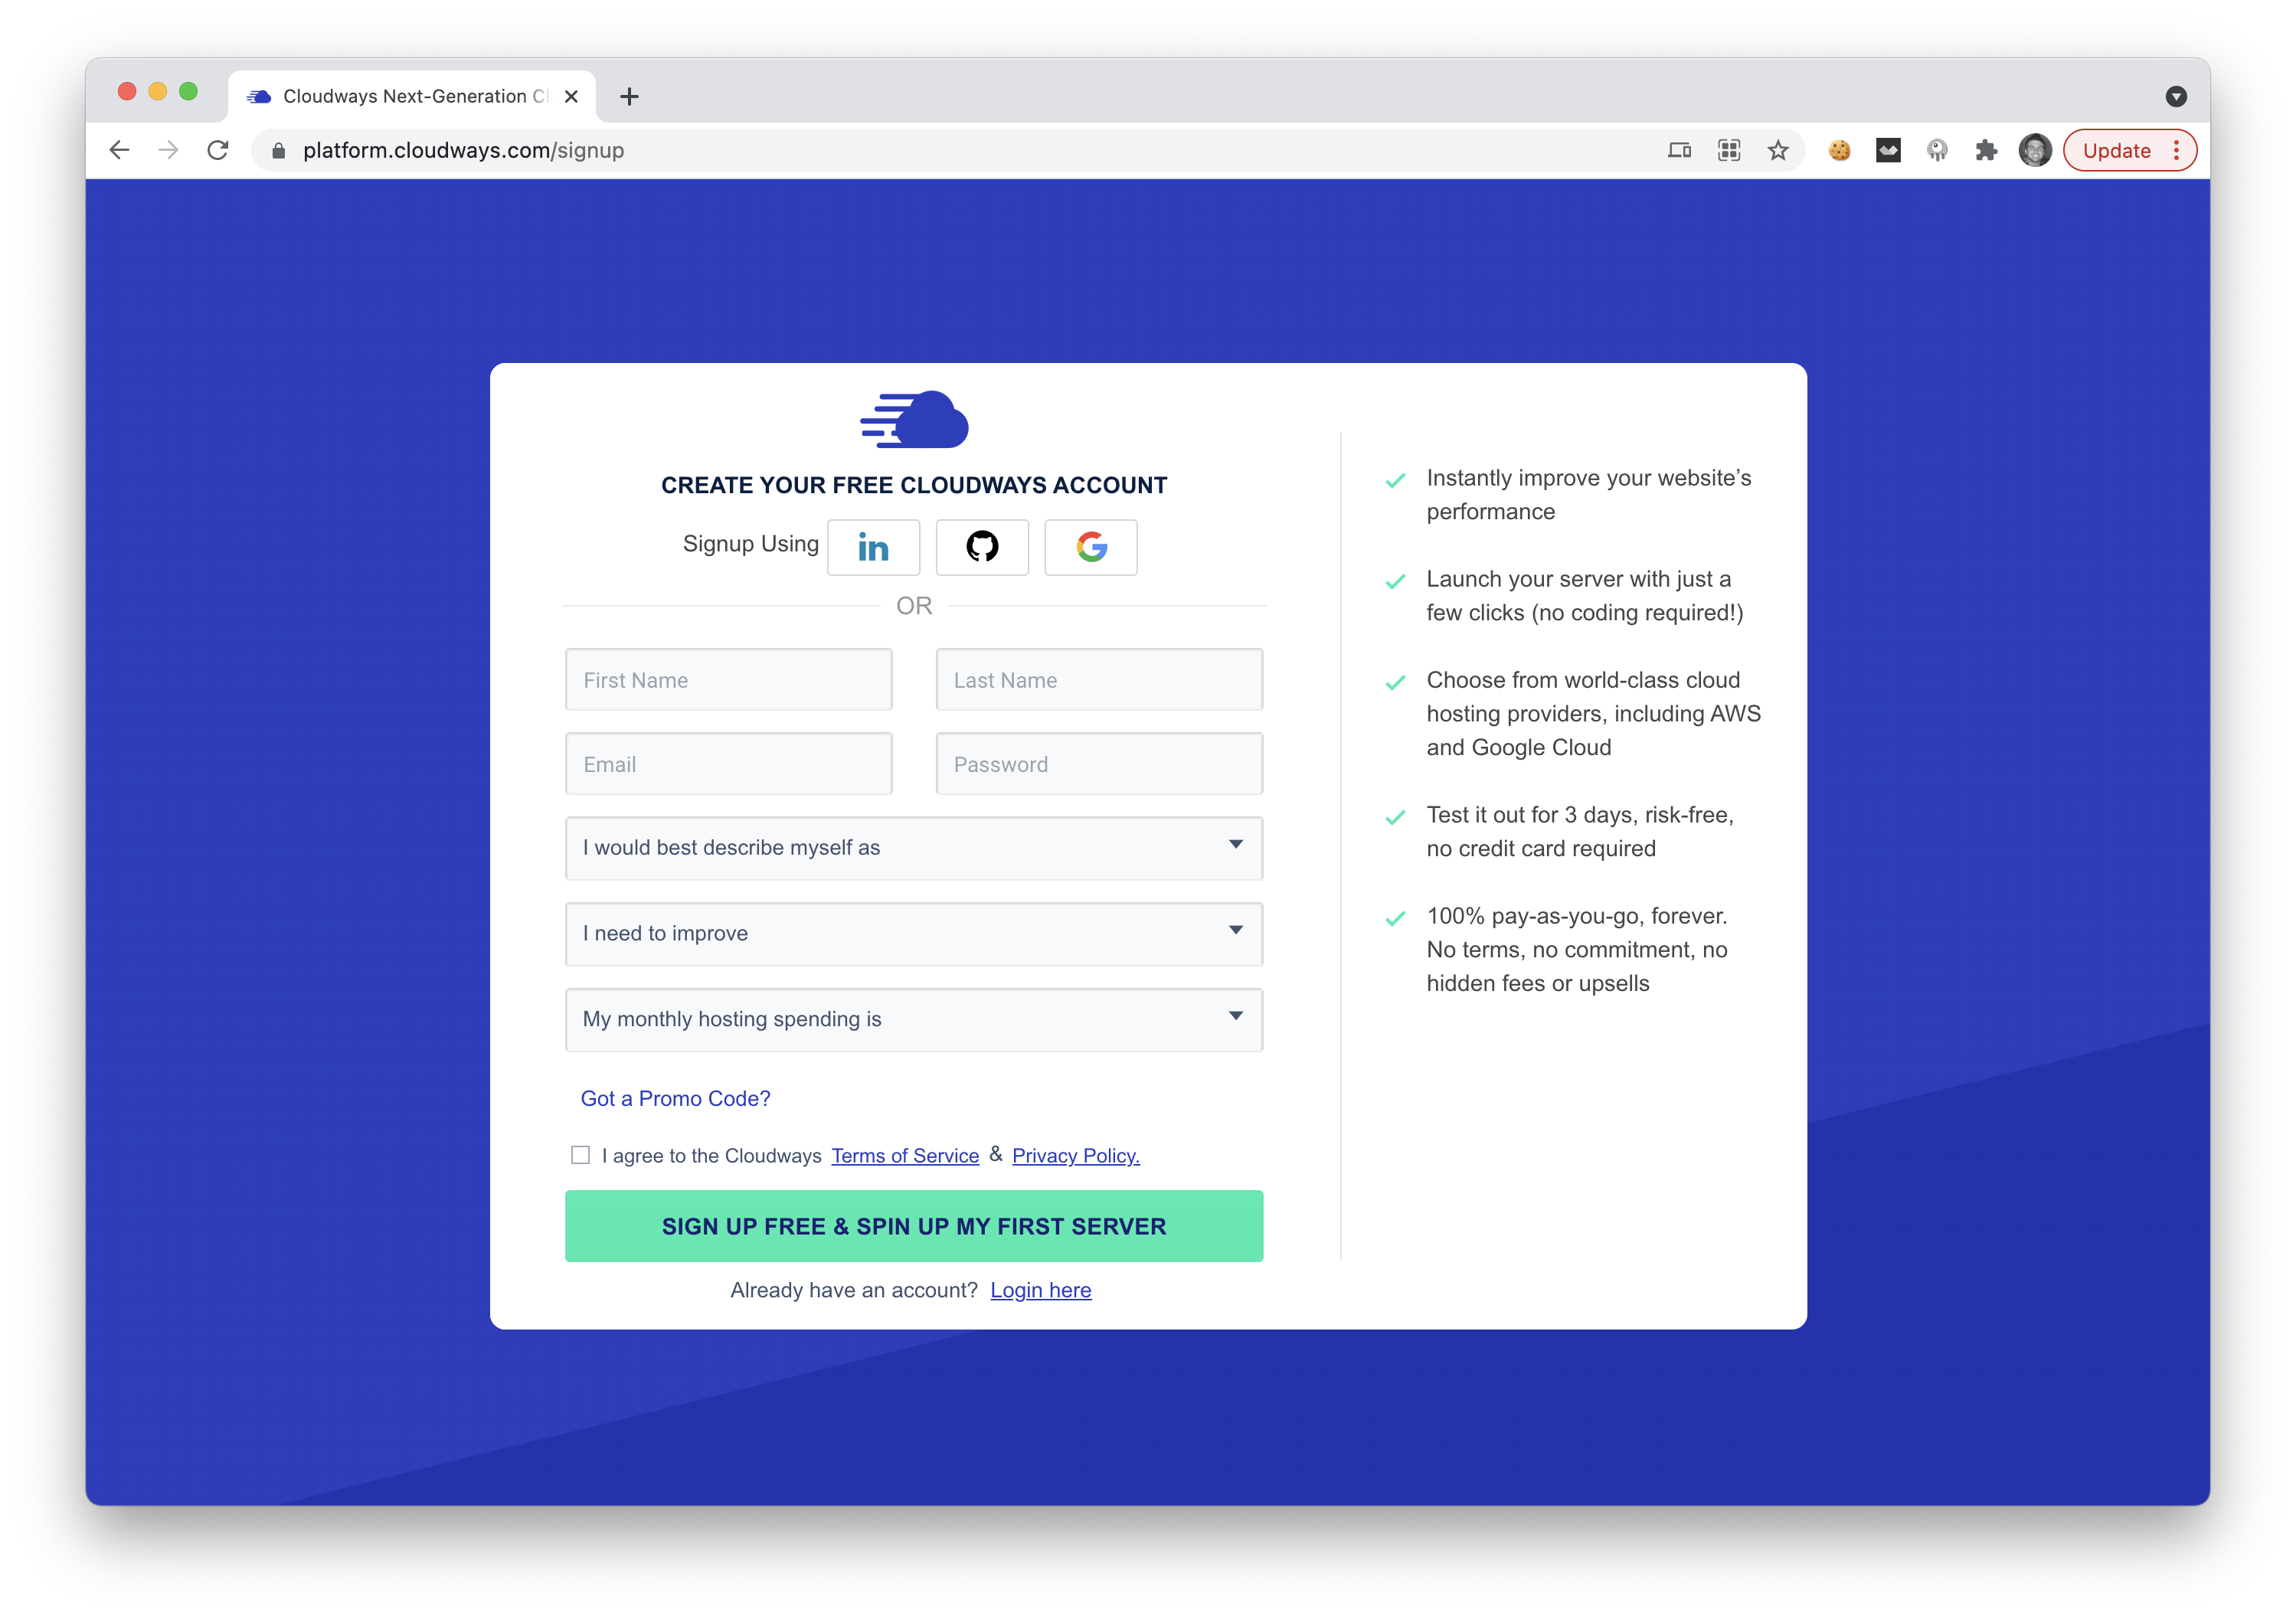
Make sure to signup for a free account. If you use the promotion code DEVDOJO, you'll get a free $50 credit 🎁.
After you sign up for your account, we can create a new Laravel application with a single click.
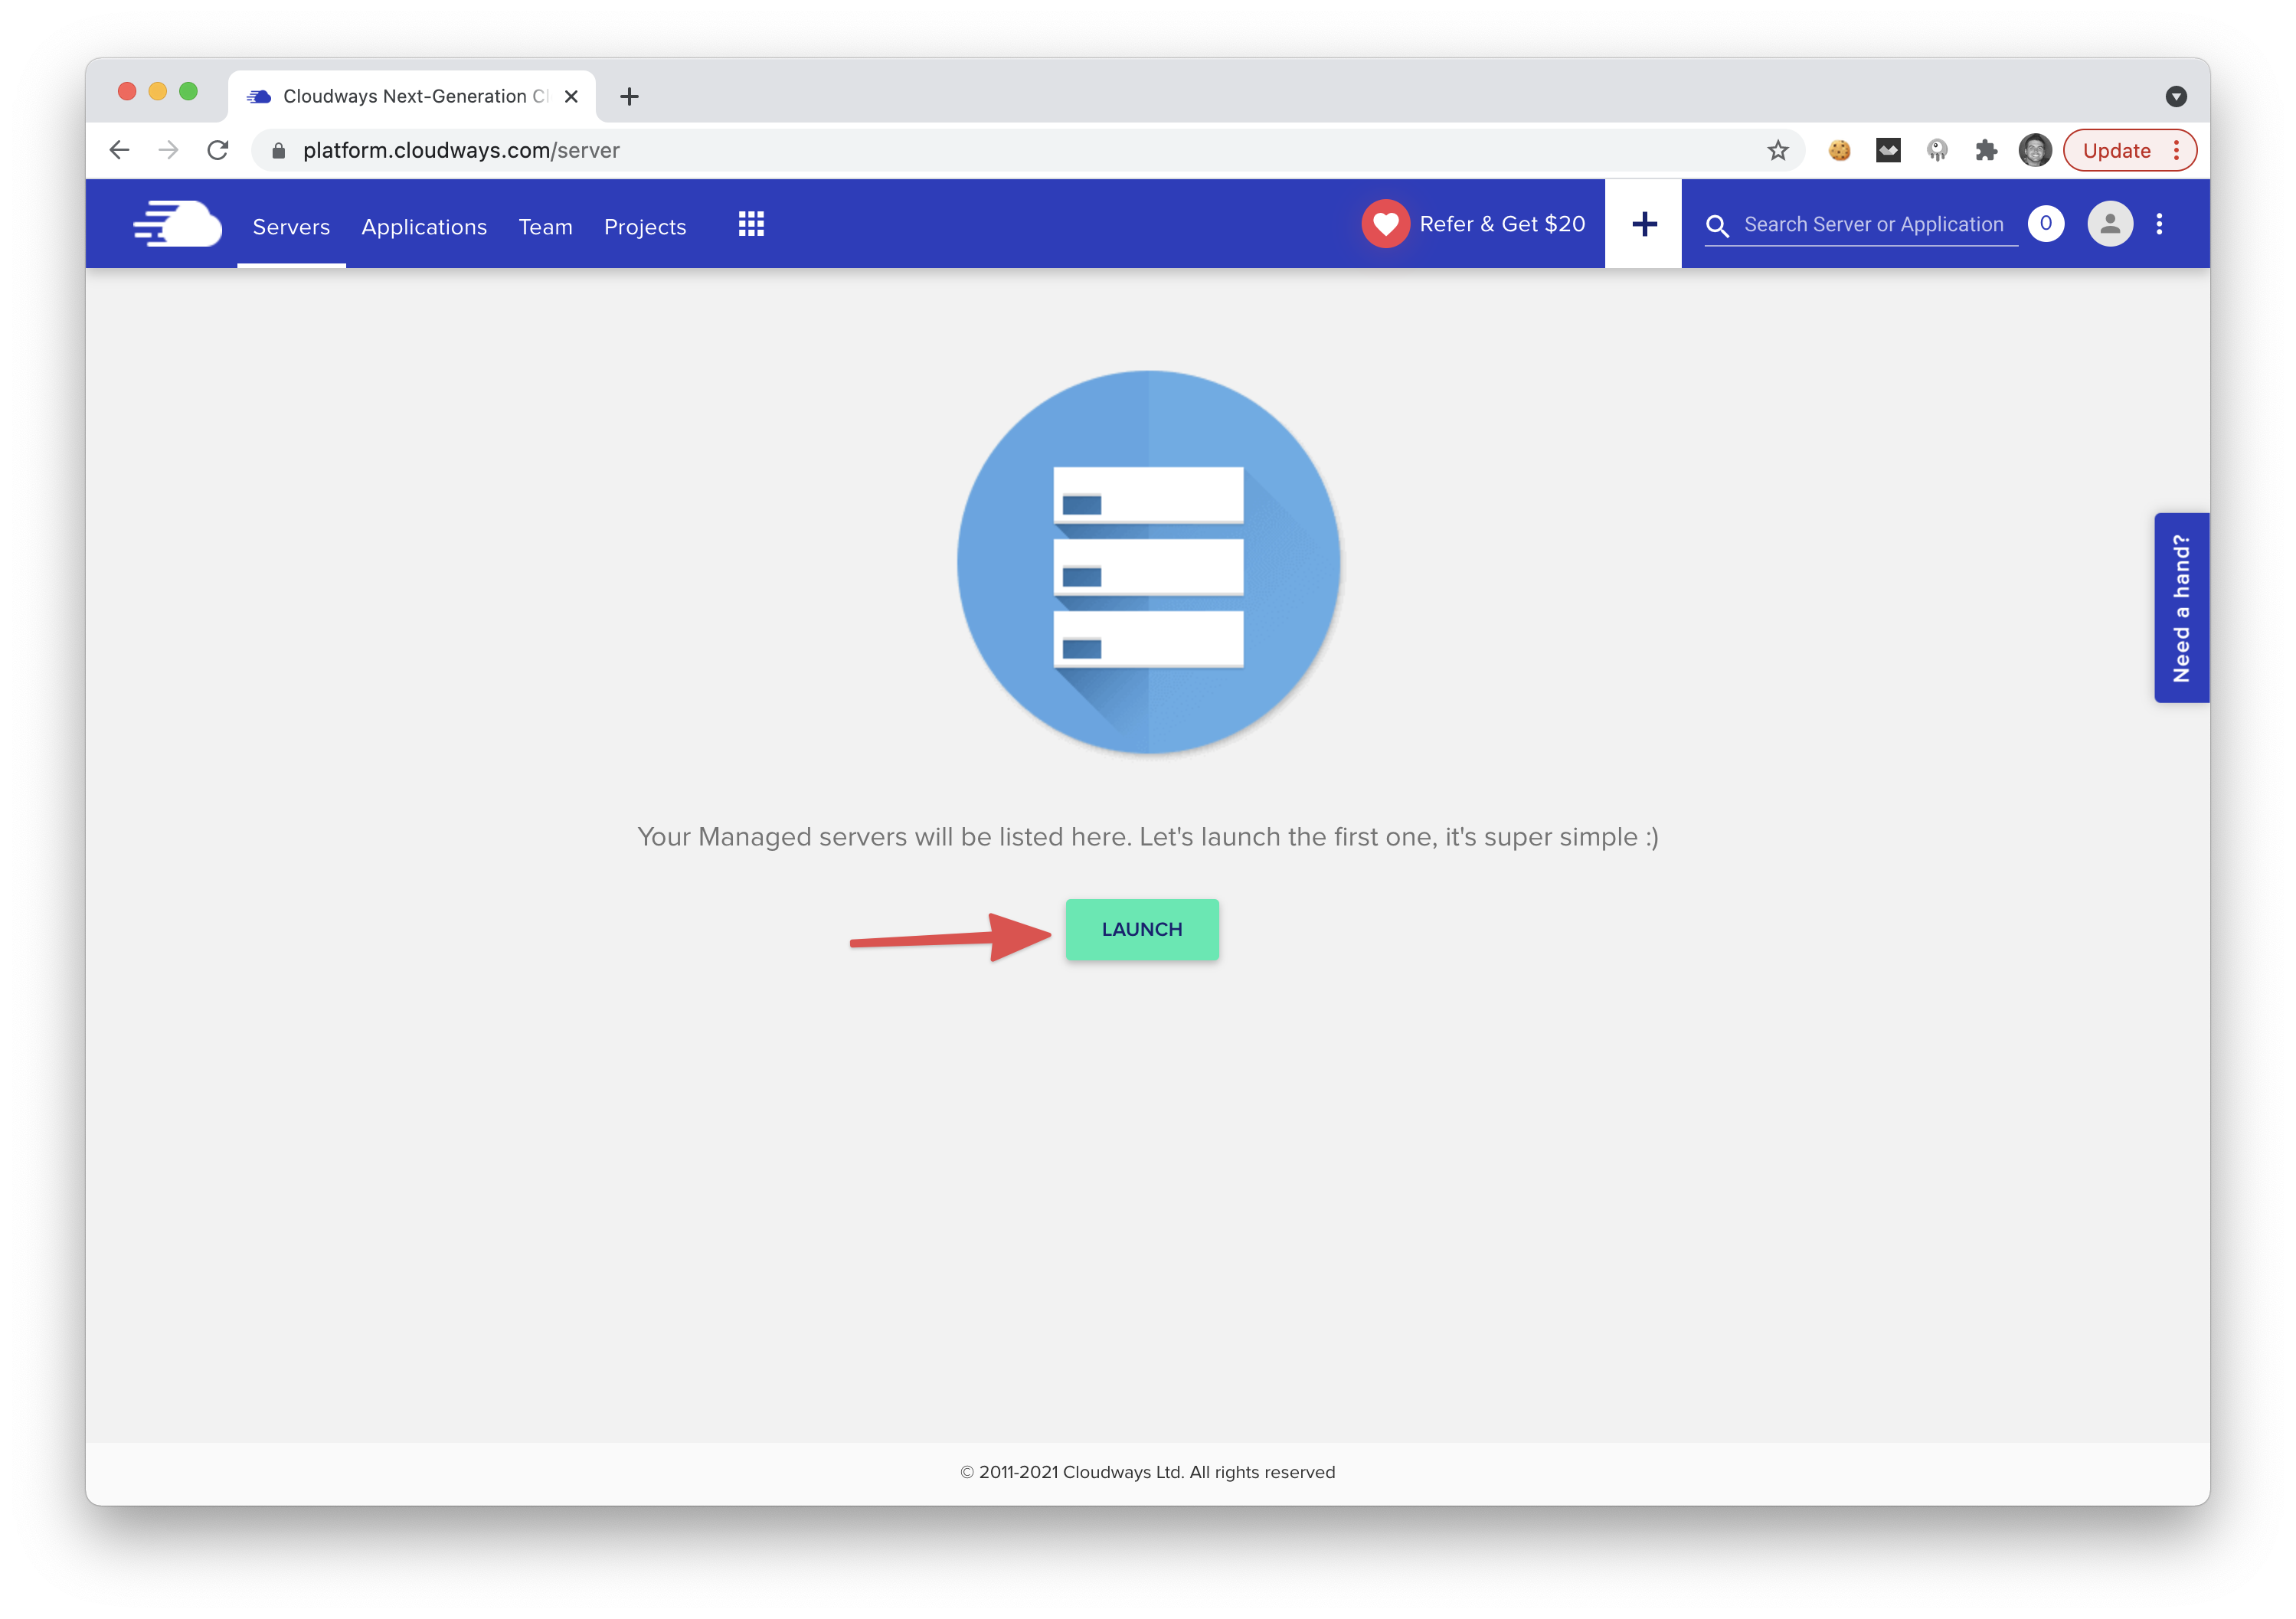
2. Create a new Laravel App 👨💻
After you log in, you'll land at your server dashboard. We can quickly boot up a new server by clicking the Launch button.
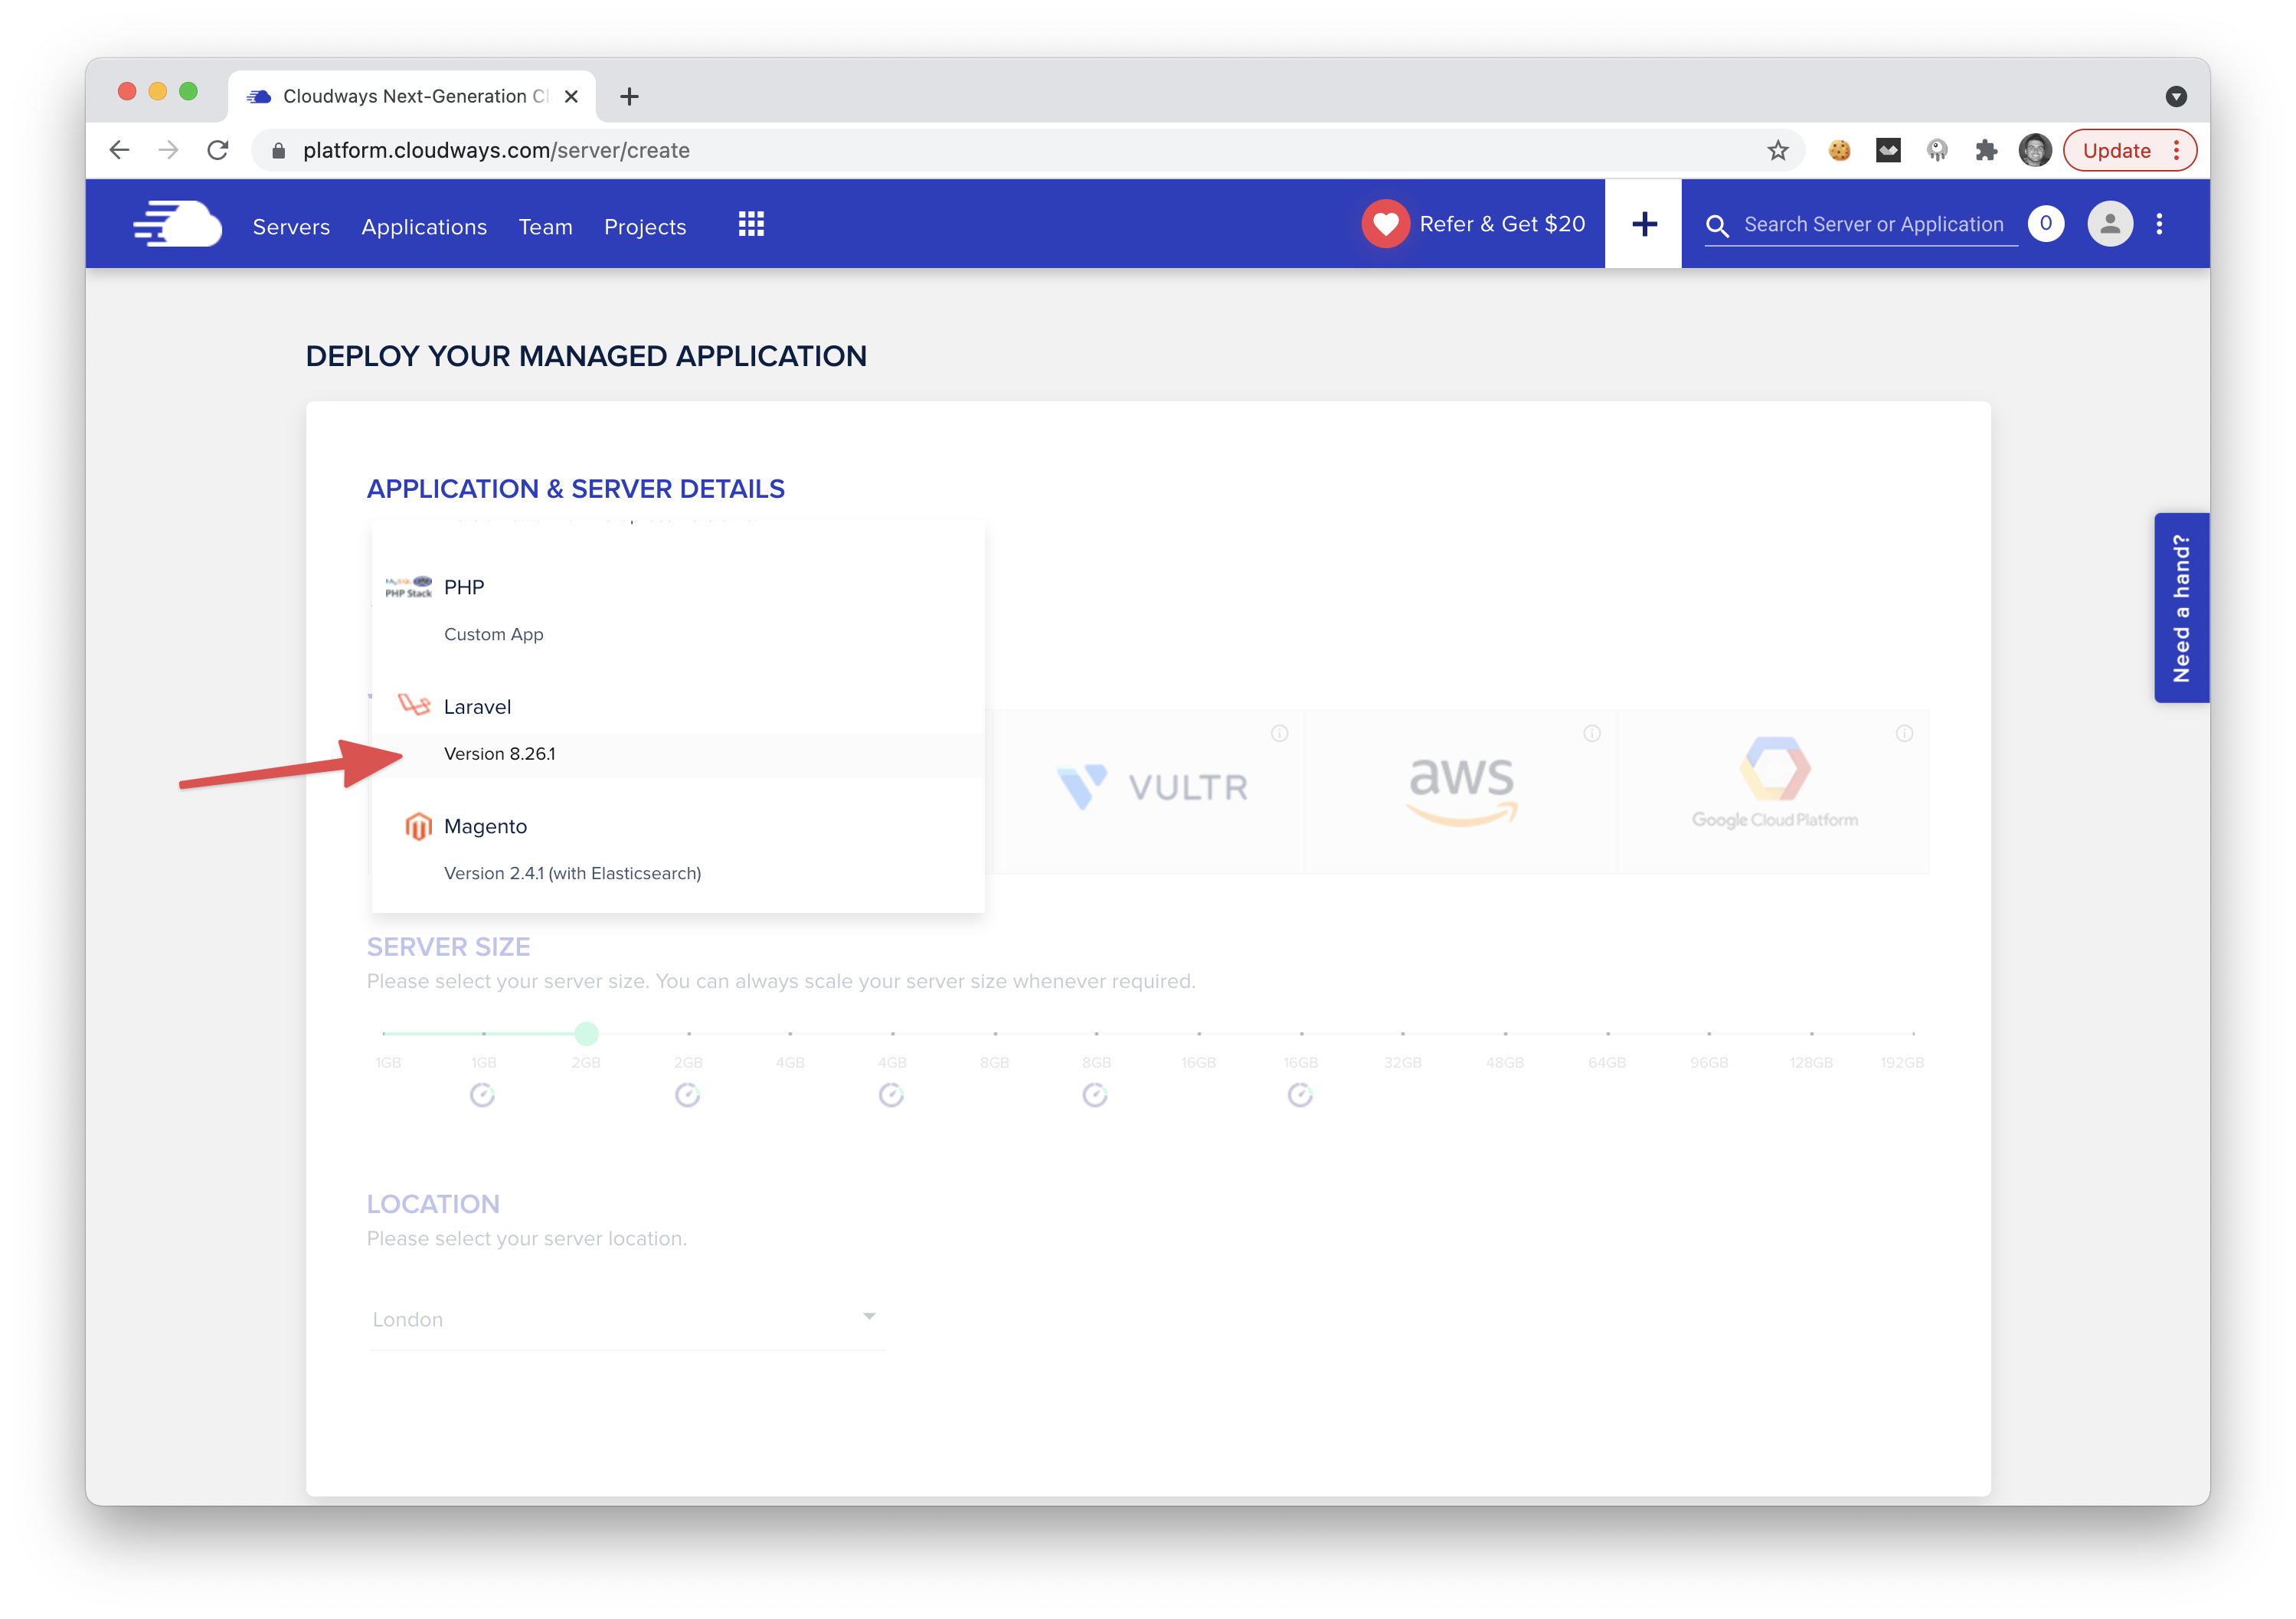
Next, you'll want to select the application dropdown and select the Laravel application. You can see that the dropdown will contain a copy of the latest version of Laravel.
 View Website
 View Website
 View Website
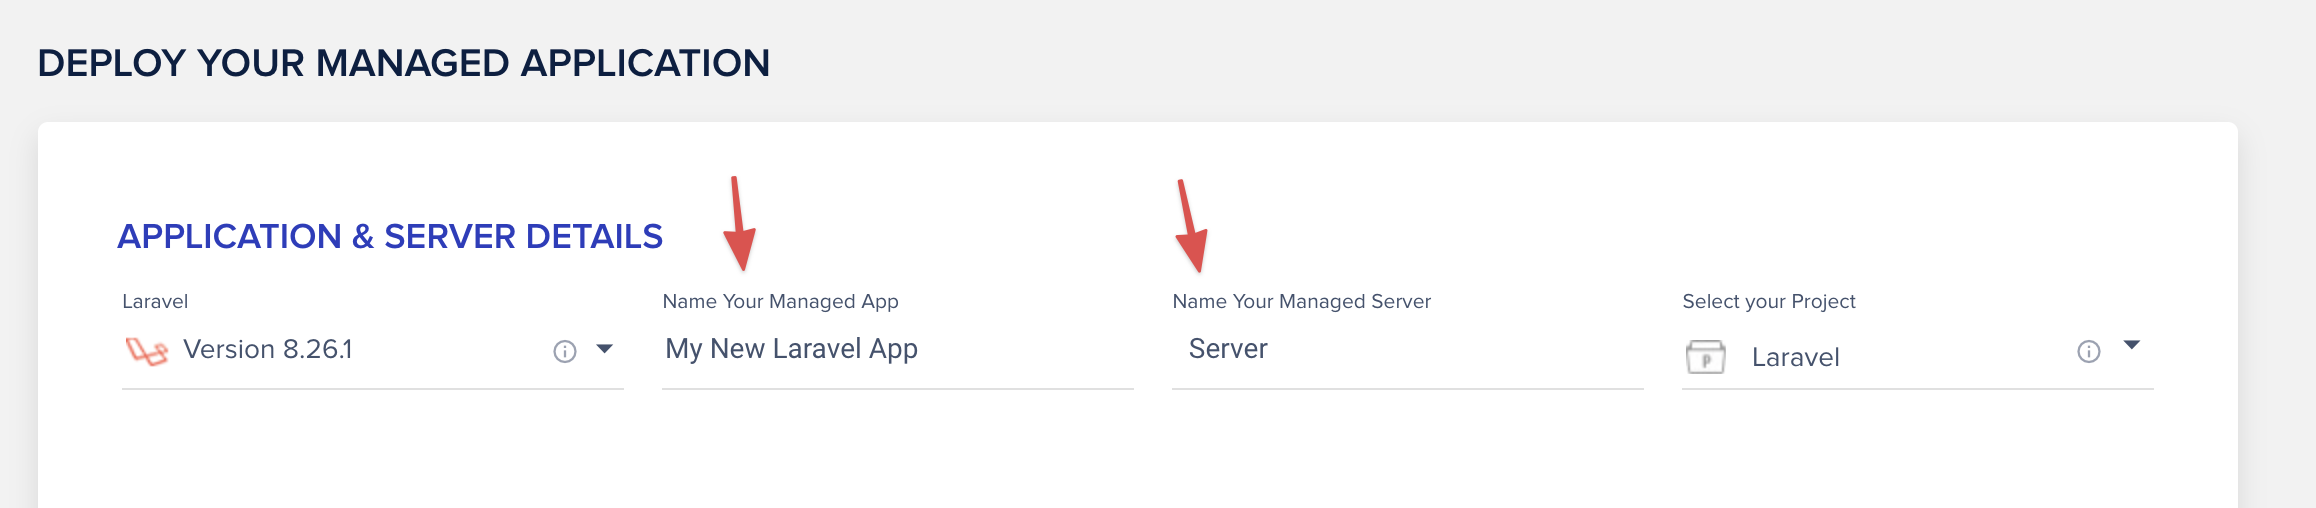
Then you will need to give your application and your server a name. (optionally, you can select a project for organizing servers).
Lastly, you select your hosting provider and the location of the server.
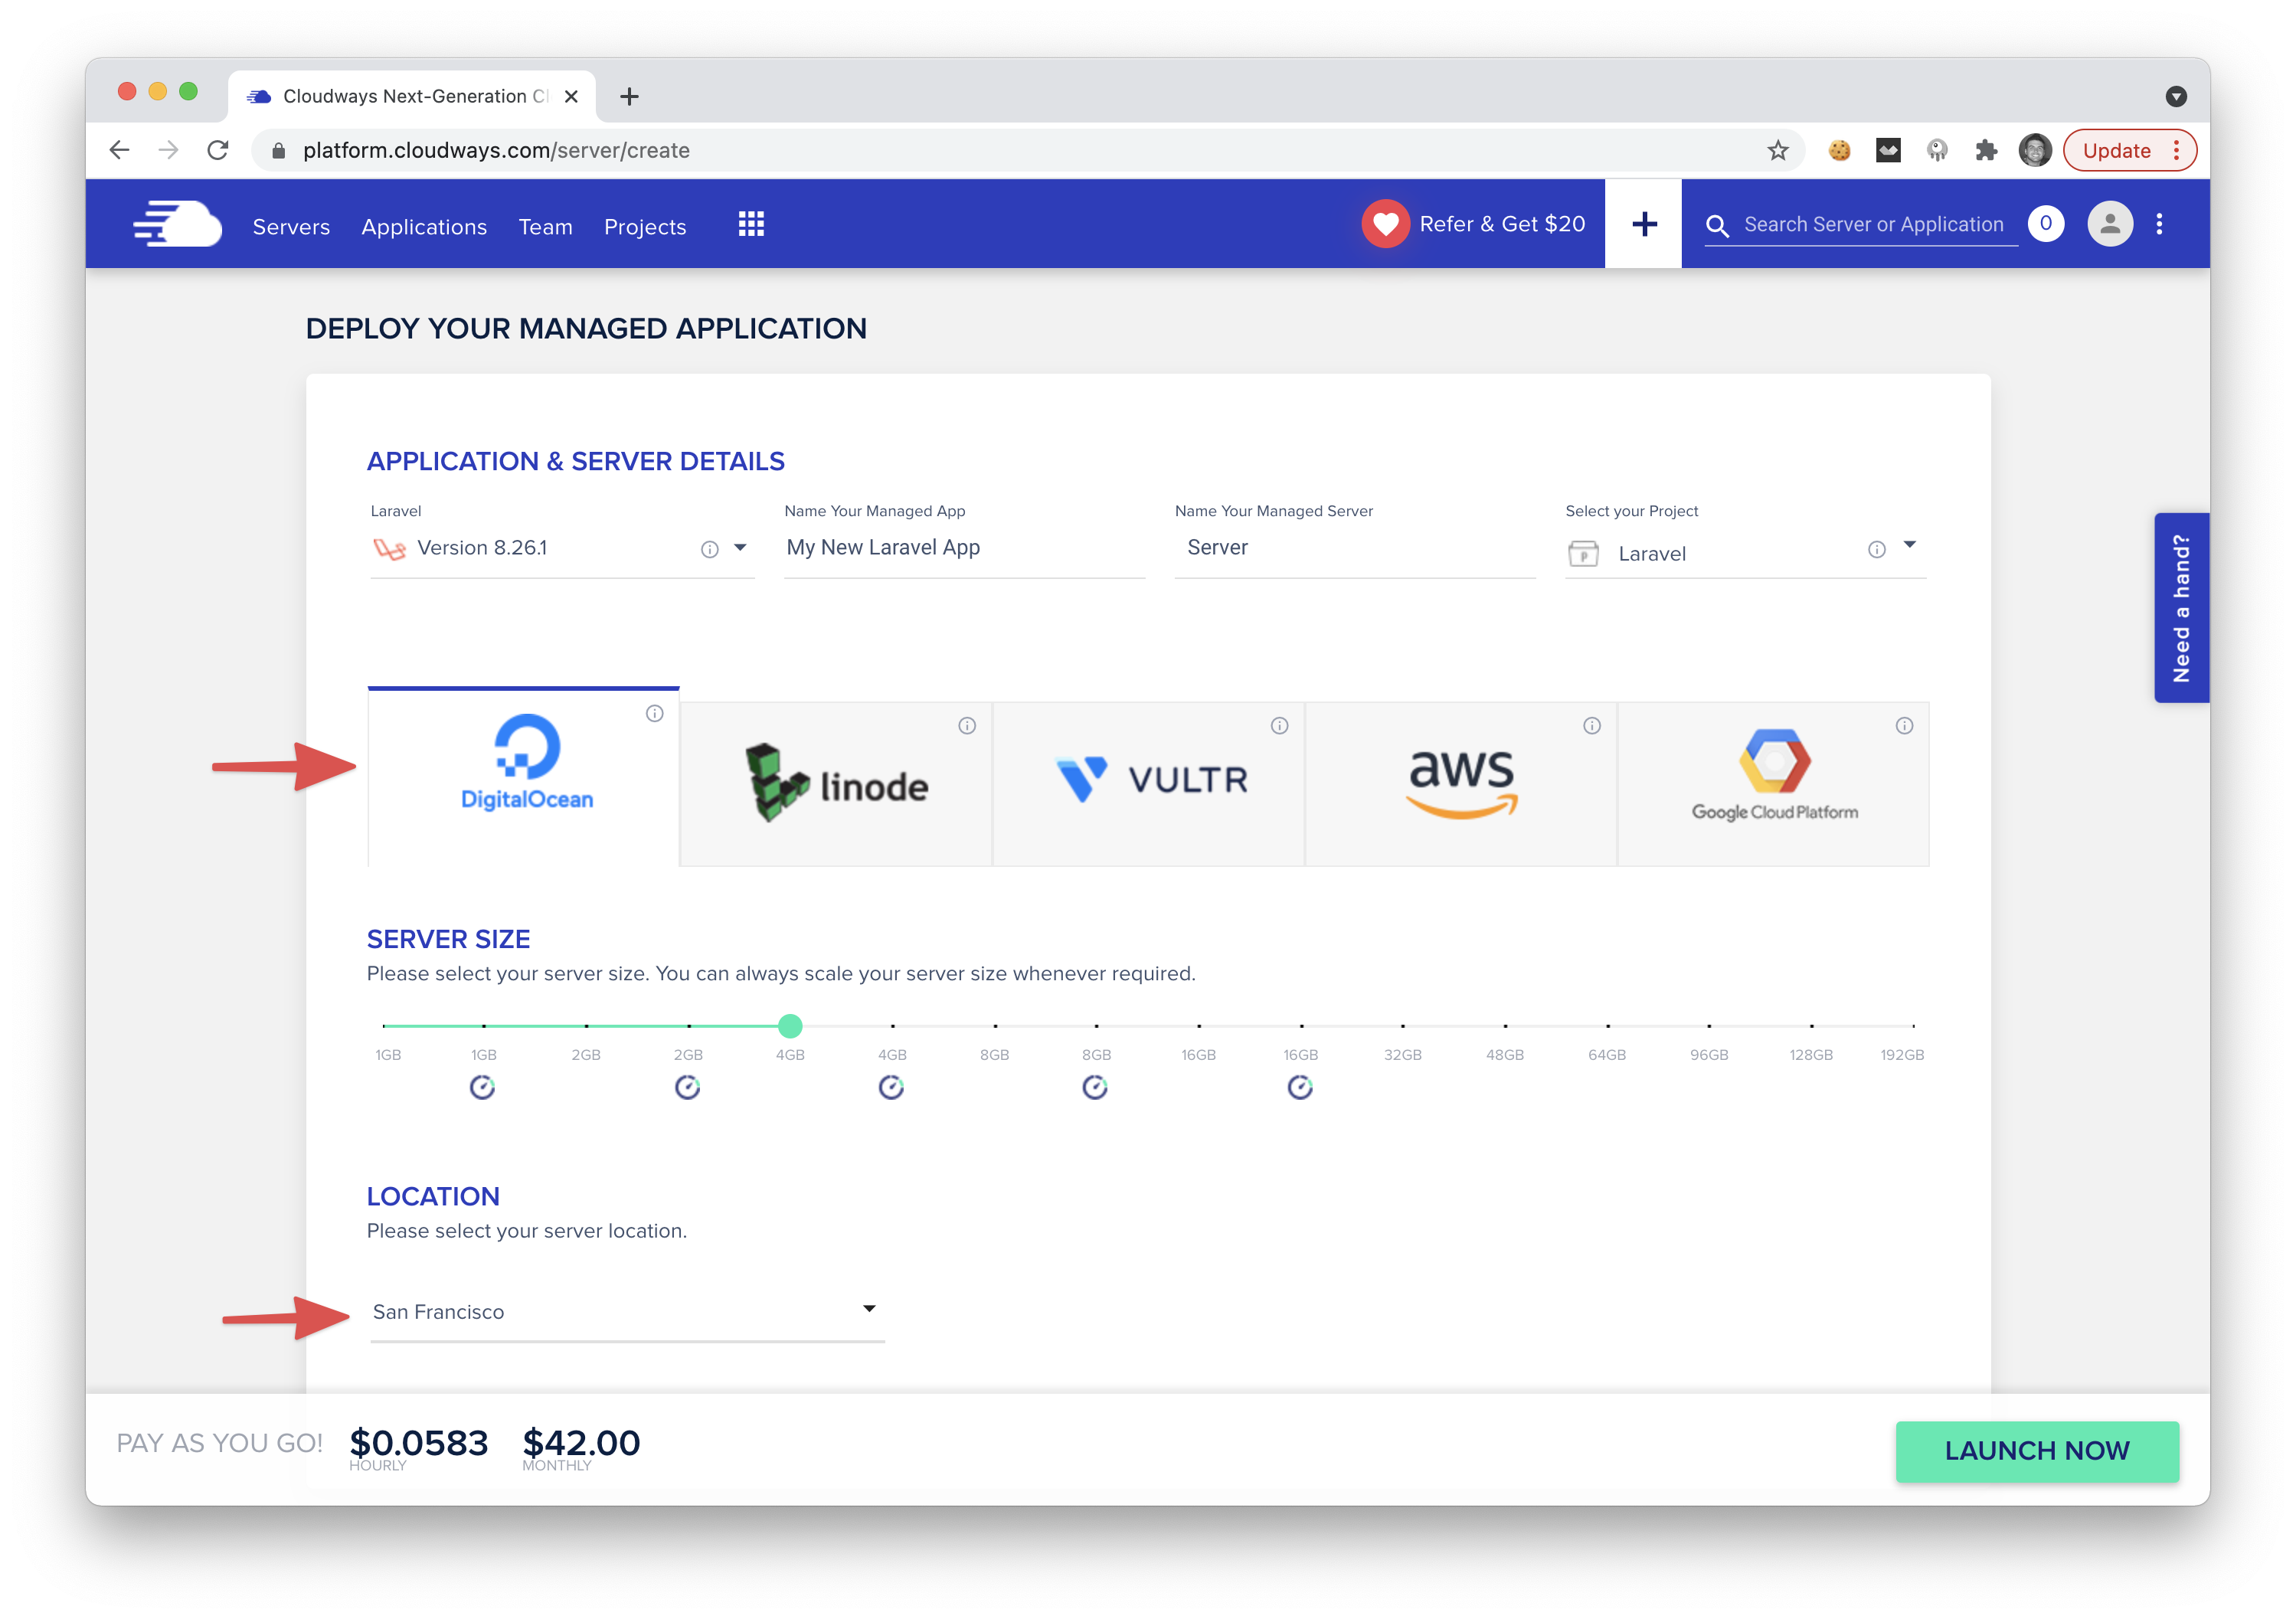
Note: you do not need to have an account with any hosting providers; these are the hosting servers that Cloudways will utilize via their API.
After selecting the server providers and location, you can click the Launch Now button. And that's it! 🚀 You've just launched your Laravel application. You'll see a screen that looks similar to the following.
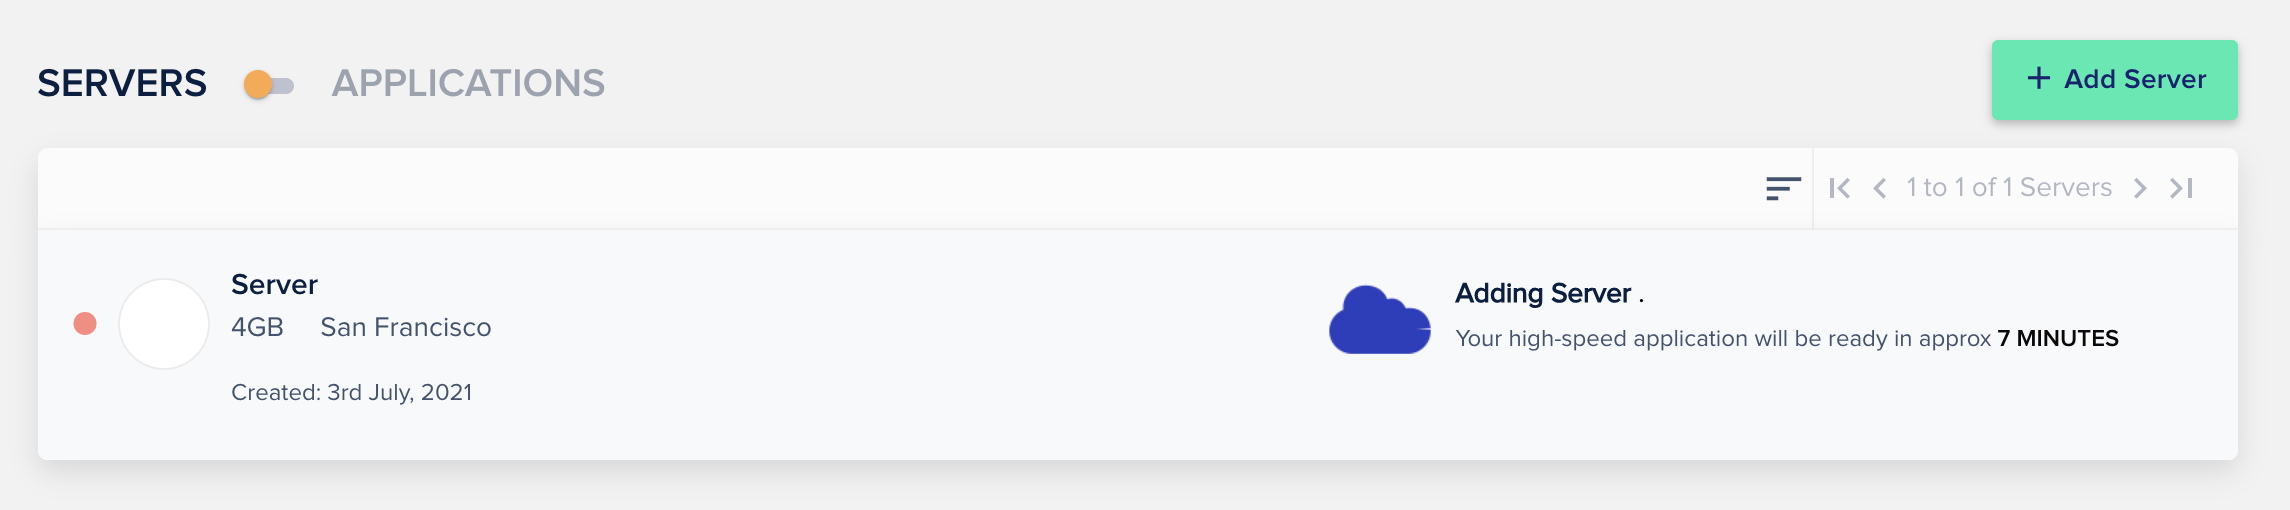
It will usually only take a few minutes for your new server to be created. After it's completed, you can then click the applications tab to see a list of your applications.
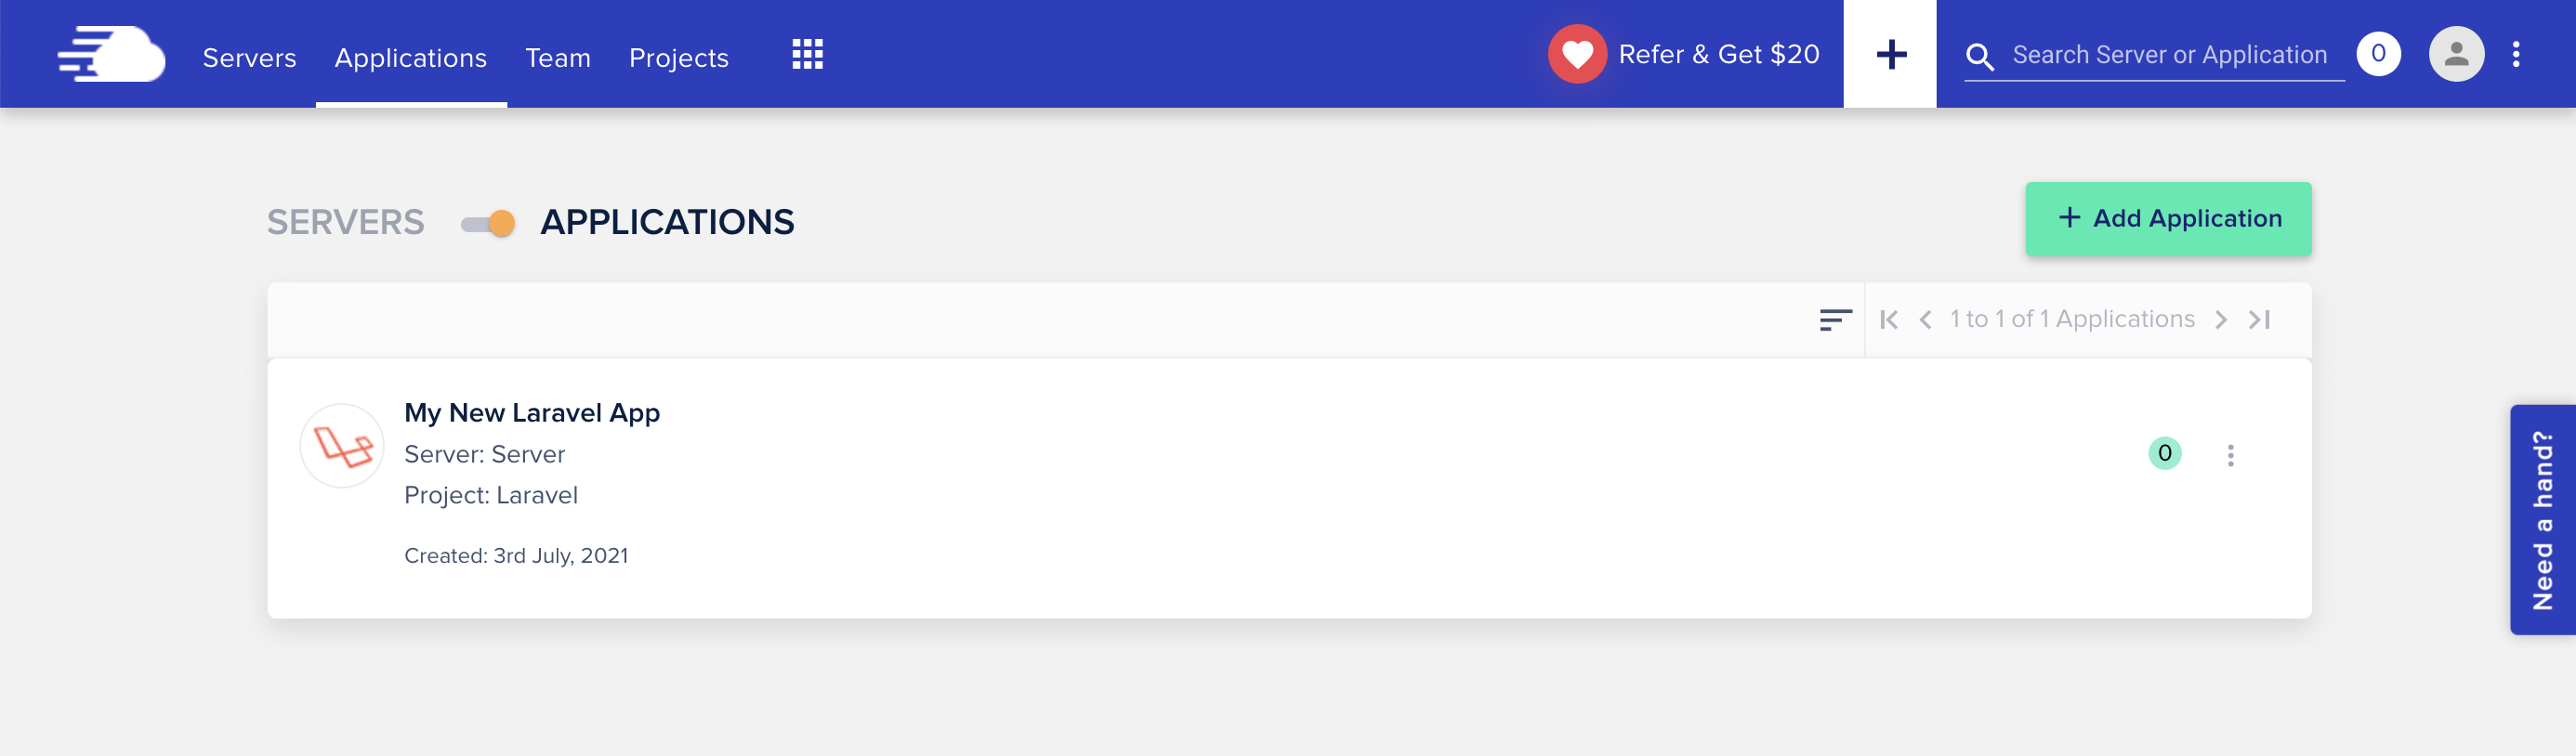
Clicking on the new application we just created will display the application details.
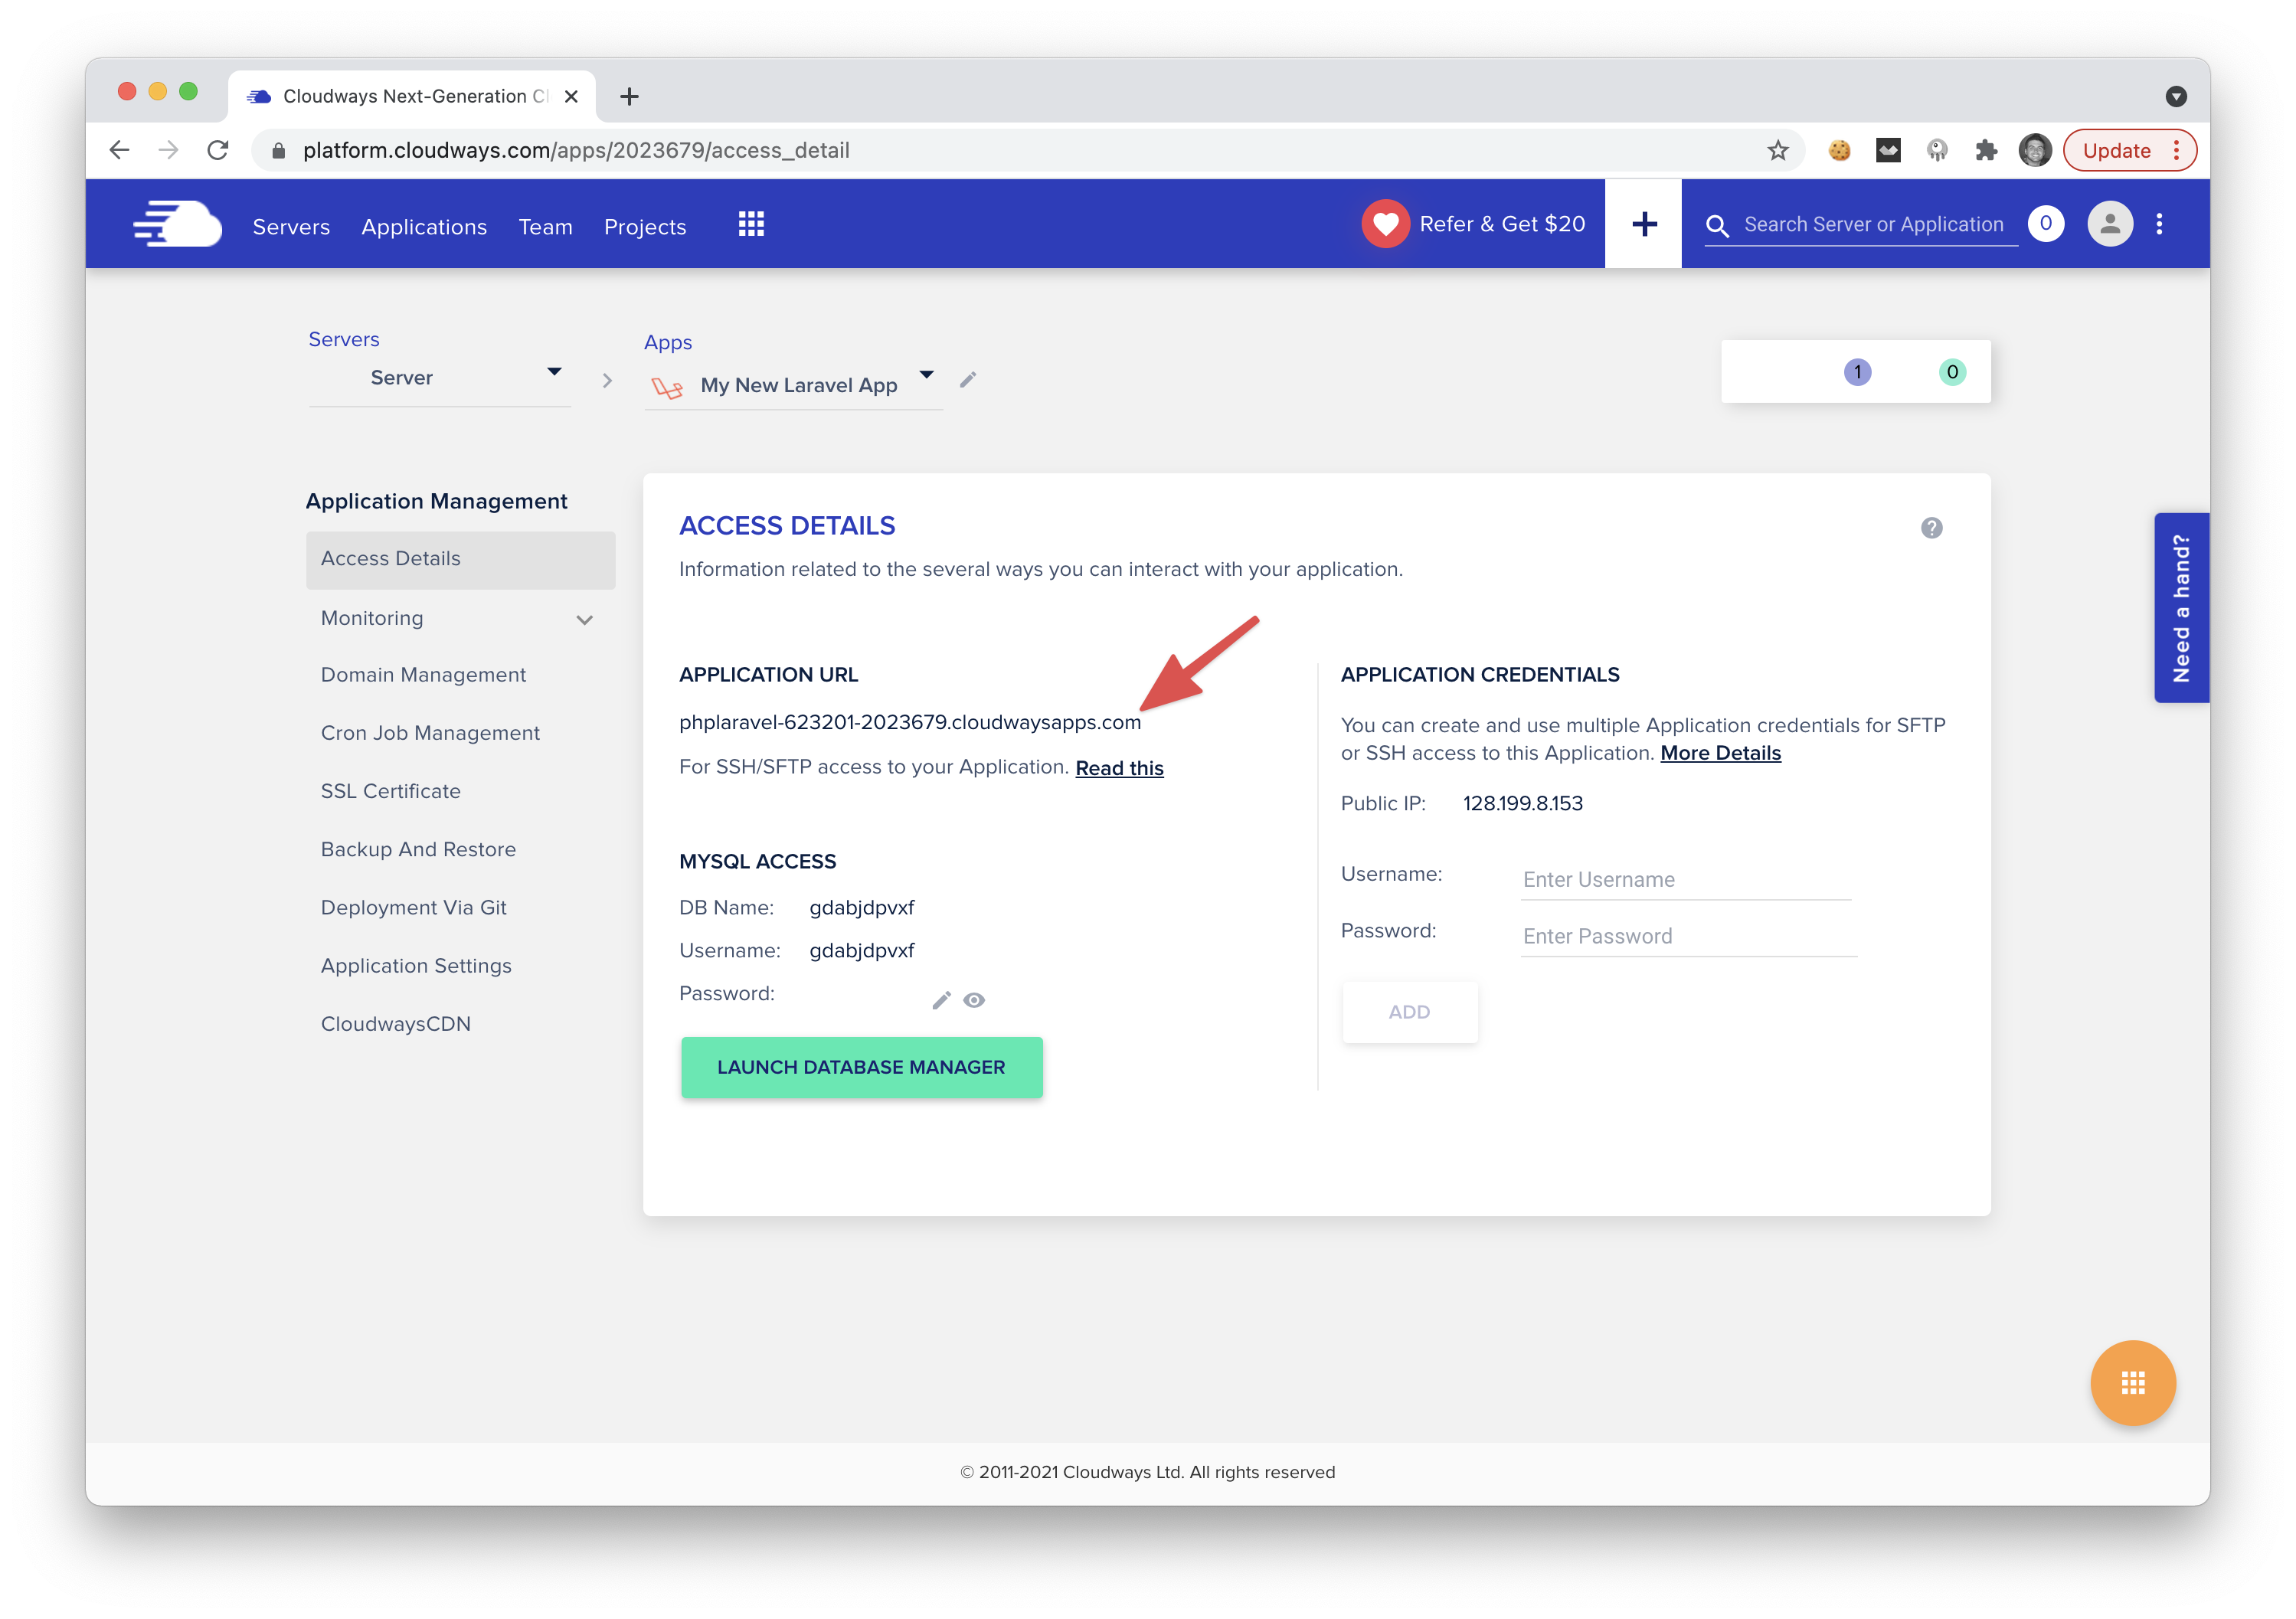
We can see information about our app on the details page, including MySQL Access, Cron Jobs, SSL, and even a unique live URL where you can visit your new Laravel application. 👏
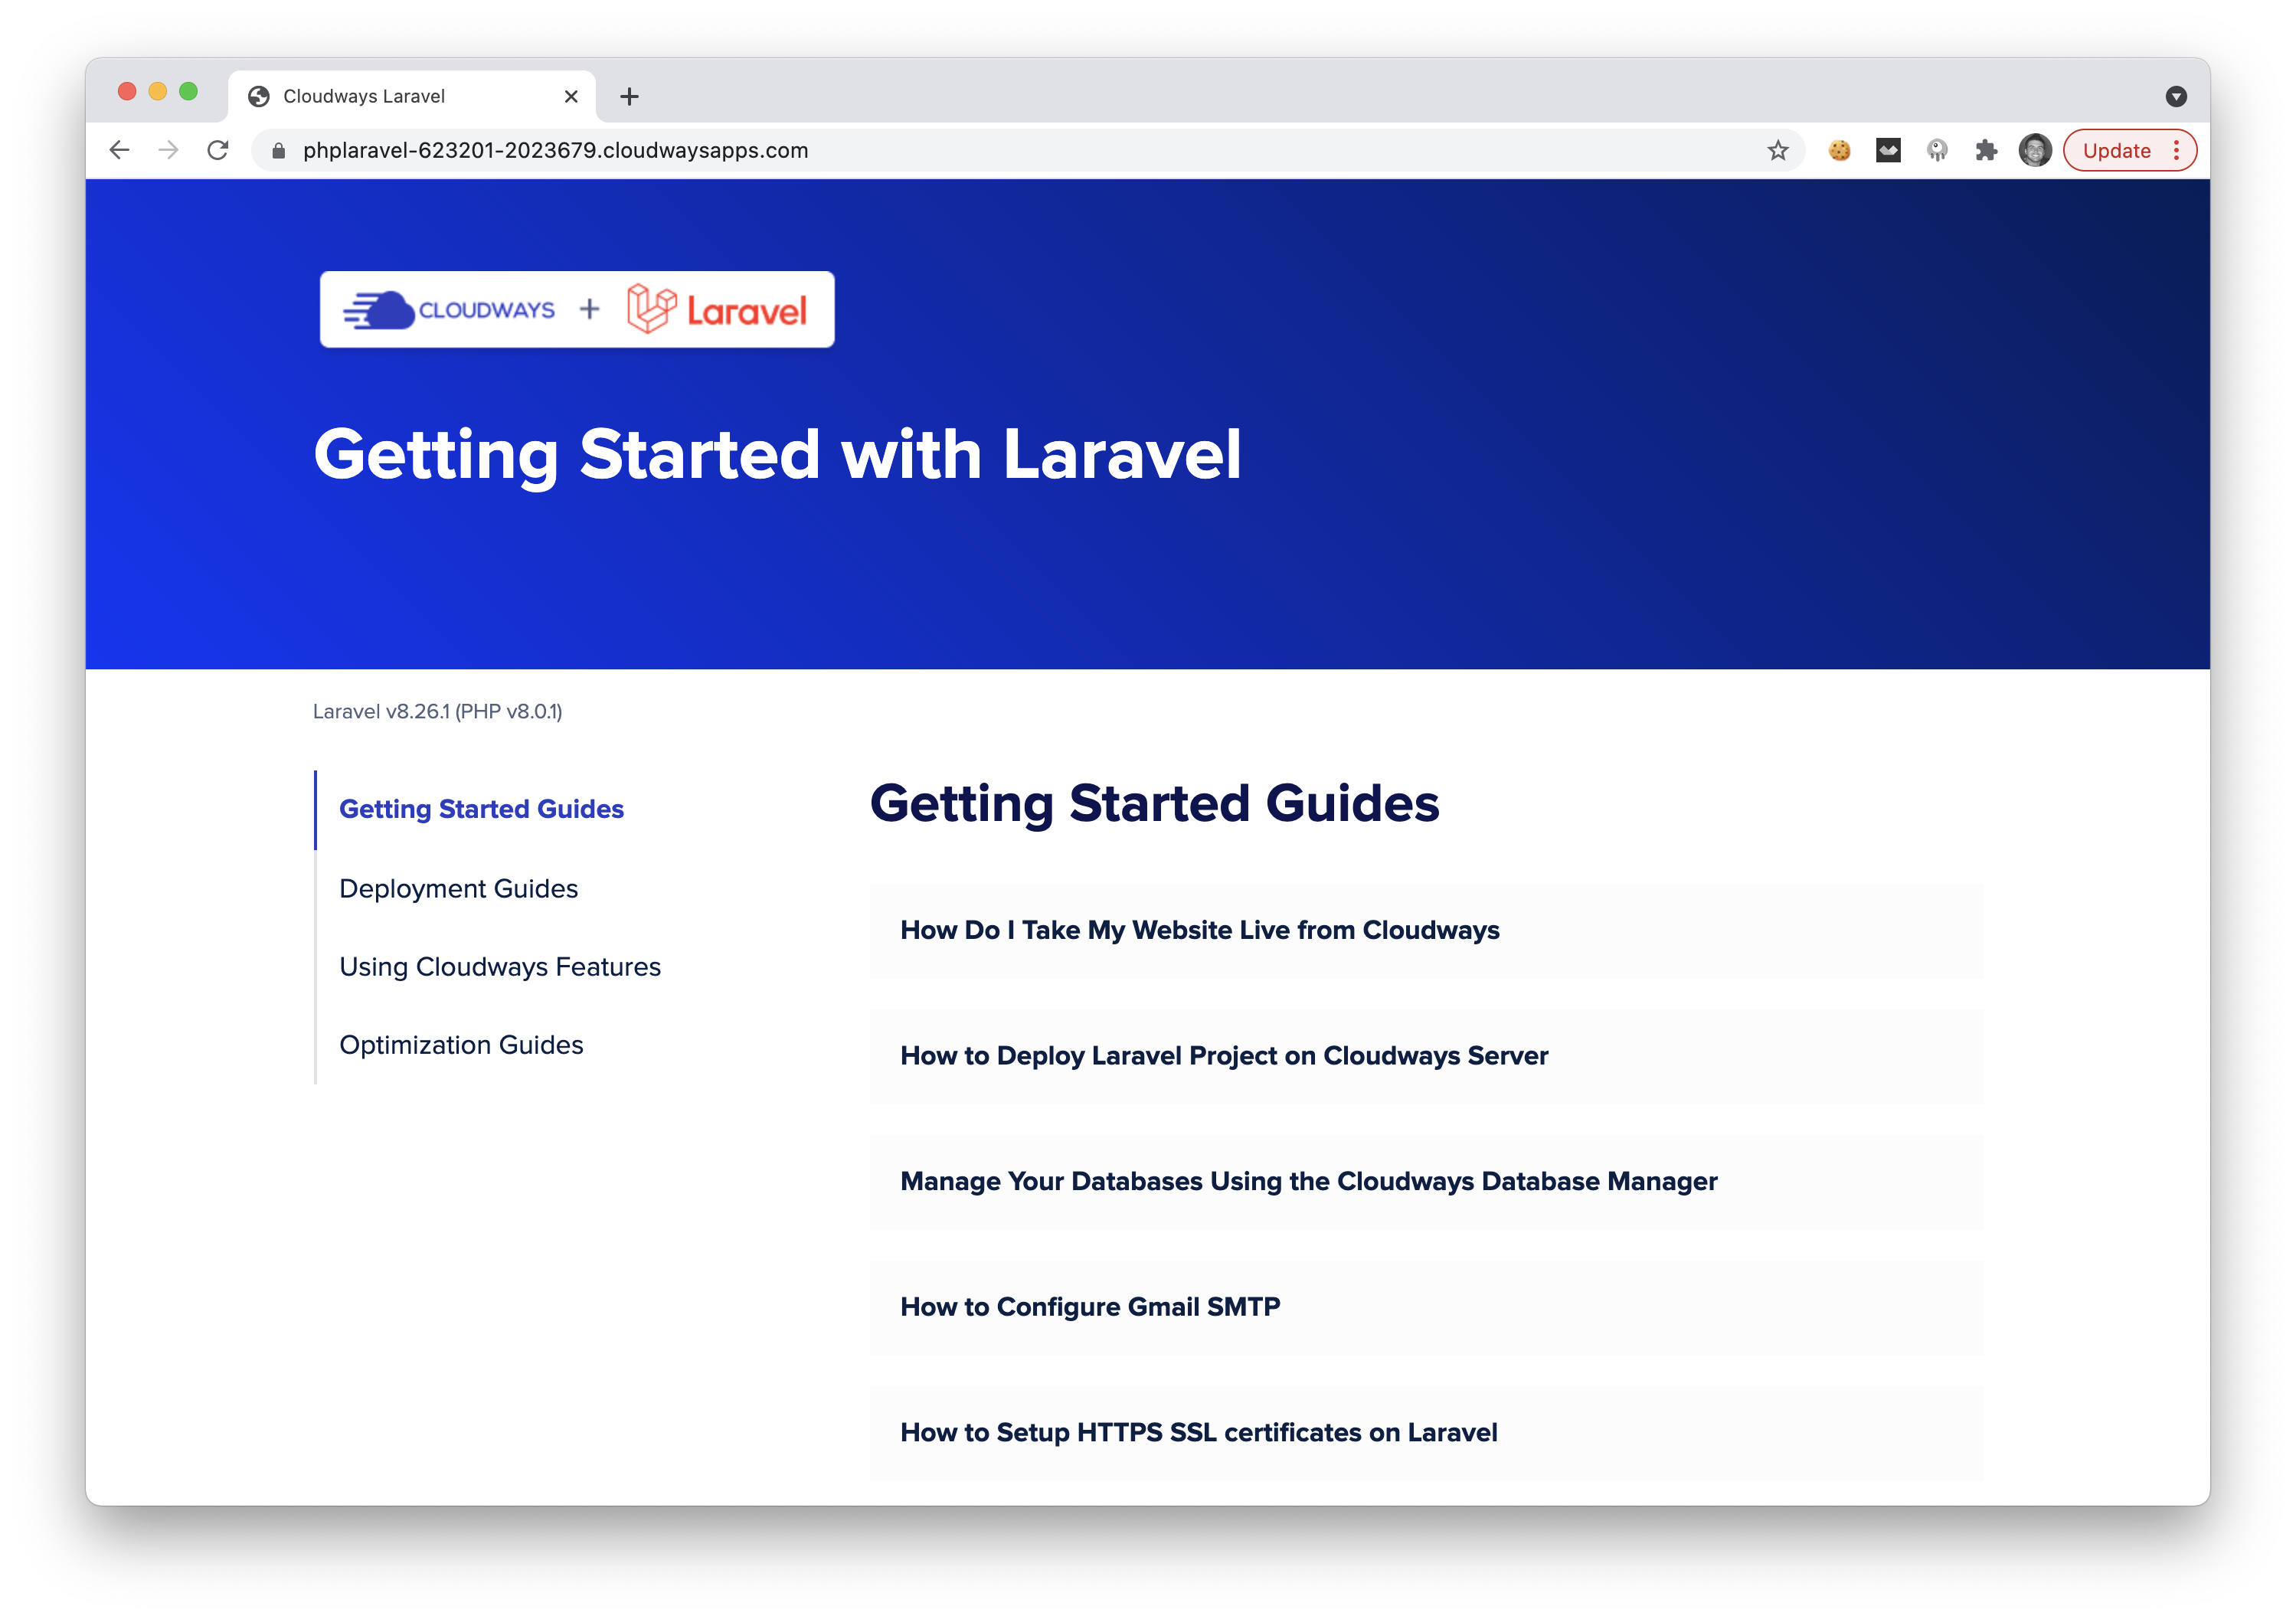
You can see that the default Laravel homepage has been overridden with guides on Cloudway configurations that are specific to Laravel.
Bonus 👍
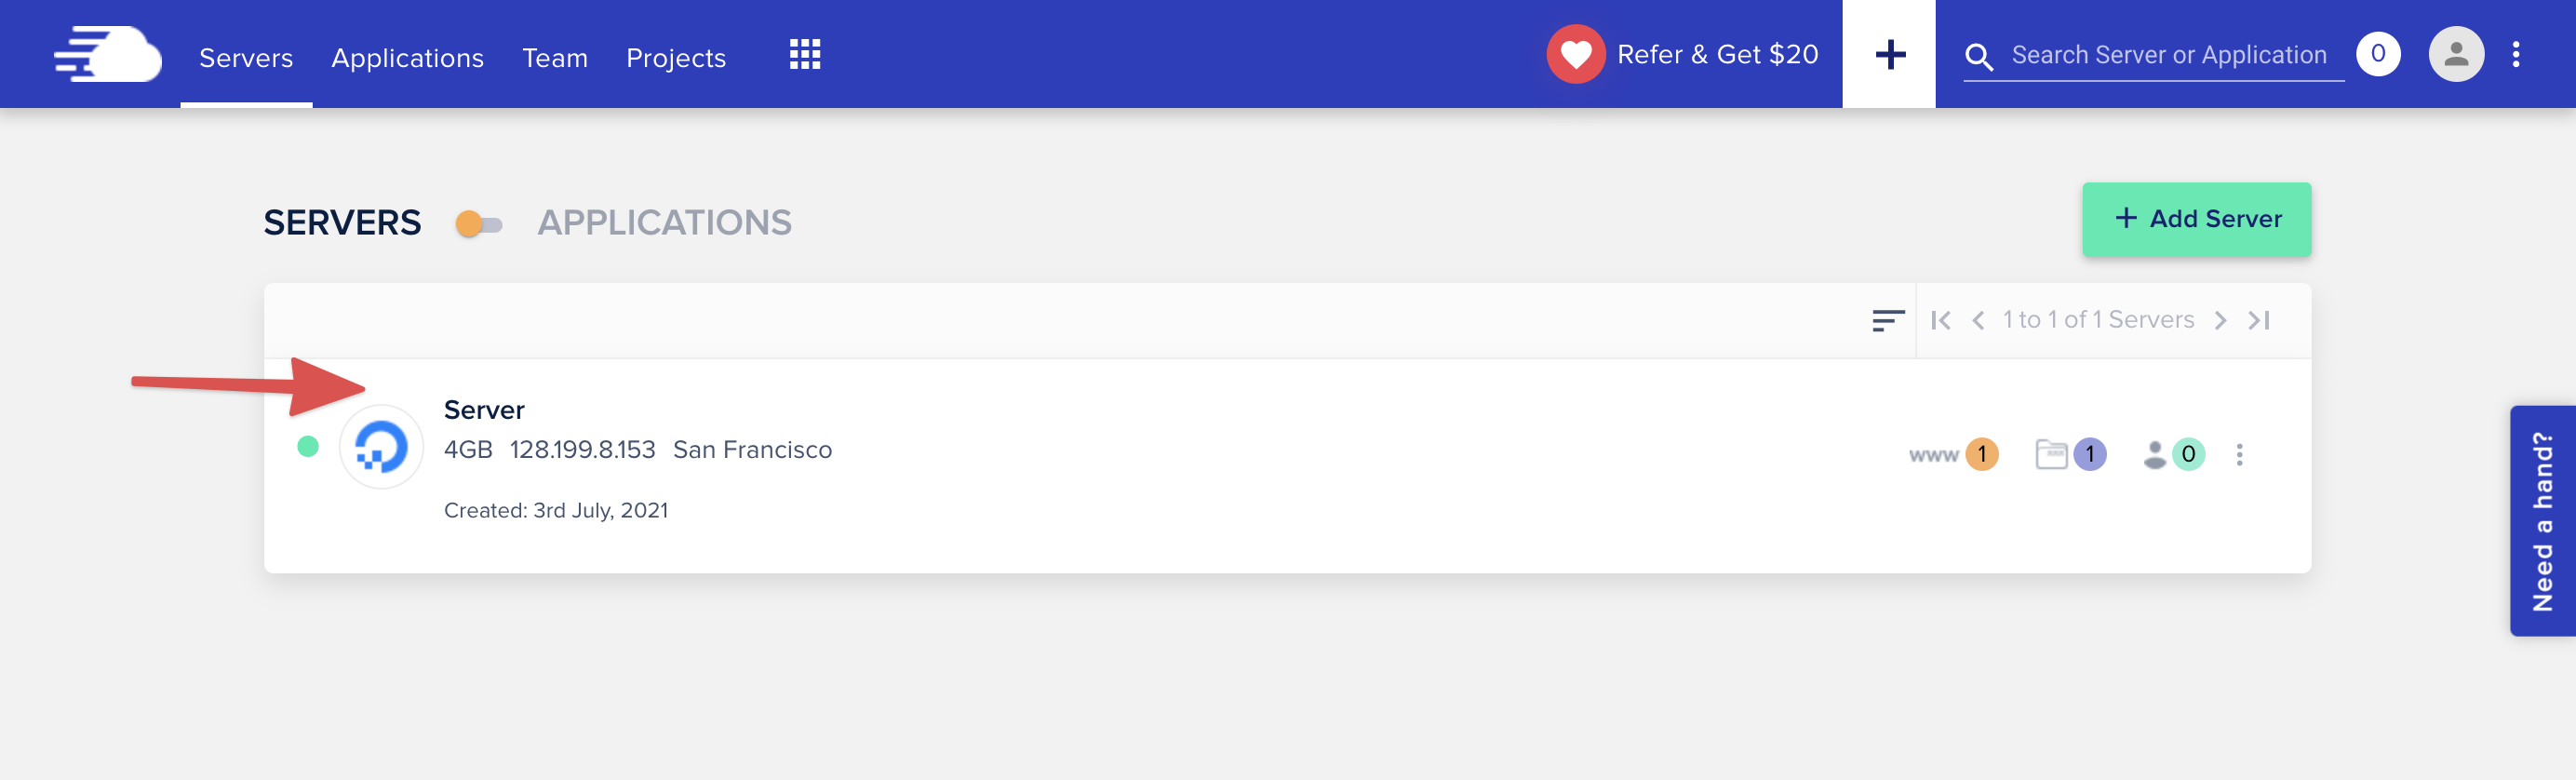
When you want to SSH into that server, it's as simple as going to the Servers page, clicking on your server.
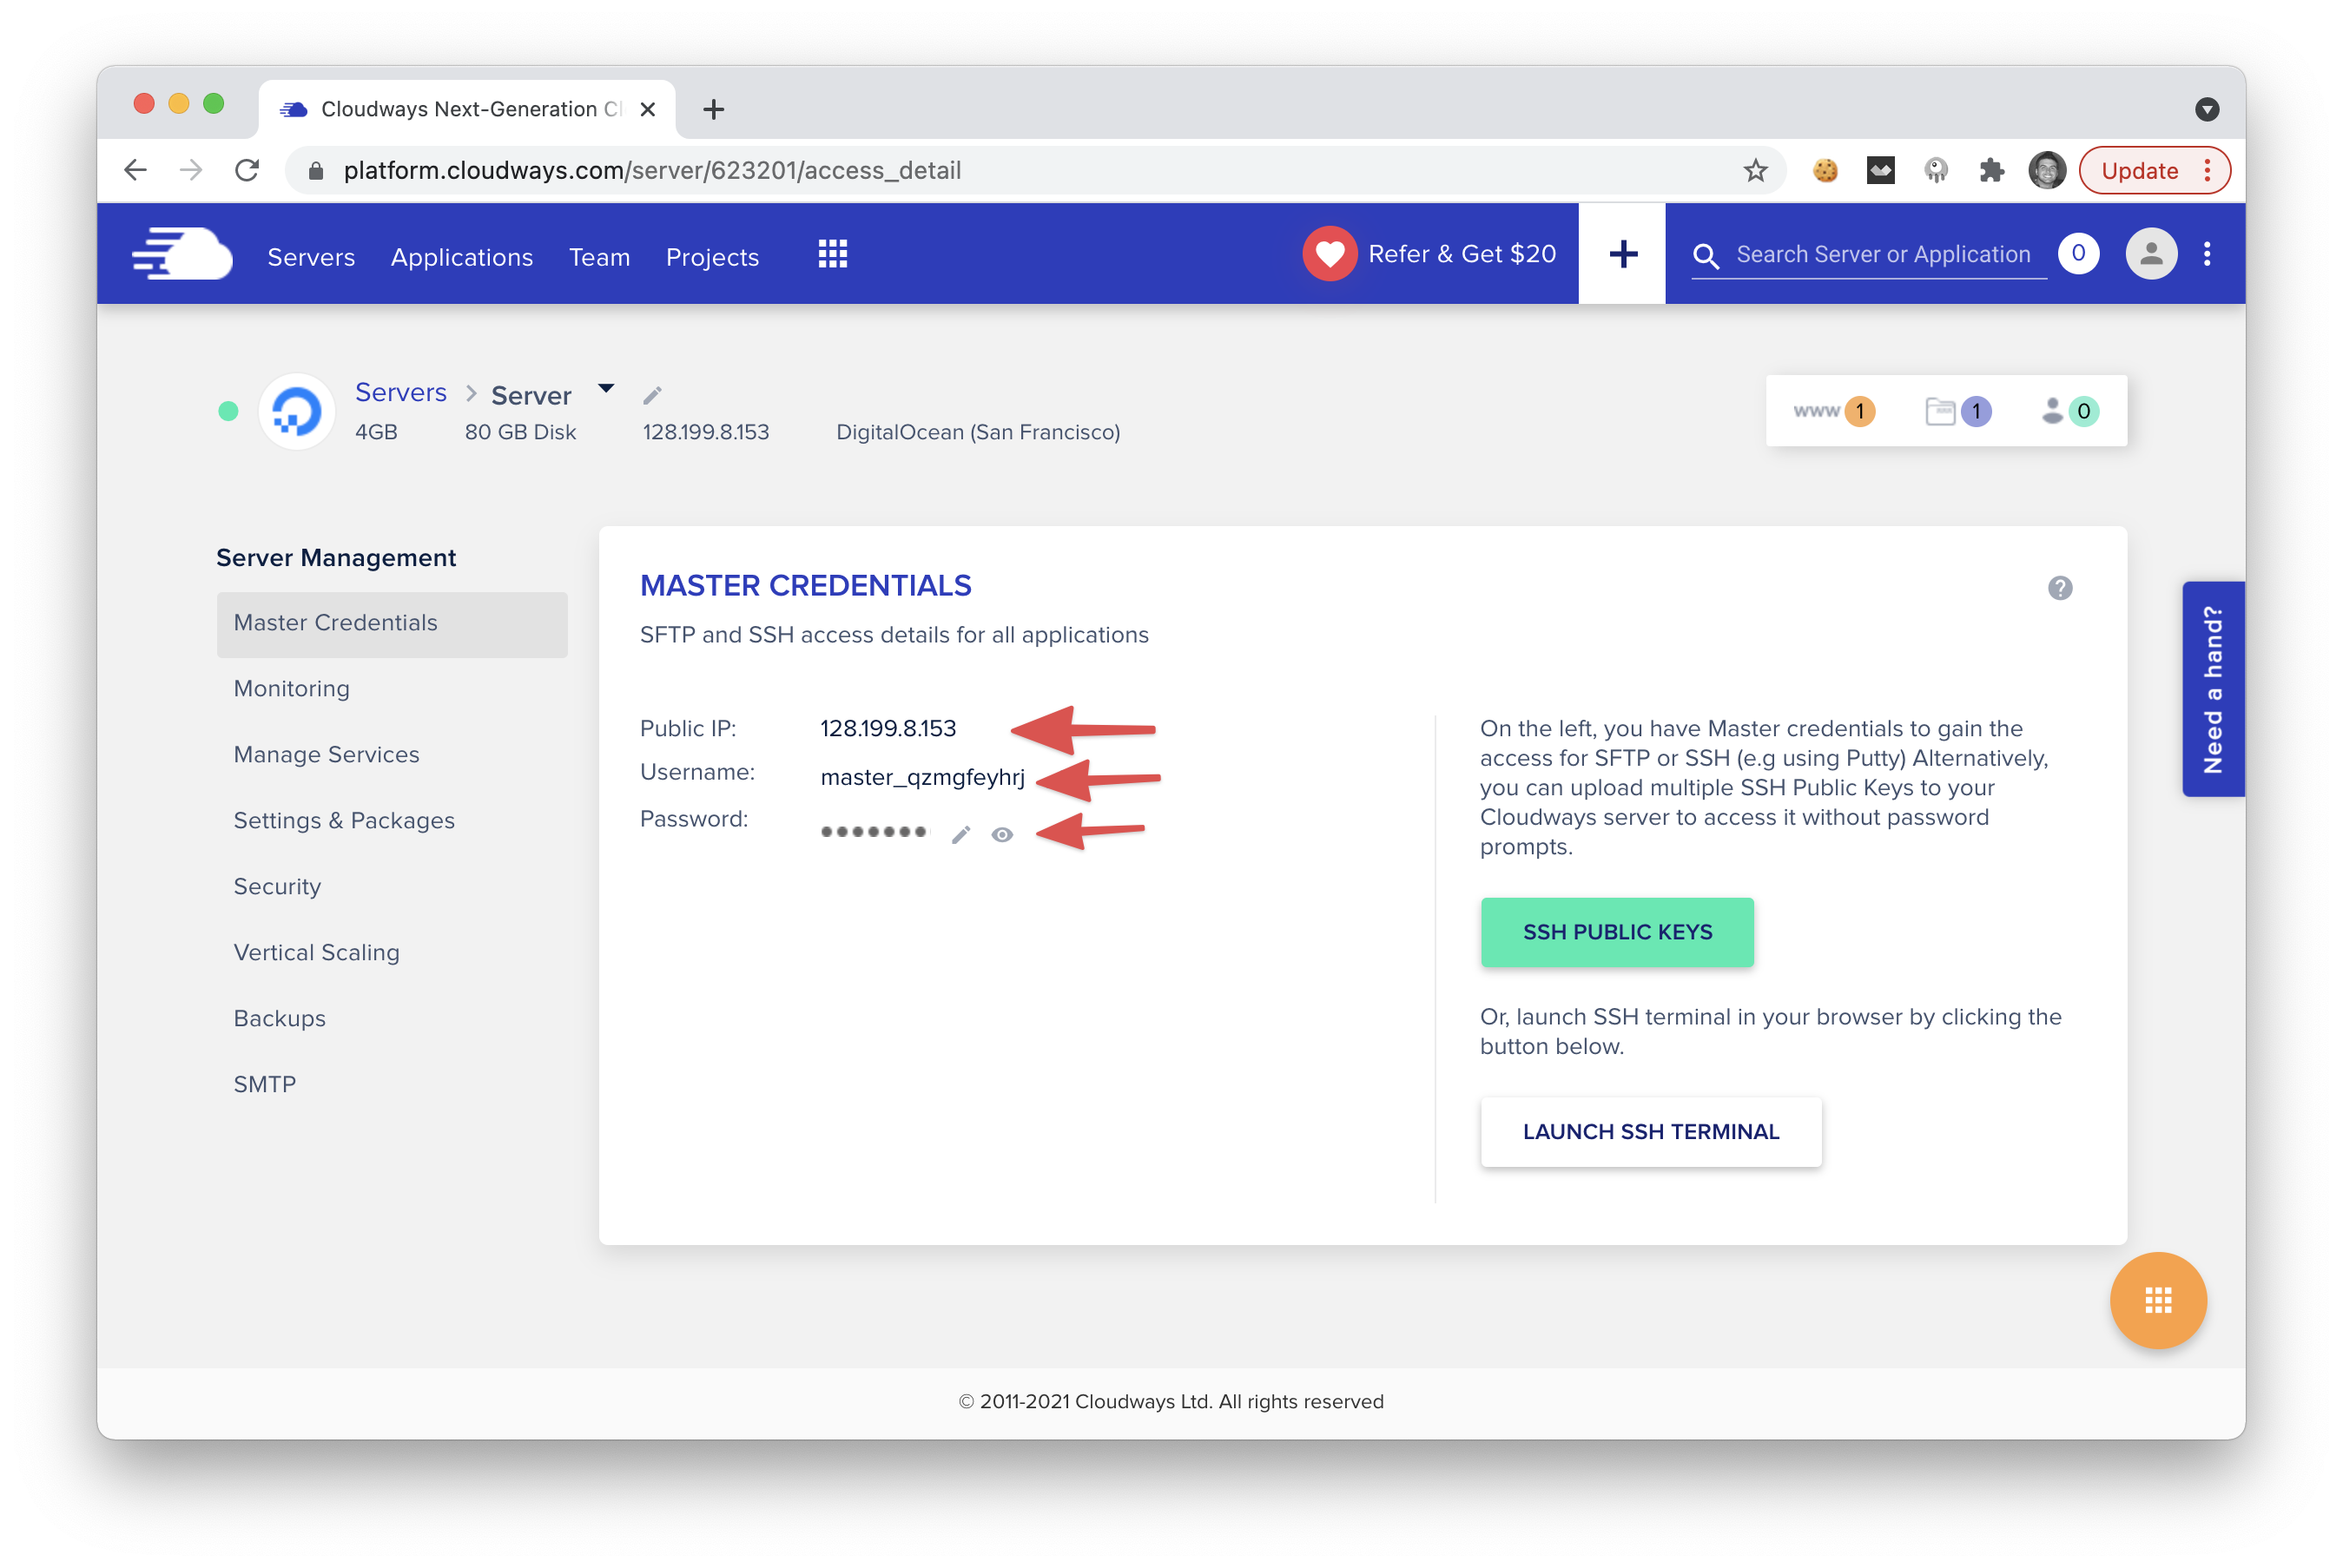
Then on the server details page, you have SSH or SFTP credentials ready to login to your server.
Conclusion
There are many other ways to host your Laravel app, including Laravel Forge, Laravel Vapor, Digital Ocean, and a few others; however, not many of them are as simple and straightforward as Cloudways.
If you are interested in hosting your PHP, WordPress, or Laravel app, I would take Cloudways into serious consideration.
Comments (0)