When building a website, application, or game you may need to setup a local server. You can easily setup a local server using the NodeJS http-server package (https://www.npmjs.com/package/http-server).
We can easily do this in two small steps. Let's jump into the first part.
1. Install NodeJS
This may seem kind of obvious but I want to make sure to point it out. You will need to have NodeJS installed on your machine. This is pretty straight forward. You should be able to visit https://nodejs.org/ and download it for your specific operating system.
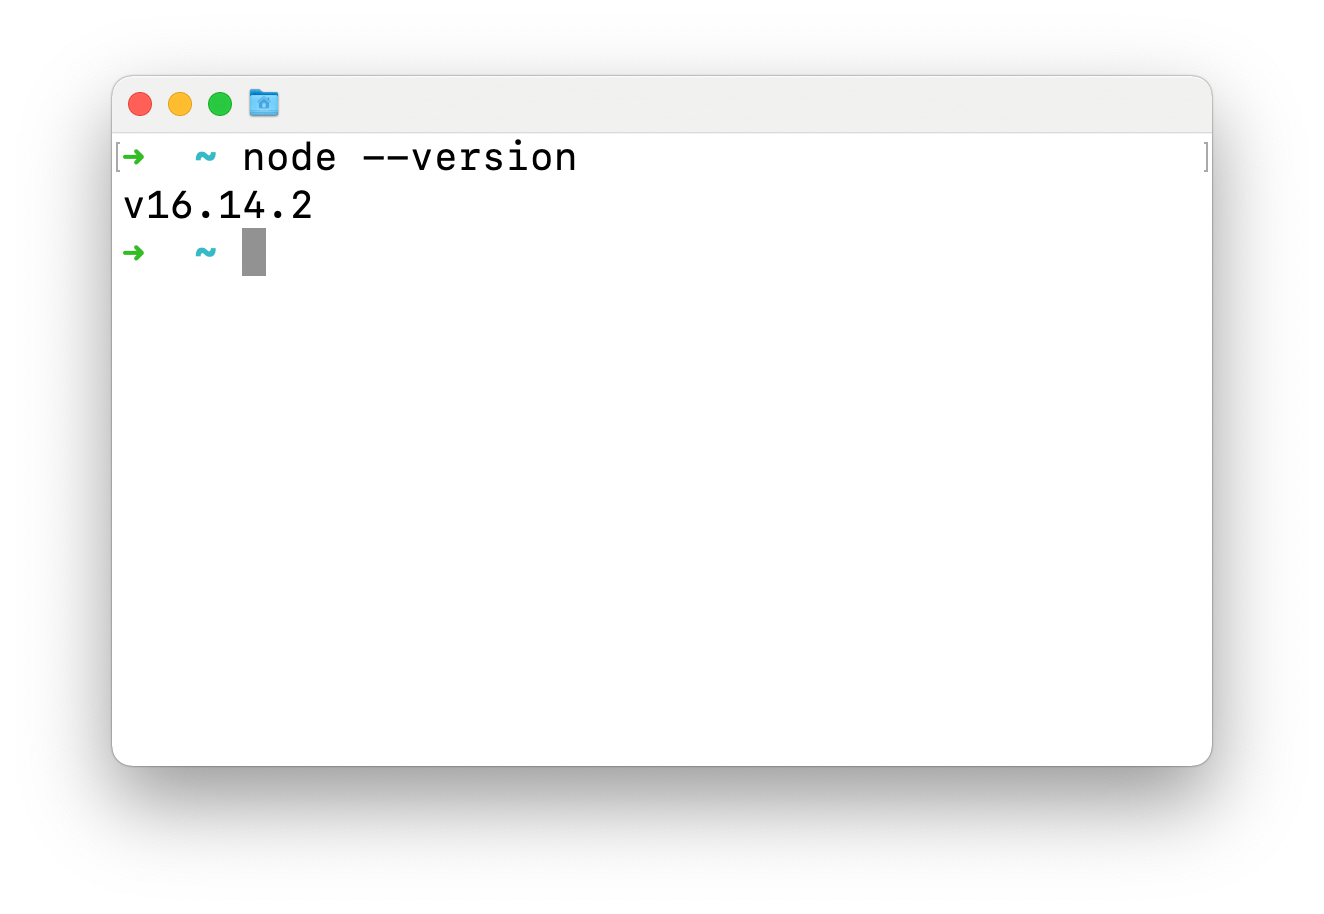
After downloading, you'll then need to open the executable file and run through all the steps. After downloading node, you should be able to run the following command in terminal node --version and you should see an output that looks like the following.

2. Install and run the HTTP Server package
Now that you have NodeJS installed on your machine you can install the http-server package, by running the following command:
npm install --global http-server
After you have installed the package you can now create a folder anywhere on your computer and inside that folder is where you can put all of your website files. For, instance you may add the following index.html file to the folder:
<!DOCTYPE html>
<html lang="en">
<head>
    <meta charset="UTF-8">
    <meta http-equiv="X-UA-Compatible" content="IE=edge">
    <meta name="viewport" content="width=device-width, initial-scale=1.0">
    <title>Simple Node Server</title>
</head>
<body>
    <h1>This is served up from my local server</h1>
</body>
</html>
Next, run the following command inside this new folder from inside terminal:
http-server .
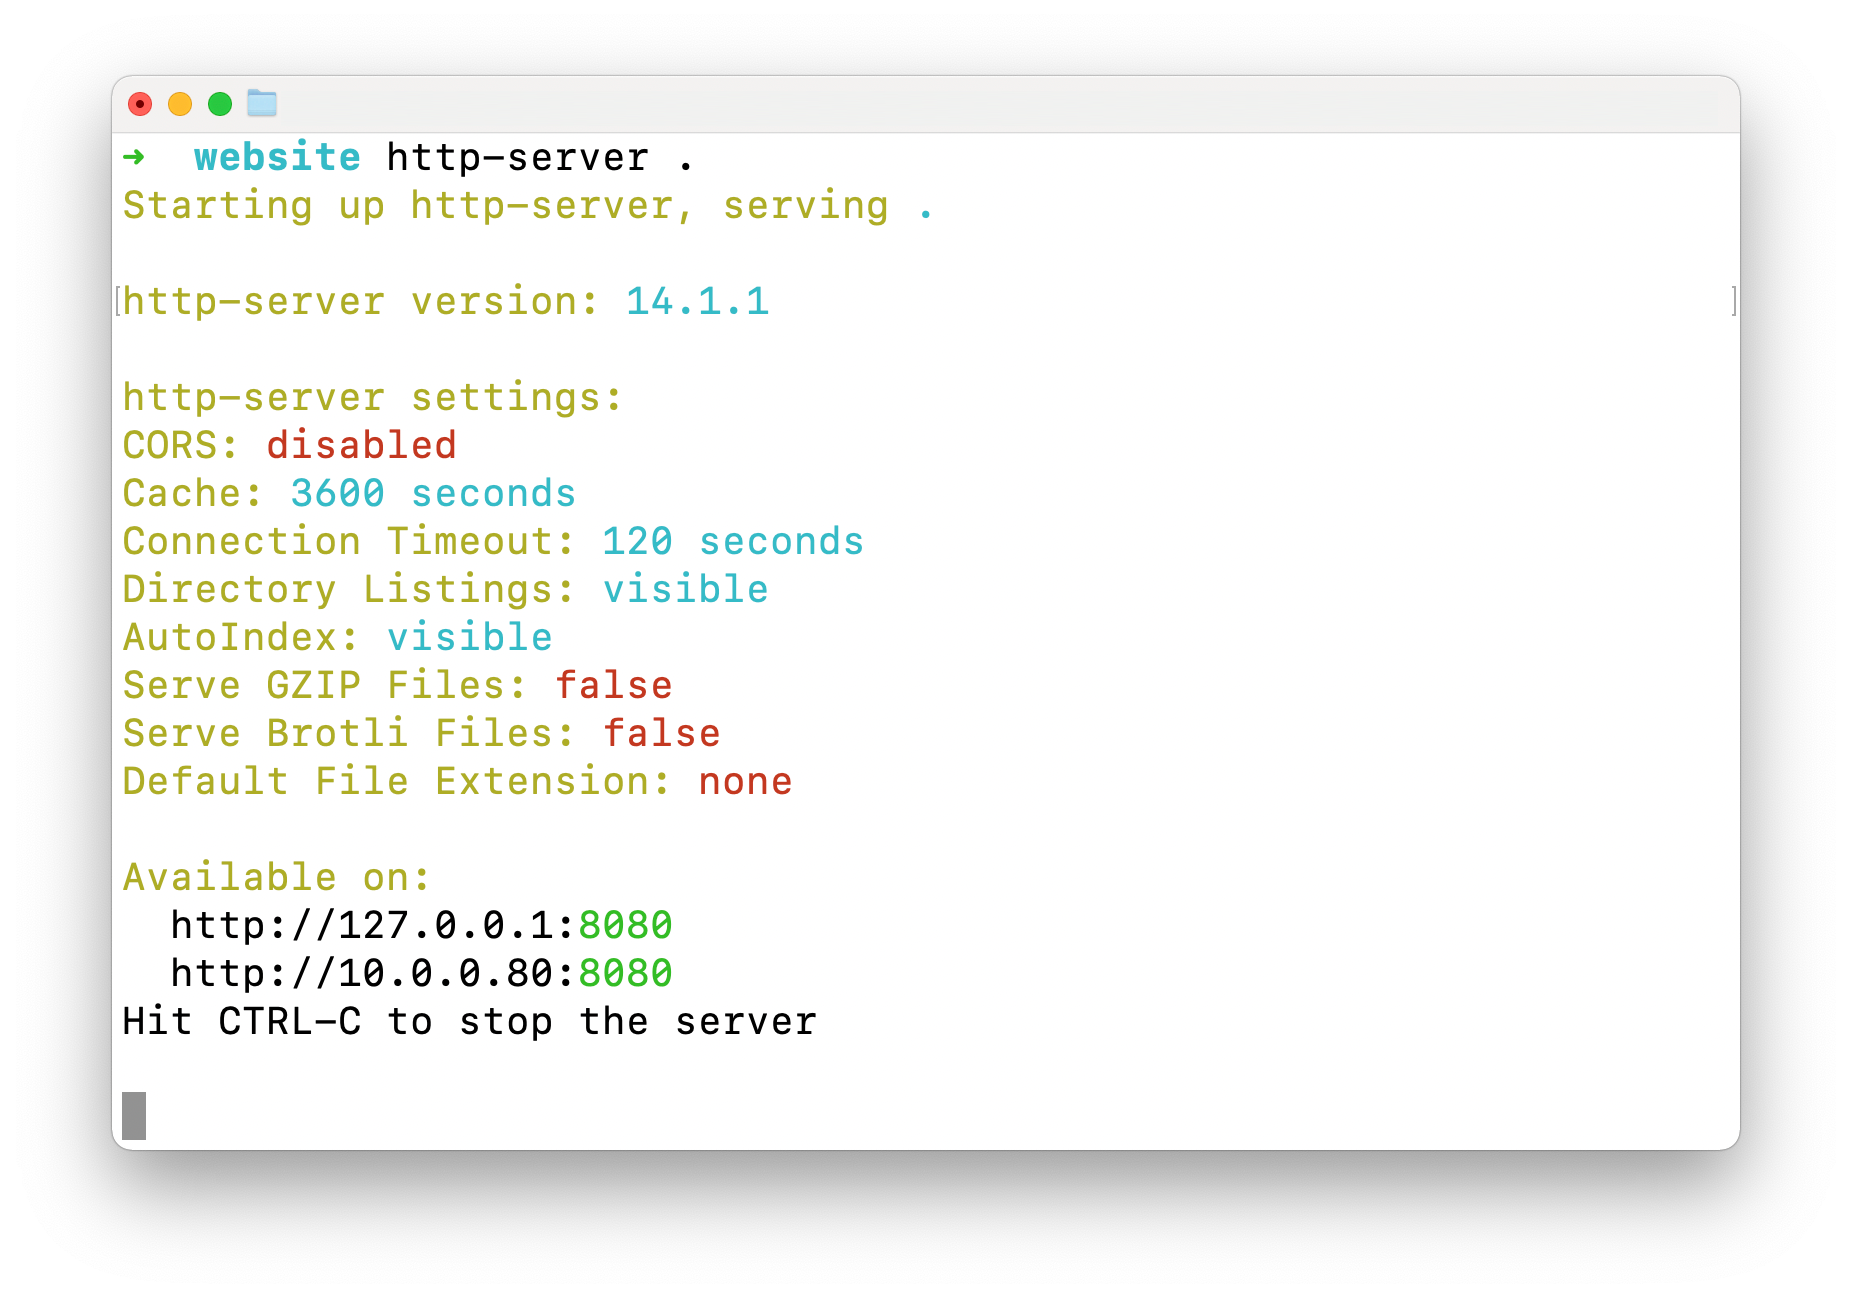
and you'll see an output similar to the following:
 View Website
 View Website
 View Website

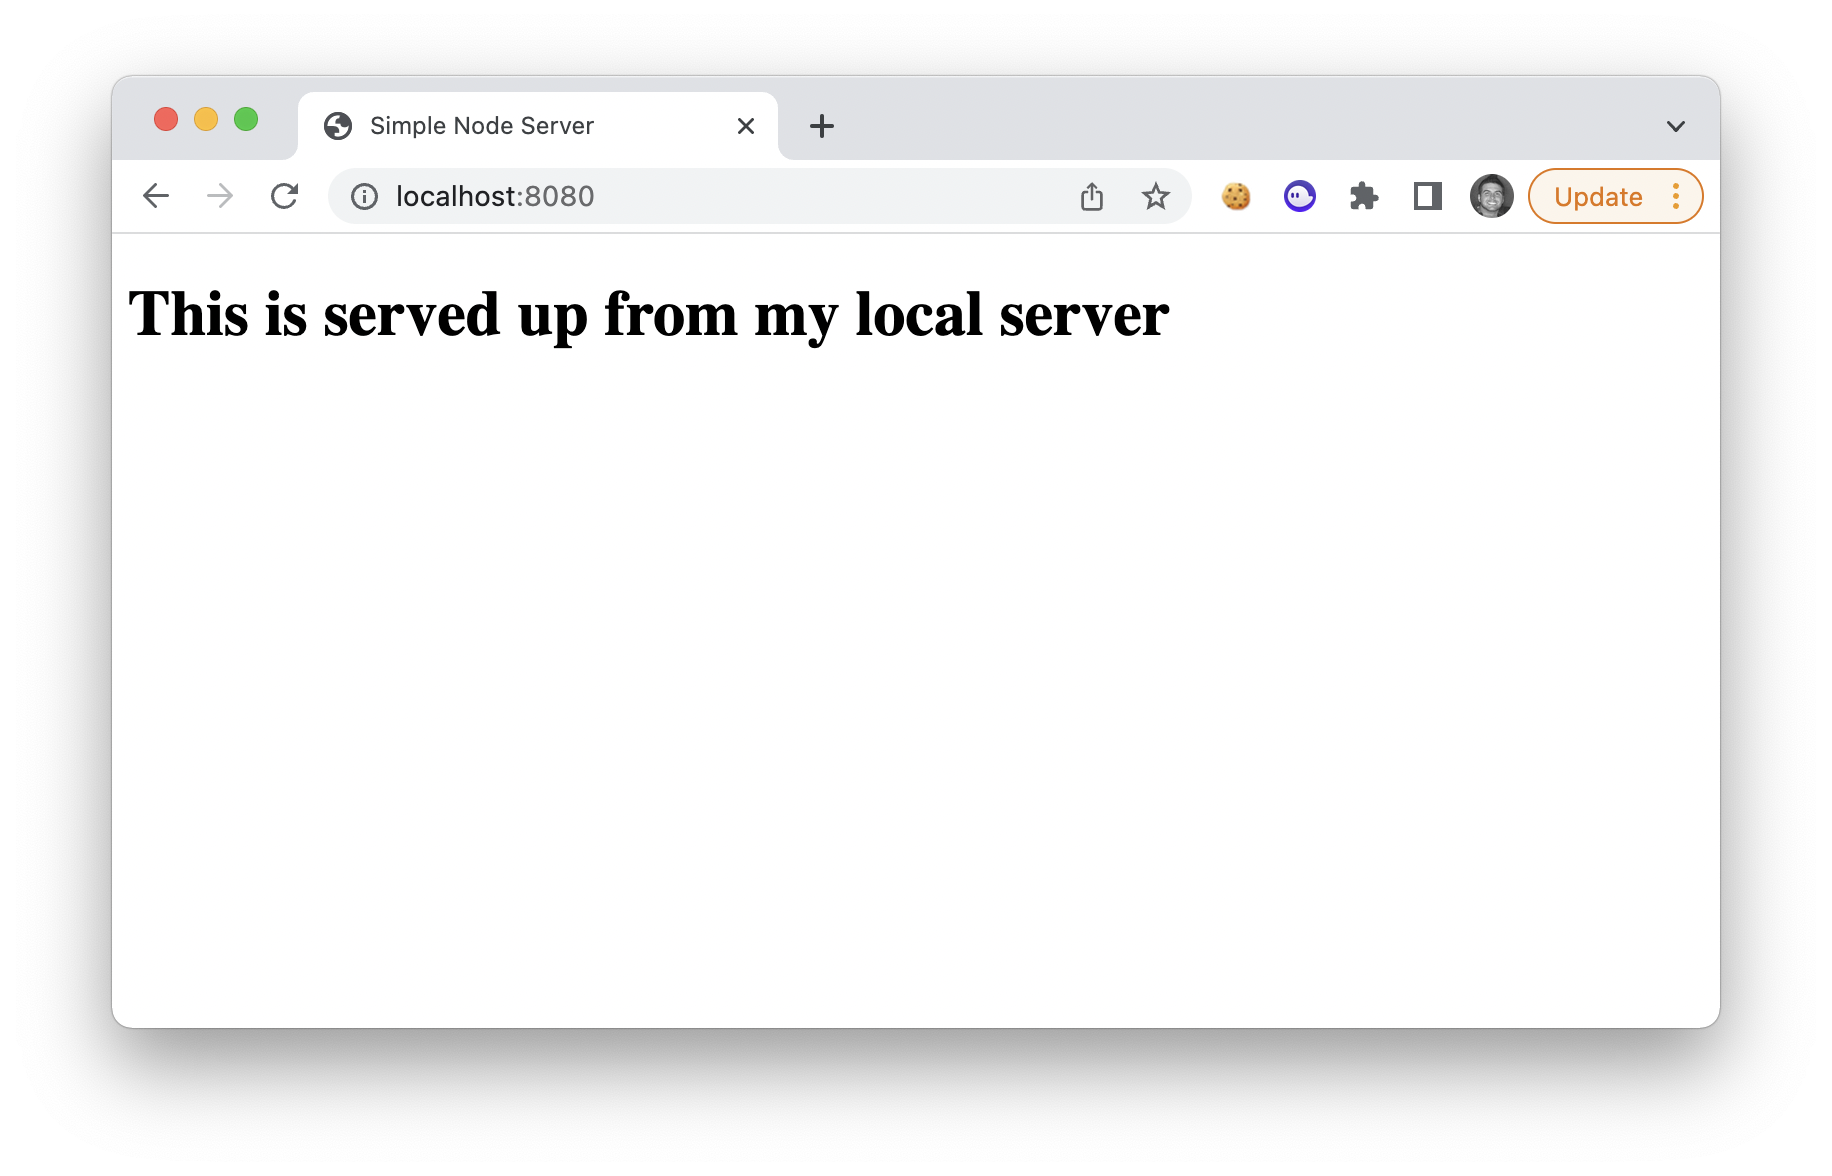
Now, you can visit http://127.0.0.1:8080 or http://localhost:8080 and you will see your new website served up from your local NodeJS server 🤙

That's it! That's how simple it is to setup a simple NodeJS server.


Comments (0)