
Introduction
Welcome to part 3 of my Introduction to Docker blog post series! In part 1 I quickly went through installing Docker and what containers are and in Part 2 we actually played with Docker containers a little bit by running a couple of Docker containers. If you've not read the previous posts I encourage you to do so:
Introduction to Docker - Part 1
Introduction to Docker - Part 2
In this post, I'll show you how to work with Docker images!
I'll be using DigitalOcean for all of the demos, so I would strongly encourage you to create a DigitalOcean account follow along. You would learn more by doing!
To make things even better you can use my referral link to get a free $50 credit that you could use to deploy your virtual machines and test the guide yourself on a few DigitalOcean servers:
Once you have your account here's how to deploy your first Droplet/server:
https://www.digitalocean.com/docs/droplets/how-to/create/
 View Website
 View Website
 View Website
I'll be using Ubuntu 18.04 so I would recommend that you stick to the same so you could follow along.
What are Docker Images
A Docker Image is just a template used to build a running Docker Container, similar to the ISO files and Virtual Machines. The containers are essentially the running instance of an image. Images are used to share a containerized applications. Collections of images are stored in registries like DockerHub or private registries.
Working with images
The docker run command downloads and runs images at the same time. But we could also only download images if we wanted to wit the docker pull command. For example:
docker pull ubuntuOr if you want to get a specific version you could also do that with:
docker pull ubuntu:14.04Then to list all of your images use the docker images command:
docker imagesYou would get a similar output to:
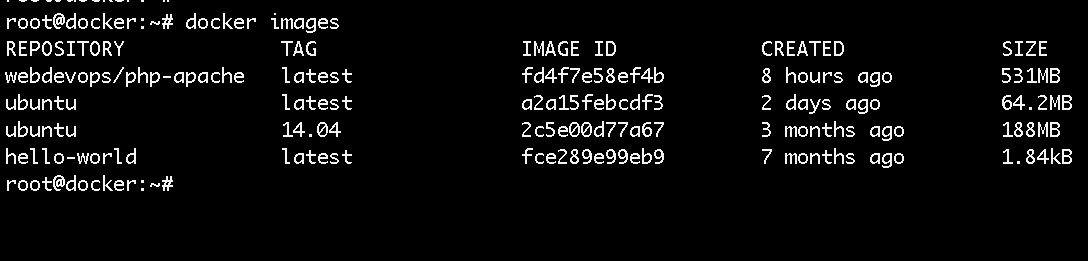
The images are stored locally on your docker host machine.
To take a look a the docker hub, go to: https://hub.docker.com and you would be able to see where the images were just downloaded from.
For example, here's a link to the Ubuntu image that we've just downloaded:
https://hub.docker.com/_/ubuntu
There you could find some useful information.
To delete an image use the docker rmi command:
docker rmi ubuntu:14.04Modifying images ad-hoc
One of the ways of modifying images is with ad-hoc commands. For example just start your ubuntu container.
docker run -d -p 80:80 IMAGE-IDAfter that to attach to your running container you can run:
docker exec -it <container name> /bin/bashInstall whatever needed then exit the container just press CTRL+P+Q.
To then save your changes run the following:
docker container commit ID_HEREThen list your images and note your image ID:
docker images lsThe process would look something like this:

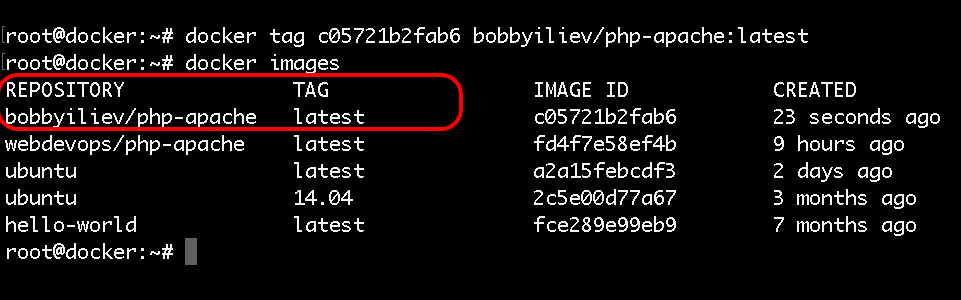
As you would notice your newly created image would not have a name nor a tag, so in order tag your image run:
docker tag IMAGE_ID YOUR_TAGNow if you list your images you would see something like this:
Pushing images to Docker Hub
You could also push your new image to DockerHub. for that you would need a docker hub account first:
docker loginThen push your image to the DockerHub:
docker push your-docker-user/name-of-image-hereThe output would look like this:
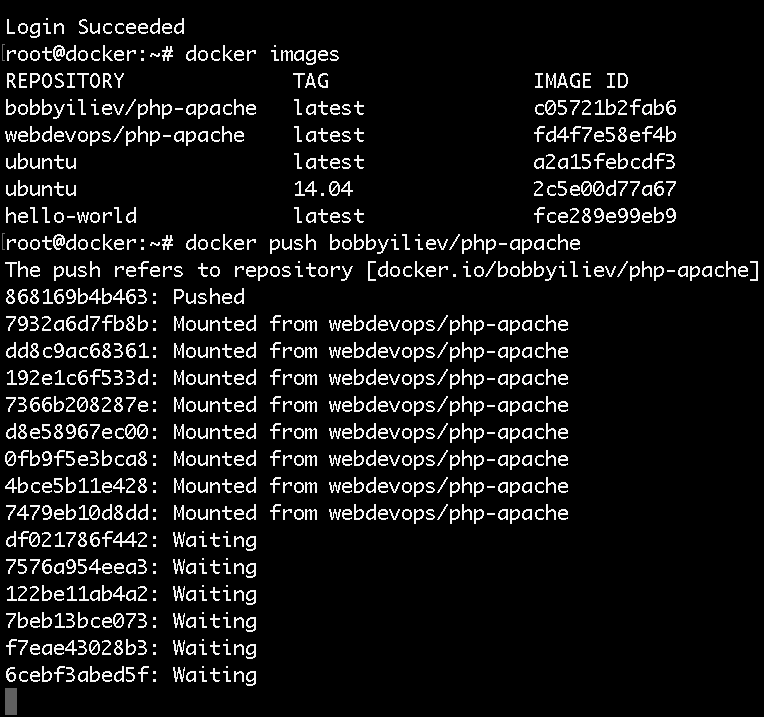
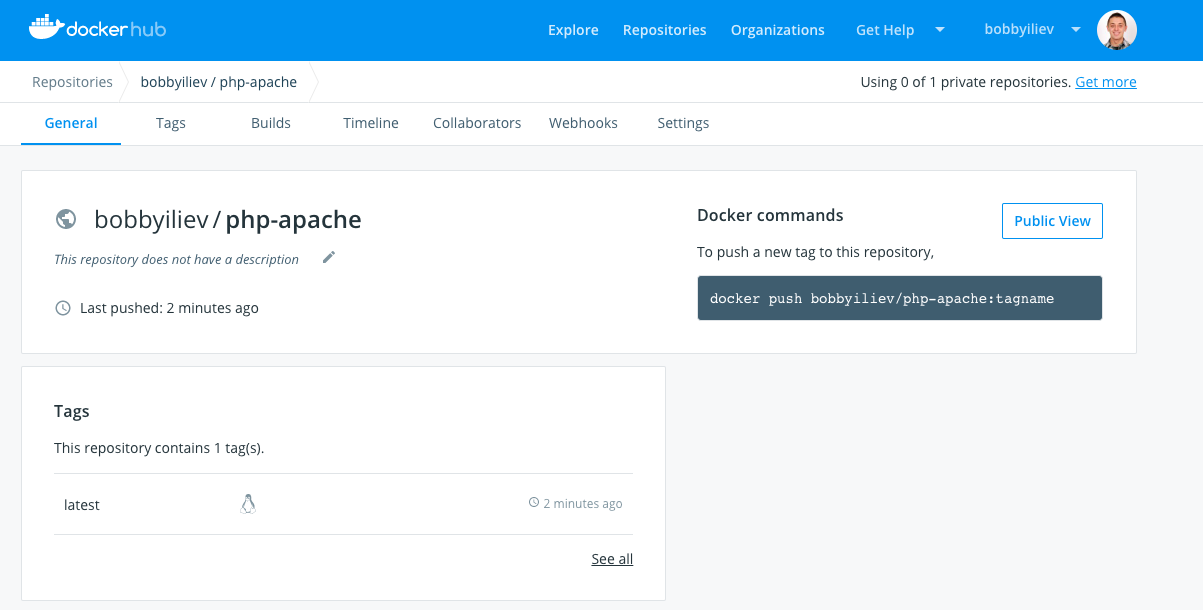
After that you should be able to see your docker image in your docker hub account, in my case it would be here:
https://cloud.docker.com/repository/docker/bobbyiliev/php-apache
Modifying images with Dockerfile
We will go the Dockerfile a bit more in depth in the next blog post, for this demo we will only use a simple Dockerfile just as an example:
Create a file called Dockerfile and add the following content:
FROM alpine
RUN apk update
All that this Dockerfile does is to update the base Alpine image.
To build the image run:
docker image build -t alpine-updated:v0.1 .Then you could again list your image and push the new image to the DockerHub!
Knowledge Check
Once you've read this post, make sure to test your knowledge with this Docker Images Quiz:
https://quizapi.io/predefined-quizzes/common-docker-images-questions
Conclusion
That is pretty much it! Now you know how to pull, modify, and push Docker images!
We are ready to move to Part 4 of the Introduction to Docker blog post series:
https://devdojo.com/tutorials/introduction-to-docker-part-4
Let me know if you have any questions!
Comments (0)