
Introduction
Laravel is an amazing PHP framework that makes working with PHP great.
As of the time of writing this tutorial, Laravel has more than 105 million installs according to Packagis, so as you can imagine there are multiple ways of installing Laravel on DigitalOcean or any other cloud provider.
In this tutorial, we will go through a few ways of installing Laravel and also show you how to do this with just 1-Click on DigitalOcean!
Prerequisites
All you need in order to follow along is a DigitalOcean account. To make things even better you can use the following referral link to get free $100 credit that you could use to deploy your servers and test the guide yourself:
Installing Laravel on DigitalOcean
If you wanted to configure your LEMP server from scratch you could, for example, do it manually by following this amazing step by step guide provided by DigitalOcean:
Another option of automating the above steps is to use the LaraSail open-source script to set up your server and install Laravel:
Using the Laravel DigitalOcean 1-Click
DigitalOcean has a Marketplace, where you could get a lot of various 1-Click Applications which you can deploy on your servers and Kubernetes clusters.
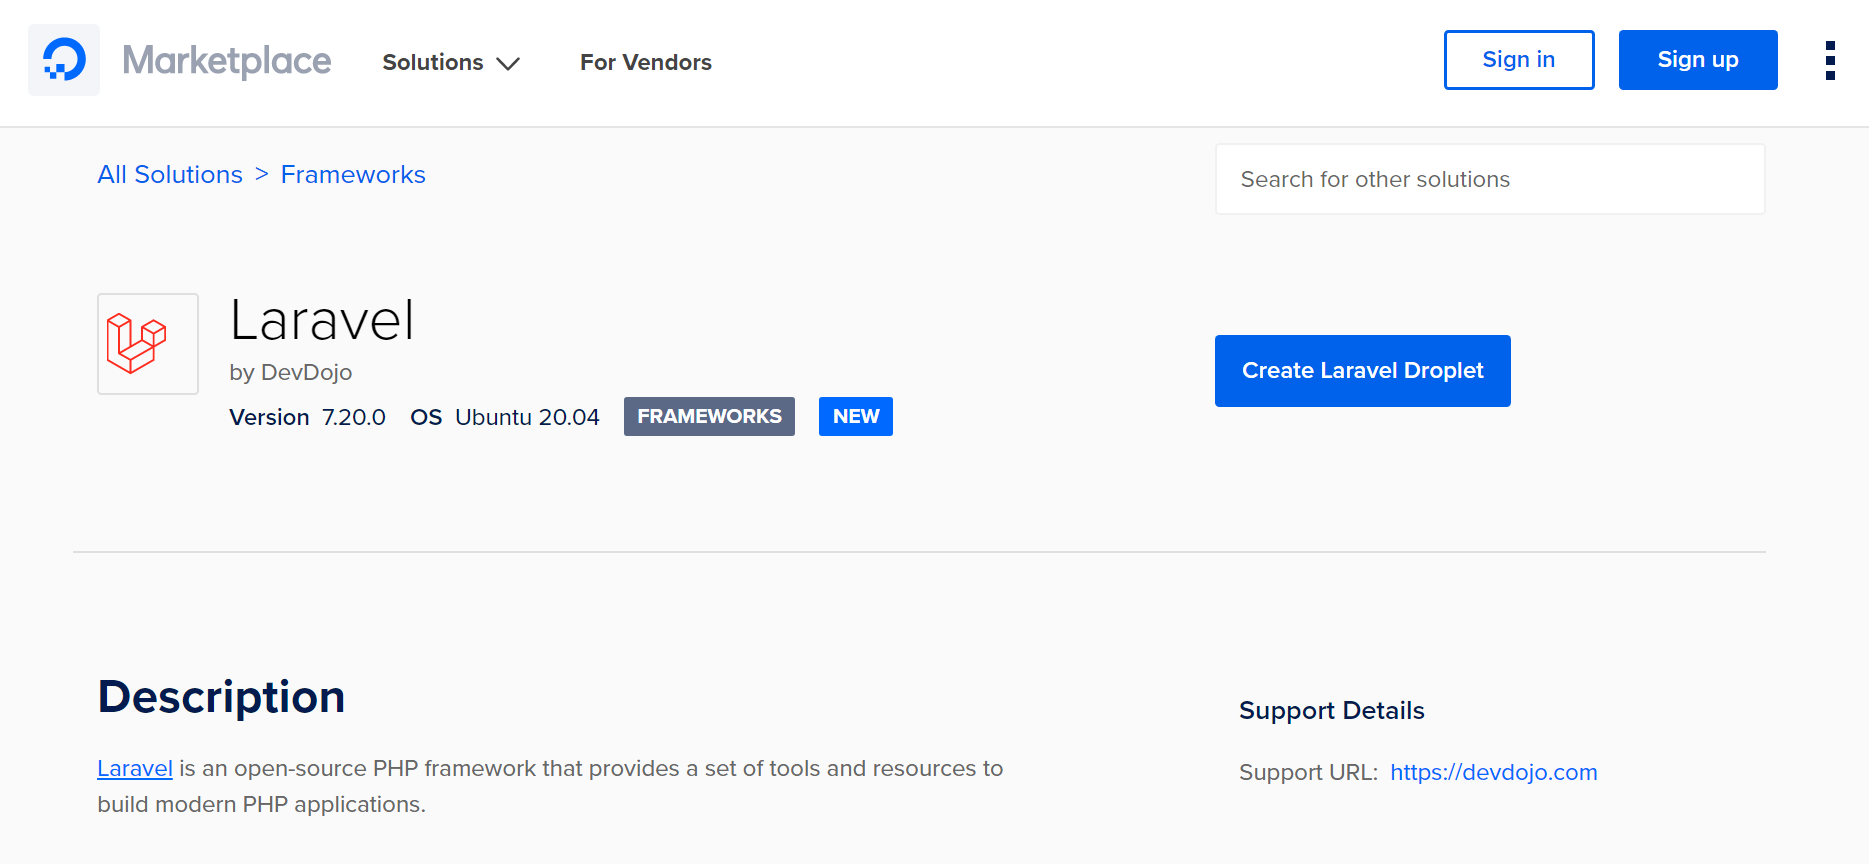
Recently we built a Laravel image and submitted a listing to DigitalOcean. The image is now available on the DigitalOcean Marketplace:
 View Website
 View Website
 View Website
https://marketplace.digitalocean.com/apps/laravel
The image comes with a preconfigured LEMP stack and certbot installed. The software stack that comes with the image is:
In order to use the image just go to the 1-Click Laravel application page and hit the Create Laravel Droplet button:
After that just follow the standard flow and choose the details that match your needs like:
- The size of the Droplet
- Choose a datacenter region
- Choose your SSH keys
- Choose hostname
- I would recommend enabling backups as well
Finally hit the Create Droplet button. Then in around 30 seconds or so your Laravel server will be up and running!
Completing the Laravel configuration
To complete the installation, copy your IP address and SSH to the Droplet.
You would get to an interactive menu that would ask you for the following details:
Enter the domain name for your new Laravel site.
(ex. example.org or test.example.org) do not include www or http/s
--------------------------------------------------
Domain/Subdomain name:
There just type your domain name or subdomain name, I would go for laravel.bobbyiliev.com for my example.
After that you would see the following output:
Configuring Laravel database details
Generating new Laravel App Key
Application key set successfully.
Then you will be asked if you want to secure your Laravel installation with an SSL certificate:
Next, you have the option of configuring LetsEncrypt to secure your new site.
Before doing this, be sure that you have pointed your domain or subdomain to this server's IP address.
You can also run LetsEncrypt certbot later with the command 'certbot --nginx'

Would you like to use LetsEncrypt (certbot)
to configure SSL(https) for your new site? (y/n):
Note that before hitting y make sure to have your domain name or subdomain DNS configured so that your A record points to the Droplet's IP address, otherwise Let's Encrypt will not be able to validate your domain and would not issue a certificate for you.
If you don't want a certificate, just type n and hit enter.
That is pretty much it! Now if you visit yourdomain.com in your browser you would see a fresh new installation!
Video Demo
Here's also a quick video demo on how to do the above:
How to Install Laravel on DigitalOcean with 1-Click
Conclusion
Thanks to the Laravel 1-Click installation from the DigitalOcean's Marketplace, we can have a fully running LEMP server with Laravel installed in less than 30 seconds!
Feel free to reach out to us on Twitter in case you have any questions or suggestions:
If you are working as a DevOps engineer, check out this DevOps Scorecard and evaluate your DevOps skills across 8 key areas and discover your strengths and growth opportunities
Hope that this helps!
Comments (0)