
In this tutorial, we are going to walk-through creating a simple blog in Laravel and Livewire. It will be pretty simple and can be used as a starting point for building your blog with these awesome frameworks.
To kick things off, we'll start by creating our new laravel application.
Create a new Laravel app
First, we'll create a new app in a folder called blog:
laravel new blog
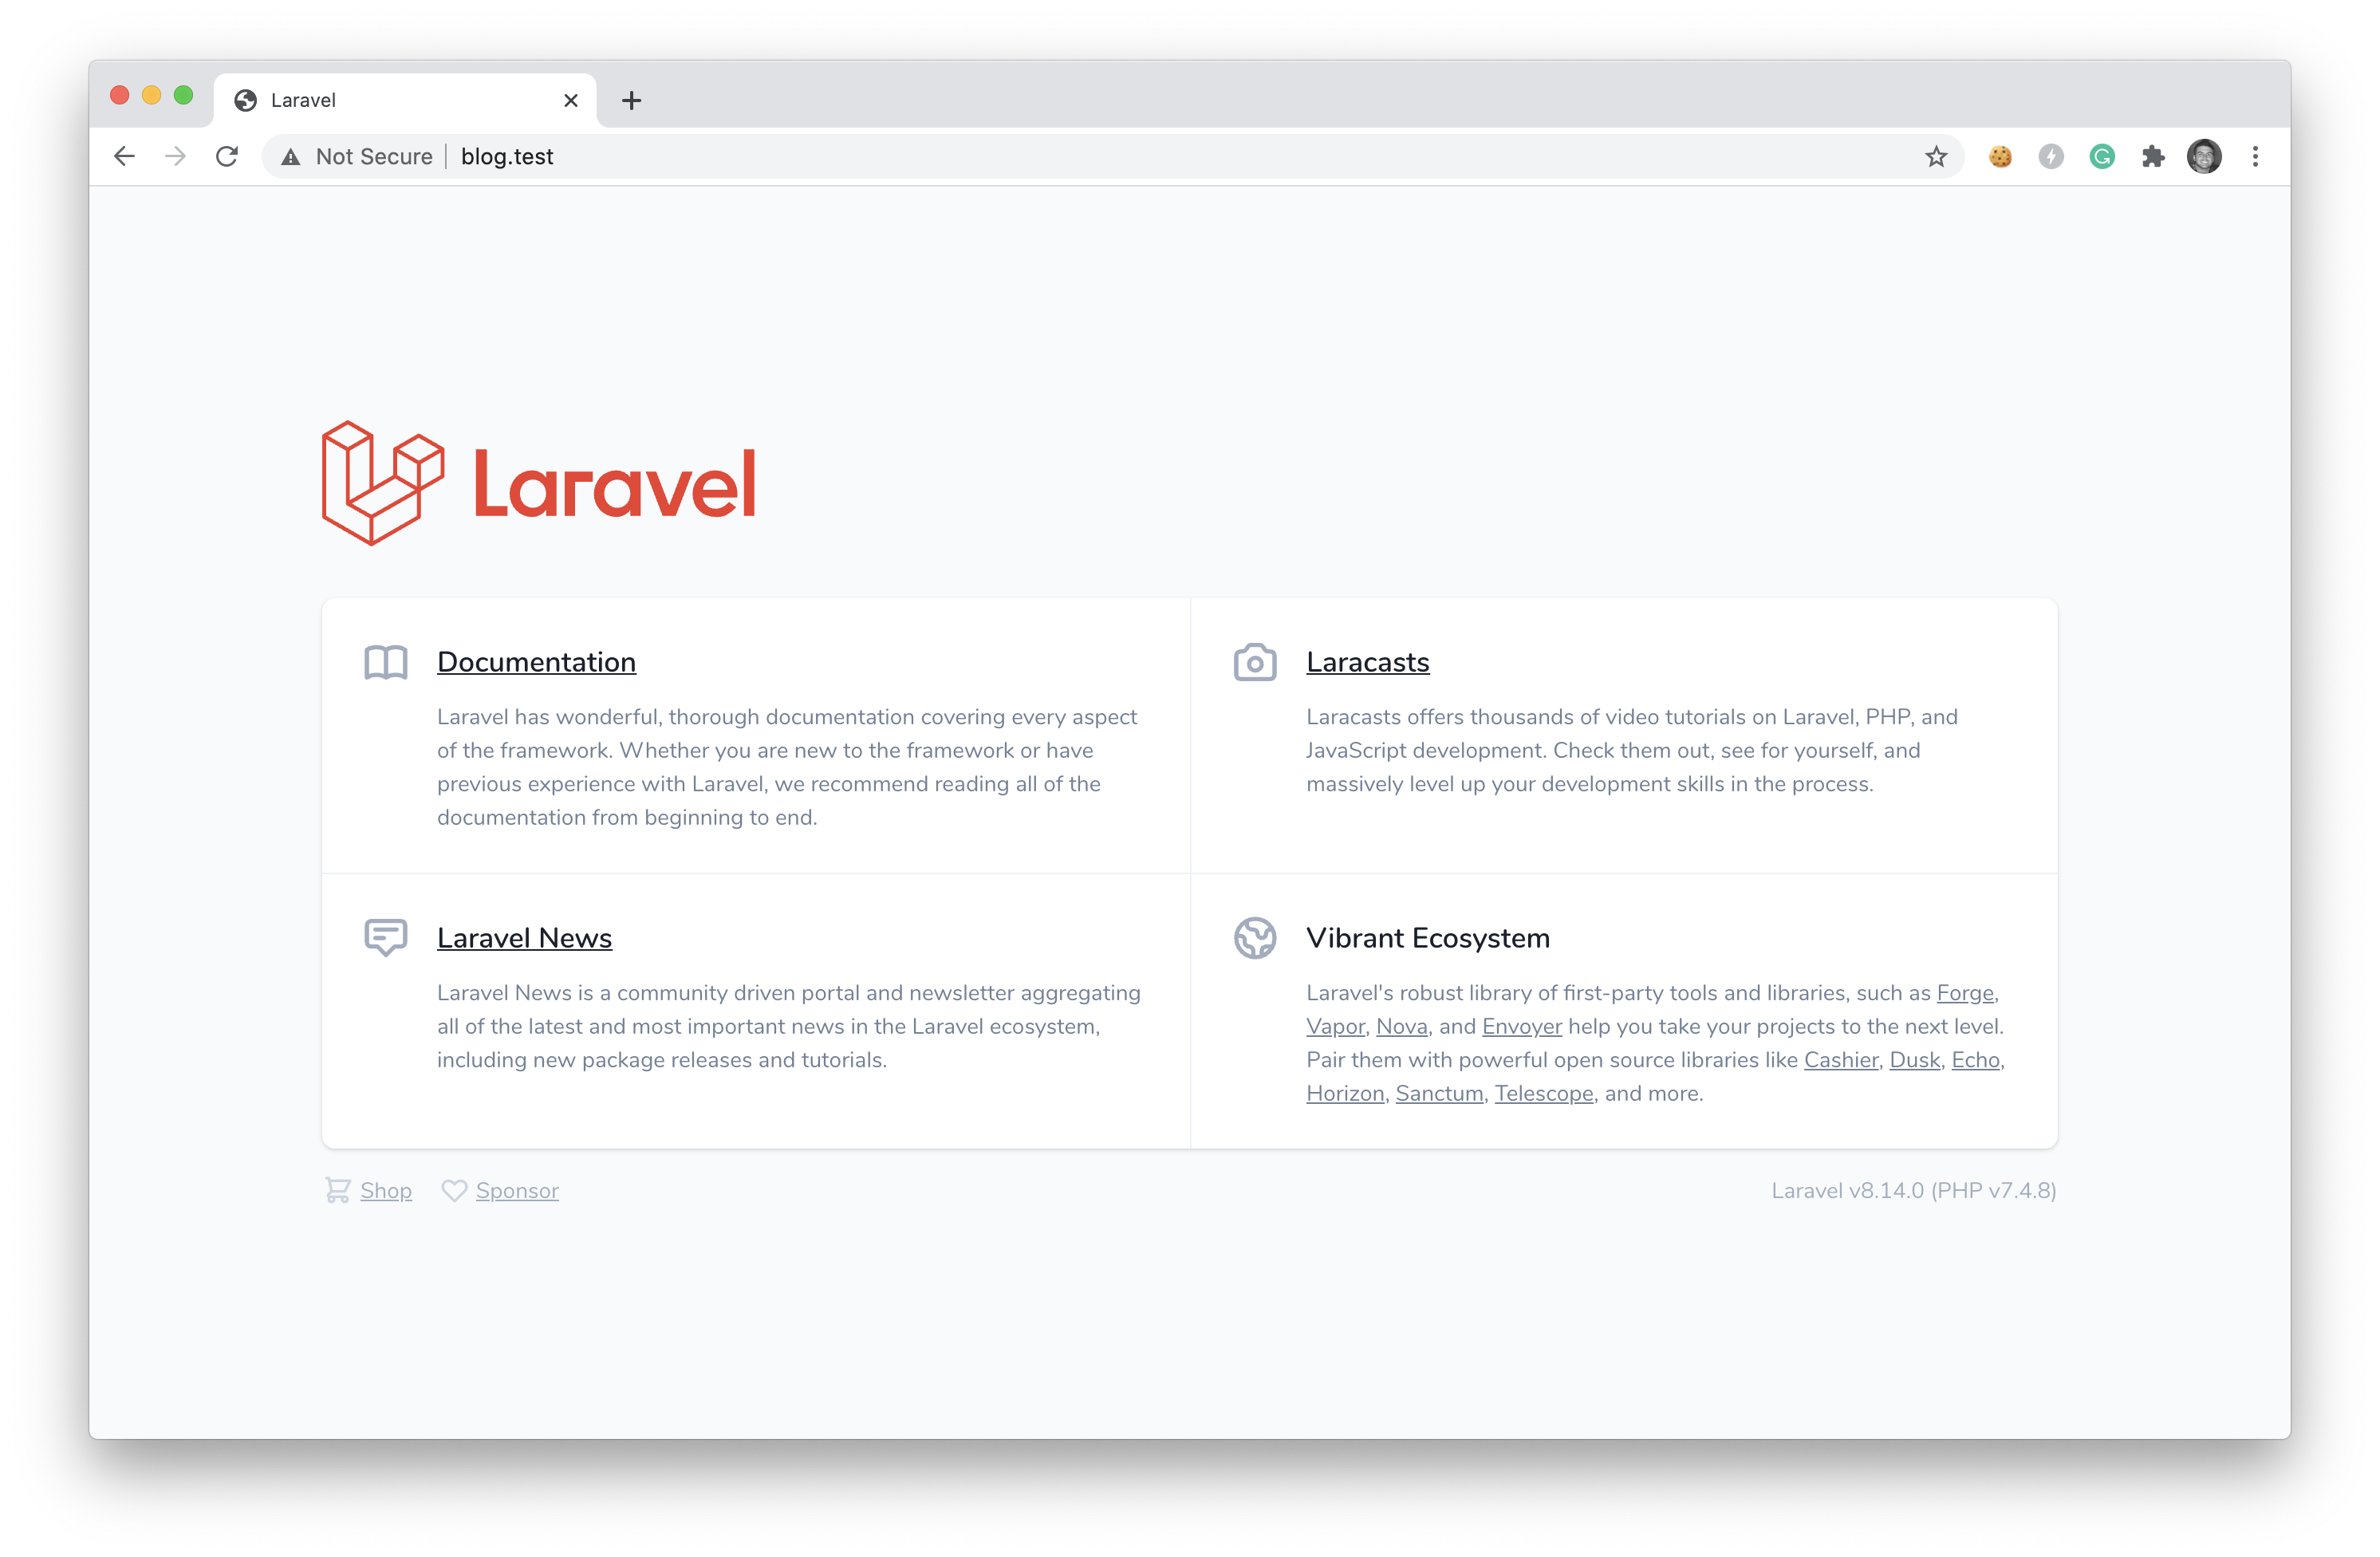
We now have our new Laravel app if we were to visit blog.test
Let's move on to creating our posts table migration.
Create a new posts table
We can create our posts table migration with the following command:
php artisan make:migration create_posts_table
If we open up that file, we can add the following schema data to our migration:
<?php

use Illuminate\Database\Migrations\Migration;
use Illuminate\Database\Schema\Blueprint;
use Illuminate\Support\Facades\Schema;

class CreatePostsTable extends Migration
{
    /**
     * Run the migrations.
     *
     * @return void
     */
    public function up()
    {
        Schema::create('posts', function (Blueprint $table) {
            $table->id();
            $table->integer('user_id');
            $table->string('title');
            $table->text('body');
            $table->string('image')->nullable();
            $table->string('slug')->unique();
            $table->boolean('active')->default(1);
            $table->boolean('featured')->default(0);
            $table->timestamps();
        });
    }

    /**
     * Reverse the migrations.
     *
     * @return void
     */
    public function down()
    {
        Schema::dropIfExists('posts');
    }
}
Before running the migration, be sure to connect your database by adding the correct DB info to your .env file:
 View Website
 View Website
 View Website
...
DB_CONNECTION=mysql
DB_HOST=127.0.0.1
DB_PORT=3306
DB_DATABASE=blog
DB_USERNAME=root
DB_PASSWORD=
...
After you have your database credentials added, you can run the migrations:
php artisan migrate
You'll see an output similar to the following:
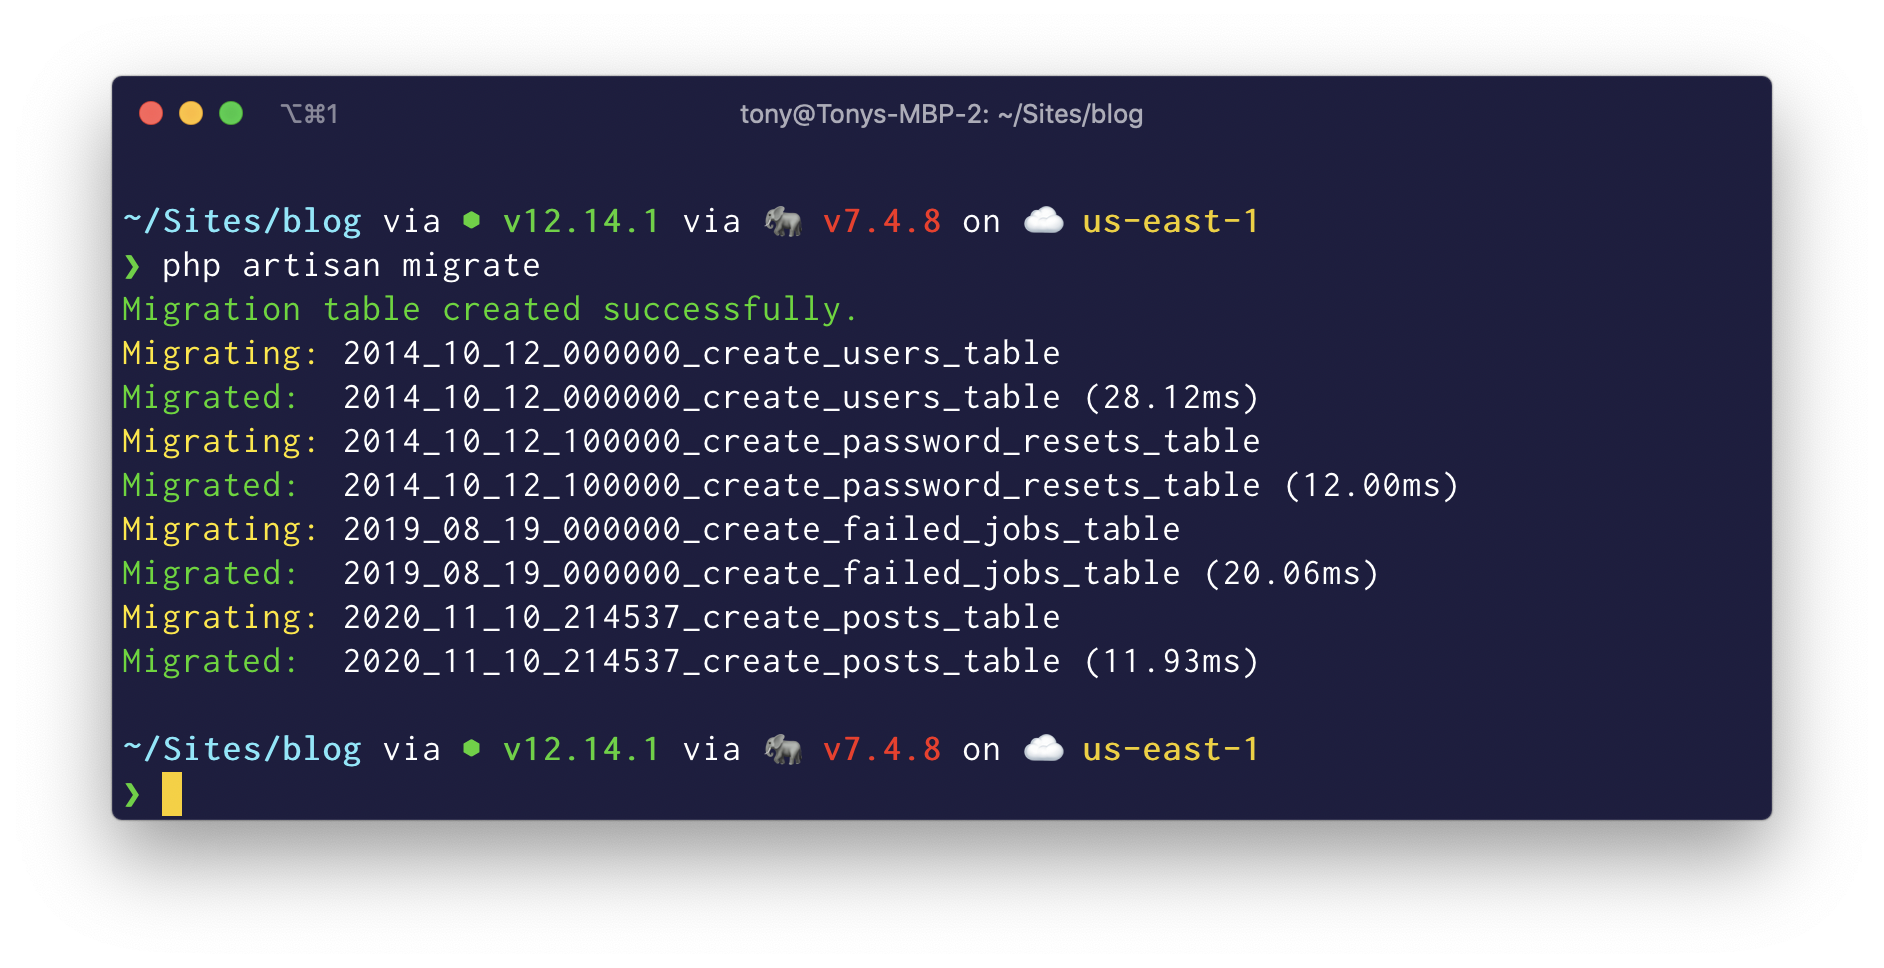
Notice that we've also migrated the user table and a few other migrations included with a blank Laravel app. That's ok, but we'll mainly focus on our
postsmigration.
In the next step, we'll be adding Livewire to our project. This way, we can create some kick-ass ways of adding new posts.
Install Livewire
We can install Livewirw by running the following command:
composer require livewire/livewire
We then need to add the livewire scripts and styles to our main layout file. Since we don't have the main layout file in our application, we'll do that in the next step.
Create our App layout
Inside our app, we'll create a new layout file located at resources/views/layouts/app.blade.php, with the following contents:
<!DOCTYPE html>
<html lang="en">
<head>
    <meta charset="UTF-8">
    <meta name="viewport" content="width=device-width, initial-scale=1.0">
    <title>@yield('title', 'Laravel Blog')</title>
    <link rel="stylesheet" href="https://cdnjs.cloudflare.com/ajax/libs/tailwindcss/1.9.6/tailwind.min.css">
</head>
<body>

    @yield('content')

</body>
</html>
As you can see above, we included a link to the Tailwind CSS CDN link.
Now that we have our main layout file, we can add our Livewire scripts and styles.
Adding Livewire Scripts
Adding the Livewire scripts and style to our layout file is very simple. We include @livewireStyles to our head and @livewireScripts to our body, like so:
<!DOCTYPE html>
<html lang="en">
<head>
    <meta charset="UTF-8">
    <meta name="viewport" content="width=device-width, initial-scale=1.0">
    <title>@yield('title', 'Laravel Blog')</title>
    <link rel="stylesheet" href="https://cdnjs.cloudflare.com/ajax/libs/tailwindcss/1.9.6/tailwind.min.css">
    @livewireStyles
</head>
<body>

    @yield('content')

    @livewireScripts
</body>
</html>
Next, we'll add a simple header and homepage for our blog.
Add Our Homepage
Inside of our routes/web.php, you'll see a home route pointing to our welcome.blade.php:
Route::get('/', function () {
    return view('welcome');
});
Change this route to the following:
Route::view('/', 'home');
This will point our homepage to a new file at resources/views/home.blade.php. You will want to create that file with the following contents:
@extends('layouts.app')

@section('content')

    <div class="container mx-auto p-5">
        <h1 class="text-4xl mt-32 text-center tracking-tight leading-10 font-extrabold text-gray-900 sm:text-5xl sm:leading-none md:text-6xl">
            Welcome to The Blog
        </h1>
    </div>

@endsection
Note: we can also delete the temporary welcome.blade.php file from our
resources/viewsfolder.
Using Blade Components, we can create a header component for our blog with the following command:
php artisan make:component header
This will generate our new component view template located at resources/views/components/header.blade.php, which we’ll want to add the following contents:
<header class="text-gray-700 body-font border-b">
    <div class="container mx-auto flex flex-wrap p-5 flex-col md:flex-row items-center">
        <nav class="flex lg:w-2/5 flex-wrap items-center text-base md:ml-auto">
            <a href="/" class="mr-5 hover:text-gray-900">Home</a>
            <a href="/blog" class="mr-5 hover:text-gray-900">Blog</a>
            <a href="/about" class="mr-5 hover:text-gray-900">About</a>
        </nav>
        <a class="flex order-first lg:order-none lg:w-1/5 title-font font-bold items-center text-gray-900 lg:items-center lg:justify-center mb-4 md:mb-0">
            BLOG
        </a>
        <div class="lg:w-2/5 inline-flex lg:justify-end ml-5 lg:ml-0">
            <a href="#_" class="inline-flex items-center bg-gray-200 border-0 py-1 px-3 focus:outline-none hover:bg-gray-300 rounded text-base mt-4 md:mt-0">Login</a>
        </div>
    </div>
</header>
Now, we can include this component in our main layout by including <x-header></x-header> in the place we want our header:
<!DOCTYPE html>
<html lang="en">
<head>
    <meta charset="UTF-8">
    <meta name="viewport" content="width=device-width, initial-scale=1.0">
    <title>@yield('title', 'Laravel Blog')</title>
    <link rel="stylesheet" href="https://cdnjs.cloudflare.com/ajax/libs/tailwindcss/1.9.6/tailwind.min.css">
    @livewireStyles
</head>
<body>

    <x-header></x-header>

    @yield('content')

    @livewireScripts

</body>
</html>
We'll now see that our layout is coming along nicely. 👌
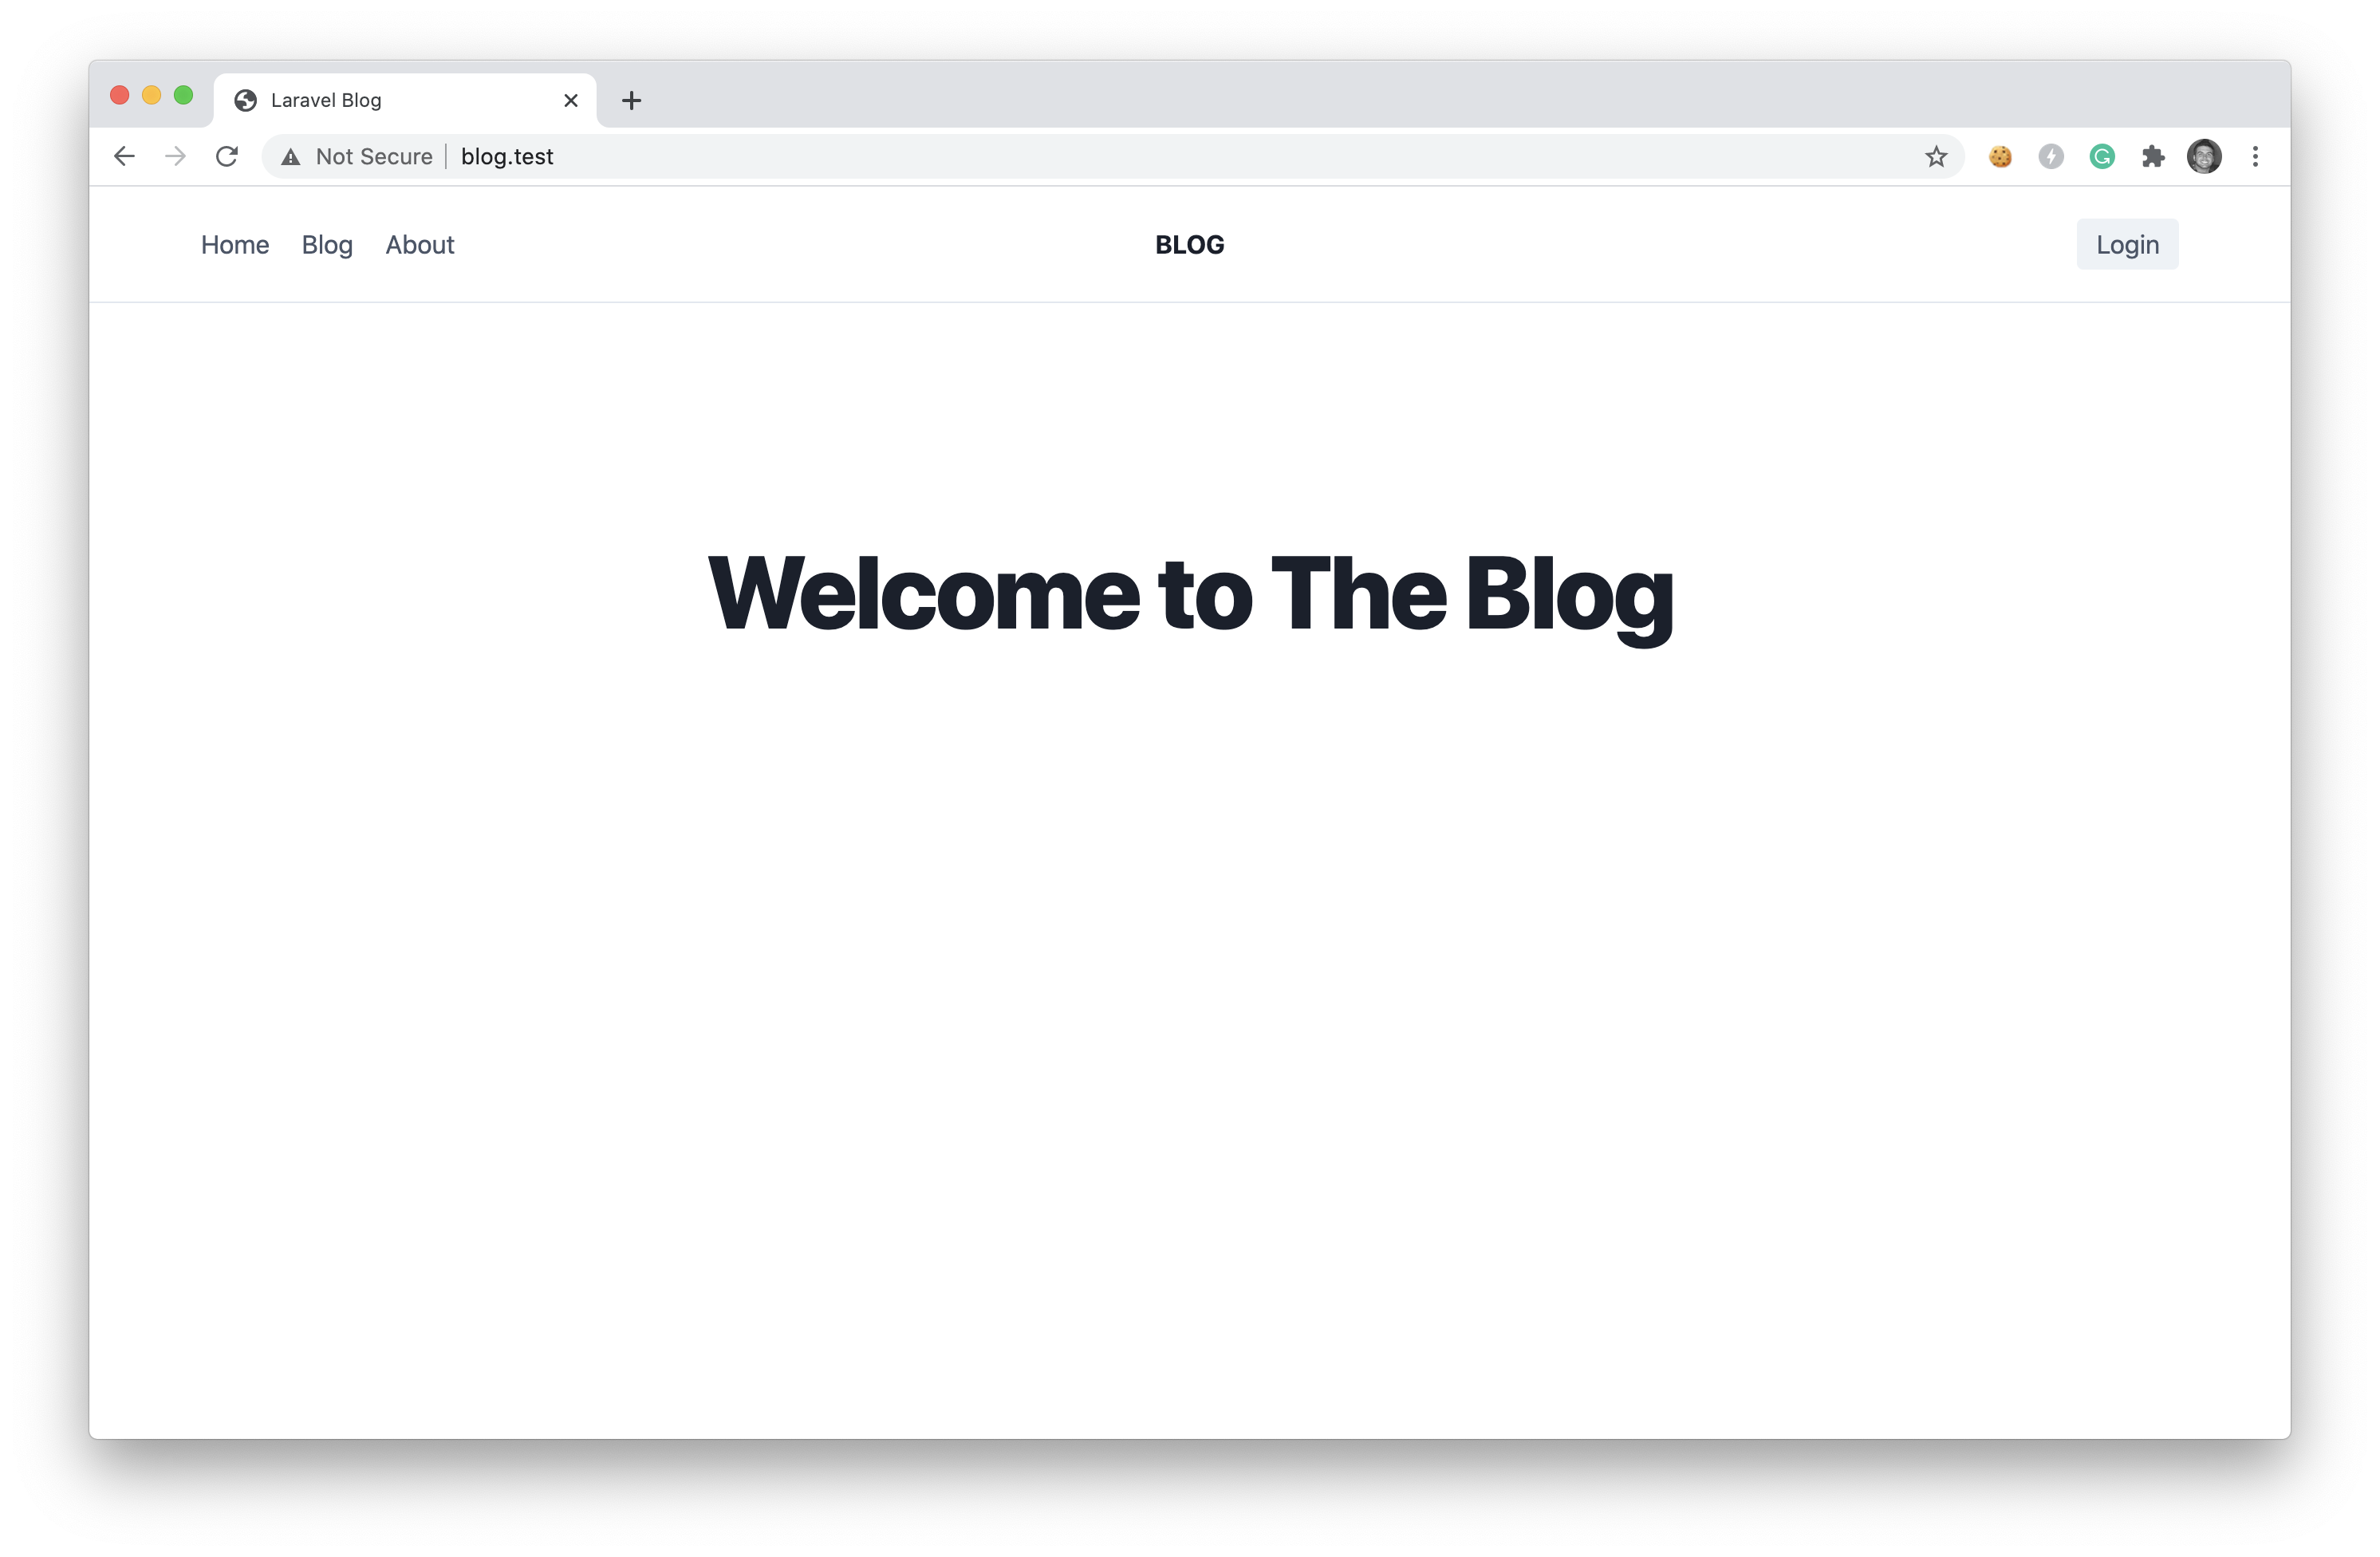
Next, we will create a new view where we can start publishing a few posts.
Create Posts Component
Run the following command to create a new Livewire component that will be used for creating posts on our blog:
php artisan make:livewire PostCreate
This will create a component CLASS and a component VIEW in our application located at:
CLASS: app/Http/Livewire/PostCreate.php
VIEW:  resources/views/livewire/post-create.blade.php
We can add a new route to our routes/web.php, which will load our new component:
Route::get('post/create', \App\Http\Livewire\PostCreate::class);
Before seeing our component displayed on the screen, we need to modify the component Class and View.
Open up the app/Http/Livewire/PostCreate.php file, and we can specify the section we want our component to be injected inside our layout file. We can do that by modifying the render() function:
public function render()
{
    return view('livewire.post-create')
            ->extends('layouts.app')
            ->section('content');
}
The reason that we added the ->section('content') to our view is that inside of our layout file, we output that section with the @yield('content') line.
Next, we'll add an <h1> to our component view resources/views/livewire/post-create.blade.php, like so:
<div>
<div class="container mx-auto px-4">
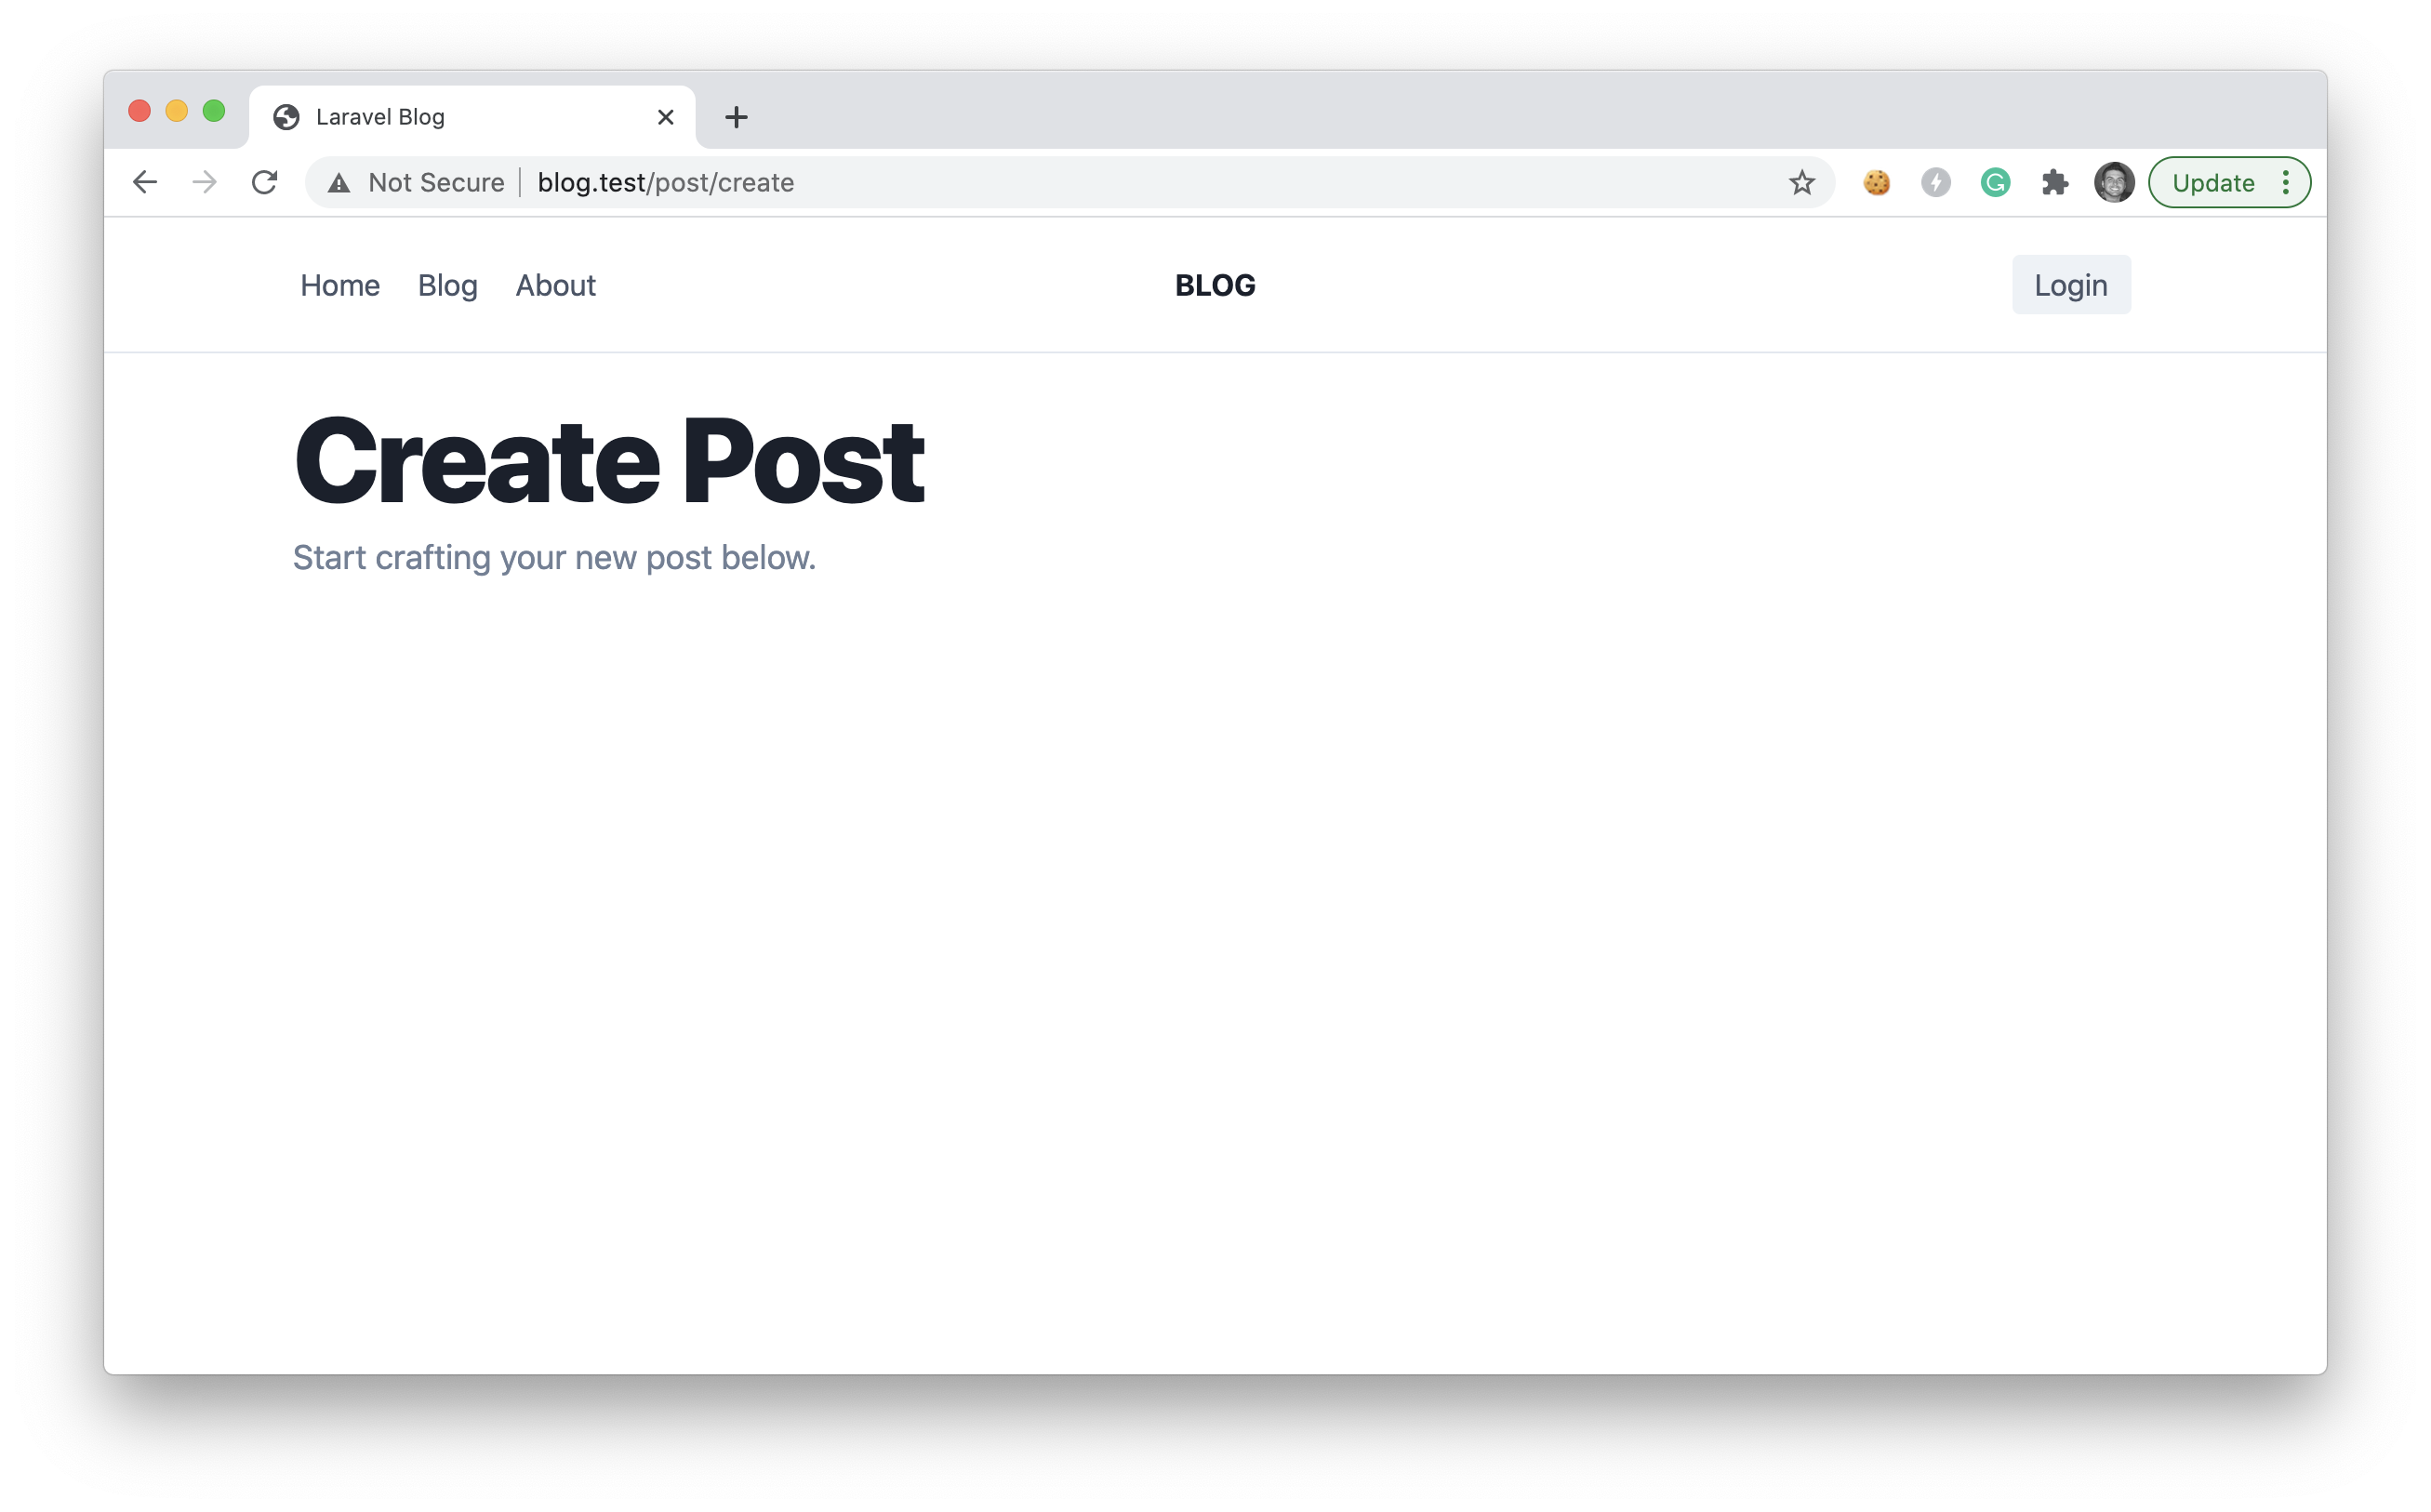
<h1 class="text-4xl mt-6 tracking-tight leading-10 font-extrabold text-gray-900 sm:text-5xl sm:leading-none md:text-6xl">Create Post</h1>
<p class="text-lg mt-2 text-gray-600">Start crafting your new post below.</p>
</div>
</div>
Now, if we visit our new blog page at blog.test/post/create, we'll see the following page:
We can now move on to building the create post functionality.
Create Post Functionality
To create a new post, we're going to need a Post model, which we can create by running:
php artisan make:model Post
We'll need a form to create a new post inside of our Livewire view file resources/views/livewire/post-create.blade.php:
<div>
    <div class="container mx-auto px-4">
        <h1 class="text-4xl mt-6 tracking-tight leading-10 font-extrabold text-gray-900 sm:text-5xl sm:leading-none md:text-6xl">Create Post</h1>
        <p class="text-lg mt-2 text-gray-600">Start crafting your new post below.</p>
        <div class="space-y-8 divide-y divide-gray-200 w-1/2 mt-10">

            @if($saveSuccess)
                <div class="rounded-md bg-green-100 rounded-lg p-4">
                    <div class="flex">
                        <div class="flex-shrink-0">
                            <svg class="h-5 w-5 text-green-400" xmlns="http://www.w3.org/2000/svg" viewBox="0 0 20 20" fill="currentColor" aria-hidden="true">
                                <path fill-rule="evenodd" d="M10 18a8 8 0 100-16 8 8 0 000 16zm3.707-9.293a1 1 0 00-1.414-1.414L9 10.586 7.707 9.293a1 1 0 00-1.414 1.414l2 2a1 1 0 001.414 0l4-4z" clip-rule="evenodd" />
                            </svg>
                        </div>
                        <div class="ml-3">
                            <h3 class="text-sm font-medium text-green-800">Successfully Saved Post</h3>
                            <div class="mt-2 text-sm text-green-700">
                                <p>Your new post has been saved.</p>
                            </div>
                        </div>
                    </div>
                </div>
            @endif

            <div class="sm:col-span-6">
                <label for="title" class="block text-sm font-medium text-gray-700">
                    Post Title
                </label>
                <div class="mt-1">
                    <input id="title" wire:model="post.title" name="title" class="block w-full transition duration-150 ease-in-out appearance-none bg-white border border-gray-400 rounded-md py-2 px-3 text-base leading-normal transition duration-150 ease-in-out sm:text-sm sm:leading-5">
                </div>
            </div>
            <div class="sm:col-span-6 pt-5">
                <label for="body" class="block text-sm font-medium text-gray-700">Body</label>
                <div class="mt-1">
                    <textarea id="body" rows="3" wire:model="post.body" class="shadow-sm focus:ring-indigo-500 appearance-none bg-white border border-gray-400 rounded-md py-2 px-3 text-base leading-normal transition duration-150 ease-in-out focus:border-indigo-500 block w-full sm:text-sm border-gray-300 rounded-md"></textarea>
                </div>
                <p class="mt-2 text-sm text-gray-500">Add the body for your post.</p>
            </div>
            <div wire:click="savePost" class="inline-flex justify-center px-4 py-2 text-sm font-medium leading-5 text-white transition duration-150 ease-in-out bg-indigo-500 border border-transparent rounded-md hover:bg-indigo-600 focus:outline-none focus:border-indigo-700 focus:shadow-outline-indigo active:bg-indigo-700 cursor-pointer">Submit Post</div>
        </div>
    </div>
</div>
In the HTML above, we have a title and body input where we are binding the values to Livewire with wire:model.
We also have a success alert that will be displayed when
$saveSuccessis true.
Ok, now we need to add the logic to our Livewire class app/Http/Livewire/PostCreate.php, so we can easily create a new post.
<?php

namespace App\Http\Livewire;

use App\Models\Post;
use Illuminate\Support\Str;
use Livewire\Component;

class PostCreate extends Component
{
    public $saveSuccess = false;
    public $post;

    protected $rules = [
        'post.title' => 'required|min:6',
        'post.body' => 'required|min:6',
    ];

    public function mount(){
        $this->post = new Post;
    }

    public function savePost(){
        $this->post->user_id = 1;
        $this->post->slug = Str::slug($this->post->title);
        $this->post->save();
        $this->saveSuccess = true;
    }

    public function render()
    {
        return view('livewire.post-create')
                ->extends('layouts.app')
                ->section('content');
    }
}
Notice that we don't have our authentication system yet, so we just set the
user_idto 1 to create the post.
If we were to visit our create post route, we can create our first post.
Displaying Posts
Displaying a post is pretty easy. We know that we want a user to visit /post/{slug}, and our application will lookup the post with the corresponding slug and display it on the page.
Let's create a new Livewire component with the following command:
php artisan make:livewire Post
And, we'll have 2 new files created at:
CLASS: app/Http/Livewire/Post.php
VIEW:  resources/views/livewire/post.blade.php
If we jump into our app/Http/Livewire/Post.php, we can add the following code:
<?php

namespace App\Http\Livewire;

use App\Models\Post as BlogPost;
use Livewire\Component;

class Post extends Component
{
    public $post;

    public function mount($slug){
        $this->post = BlogPost::where('slug', $slug)->first();
    }

    public function render()
    {
        return view('livewire.post')
                ->extends('layouts.app')
                ->section('content');
    }
}
We will also need to add a route that maps to our Livewire controller inside of our routes/web.php:
Route::get('post/{slug}', \App\Http\Livewire\Post::class);
Finally, we can output our post content inside of our Livewire view file located at resources/views/livewire/post.blade.php:
<div>
    <div class="max-w-4xl mx-auto py-20">
        <h1>{{ $post->title }}</h1>
        <p>{!! $post->body !!}</p>
    </div>
</div>
If we were to visit the following route: blog.test/post/my-awesome-post, we would see our new post in front of us.
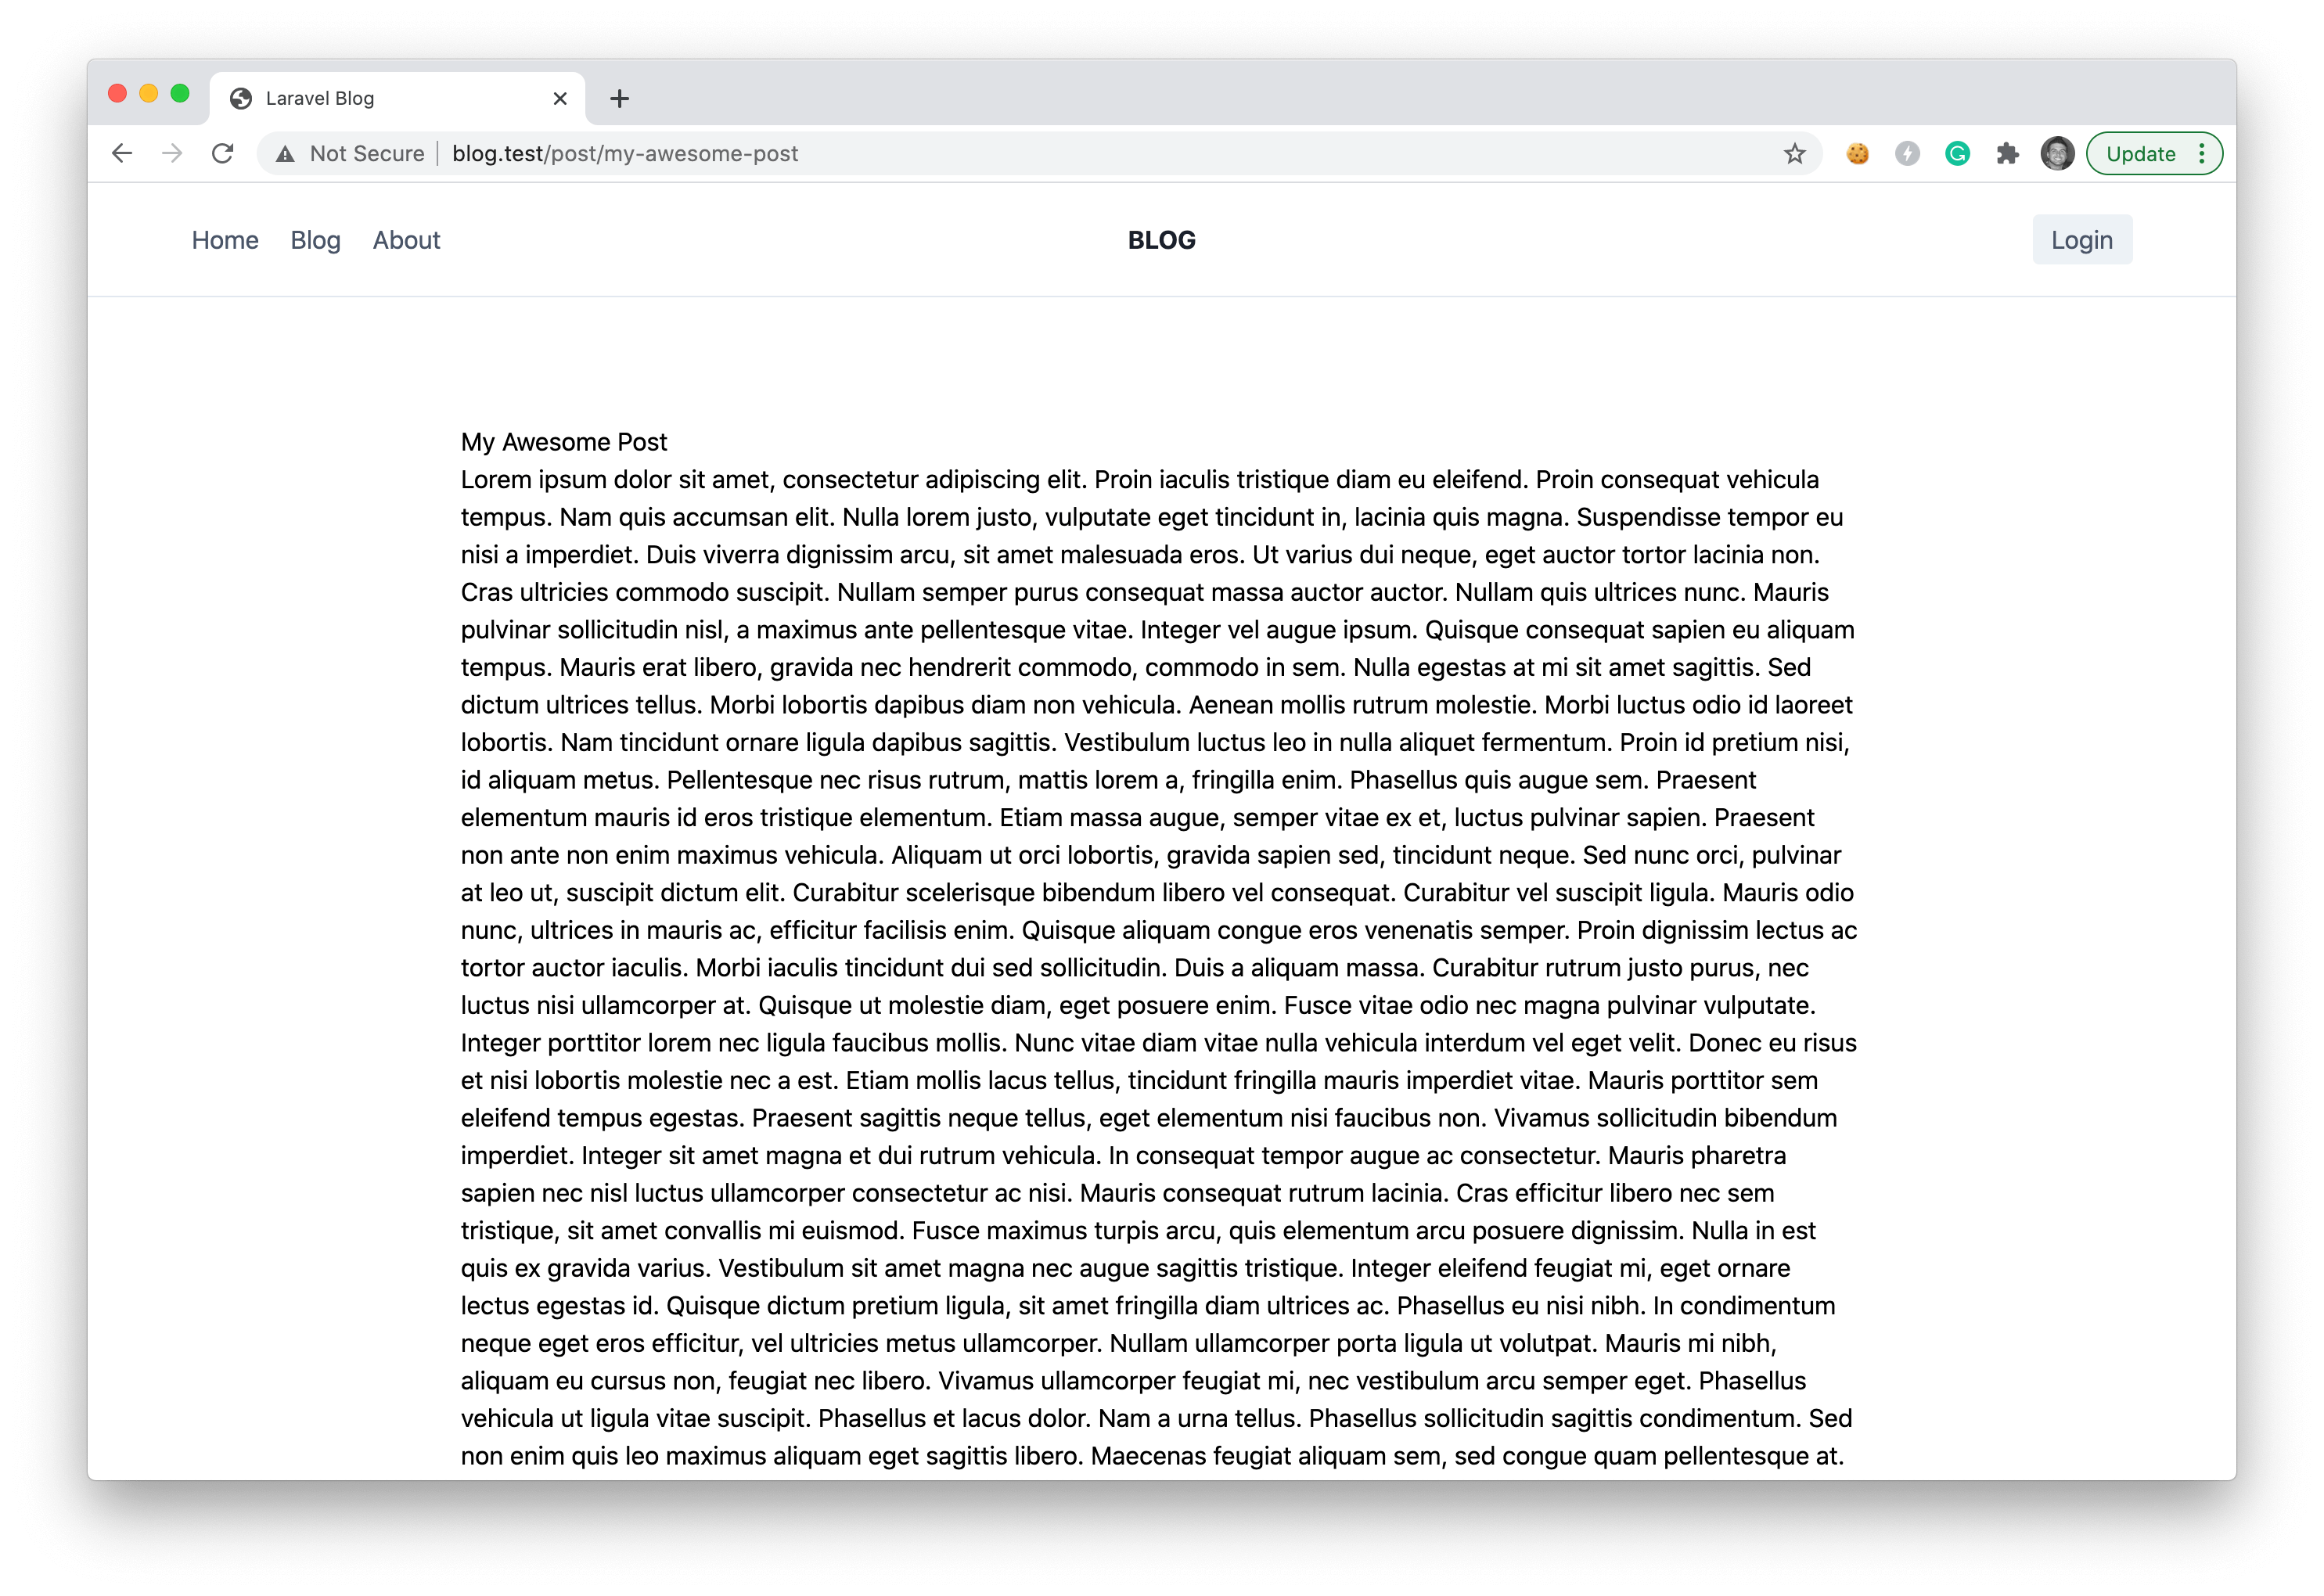
Obviously, our post doesn't look too pretty, but we can easily change that by including the TailwindCSS typography plugin.
Style the Post Page
Thanks to the TailwindCSS Typography Plugin, we can easily stylize our page by including it in our project.
Typically, you would install it via NPM; however, we are just going to include the CDN link in our main resources/views/layouts/app.blade.php file:
<!DOCTYPE html>
<html lang="en">
<head>
    <meta charset="UTF-8">
    <meta name="viewport" content="width=device-width, initial-scale=1.0">
    <title>@yield('title', 'Laravel Blog')</title>
    <link rel="stylesheet" href="https://cdnjs.cloudflare.com/ajax/libs/tailwindcss/1.9.6/tailwind.min.css">
    <link rel="stylesheet" href="https://unpkg.com/@tailwindcss/[email protected]/dist/typography.min.css" />
    @livewireStyles
</head>
<body>

    <x-header></x-header>

    @yield('content')

    @livewireScripts

</body>
</html>
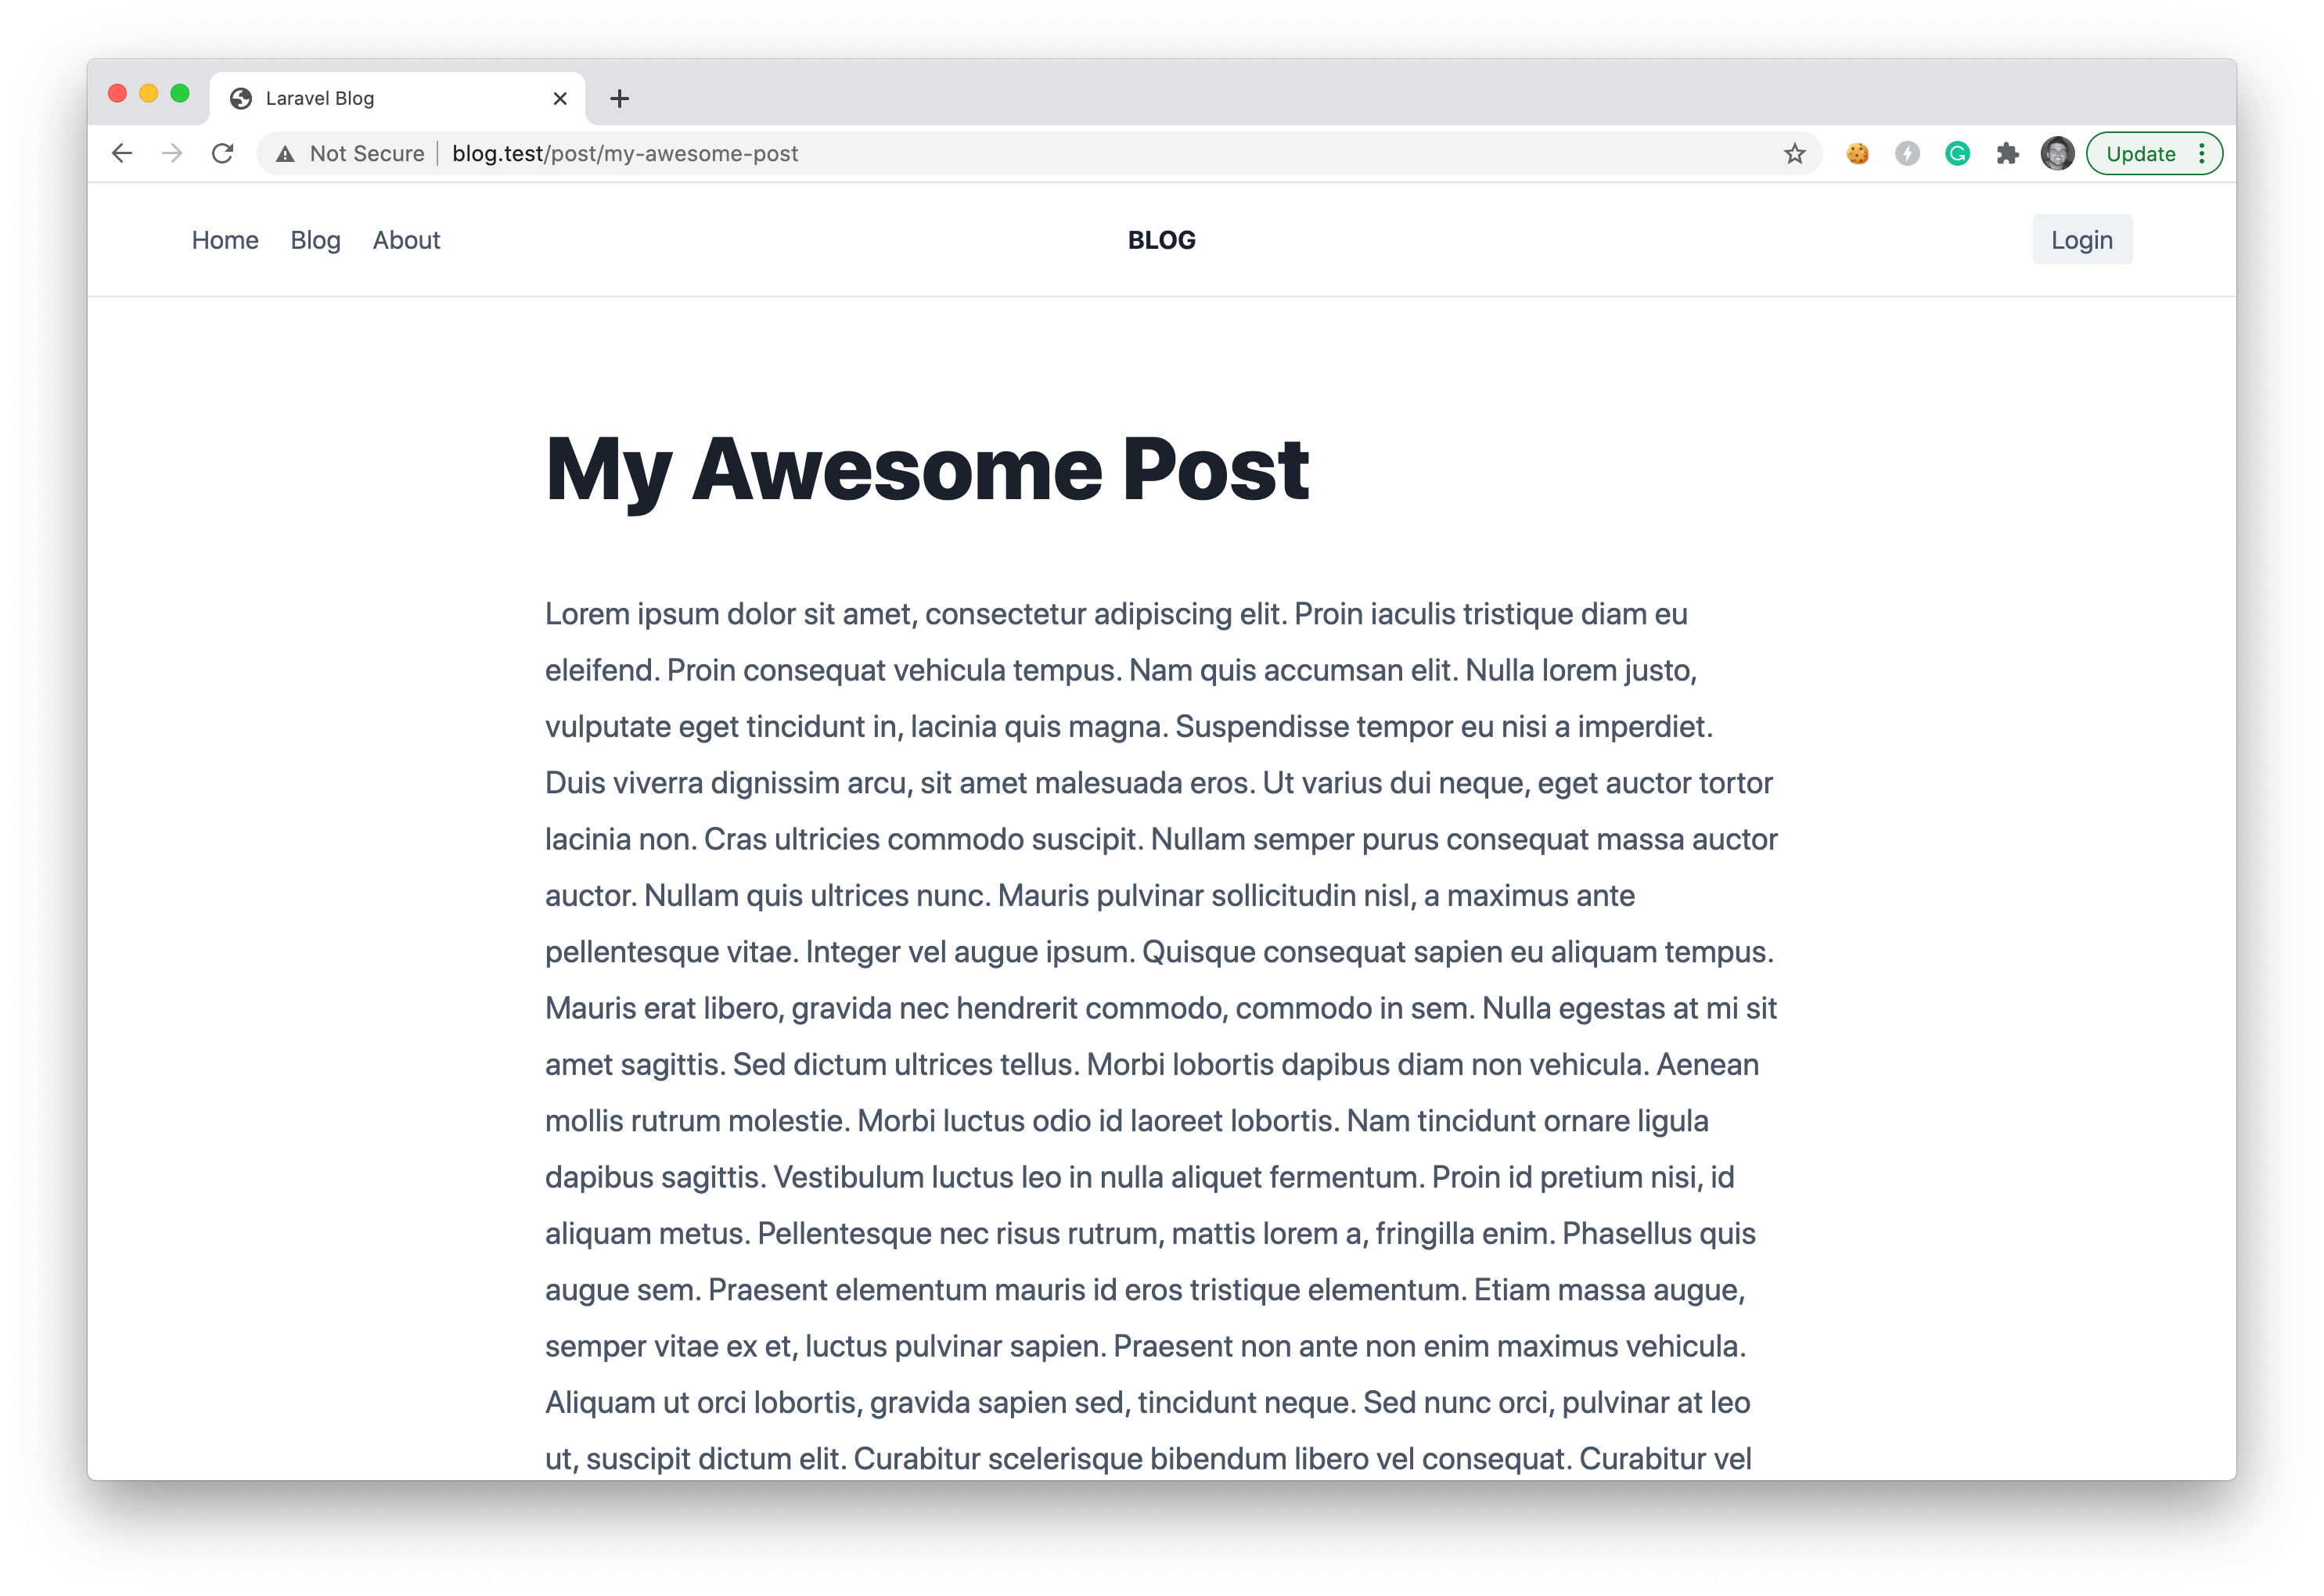
Now, we can modify our resources/views/livewire/post.blade.php file and add the prose lg:prose-xl classes to our div container:
<div>
    <div class="max-w-4xl mx-auto py-20 prose lg:prose-xl">
        <h1>{{ $post->title }}</h1>
        <p>{!! $post->body !!}</p>
    </div>
</div>
Now, if we visit the same blog post, we'll see a beautifully designed post in front of us.
Displaying our Post List
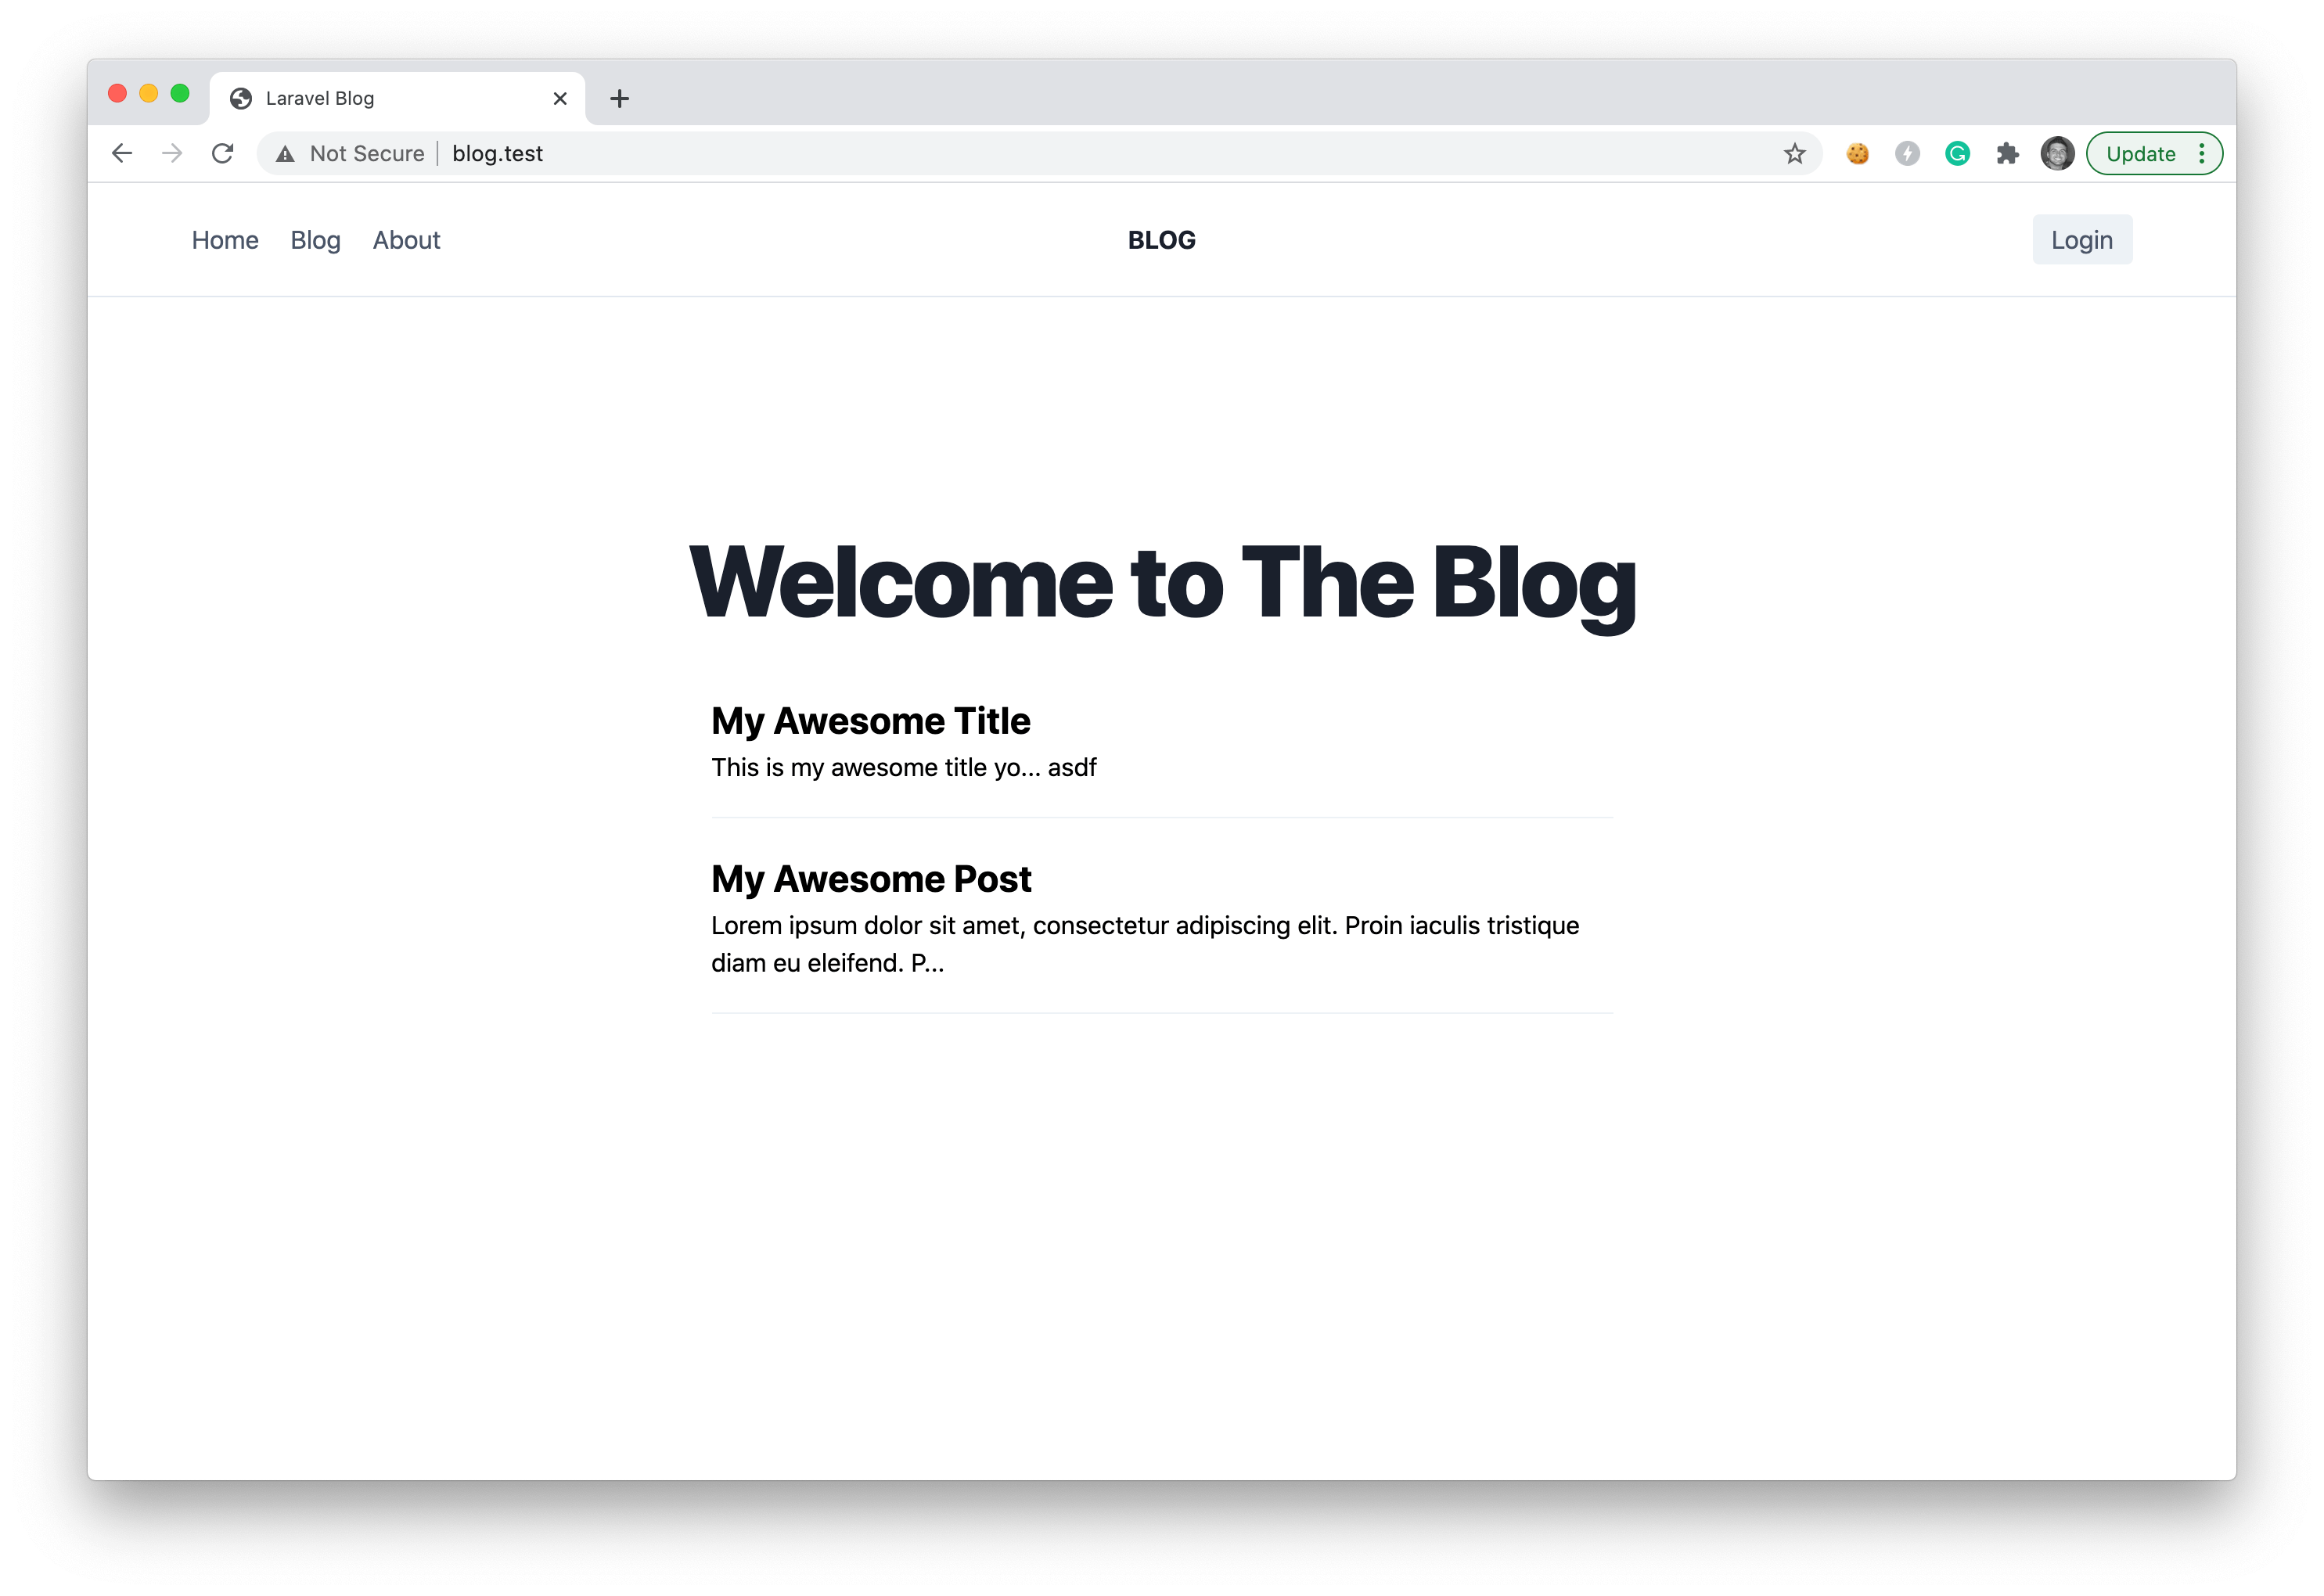
Lastly, we are going to display our posts in our resources/views/home.blade.php file. We can easily loop through all of our posts by adding the following code:
@extends('layouts.app')

@section('content')

    <div class="container mx-auto p-5">
        <h1 class="text-4xl mt-32 text-center tracking-tight leading-10 font-extrabold text-gray-900 sm:text-5xl sm:leading-none md:text-6xl">
            Welcome to The Blog
        </h1>

        <div class="mt-10 max-w-xl mx-auto">
            @foreach(\App\Models\Post::all() as $post)
                <div class="border-b mb-5 pb-5 border-gray-200">
                    <a href="/post/{{ $post->slug }}" class="text-2xl font-bold mb-2">{{ $post->title }}</a>
                    <p>{{ Str::limit($post->body, 100) }}</p>
                </div>
            @endforeach
        </div>
    </div>

@endsection
If we were to visit our blog homepage, we'd see a list of posts where we can click the title to visit the single post page.
More Functionality
This was a simple example of how you can get a simple blog setup using Laravel and Livewire; however, there is still so much you may want to add.
The next thing you may want to add is an image upload feature, where each post can have a featured image. You may also want to require the user to login before submitting a post.
I hope you found this tutorial useful. Be sure to follow me to get notified about more tutorials that I release on Laravel and Livewire.
Happy Coding ✌️
Comments (0)