
Software Requirement:
2 or more Ubuntu 18.04 servers Access to a sudo or root privileged user account on each device The apt package manager.
Swap disabled. You MUST disable swap in order for the kubernetes to work properly.
Installation Procedure:
Step 1. Installing Docker
On both master and slave nodes, the following must be performed.
- Docker's installation is the first thing to do. Login into the server to do this and export the command.
sudo apt-get install docker.io
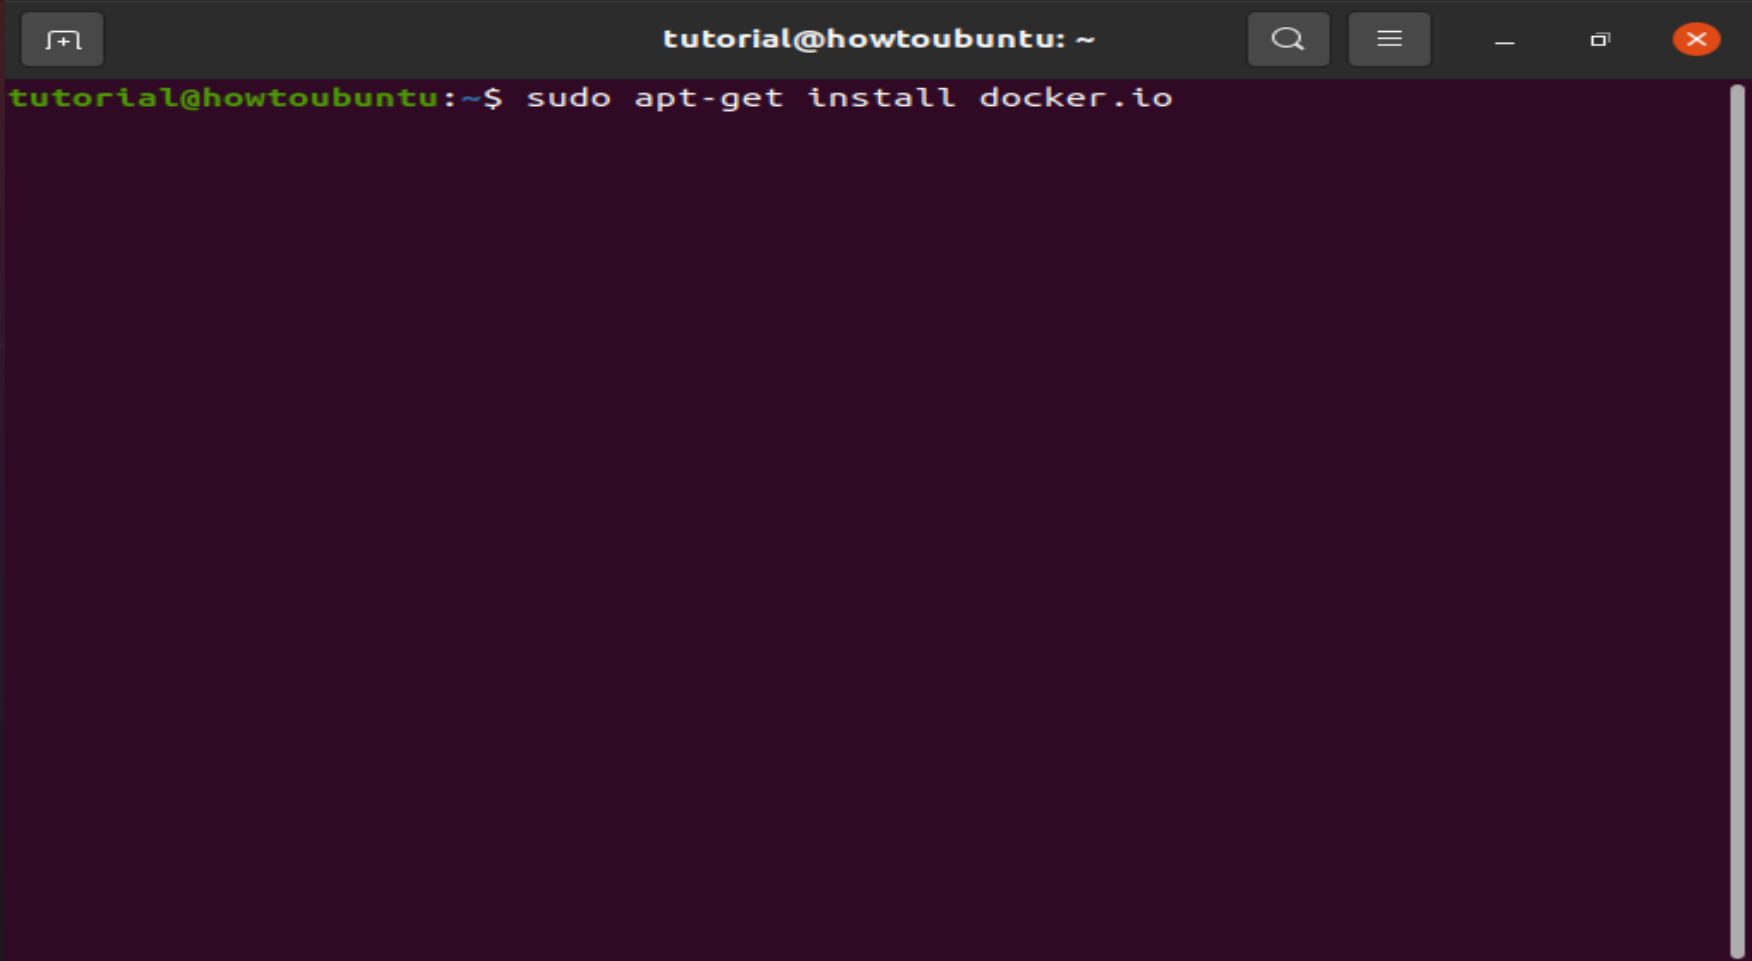 In order to continue the installation, you will be asked to choose a Y/N option. Please enter Y to continue, then press Enter and your machine will be configured with Docker.
2. The installation can also be checked by using the following instruction, and the Docker version number:
In order to continue the installation, you will be asked to choose a Y/N option. Please enter Y to continue, then press Enter and your machine will be configured with Docker.
2. The installation can also be checked by using the following instruction, and the Docker version number:
docker --version
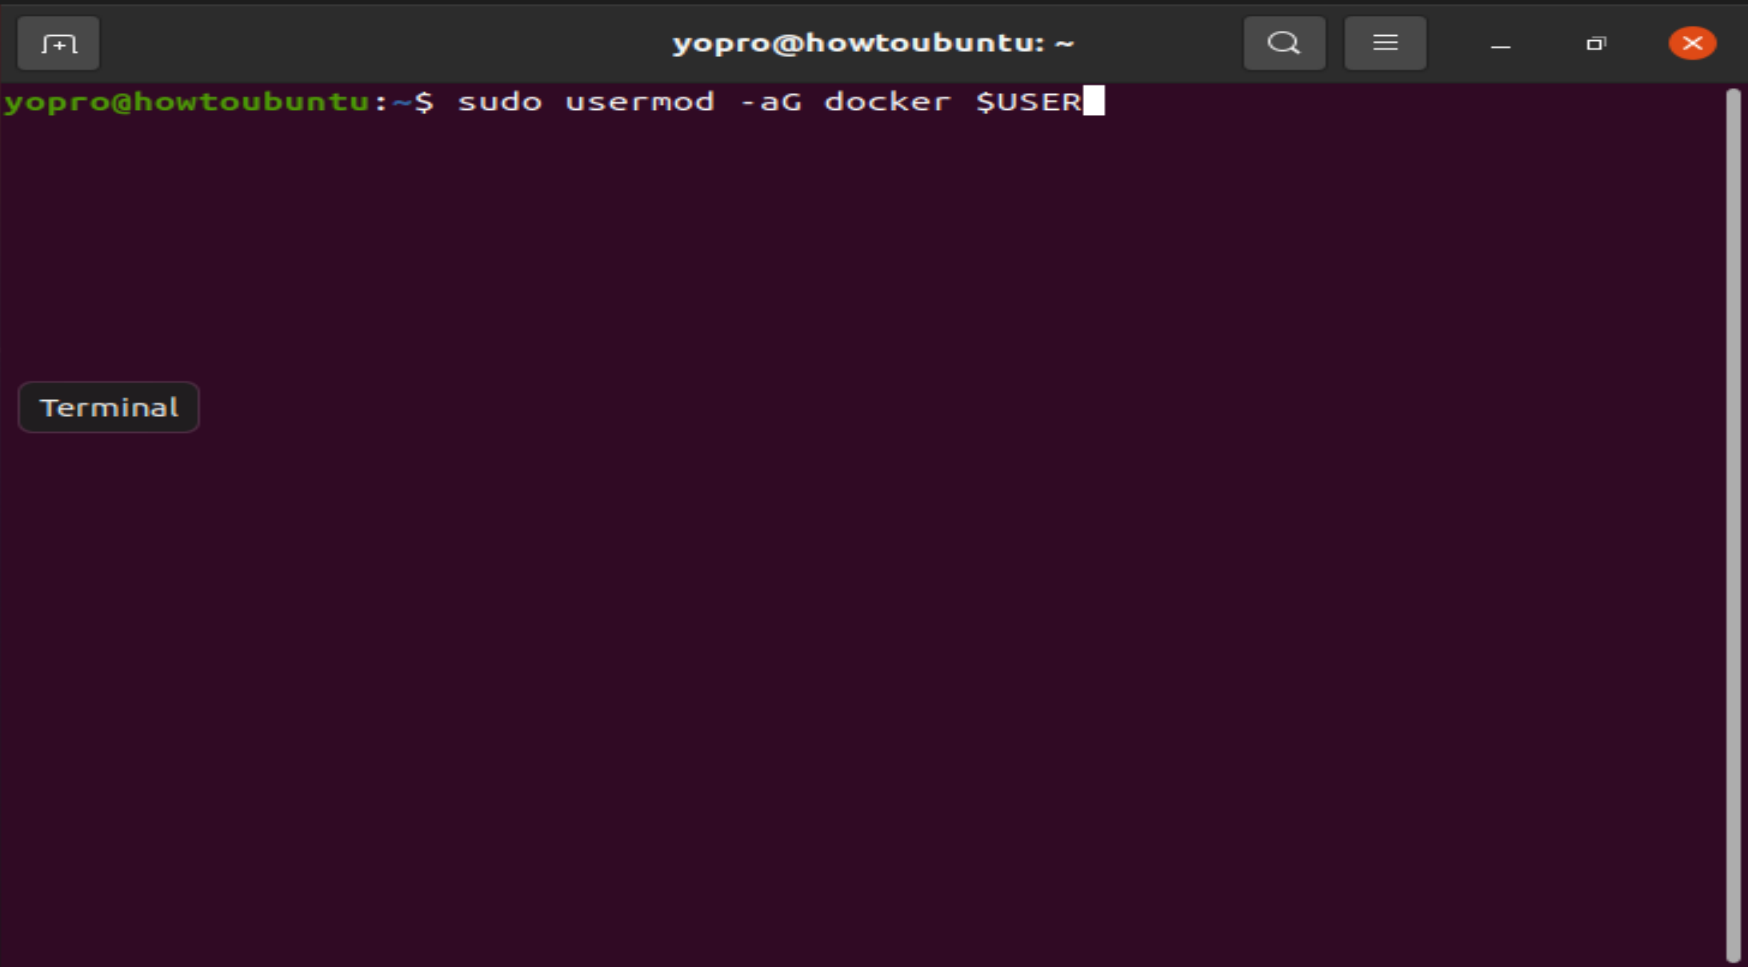
 You must add your user to the docker community once Docker is installed (otherwise you must carry out all the sudo docker commands which could lead to security problems).
3. Use the command to connect your user to the docker group:
You must add your user to the docker community once Docker is installed (otherwise you must carry out all the sudo docker commands which could lead to security problems).
3. Use the command to connect your user to the docker group:
sudo usermod -aG docker $USER
 Log out and log in, so that adjustments come into effect.
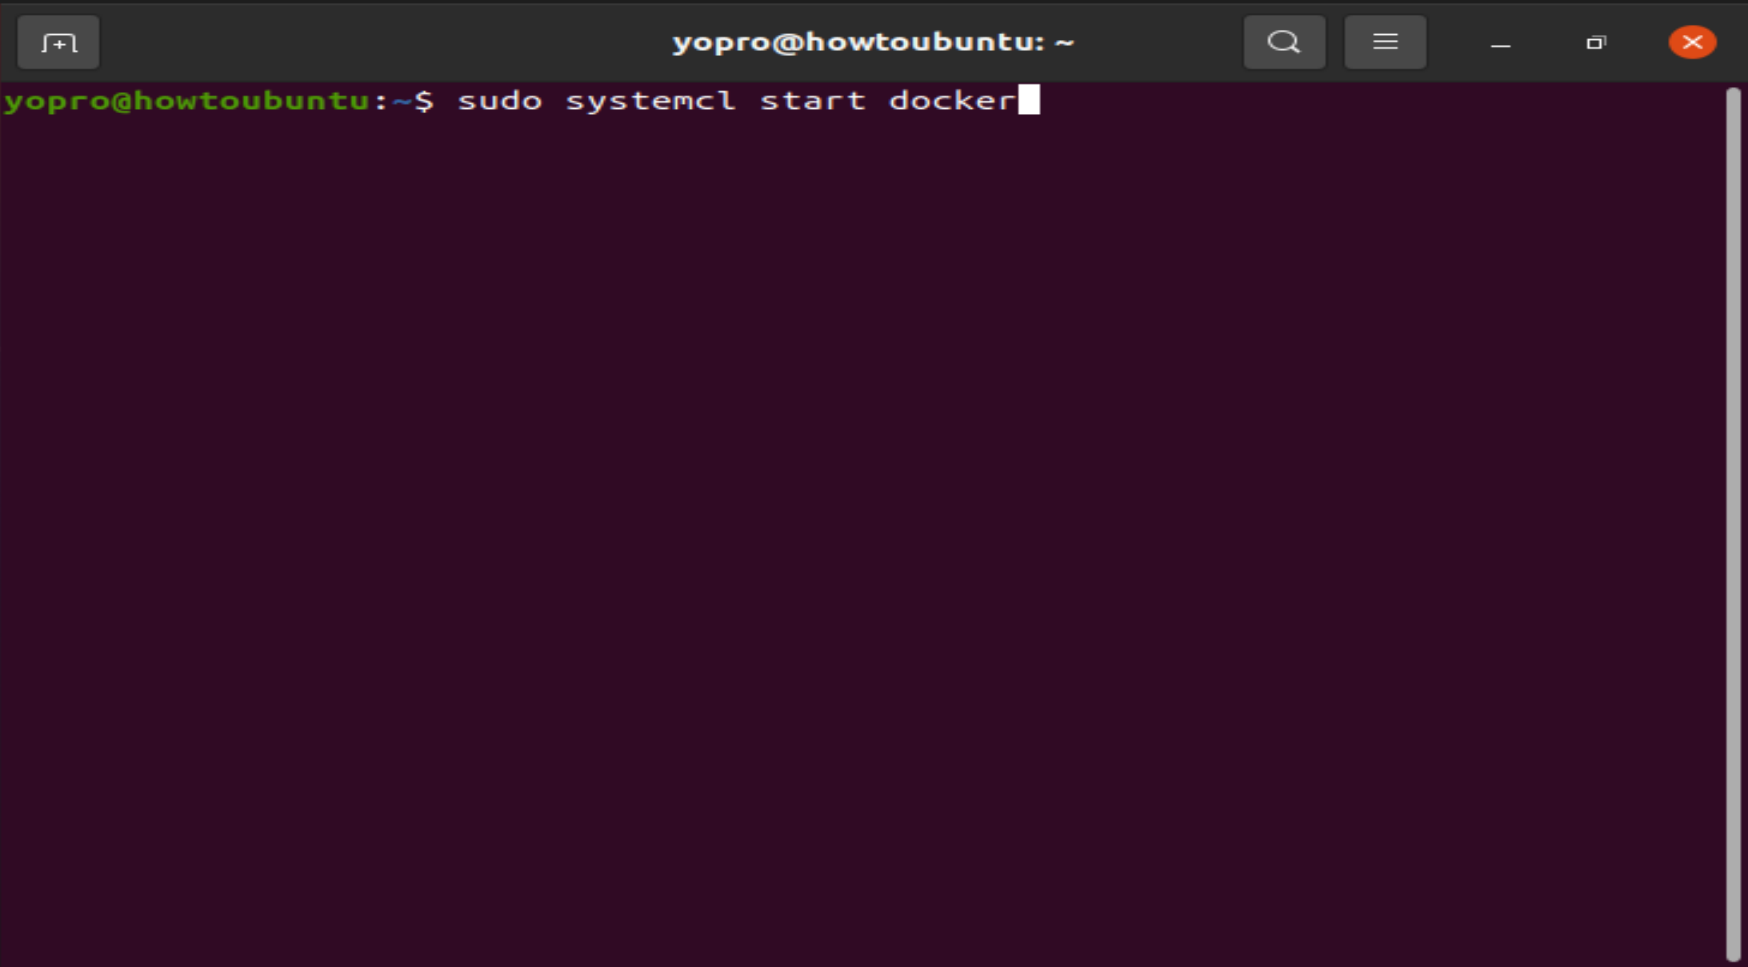
4. Launch and activate the docker daemon with the commands:
Log out and log in, so that adjustments come into effect.
4. Launch and activate the docker daemon with the commands:
sudo systemctl start docker
sudo systemctl enable docker
Step 2: Installing Kubernetes
Now, install Kubernetes on both the machines. As Kubernetes is downloaded from a non-standard repository, it is essential for the software to be authentic. This is achieved with the addition of a signing key.
- Add the GPG Kubernetes key with the command:
curl -s https://packages.cloud.google.com/apt/doc/apt-key.gpg | sudo apt-key add
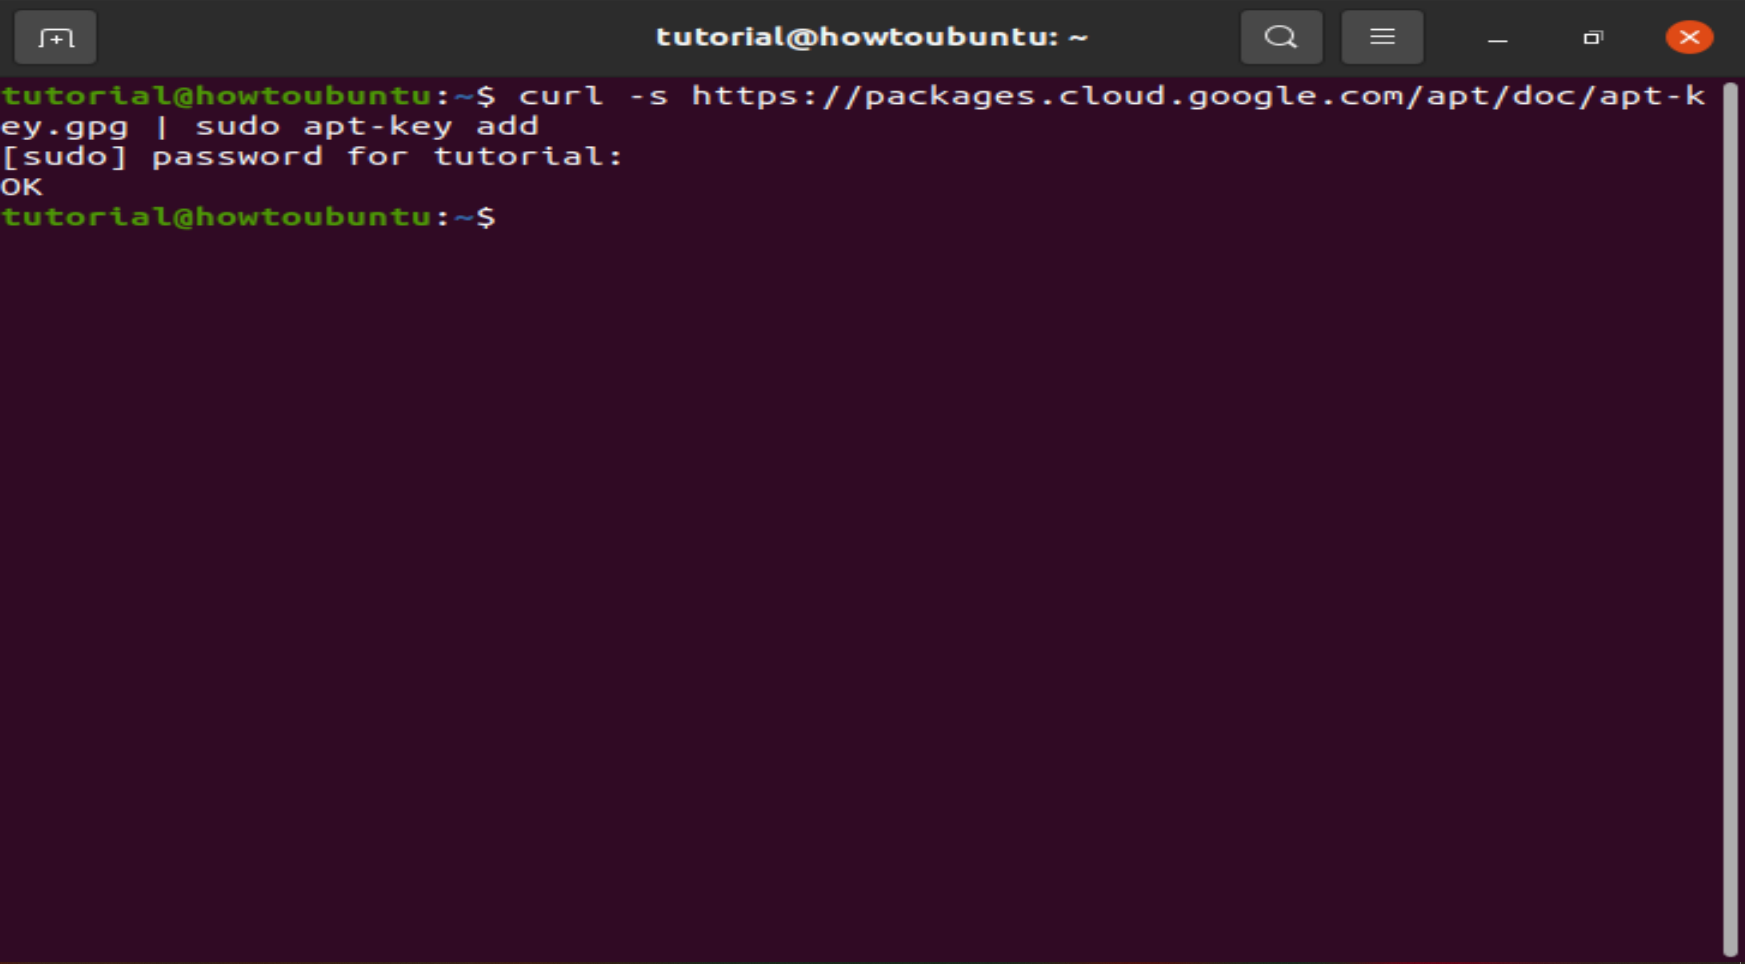 In order to continue the installation, you will be asked to choose a Y/N option. Please enter Y, then press Enter. You will then install the Curl utility on your device.
3. Sometimes Kubernetes is not added in default repository. To add the Xenial Kubernetes repository, run the following command on both nodes:
In order to continue the installation, you will be asked to choose a Y/N option. Please enter Y, then press Enter. You will then install the Curl utility on your device.
3. Sometimes Kubernetes is not added in default repository. To add the Xenial Kubernetes repository, run the following command on both nodes:
 View Website
 View Website
 View Website
sudo apt-add-repository "deb http://apt.kubernetes.io/ kubernetes-xenial main"
 4. Installing Kubeadm (Kubernetes Admin) on both nodes by command is the final stage of the installation process:
sudo apt-get install kubeadm kubelet kubectl
 Run the below command to check whether the versions of the components installed are compatible with each other.
sudo apt-mark hold kubeadm kubelet kubectl
 In order to continue the installation, you will be asked to choose a Y/N option. Please enter Y to continue, then press Enter. Kubeadm will then be installed on your device.
- You can also check Kubeadm's version number and verify the installation using the following command:
kubeadm version
 Repeat for each server node.
Ensure that on each computer you install the same package version. Instability can arise from various versions. This mechanism also prevents Kubernetes from being updated automatically.
Now just set up your network!
Comments (0)