Laravel Authentication
A zombie developer spends a few weeks building authentication into their apps, whereas a Laravel developer leverages a package to add authentication to their app in minutes.
During the zombie developer apocalypse you will probably want to verify a person is not a zombie before allowing them in your home. Similarly, when building your app you may need to verify users before granting them access to certain pages.
This is called authentication and it allows or disallows certain types of users to different sections of your app.
Authentication
When building your Laravel app you may need a simple way to allow users to login to your website.
In this section we'll be going over just how easy it is to add authentication with Laravel. Let's start out by creating a new application:
$ laravel new my-first-authentication
Then we will change directory into our new laravel app:
$ cd my-first-authentication
Next, we need to include the laravel/ui package. This package includes the authentication logic and views.
$ composer require laravel/ui --dev
Then, we'll run an artisan command to publish our authentication files into our app.
$ php artisan ui vue --auth
That command will generate a few views, controllers, and routes. If everything went as planned with that command you will see a message that says Authentication scaffolding generated successfully!.
After publishing our files into our app, we will then need to compile the assets for our new files by running:
npm install && npm run dev
Next, there only two more steps to finish our full authentication system in our app. We need to connect our database and then we need to run our database migrations.
To connect a database to your laravel app you will need to modify a file located in the root of your directory. This is called the .env file.
A> If you don't see this file, then hidden files may not be visible on your machine. Any file that starts with a . is typically hidden on most machines. If you google How to show hidden files on Mac/Windows, you'll find a quick solution that will show hidden files :)
So, open up the .env file and you will see something that looks like the following:
APP_NAME=Laravel
APP_ENV=local
APP_KEY=base64:+6QGom27B6Hryl0svIFix34ZJzXsSIl6d4gmMzL2FnQ=
APP_DEBUG=true
APP_URL=http://localhost

LOG_CHANNEL=stack

DB_CONNECTION=mysql
DB_HOST=127.0.0.1
DB_PORT=3306
DB_DATABASE=laravel
DB_USERNAME=root
DB_PASSWORD=

BROADCAST_DRIVER=log
CACHE_DRIVER=file
QUEUE_CONNECTION=sync
SESSION_DRIVER=file
SESSION_LIFETIME=120

REDIS_HOST=127.0.0.1
REDIS_PASSWORD=null
REDIS_PORT=6379

MAIL_DRIVER=smtp
MAIL_HOST=smtp.mailtrap.io
MAIL_PORT=2525
MAIL_USERNAME=null
MAIL_PASSWORD=null
MAIL_ENCRYPTION=null

AWS_ACCESS_KEY_ID=
AWS_SECRET_ACCESS_KEY=
AWS_DEFAULT_REGION=us-east-1
AWS_BUCKET=

PUSHER_APP_ID=
PUSHER_APP_KEY=
PUSHER_APP_SECRET=
PUSHER_APP_CLUSTER=mt1

MIX_PUSHER_APP_KEY="${PUSHER_APP_KEY}"
MIX_PUSHER_APP_CLUSTER="${PUSHER_APP_CLUSTER}"
The only part we will be concerned with is the DB_HOST, DB_DATABASE, DB_USERNAME, and DB_PASSWORD. For each of these variables, we will need to add in our local database credentials.
If you haven't already, you will need to create a new database. Let's say that we called this database my-first-authentication. We would then need to update our credentials like so:
DB_HOST=localhost
DB_DATABASE=my-first-authentication
DB_USERNAME=root
DB_PASSWORD=
And above your database username and password will depend on your environment.
Alright, so that's it as far as connecting our database to our application.
The final step is adding our database tables. We are going to do this by using our artisan helper and another new concept called migrations we'll go into further details on migrations in section 17.
Let's run the following command in our command prompt:
$ php artisan migrate
If all went well you'll see an output similar to:
Migration table created successfully.
Migrating: 2014_10_12_000000_create_users_table
Migrated:  2014_10_12_000000_create_users_table (0.09 seconds)
Migrating: 2014_10_12_100000_create_password_resets_table
Migrated:  2014_10_12_100000_create_password_resets_table (0.05 seconds)
Migrating: 2019_08_19_000000_create_failed_jobs_table
Migrated:  2019_08_19_000000_create_failed_jobs_table (0.02 seconds)
AND BOOM! THATS IT!
If you checkout your my-first-authentication database you'll see that you now have a couple of tables.
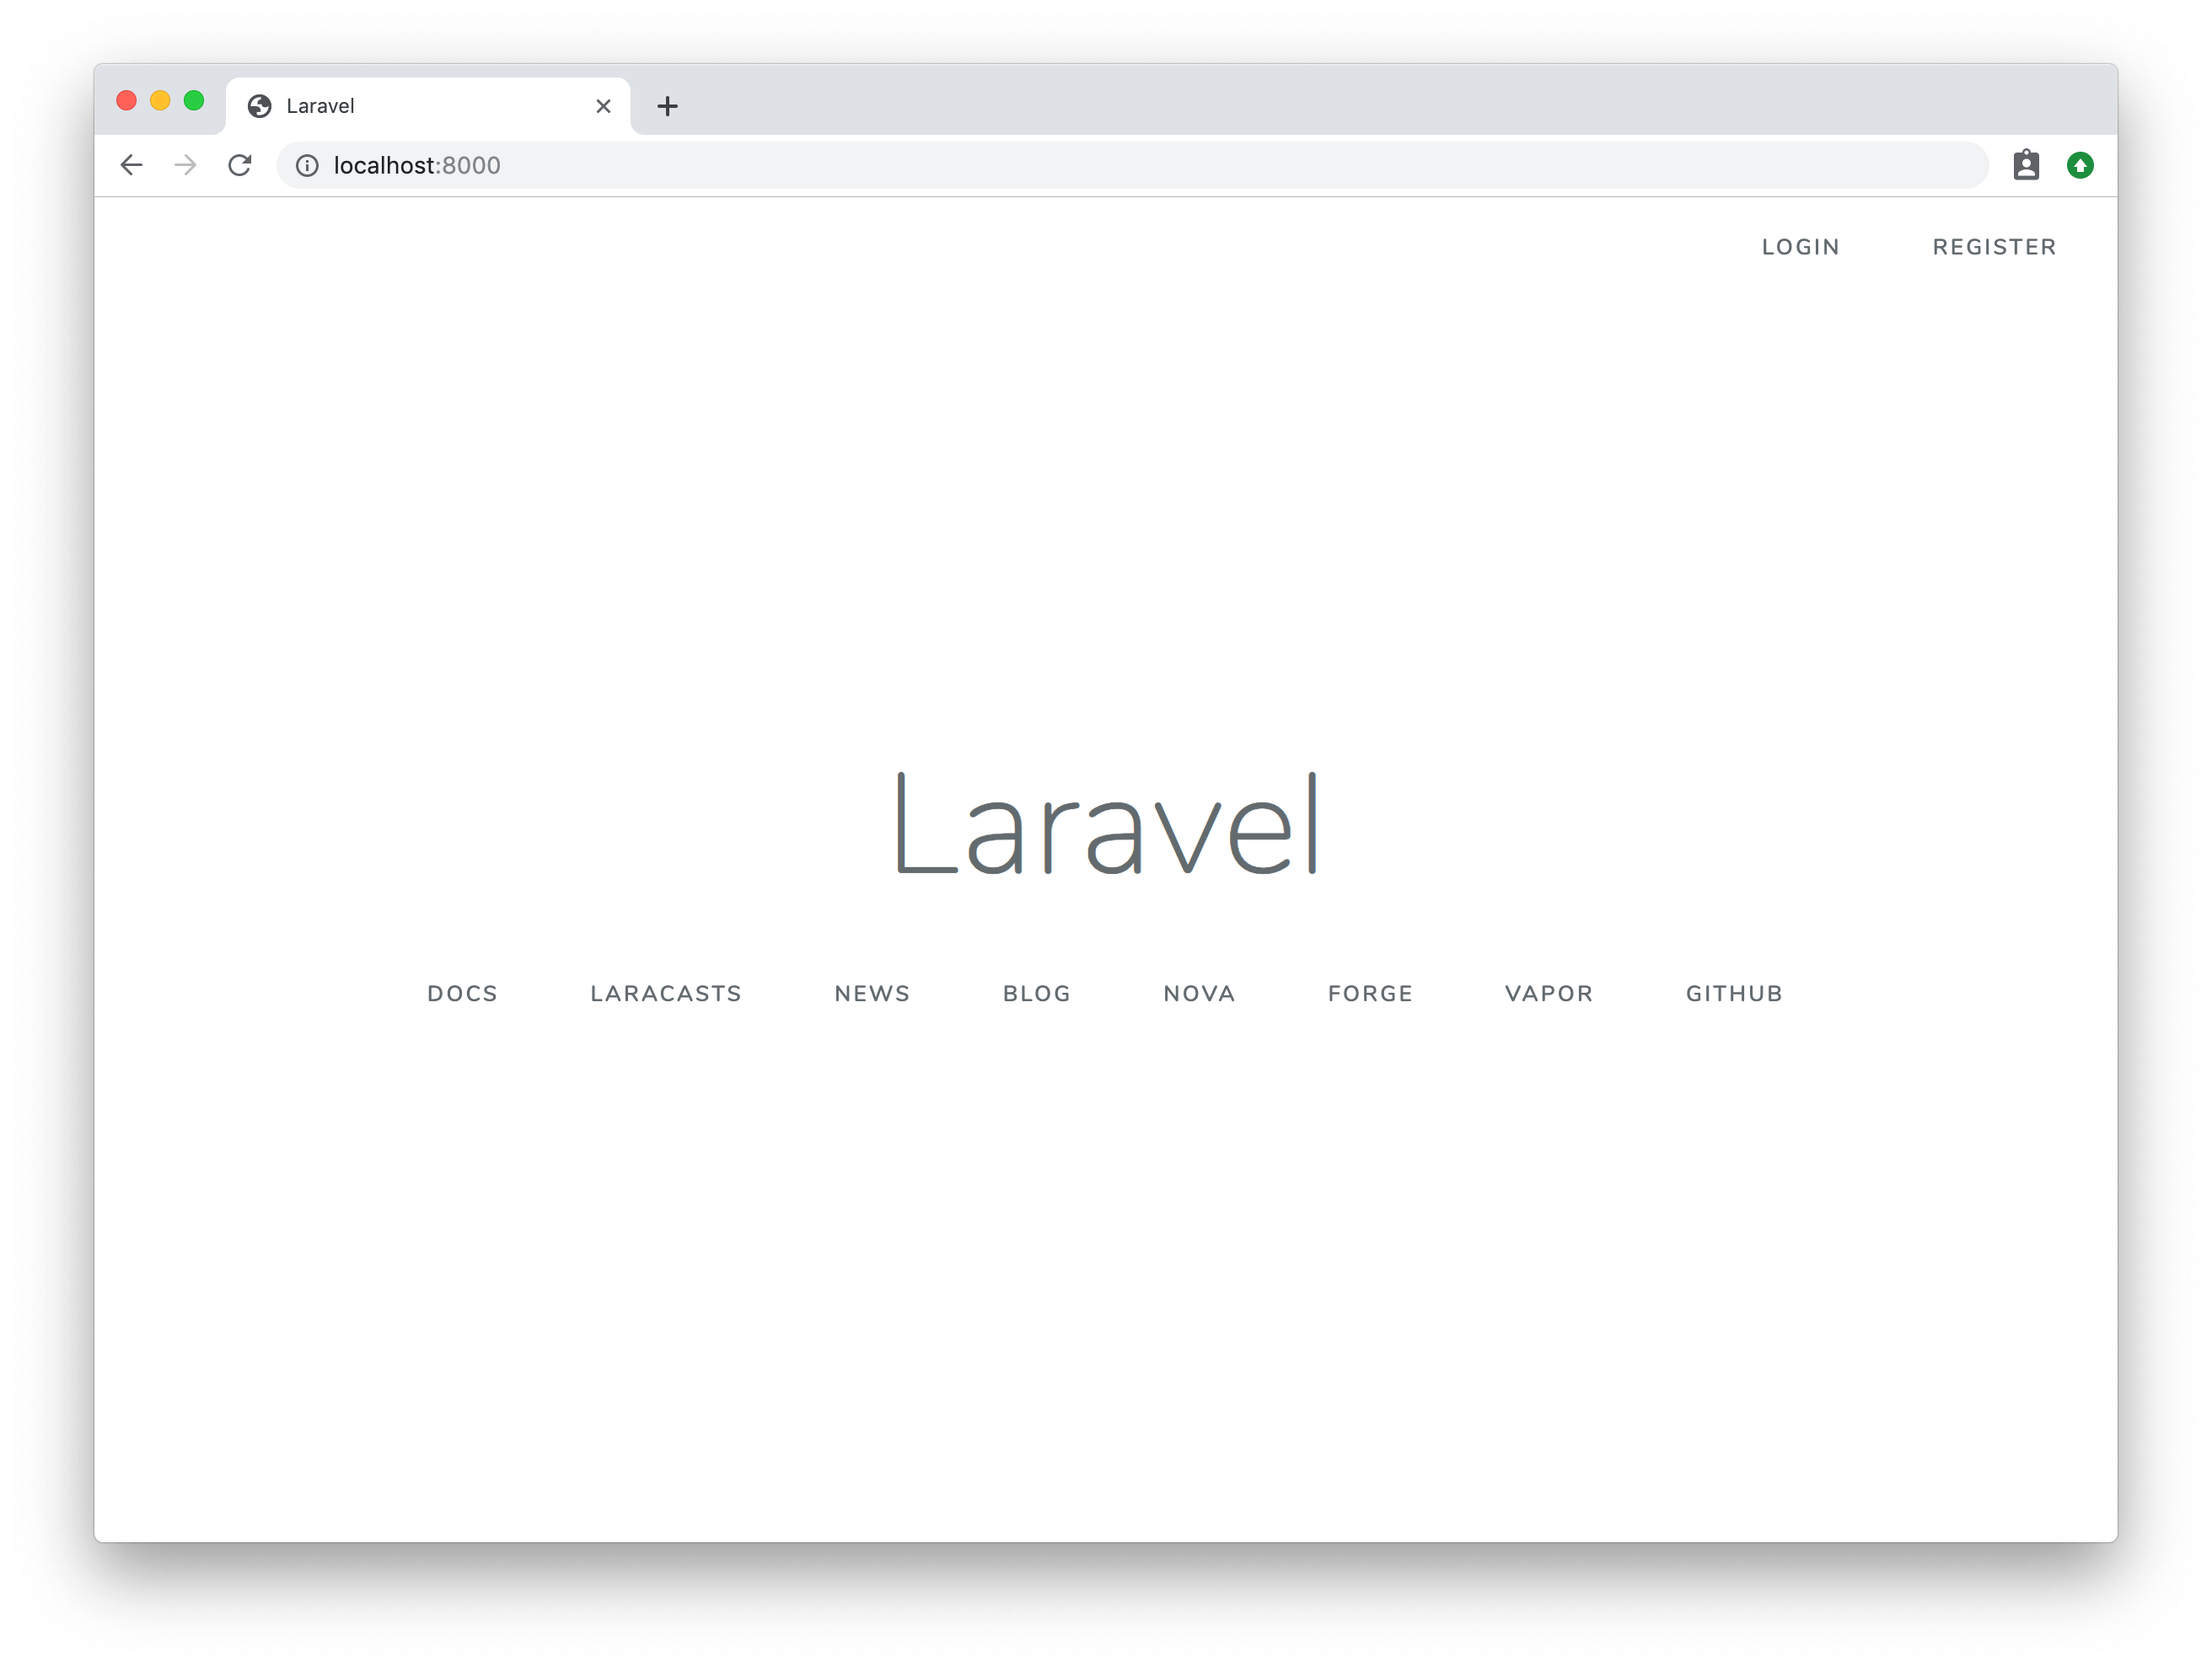
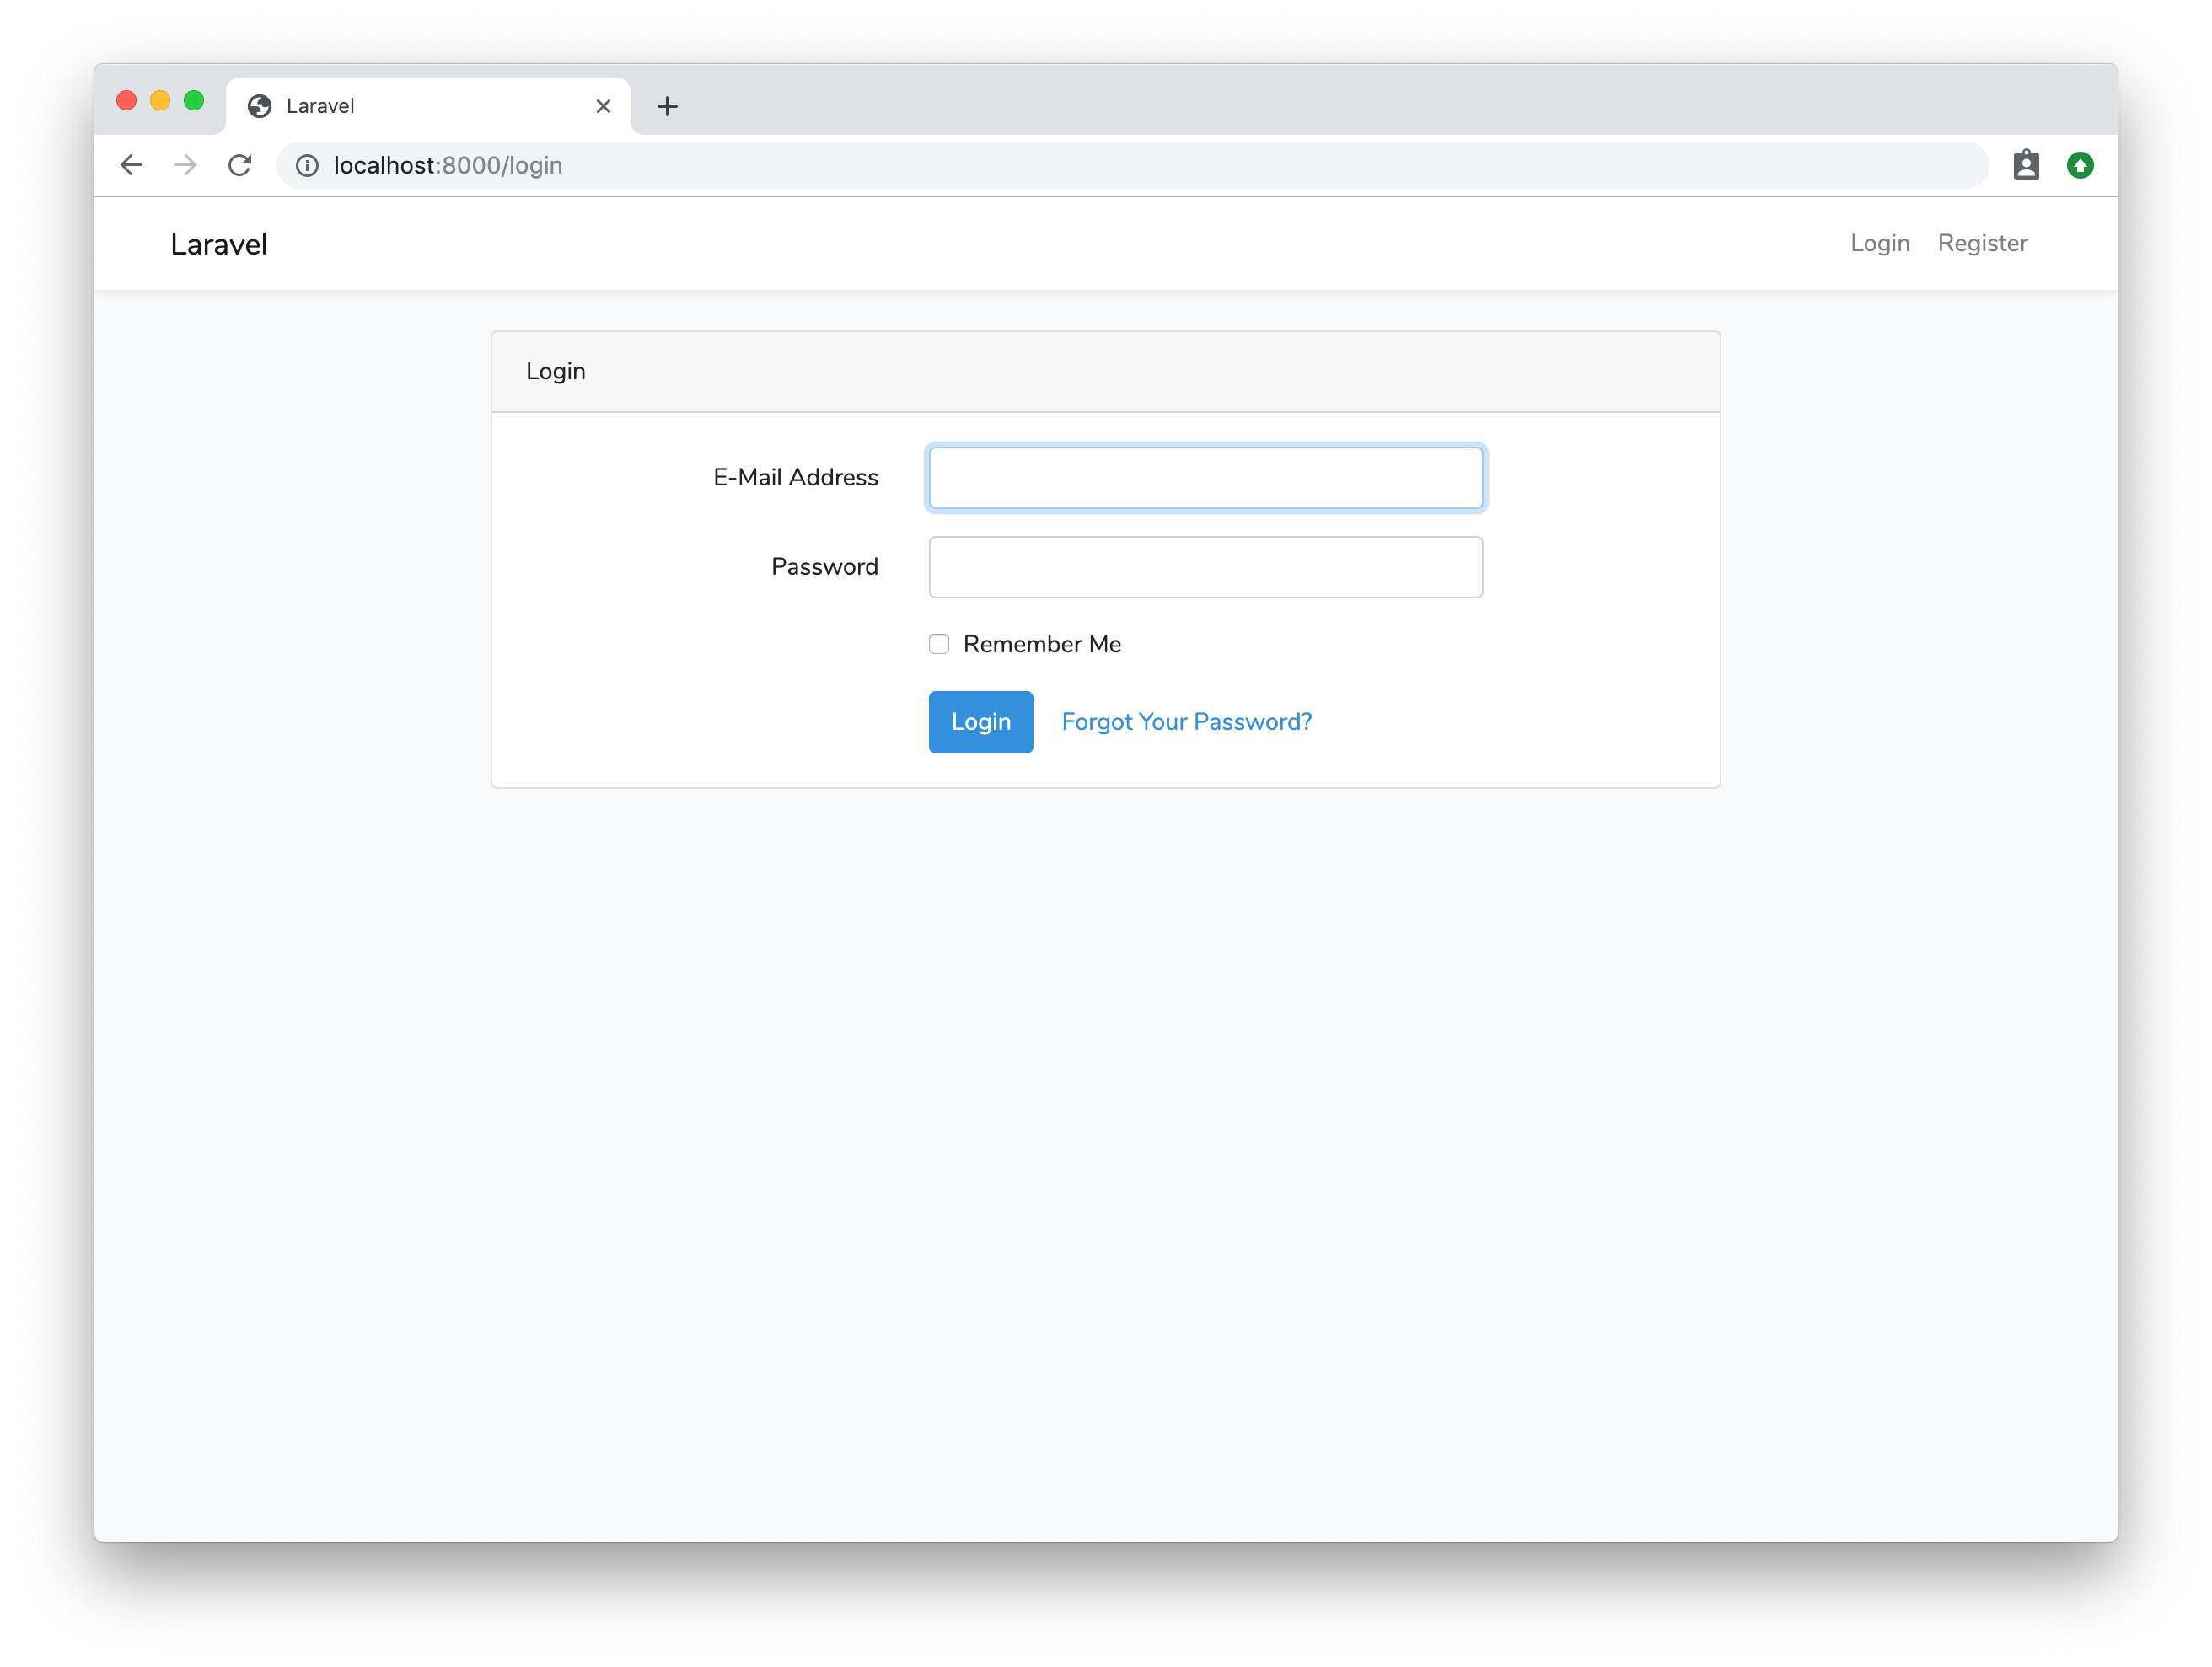
We've just added a full authentication system in our laravel up. If you run your laravel app in a browser you'll see that you now have a new homepage:
A> Quick Note: If you don't have a virtual host (local URL) setup with your laravel app you can always use the artisan tool to start up a quick server. In the root of your application, you can run php artisan serve and your app will be available in a browser if you navigate to http://localhost:8000
On your new Laravel homepage you'll have a few buttons on your navigation. You can click on the register button and you will have a registration form in front of you:
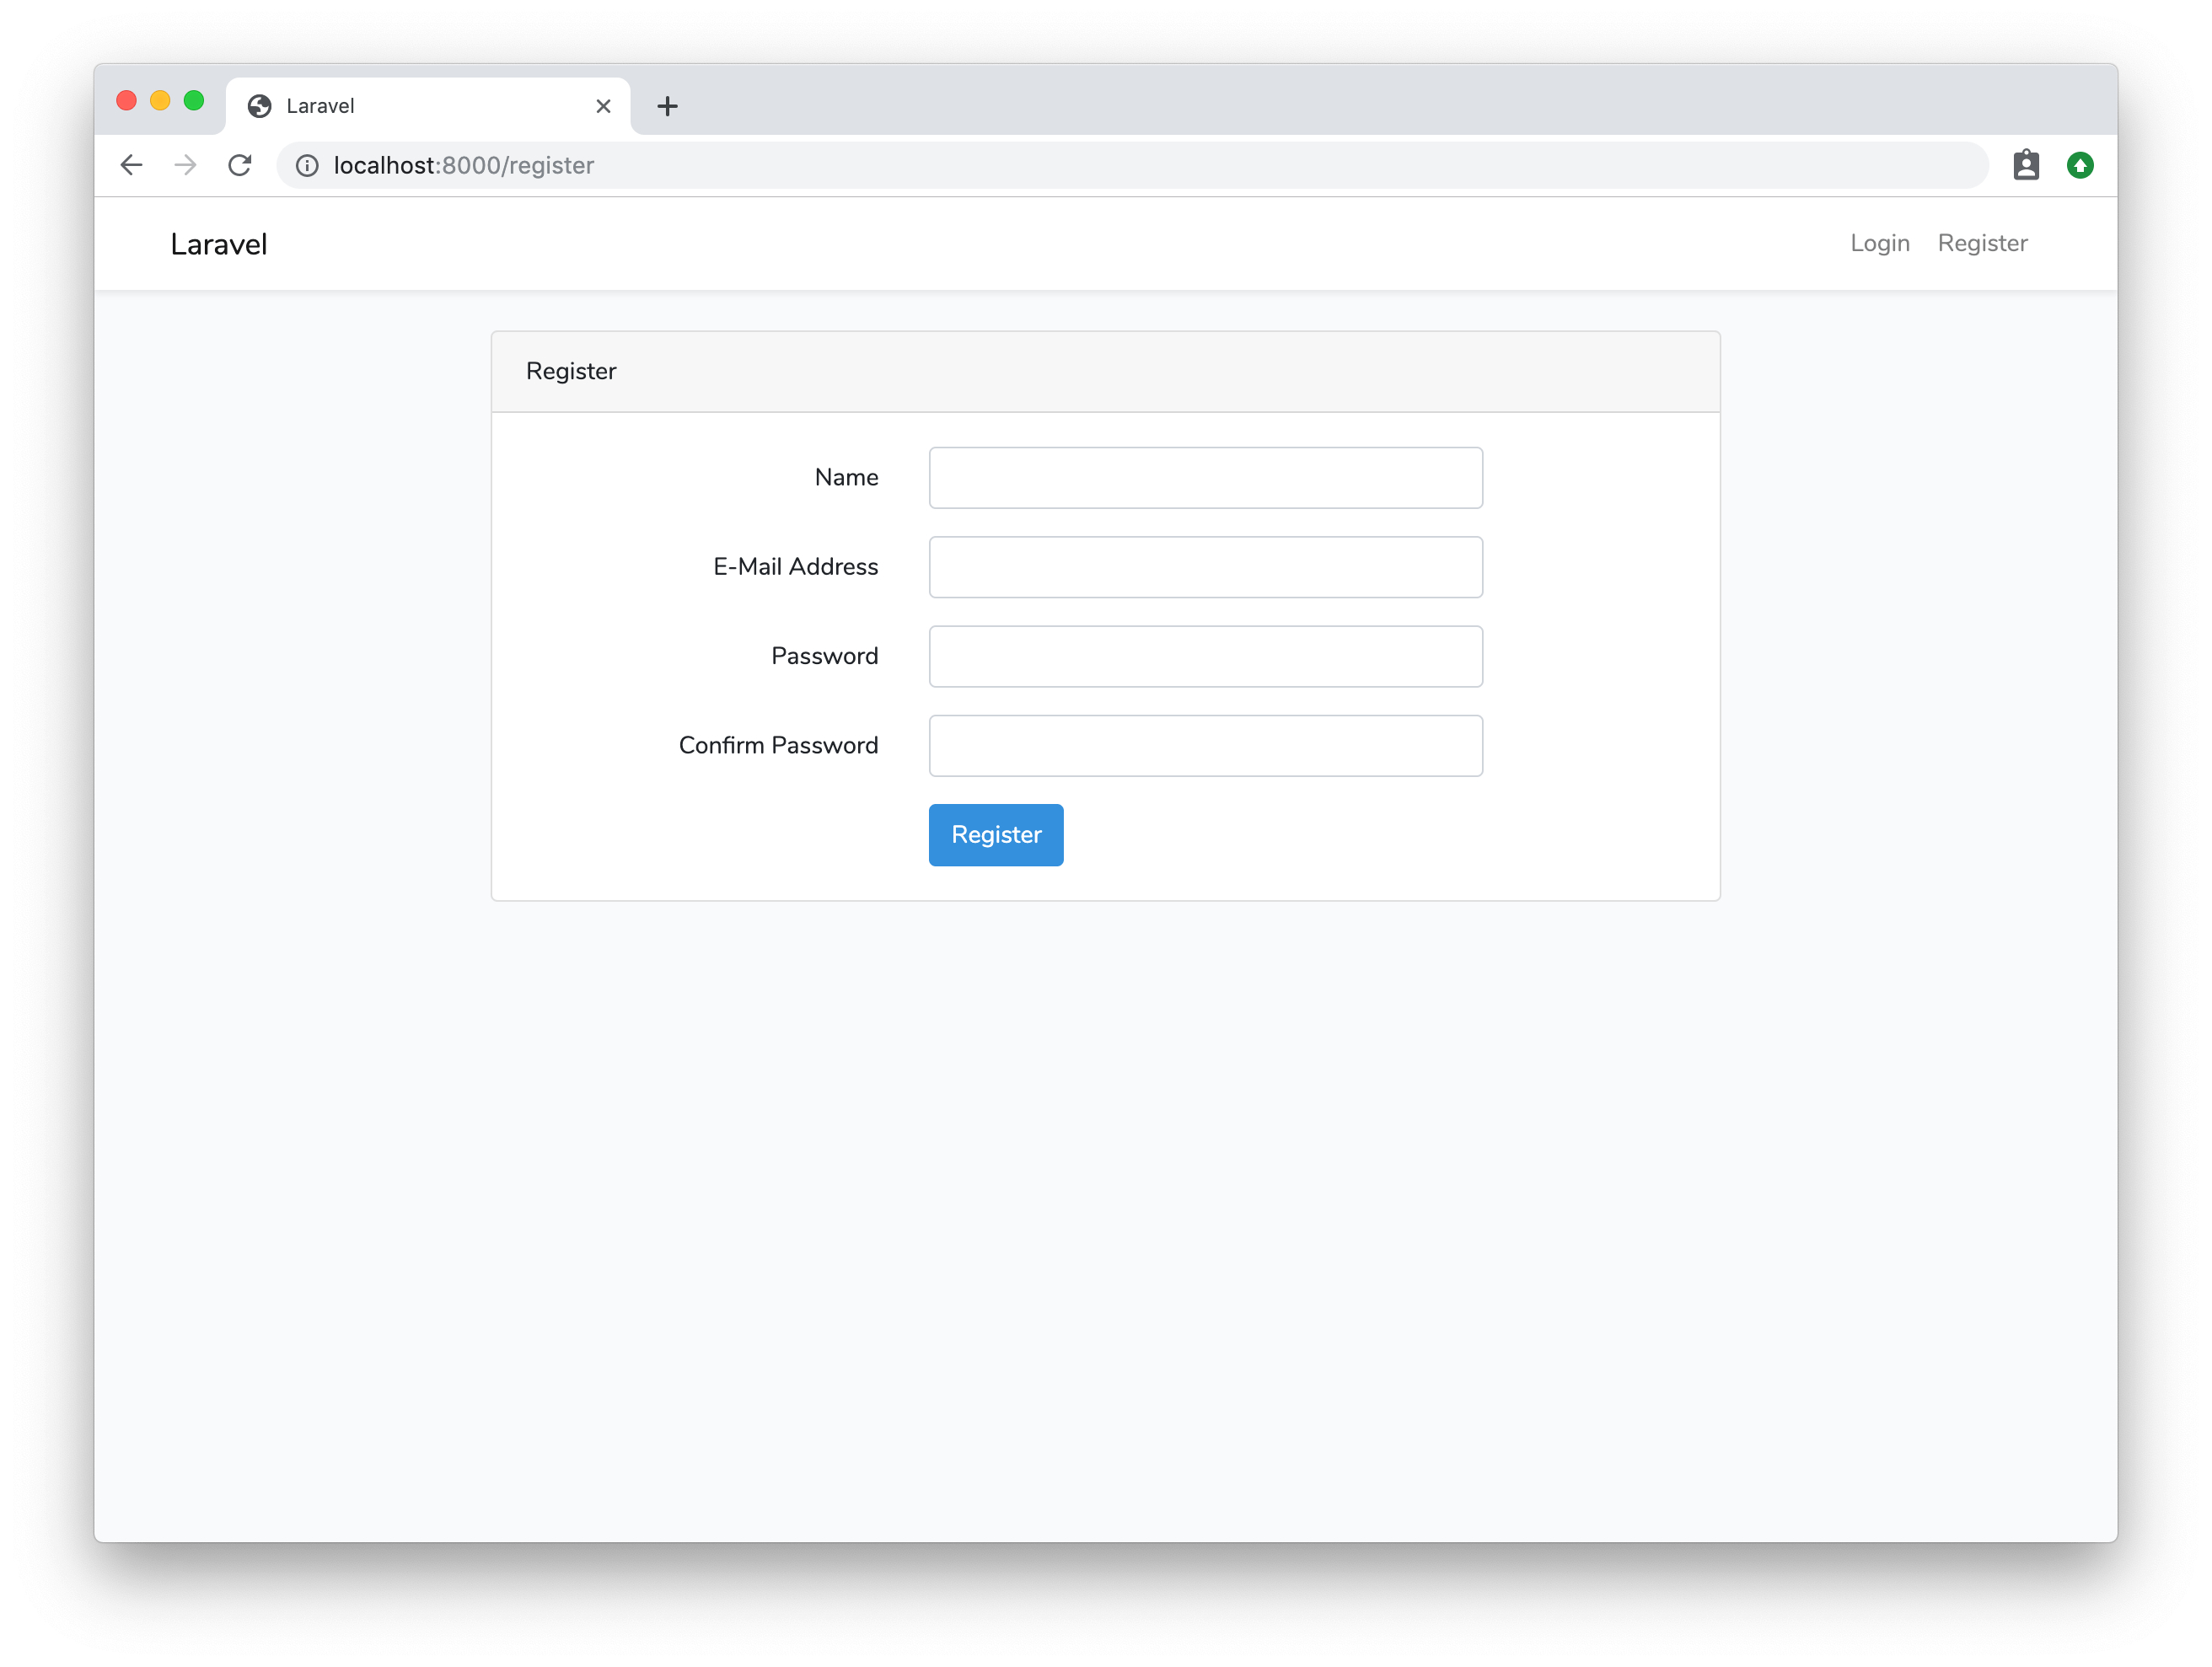
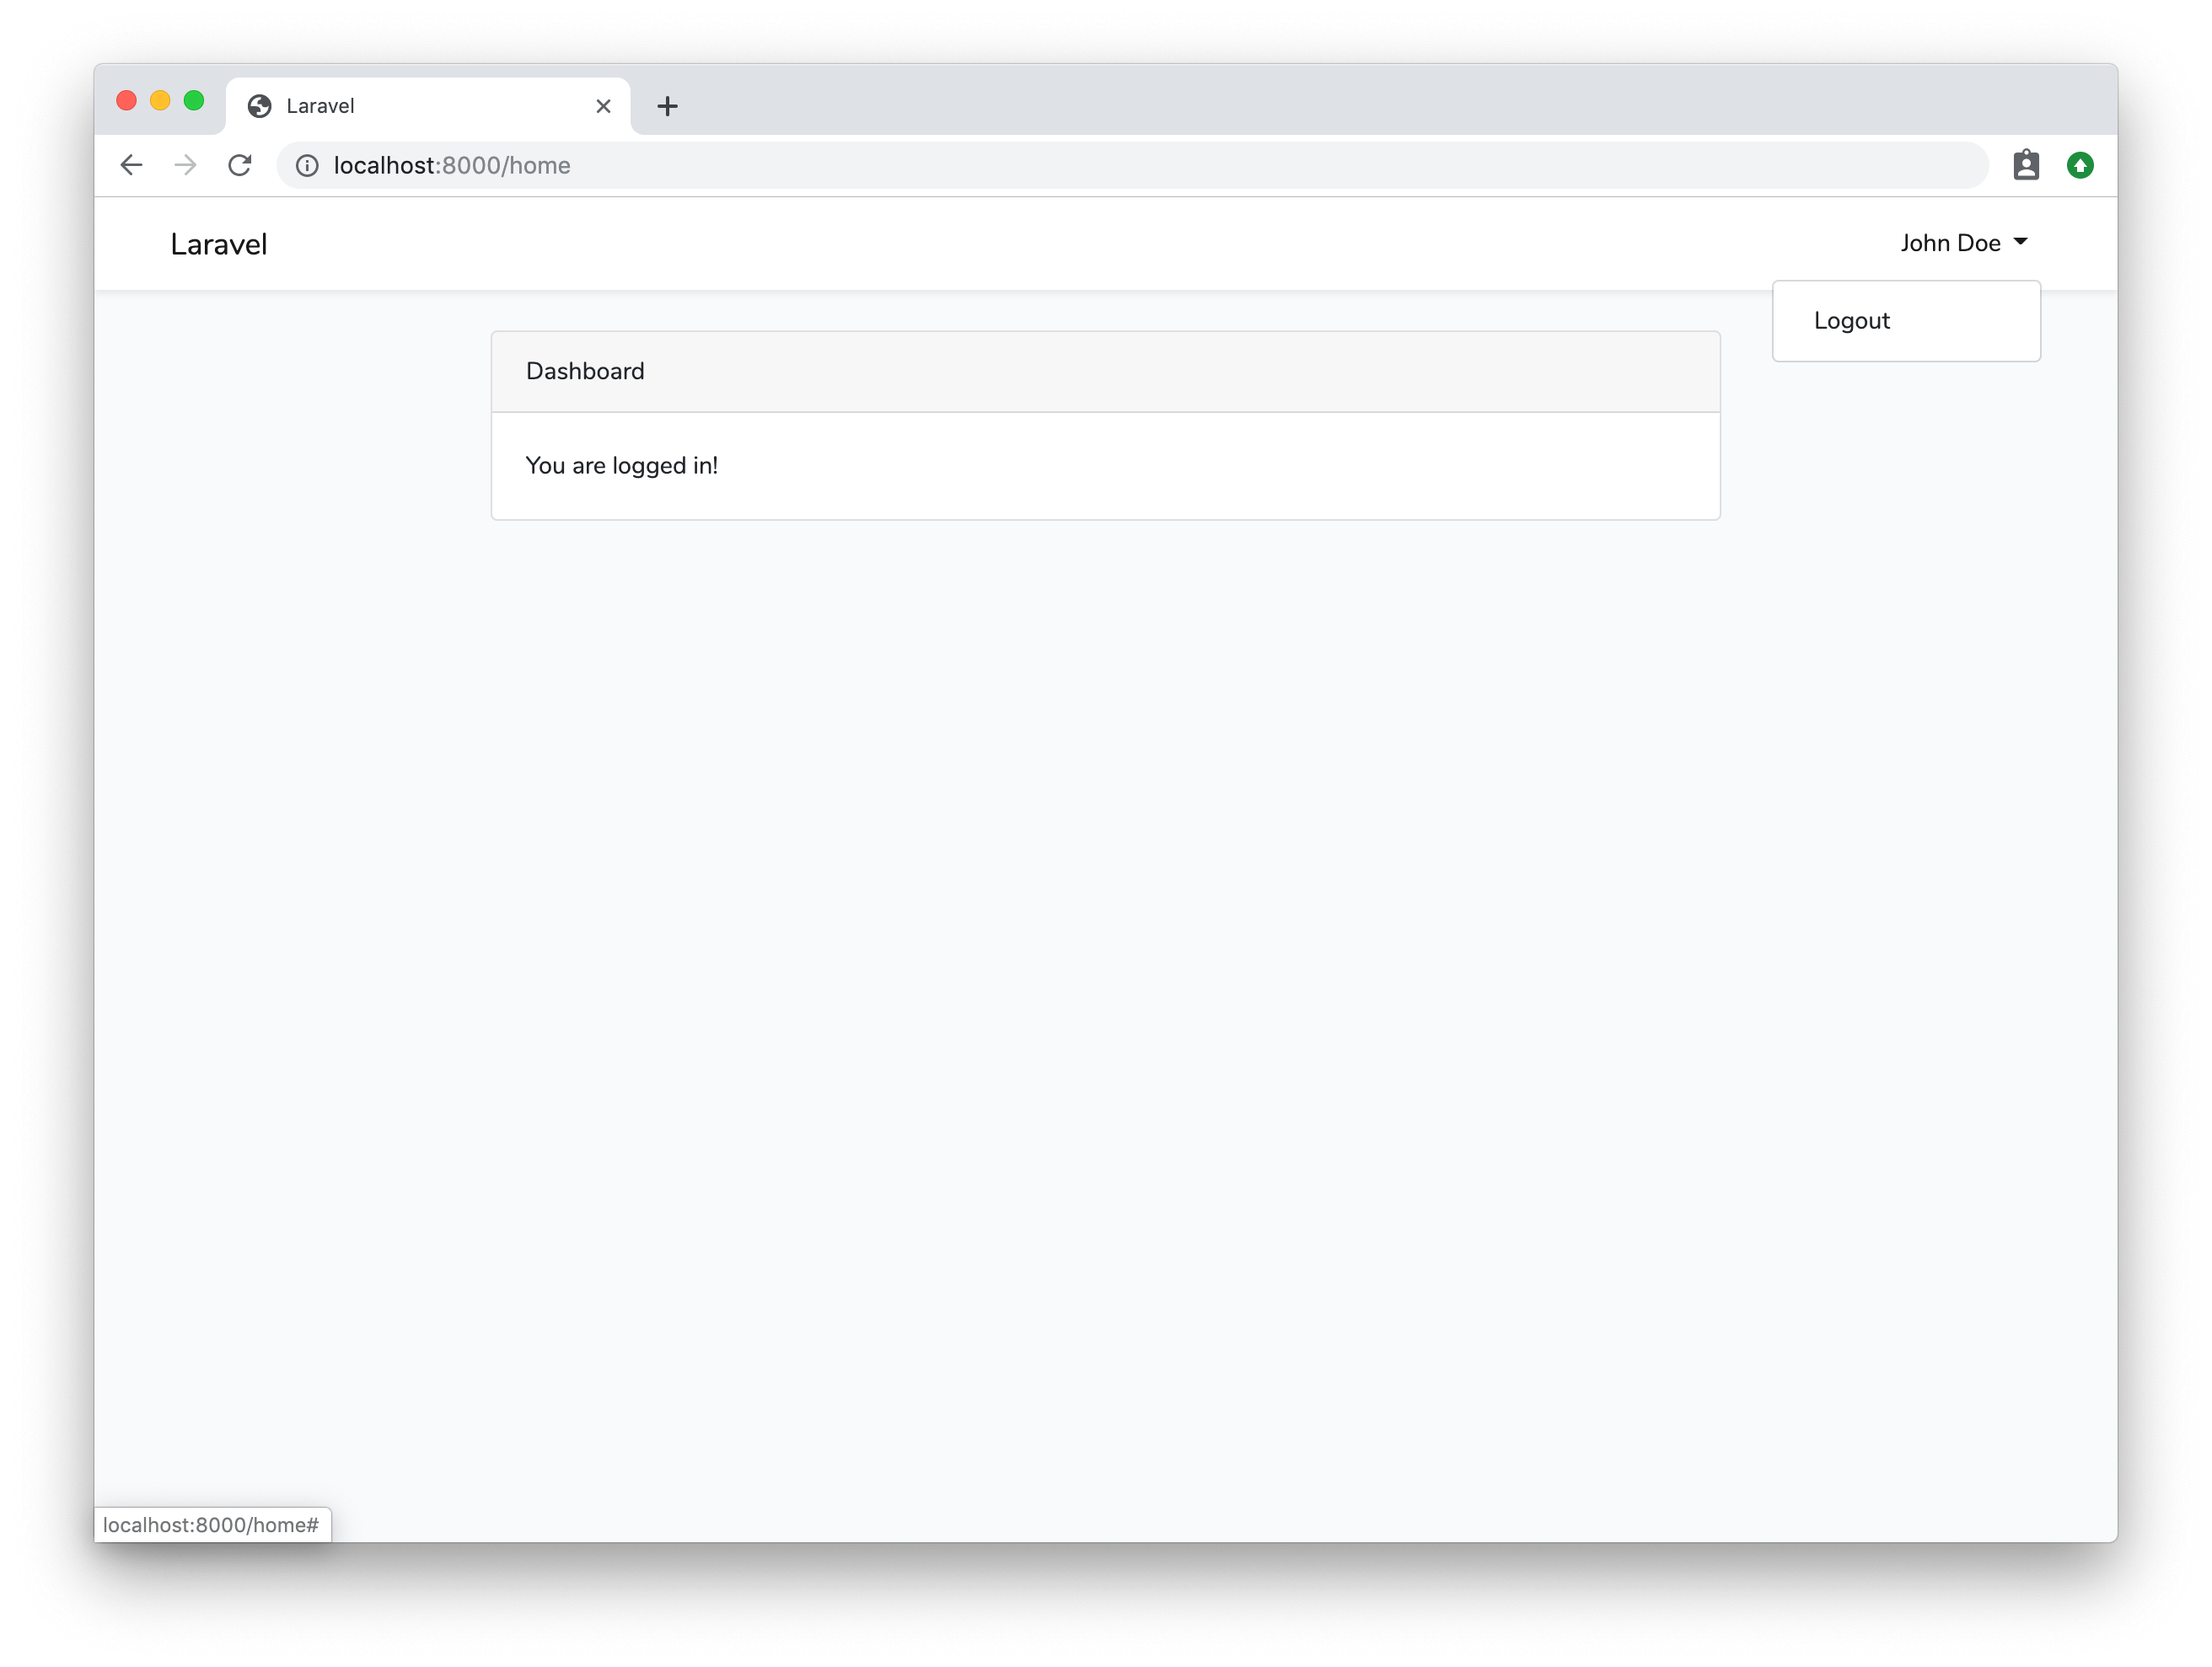
Go ahead and register for an account and the app should automatically log you in and redirect you to the homepage. As you can see you now have a dropdown at the top right of your app that contains your username. If you click on the dropdown you will see a logout button:
Try going up to your username dropdown in the right hand corner and click the logout button. You will then be redirected back to the main URL. If you try visiting the /home URL you will no longer be able to access it.
Additionally, to access the login page you can always click on the login button on the top right.
How great is that? A full authentication system in a couple minutes!
Let's do one last thing to show you how to check if a user is authenticated. Let's create a route that will show the current authenticated user profile.
To do this we would create a new route inside of routes\web.php, which looks like this:
Route::get('profile', 'UserController@profile');
So, our 'profile' route links to a UserController class that we will need to create. Let's create this controller using artisan:
$ php artisan make:controller UserController
And if we look inside of our app\Http\Controllers folder we will see a new file called UserController.php with the following contents:
<?php

namespace App\Http\Controllers;

use Illuminate\Http\Request;

class UserController extends Controller
{
    //
}
Let's add a new method inside of our UserController class called profile(), like so:
<?php

namespace App\Http\Controllers;

use Illuminate\Http\Request;

class UserController extends Controller
{
    public function profile(){
        echo 'welcome to your profile';
    }
}
Now, if we visit that route /profile we will see a message that says 'welcome to your profile'.
Great so far.
Inside of this function let's check to see if the user is logged in and display their email address; otherwise, we will redirect them to the homepage.
<?php

namespace App\Http\Controllers;

use Auth;
use Illuminate\Http\Request;

class UserController extends Controller
{
    public function profile(){
        if (Auth::check()) {
            echo 'Welcome to your profile<br />';
            echo Auth::user()->email;
            echo '<br /><a href="/home">View Dashboard</a>';
        } else {
            return back();
        }
    }
}
Notice that above we specified that we wanted to use Auth inside of our controller, and this will allow us to use the 'Auth' class and all the helpers it provides. So we can use the following code to check if the user is logged in or not.
Auth::check()
The Auth::check() method will return true if the user is logged in or it will return false if the user is not logged in.
Another helper method that we used in the code above is the Auth::user() method and this will return the current logged in user object. We could easily echo out the users email address by doing this:
$user = Auth::user();
echo $user->email;
Or all in one line we could write it like this:
echo Auth::user()->email;
Make sure that you only run the Auth::user() method after you have checked that the user is logged in.
From the example above, if the user is not logged in we want to redirect to them back to their previous URL:
return back();
The back() call is a helper function that will redirect the user back to the previous page.
Moving on, if we were to visit the /profile route in our app and we're logged in we would see a simple output like the following:
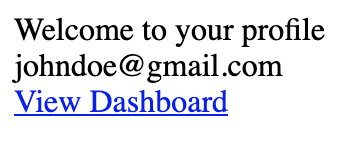
Otherwise, if we are not logged in we will be redirected back to our previous URL.
This code works just fine, but in most cases, we want to make sure that we aren't outputting data from our controller, that's what views are for.
Let's rewrite our UserController.php to look like the following:
<?php

namespace App\Http\Controllers;

use Auth;
use Illuminate\Http\Request;

class UserController extends Controller
{
    public function profile(){
        if (Auth::check()) {
            $user = Auth::user();
            return view('profile', compact('user'));
        } else {
            return back();
        }
    }
}
Inside of our profile() function, if the user is authenticated we get the user object and pass it in an array of data to a view called profile. So, now we need to create a new view file located at resources\views\profile.blade.php with the following contents:
<!DOCTYPE html>
<html>
<head>
    <title>Your Profile</title>
</head>
<body>
    <p>Welcome to your profile</p>
    <p>{{ Auth::user()->email }}</p>
    <a href="/home">View Dashboard</a>
</body>
</html>
And the code above will print out a valid HTML page with the similar output from the screenshot above.
I hope you can see the power of quickly building an authentication system and how much time it will save you in the future. If your app needs an authentication system, you can have this fully integrated within minutes thanks to Laravel!