What is Multi-Tenancy
Multi-tenant applications are where you create a single application that is used independently by many different clients. When a client authenticates with your application, they are only able to access the data that they have created in your application and cannot see any data that was created by any of your other clients.
Adding Multi-Tenancy to Laravel voyager Admin panel
Video tutorial coming soon, any question, Whatsapp me +255654485755
In this example, I am going to make each user see their own content/or content they created themselves except for super admin who should see all the content of the system
so go to Voyager admin panel, In The menu go to Database Options, In the list of available tables you should see Posts table, Then click of Edit Table add one column and name it created_by_user_id, data type integer and check unsigned integer column, Check the image below and save

Then now go-to bread and you should see Post in the Bread list, click on EDIT go to the bottom and you will find the option Created a relationship click on it, Check the image below to see how it look.
.png)
Click on it and fill the information as seen in the picture below, This will create a relation of each post to the user who prepared it
.png)
Now go to App directory of your Laravel application, make a directory and name it Traits, inside this directory make a file and call it Multitenant and add the following code
<?php

namespace App\Traits;

use Illuminate\Database\Eloquent\Builder;
use Illuminate\Routing\Route;

trait Multitenant
{

    public static function bootMultitenant()
    {

        if (auth()->check()) {

            $url = url()->current();

            if (strpos($url, '/admin')) {

                if (auth()->user()->role_id != 1) {


                    static::creating(function ($model) {
                        $model->created_by_user_id = auth()->id();
                    });

                    static::addGlobalScope('created_by_user_id', function (Builder $builder) {

                        if (auth()->check()) {
                            return $builder->where('created_by_user_id', auth()->id());
                        }

                    });

                }
            }
        }
    }


}
Note
if you changed the admin base Route of your site apart from /admin that is there by default, you should replace the line /admin with admin Route you are using
The above Multitenant file can be used to multiple Models( Posts, Pages,...)
 View Website
 View Website
 View Website
Now go to your Laravel application, Go vendor\tcg\voyager\src\Models\Post.php
And the following at the top in the section with use stuff, add the code below as seen in the image
use App\Traits\Multitenant;.png)
Now inside posts extend Model class add the code below as seen in the picture
use Multitenant;.png)
Congratulation !!!!
Now all other users apart with role apart from admin can only see their own content,
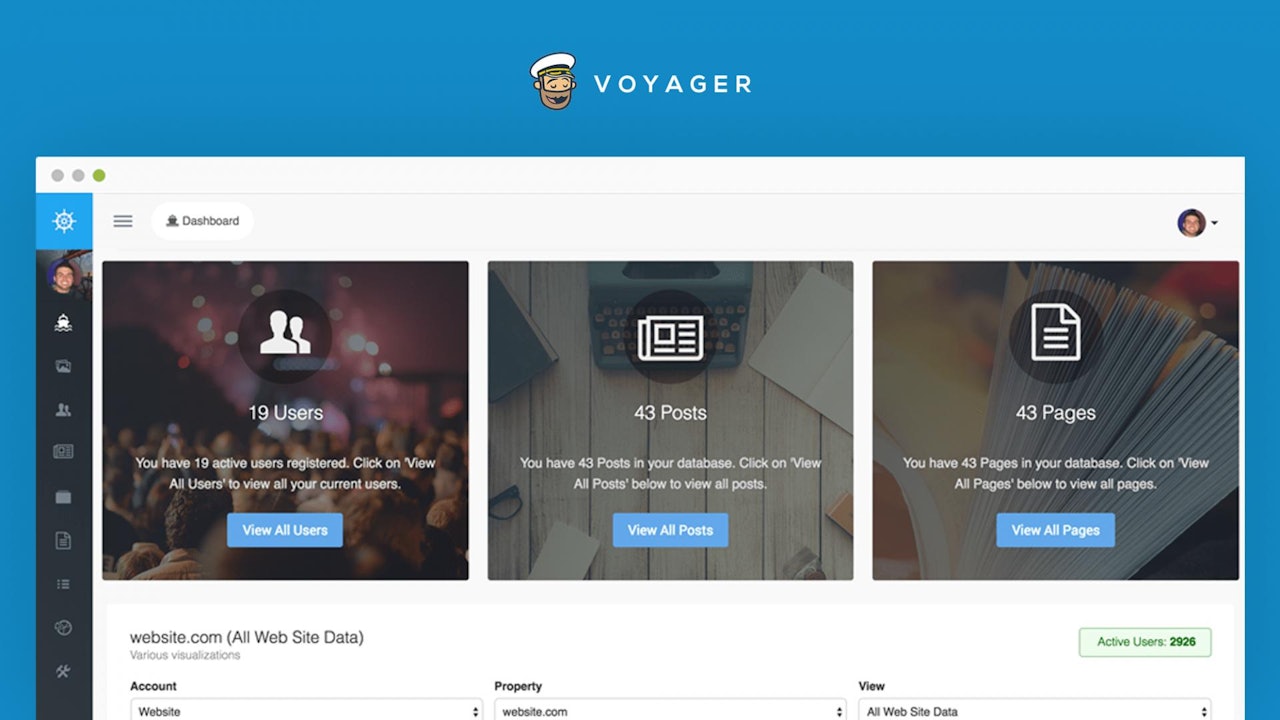
Also, Count of the number of their item in the dashboard is only equal to their own icon
soon I am going to release a hook that will take care of all these steps and make the process much simpler


Comments (1)