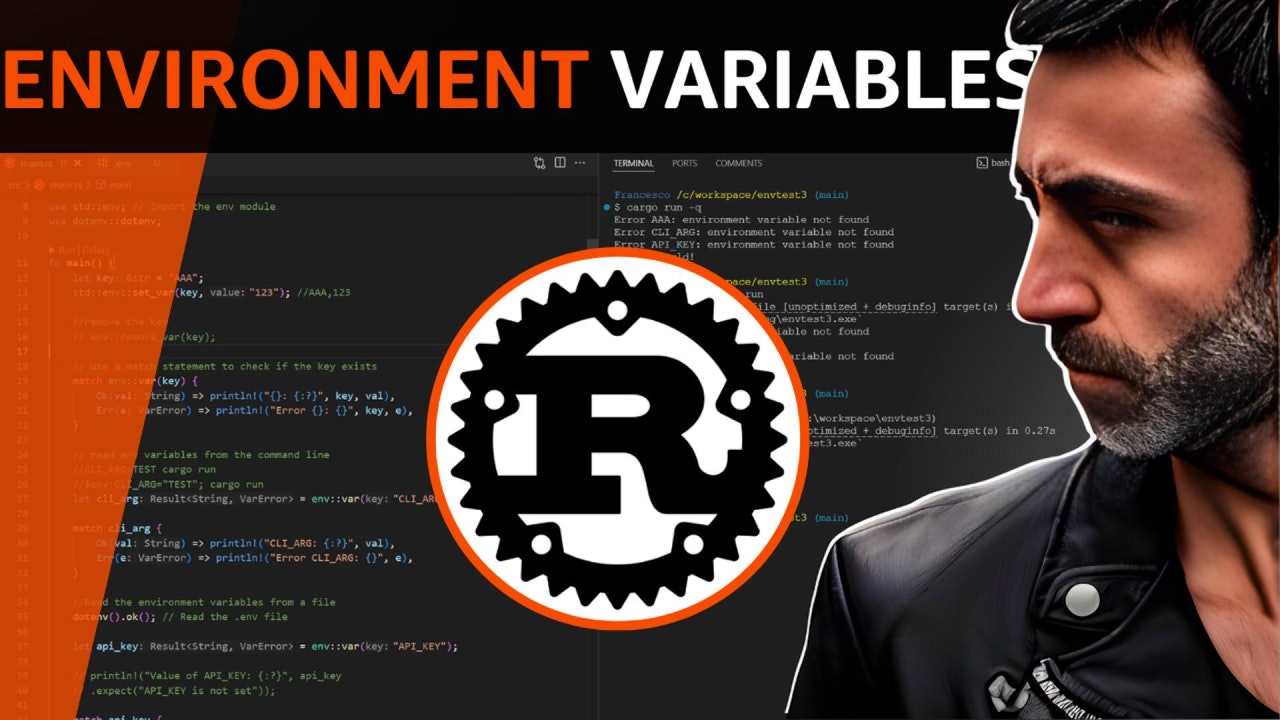
Environment variables are a set of key-value pairs stored in the operating system.
They are used to store configuration settings and other information required by the system and other applications.
In this article, we'll explore how to work with environment variables in Rust using the standard library and the dotenv crate.
What Are Environment Variables?
Environment variables provide a flexible way to configure your applications without hardcoding values directly in your source code.
This makes it easier to manage different configurations for different environments, (development, testing, and production) and to keep sensitive information, such as API keys, secure.
Let's see 3 different examples of how we can use the environment variables in Rust.
- Using the
std::envmodule - Using the command line (Windows and Linux)
- Using the
dotenvcrate
If you prefer a video version:
All the code is available on Github (link in the video description)
1. Environemnt Variables using the std::env module
Rust provides the std::env module to interact with environment variables. This module can read, set, and remove environment variables.
 View Website
 View Website
 View Website
Importing the env Module
First, import the env module from the standard library:
use std::env;
You can test this by typing cargo run in the terminal.
Your output should be something like this:
Setting an Environment Variable
You can set an environment variable using the set_var function. Here's an example where we set a variable AAA with the value 123:
fn main() {
    let key = "AAA";
    std::env::set_var(key, "123"); // Sets AAA to 123
}
Removing an Environment Variable
To remove an environment variable, use the remove_var function:
fn main() {
    let key = "AAA";
    env::remove_var(key); // Removes the variable AAA
}
Checking If an Environment Variable Exists
To check if an environment variable exists, use the env::var function, which returns a Result. You can handle this with a match statement:
fn main() {
    let key = "AAA";

    match env::var(key) {
        Ok(val) => println!("{}: {:?}", key, val),
        Err(e) => println!("Error {}: {}", key, e),
    }
}
2. Environment Variables from the Command Line
You can pass environment variables directly from the command line when running your Rust program:
Here's how you can read the CLI_ARG environment variable:
fn main() {
    let cli_arg = env::var("CLI_ARG");

    match cli_arg {
        Ok(val) => println!("CLI_ARG: {:?}", val),
        Err(e) => println!("Error CLI_ARG: {}", e),
    }
}
To read them from the command line, you can use the following commands:
On Linux/macOS:
CLI_ARG=TEST cargo run
On Windows(powershell):
$env:CLI_ARG="TEST"; cargo run
3. Environment Variables with the dotenv Crate
In addition to the standard library, you can use the dotenv crate to load environment variables from a .env file. This is particularly useful in development environments.
First, add dotenv to your Cargo.toml file:
[dependencies]
dotenv = "0.15.0"
And create a .env file in the root of your project with the following content:
API_KEY=1234567890
Loading Environment Variables from a .env File
After adding dotenv, you can use it to load variables from a .env file:
use dotenv::dotenv;
use std::env;

fn main() {
    dotenv().ok(); // Reads the .env file

    let api_key = env::var("API_KEY");

    match api_key {
        Ok(val) => println!("API_KEY: {:?}", val),
        Err(e) => println!("Error API_KEY: {}", e),
    }

    //Simulate the execution of the rest of the program
    println!("...program continues...");
}
And you if you run the program, you should see the output:
In the example above, the dotenv().ok(); line loads the variables from a .env file located in the root of your project. The program then attempts to read the API_KEY variable and prints its value or an error if it is not set.
Conclusion
These are just three basic examples of working with environment variables in Rust.
I hope everything is clear and you can use them in your projects. If you have any questions, feel free to ask in the comments below.
If you prefer a video version:
All the code is available on Github (link in the video description)
You can find me here: Francesco


Comments (0)