Prerequisites
- VS Code (or any editor you feel comfortable with)
- Jquery
- Bootstrap
Introduction
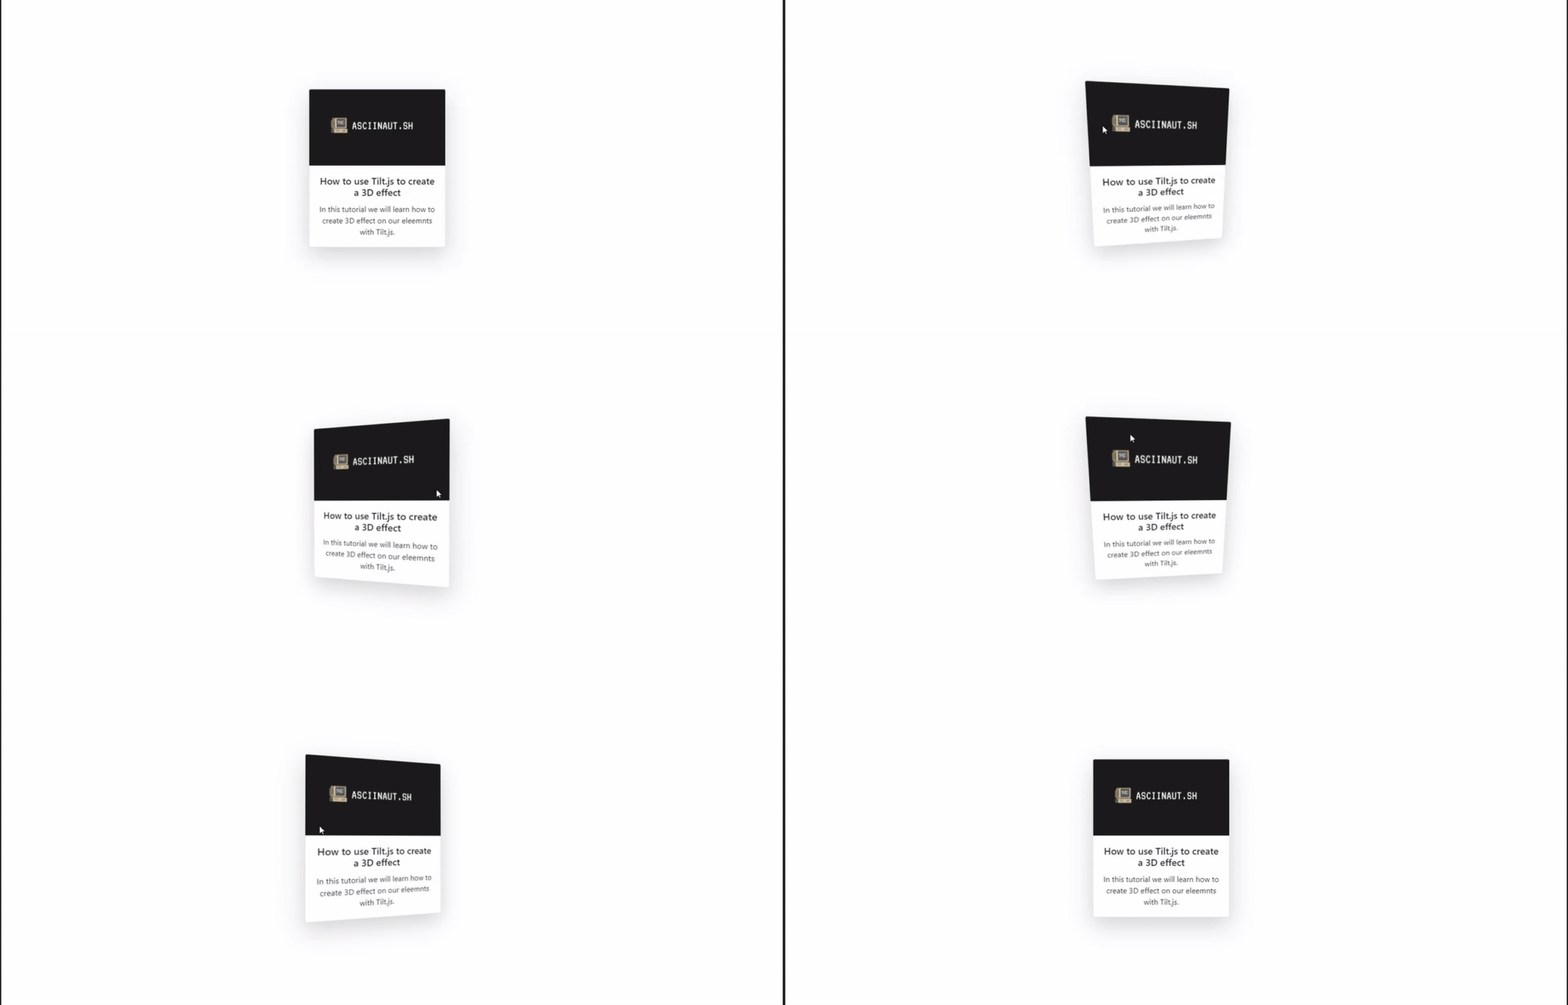
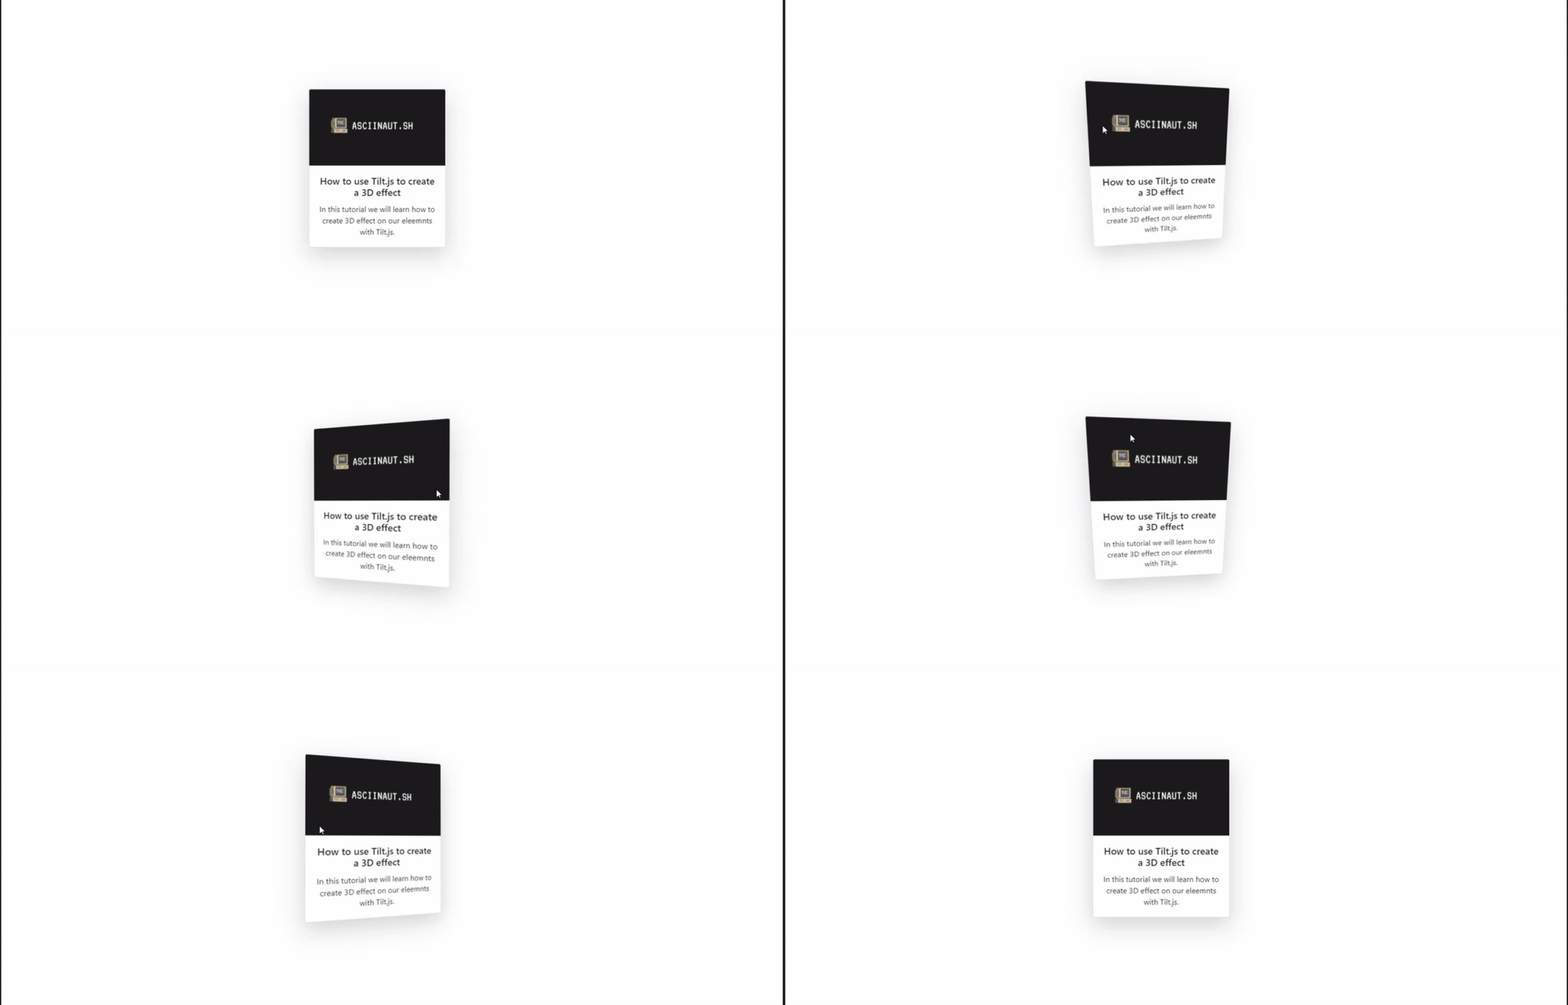
In this how-to we will go through the tilt.js library and learn how to create a cool 3D effect on our bootstrap card. The final results will be like the shown below:

Set-up
Project set-up
As a starter, we need to create 2 files:
- index.html
- tilt.js
We also need to add an image for our card later. For this purpose, I am going to use my blog banner:
- banner.png
Bootstrap
For the document set-up, I am simply going to include bootstrap 4.5.2. I will go through the setup for the ones who haven't used Boostrap yet or are simply lazy to open a new tab.
In the head, include the following:
<link rel="stylesheet" href="https://stackpath.bootstrapcdn.com/bootstrap/4.5.2/css/bootstrap.min.css" integrity="sha384-JcKb8q3iqJ61gNV9KGb8thSsNjpSL0n8PARn9HuZOnIxN0hoP+VmmDGMN5t9UJ0Z" crossorigin="anonymous">
Right before the closing of the body tag, include the rest:
<script src="https://code.jquery.com/jquery-3.5.1.slim.min.js" integrity="sha384-DfXdz2htPH0lsSSs5nCTpuj/zy4C+OGpamoFVy38MVBnE+IbbVYUew+OrCXaRkfj" crossorigin="anonymous"></script>
<script src="https://cdn.jsdelivr.net/npm/[email protected]/dist/umd/popper.min.js" integrity="sha384-9/reFTGAW83EW2RDu2S0VKaIzap3H66lZH81PoYlFhbGU+6BZp6G7niu735Sk7lN" crossorigin="anonymous"></script>
<script src="https://stackpath.bootstrapcdn.com/bootstrap/4.5.2/js/bootstrap.min.js" integrity="sha384-B4gt1jrGC7Jh4AgTPSdUtOBvfO8shuf57BaghqFfPlYxofvL8/KUEfYiJOMMV+rV" crossorigin="anonymous"></script>
And we're done with the bootstrap!
Tilt.js
We now need to include tilt.js. We can either do it with yarn add tilt.js or we can download it from the Github repo. I'm going to do it from the Github repo. Go to their official repository and click src -> tilt.jquery.js. Now copy the script (I do it by clicking on raw and copying everything from there) and copy it in a newly created file named tilt.js in your project directory.
 View Website
 View Website
 View Website
The last thing we must do, is include tilt.js in our html right before the closing body tag:
<script src="tilt.js"></script>
And we're all ready and set! Your document should look like this (I included padding-top: 250px to center the card that I'm later going to work with):

Using tilt.js
As tilt.js is extremely easy to use, I will post two different variations and set-ups available. For the purpose of this tutorial I will be using a simple bootstrap card with my banner.png image. Here it is:
<div class="card text-center m-auto shadow-lg" style="width: 18rem;">
	<img class="card-img-top" src="banner.png" alt="Card image cap">
	<div class="card-body">
		<h5 class="card-title">How to use Tilt.js to create a 3D effect</h5>
		<p class="card-text">In this tutorial we will learn how to create 3D effect on our eleemnts with Tilt.js.</p>
	</div>
</div>
Basic Usage
The most basic usage consists of the tilt functionality only and is achievable by adding data-tilt on the element we would like to tilt. We are going to add it in our card div:
<div class="card text-center m-auto shadow-lg" style="width: 18rem;" data-tilt>
    <img class="card-img-top" src="banner.png" alt="Card image cap">
    <div class="card-body">
        <h5 class="card-title">How to use Tilt.js to create a 3D effect</h5>
        <p class="card-text">In this tutorial we will learn how to create 3D effect on our eleemnts with Tilt.js.</p>
    </div>
</div>
The result should be the following:

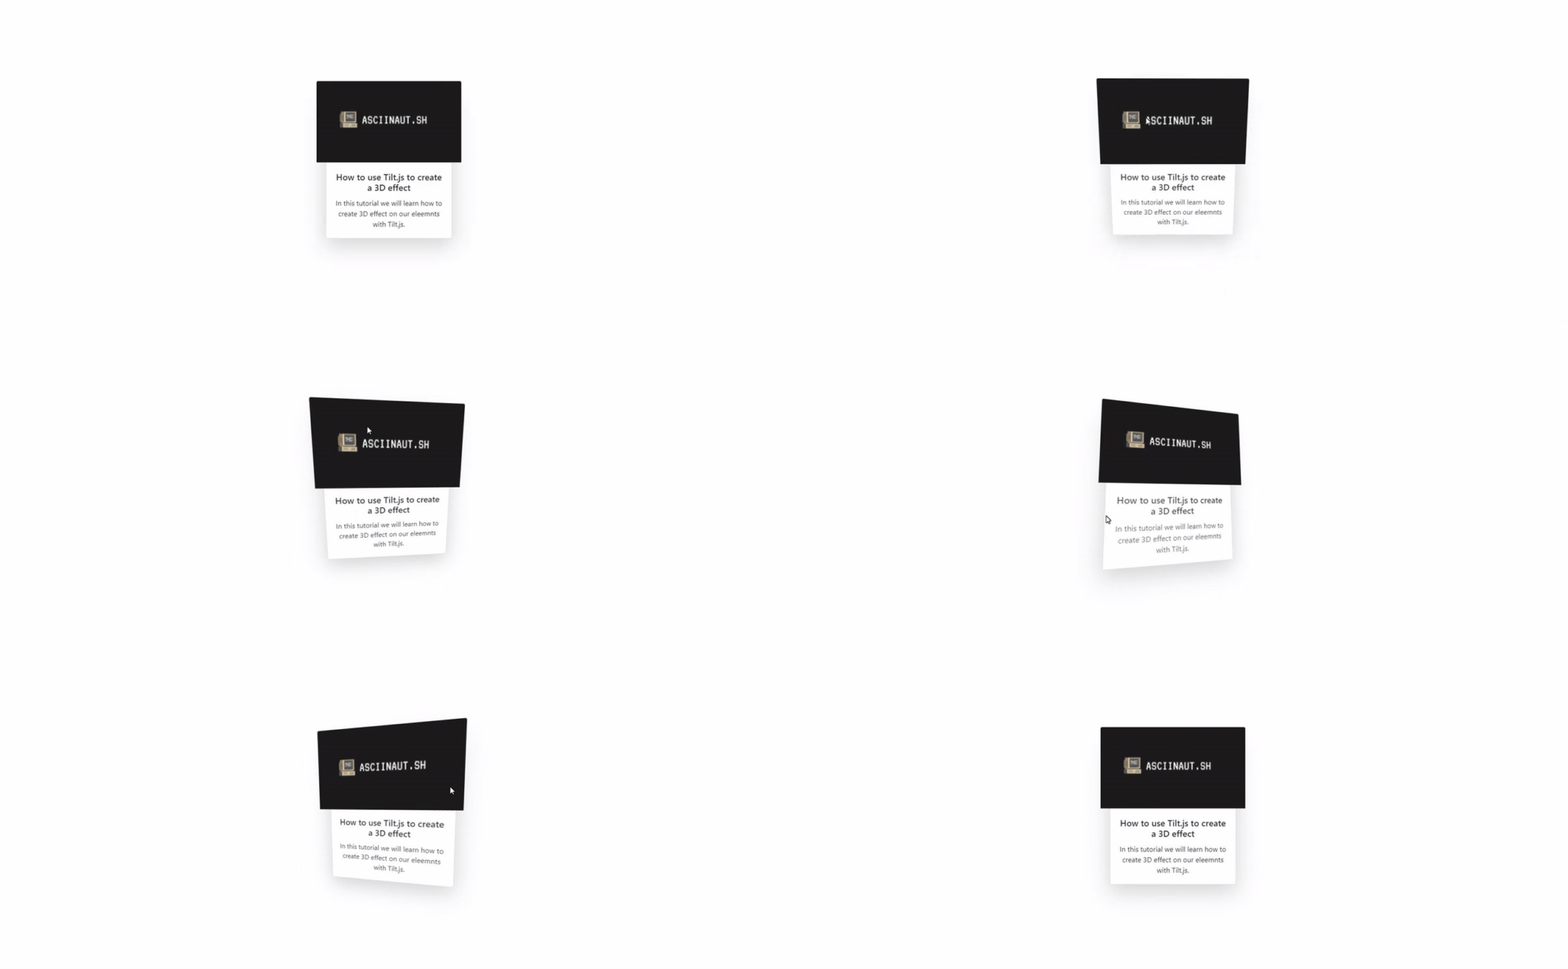
3D Parallax effect
The most common usage (at least in my opinion) is the 3D parallax effect. It is achieved by including transform-style: preserve-3d in your tilt element, and transform: translateZ(20px) in it's inner elements:
<div class="card text-center m-auto shadow-lg" style="width: 18rem; transform-style: preserve-3d" data-tilt>
    <img class="card-img-top" src="banner.png" alt="Card image cap" style="transform: translateZ(50px)">
    <div class="card-body">
        <h5 class="card-title">How to use Tilt.js to create a 3D effect</h5>
        <p class="card-text">In this tutorial we will learn how to create 3D effect on our eleemnts with Tilt.js.</p>
    </div>
</div>
However, we have a slight problem here. The image is not popping out by default. We can easily fix that by adding the following CSS to the tilt element - transform: perspective(300px)

Conclusion
That's how easy it is! In this short post, you learned how to create a 3D tilt effect on your elements with tilt.js and I hope it was helpful! If you liked that post, consider following me on here, and maybe on Twitter as I am striving to be more active with such posts.
Thanks for the read & continue rocking!


Comments (0)