
Table of contents
1.What are reusable components? 2.Making a React component reusable 4.Conclusion
What are reusable components?
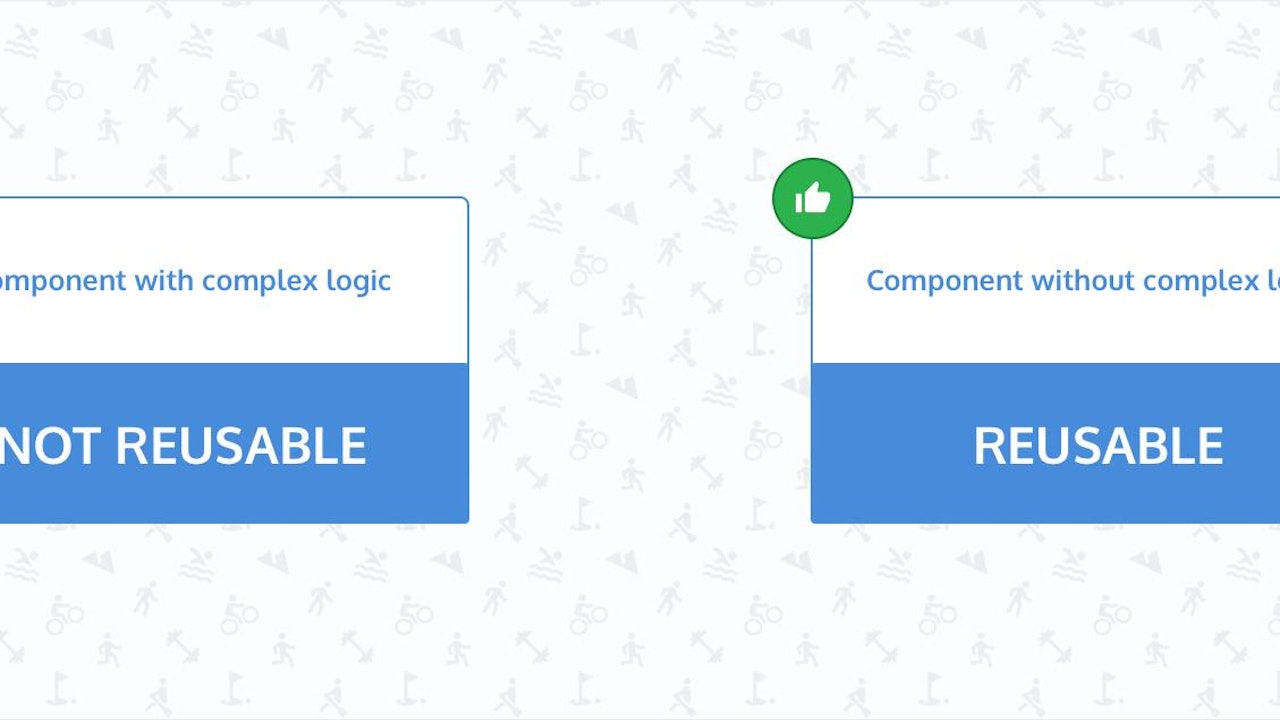
Reusable components are those React components that can be used multiple times in your application. As a result, they need to be generic enough so that it’s free from complex business logic. If a component contains any complex logic inside it, not only does it become difficult to reuse, it also becomes less maintainable. React Hooks are the perfect fit for reusable component logic.
I'm straight up reactjs miner, So if am lying on this `article` feel free to tell me 😃
Let Goooo!🦸♂️
=> For example, the App component below has a button which can’t be reused since it has the onClick prop hardcoded in it:
function handleClick(e) {
 // Some function which does fake API call
 fakeApiCall(e.target.value);
}

function App() {
 return (
   <div className="app">
     <button className="button" onClick={handleClick}>
       Submit
     </button>
   </div>
 );
}
😞 Here, there is no way in which we can modify the text Submit which is rendered on the button.
😊Buuut Iiiif we want to make the above component reusable, we need to make it more generic. First, we can make a separate Button function which can be imported and reused multiple times in our application:
function handleClick(e) {
 // Some function which does fake API call
 fakeApiCall(e.target.value);
}

function Button() {
 return (
   <button className="button" onClick={handleClick}>
     Submit
   </button>
 );
}
Then, we can reuse that Button component multiple times inside our App function:
function App() {
 return (
   <div className="app">
     <Button />
     <Button />
   </div>
 );
}
The above code renders the following user interface like:
 View Website
 View Website
 View Website
|Submit | |Submit |
🤔 As you can see ladyzz and gentlemanzz , we are already reusing one component multiple times. But, we still need to make it more generic because we might want to do different tasks with one click of a button. We can do a form submit, form reset or do another API call to fetch some sh** tone of data, for example.
Let’s extract the handleClick function from our Button component and pass it as a prop. Our Button component will now look like the following:
function Button(props) {
 return (
   <button className="button" onClick={props.handleClick}>
     Submit
   </button>
 );
And our App component will look like the following:
function handleClick(e) {
 // Some function which does fake API call
 fakeApiCall(e.target.value);
}

function App() {
 return (
   <div className="app">
     <Button handleClick={handleClick} />
   </div>
 );
}
As you can see, we can pass any function to the Button component through the handleClick prop. I highly suggest that you check your props using PropTypes.
We can also use multiple Button components inside our App component:
function handleAPICall(e) {
 // Do some API call
}

function handleFormReset(e) {
 // Reset some form data
}

function App() {
 return (
   <div className="app">
     <Button handleClick={handleAPICall} />
     <Button handleClick={handleFormReset} />
   </div>
 );
}
Alright, alright, alright 😎! As you can see, we have made our Button component even more flexible. We can also pass the text which is rendered on the button as a prop.
Our Button component will now look like the following: 🎶🎶Tanrara rara 🎶🎶 😎
function Button(props) {
 return (
   <button className="button" onClick={props.handleClick}>
     {props.label}
   </button>
 );
}
😎 And our App component will look like the following:
function handleAPICall(e) {
 // Do some API call
}

function handleFormReset(e) {
 // Reset some form data
}

function App() {
 return (
   <div className="app">
     <Button handleClick={handleAPICall} label="Submit"/>
     <Button handleClick={handleFormReset} label="Reset"/>
   </div>
 );
}
It renders the following user interface like:
|Submit | |Reset |
It’s already very reusable. But 🖐️🔊 "hold on wait a minute "🔊⛔, we can also add certain additional props like whether to render an icon before the label of the button as well.
To do that, we can change our Button component to the following:
function Button(props) {
  return (
    <button className="button" onClick={props.handleClick}>
      {props.icon} {props.label}
    </button>
  );
}
And, we need to pass that icon prop from our App component:
<Button
   handleClick={handleAPICall}
   label="Submit"
   icon={<i className="fas fa-arrow-alt-circle-right" />}
 />
The above example uses font-awesome but you can use any font you want zaddy.
👇 Also, it’s a good idea to render the icon prop only if it’s present. To do that, we just need to make the following changes to our Button component:
function Button(props) {
 return (
   <button className="button" onClick={props.handleClick}>
     {props.icon && props.icon} {props.label}
   </button>
 );
}
😎 Our component is very much reusable at this moment. We can also pass another additional prop called type which can control whether the button will be primary or secondary.
We need to make the following changes to our Button component:
function Button(props) {
 const className = `button ${props.type}`

 return (
   <button className={className} onClick={props.handleClick}>
     {props.icon && props.icon} {props.label}
   </button>
 );
}
Here, we will be passing a type prop from our App component which will be passed to the className of the button.
Our App component will now look like the following:
function handleAPICall(e) {
 // Do some API call
}

function handleFormReset(e) {
 // Reset some form data
}

function App() {
 return (
   <div className="app">
     <Button
       handleClick={handleAPICall}
       label="Submit"
       icon={<i className="fas fa-arrow-alt-circle-right" />}
       type="primary"
     />
     <Button handleClick={handleFormReset} label="Reset" type="secondary" />
   </div>
 );
}
We would also need to add a few lines of CSS to our application:
.button.primary {
 background-color: #0886ff;
}

.button.secondary {
 background-color: #73a800;
}
Finally, we can distinguish between our #primary and #secondary buttons. It’s also a good idea now to add a #default #prop to our Button component so that it #renders #secondary buttons by #default. This is really helpful if we #forget to pass the #type #prop to our Button component. We need to make the following changes to our Button component:
function Button(props) {
 const className = `button ${props.type}`

 return (
   <button className={className} onClick={props.handleClick}>
     {props.icon && props.icon} {props.label}
   </button>
 );
}

Button.defaultProps = {
 type: "secondary"
};
Now, if we have another Button component which doesn’t have the type prop, it will be a secondary button:
<div className="app">
 <Button
   handleClick={handleAPICall}
   label="Submit"
   icon={<i className="fas fa-arrow-alt-circle-right" />}
   type="primary"
 />
 <Button handleClick={handleFormReset} label="Reset" type="secondary" />
 <Button handleClick={handleFormReset} label="Click" />
</div>
🤖 "I will be back "
Follow me For Part II Tommmorrrrow , Honestly I just need a friends , but i will be back tho...
Comments (0)