

Introduction
Welcome to part 2 of my Introduction to Ansible blog post series! If you have not read part 1 of the Introduction to Ansible series, you can find it here:
Part 1: Here I cover what Ansible is and how to find your way around the Ansible documentation
In this post, we will focus on how to install Ansible on a Ubuntu server on DigitalOcean and some of the main configuration files that you need to keep in mind.
To make things even better you can use my referral link to get a free $100 credit that you could use to deploy your virtual machines and test the guide yourself on a few DigitalOcean servers:
Digital Ocean $100 Free Credit
Prerequisites
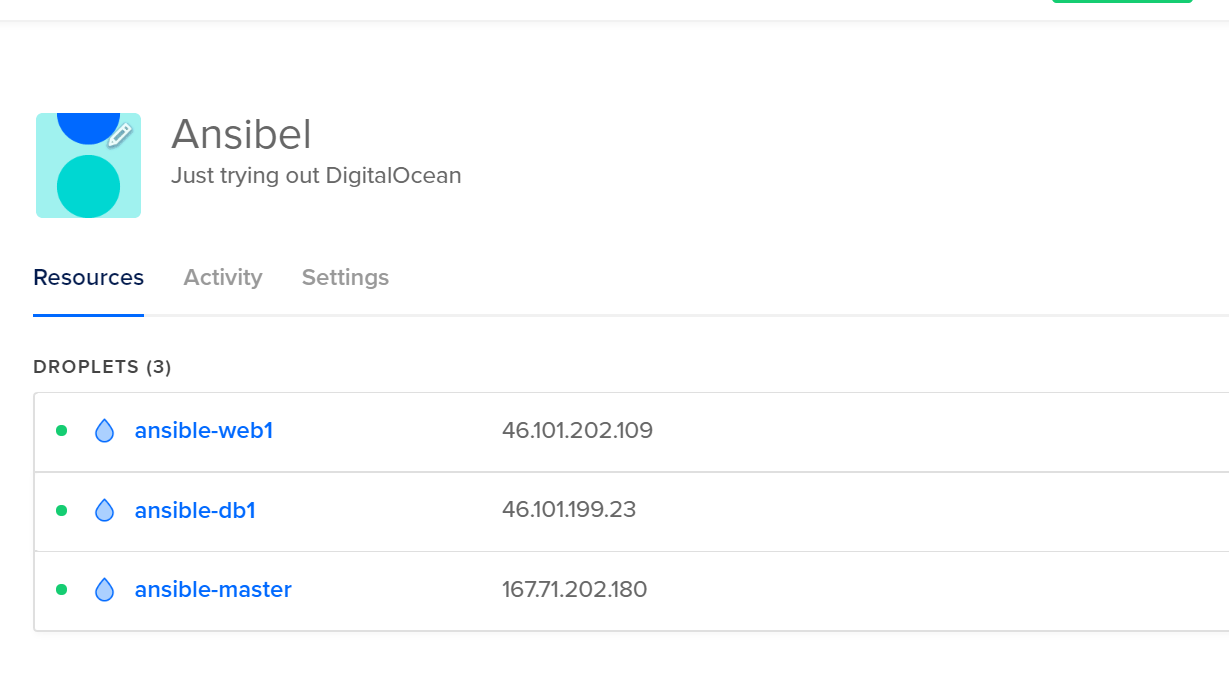
In order for you to be able to follow along, you would need 3 servers.
You can either use DigitalOcean and spin up 3 Droplets, to do that you can follow the steps on how to do this here:
https://www.digitalocean.com/docs/droplets/how-to/create/
Once you have your 3 Droplets note down your IP addresses:
 View Website
 View Website
 View Website
Or you can create 3 Ubuntu virtual machines with your favorite virtualization software.
We will use 1 of the servers as our control/master server and the other two servers would be a database server and a web server.
Ansible installation
Once you've created your DigitalOcean Ubuntu servers, you would need to install Ansible only on your Master server.
In order to do that you have to just SSH to the Master server and run these commands:
apt update
apt install ansible
That is pretty much it, now you have an Ansible control server!
To verify that just run this command:
ansible --versionYou should see the following output:

Ansible configuration file
The location of the main Ansible configuration file is at:
/etc/ansible/ansible.cfgOne of the great things about Ansible is that it is really well documented! I would suggest going through the file itself carefully as there are a lot of useful comments. As this article is just a basic introduction I would be using the default settings.
You can also take a look at the official Ansible configuration documentation here.
Ansible inventory file
The Ansible inventory file is a file that defines the hosts and the groups of hosts that we could run our commands, tasks, playbooks and etc. on.
You can create custom inventory files for different projects in other locations.
The default Ansible inventory file is at:
/etc/ansible/hostsYou could have your inventory file in different formats, depending on the inventory plugins that you have. The default format is INI-like, here's an example:
ansible.bobbyiliev.com

[webservers]
web1.bobbyiliev.com
web2.bobbyiliev.com

[dbservers]
db[1:5].bobbyiliev.com # That way we specify a range of hosts on one line

[cacheservers]
cache ansible_host=cache.bobbyiliev.com  # This way we are creating an alias so we could then easily reach the server in question
Again this file is really well documented, I would suggest going through the comments in the file itself so you could get a better understanding of how you could group your servers.
You can go ahead and add your DigitalOcean server IPs to the inventory file already! It should look like this:
[webservers]
web ansible_host=1.1.1.1 ansible_python_interpreter=/usr/bin/python3

[dbservers]
db ansible_host=2.2.2.2 ansible_python_interpreter=/usr/bin/python3
Note: change the 1.1.1.1 and 2.2.2.2 with your droplets' IP addresses!
SSH configuration
As I already mentioned in part 1 all you need to manage your nodes is SSH access. You could either use SSH keys or you could use the -k argument and use SSH password instead.
I believe that it's much more convenient to use SSH keys so I would just generate a new SSH key pair and copy the public key to the new nodes.
To do that just run this command on your master server:
ssh-keygenBy default your public ssh key would be added to this file here:
~/.ssh/id_rsa.pubJust copy the content of the file and add it to your 2 other servers in the following file:
~/.ssh/authorized_keysThis is pretty much all you need, now your all setup!
Running a command
Once you have Ansible installed on your master server and your SSH key copied over to the rest of your servers, you are then all set to run your first Ansible command!
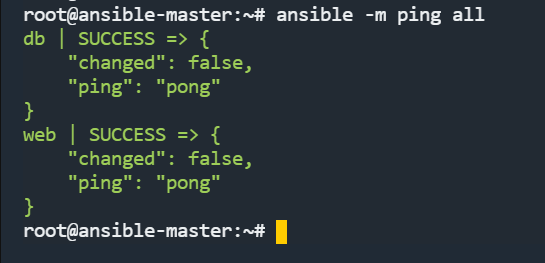
As a quick test you could run the following command:
ansible -m ping allThis way we basically tell the Ansible control server to loop through all of the available hosts from the Ansible hosts file and test the connection.
The output that you would see should look like this:
Side note: It's also a common practice to create a new user called ansible that we would use to run your playbooks.
You can add the new user with the useradd command, but as this is just a basic introduction we will skip this step.
Knowledge check
Once you've read this post, make sure to test your knowledge with this Ansible Quiz:
https://quizapi.io/predefined-quizzes/8-common-ansible-questions
Conclusion
This is pretty much it for part 2, your main take away from this should be:
- It is easy to install Ansible
- The two important files to remember are the ansible.cfg and the ansible inventory file
- All you need to do is have SSH access to the machines that you would like to manage!
You can find Part 3 here:
https://devdojo.com/tutorials/introduction-to-ansible-part-3
Feel free to let me know in case you have any questions!
Comments (0)