
Introduction
More often than not you would need to perform some maintenance for your Laravel website.
Luckily Laravel makes it super easy to put your application in maintenance mode!
In this tutorial, I will show you how to do that, and also how to change the default Laravel maintenance page with a custom maintenance page that matches your website design!
Prerequisites
Before you begin you need to have Laravel installed. If you do not have that yet, you can follow the steps on how to do that here or watch this video tutorial on how to deploy your server and install Laravel from scratch.
You would also need SSH access to your server.
Enable Default Maintenance Mode
In order to put your application in maintenance mode all that you need to do is to run the following artisan command:
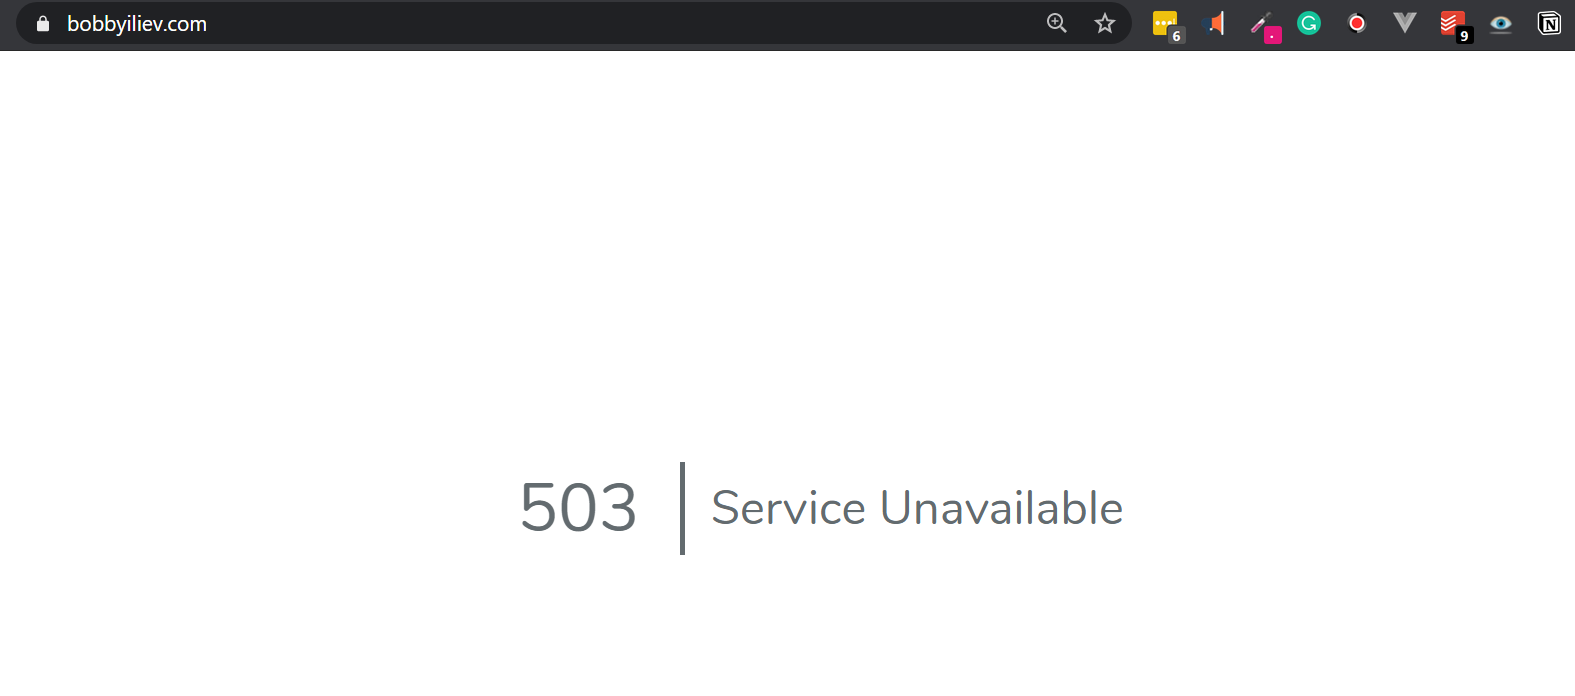
php artisan down
Then after that if you visit your website in your browser you would a 503 page that looks like this:
If you wanted to still be able to access your website, what you could do is allow your IP range so that you could browse your website as normal rather than get the 503 as all other.
 View Website
 View Website
 View Website
To do that you just need to use the --allow option followed by your IP address, for example:
php artisan down --allow=127.0.0.1 --allow=your_ip_address_here/32
Change the your_ip_address_here/32 part with your actual IP range, that you would use to access your website.
That way you would still be able to access your site and do some troubleshooting if needed.
For Laravel 8, you could use a secret instead:
php artisan down --secret="1630542a-246b-4b66-afa1-dd72a4c43515"
Then you could visit your website by adding the secret in your URL:
https://example.com/1630542a-246b-4b66-afa1-dd72a4c43515
Again with Laravel 8, alternatively you could force a redirect to a specific page:
php artisan down --redirect=/
Create Custom Maintenance Page
In order to change override the default 503 maintenance page, we need to add our own view at: resources/views/errors/503.blade.php.
To keep things simple I will use this simple maintenance page from GitHub.
I will just copy the content of the file here:
<!doctype html>
<title>Site Maintenance</title>
<style>
body { text-align: center; padding: 150px; }
h1 { font-size: 50px; }
body { font: 20px Helvetica, sans-serif; color: #333; }
article { display: block; text-align: left; width: 650px; margin: 0 auto; }
a { color: #dc8100; text-decoration: none; }
a:hover { color: #333; text-decoration: none; }
</style>
<article>
<h1>We’ll be back soon!</h1>
<div>
<p>Sorry for the inconvenience but we’re performing some maintenance at the moment. If you need to you can always <a href="mailto:#">contact us</a>, otherwise we’ll be back online shortly!</p>
<p>— The Team</p>
</div>
</article>
And paste it into the resources/views/errors/503.blade.php file.
After that, if I visit my website I would not see the default Laravel maintenance page, but the following page:
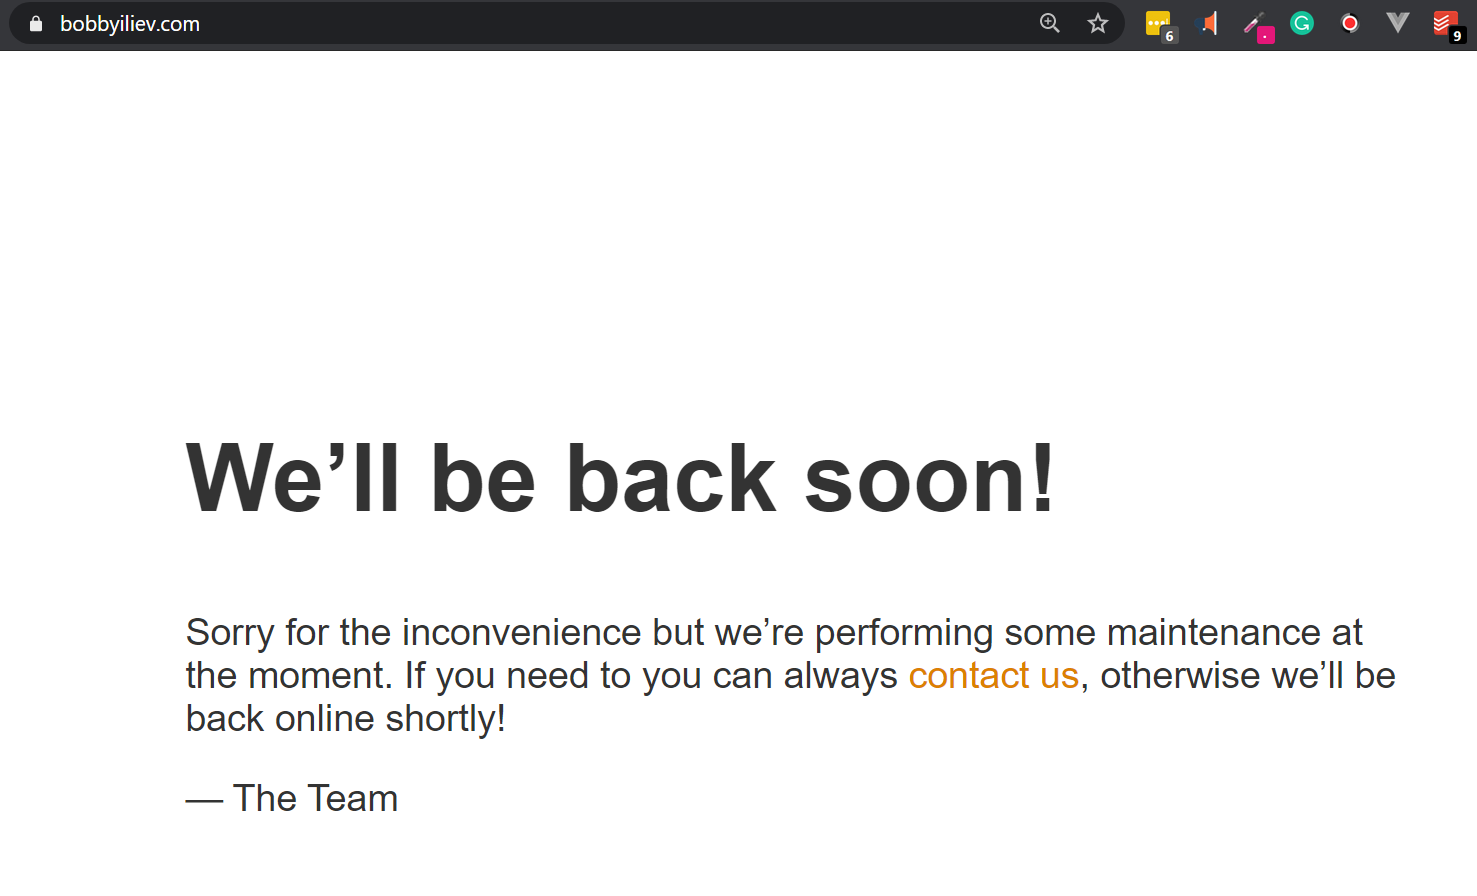
Of course, you can modify the page above to match your exact website design and needs!
Disable Maintenance Mode
In order to disable the maintenance mode of your website, you can just use the following artisan command:
php artisan up
This would disable the maintenance mode and your visitors would see your website as normal.
Conclusion
Being able to put your website into maintenance mode with a native artisan command is one of the many reasons why I love Laravel!
For more information, I would recommend checking the official Laravel documentation here.
Hope that you find this helpful!
If you are working as a DevOps engineer, check out this DevOps Scorecard and evaluate your DevOps skills across 8 key areas and discover your strengths and growth opportunities
Comments (0)