


Voyager has been gaining some major traction on Github over the last couple days/weeks. The release of Voyager 1.0 has been amazing and there are so many people supporting this really cool project.
With the release of 1.0 came a new feature called hooks. You can think of these similar to a Wordpress plugin... Hm Hm Cough... (scratch that)
I would hate for this to feel anything like a Wordpress plugin. I don't want to sound like I'm bashing Wordpress, but one of their biggest problems is that Wordpress plugins are so easy to build that even your Grandma could do it. And the problem is that a single plug-in could to take down your site, cause a really bad UX, or even bring down your SEO results.
That's why we've re-designed plugins or hooks and even though it will still be easy to create a hook, it will also take a little more knowledge on how to "hook" them up using Composer and Voyager.
Let's run through this article and teach you how to do this.
Install a new version of Voyager
Before we start creating a hook we will start off at the very beginning and create a new Laravel and Voyager install. I am going to create a new project called hooks:
$ laravel new hooks
I will then CD into that new folder and require the Voyager package:
$ cd hooks
$ composer require tcg/voyager
Next, I need to create a new database and add those database credentials to my .env file. I will also need to add my APP_URL:
APP_URL=http://hooks.dev

DB_CONNECTION=mysql
DB_HOST=127.0.0.1
DB_PORT=3306
DB_DATABASE=hooks
DB_USERNAME=root
DB_PASSWORD=
Ok, now I just need to run the Voyager install command:
 View Website
 View Website
 View Website
$ php artisan voyager:install --with-dummy
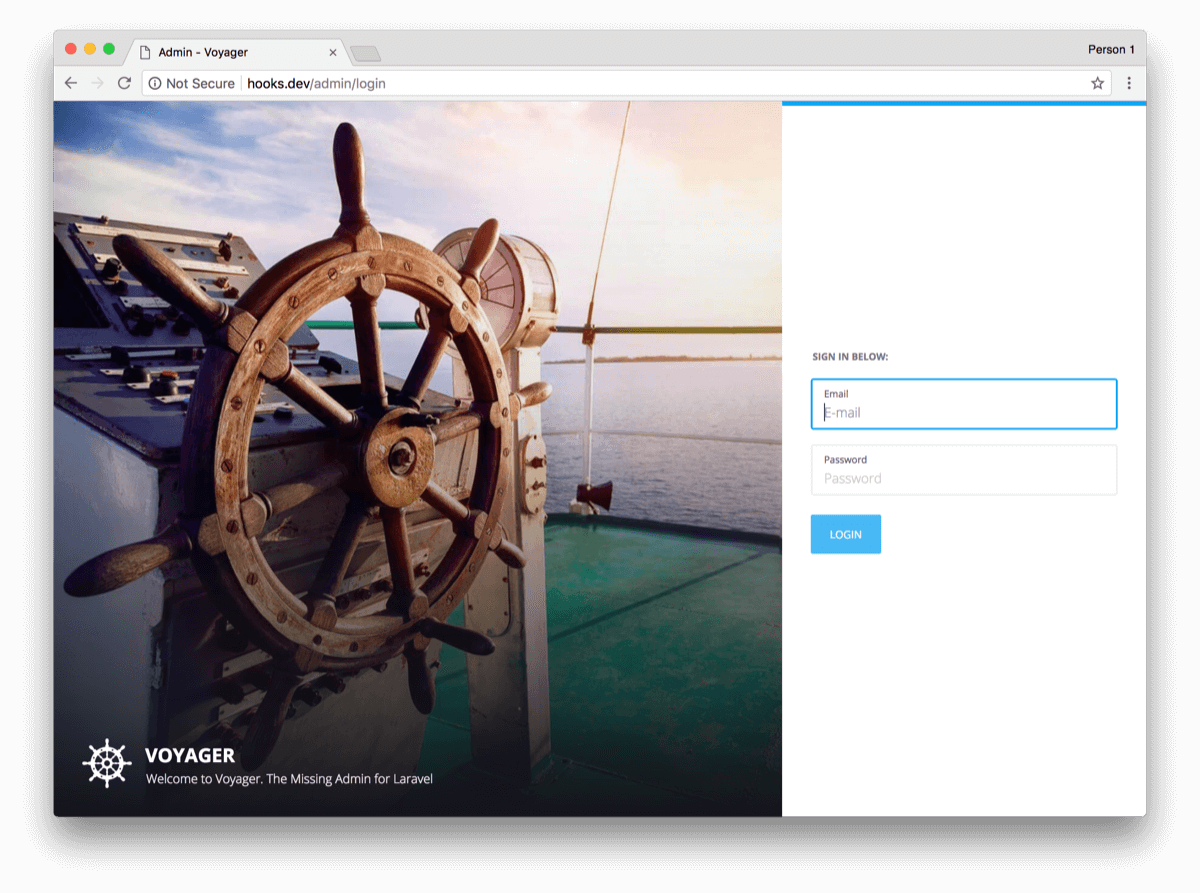
And now if I were to visit http://hooks.dev/admin inside of my browser, I will see a new install of Voyager in front of me.
Note: I am using Laravel Valet, so anytime I create a new folder in my Sites folder I can visit
new-folder.devand it will automatically serve up that folder.
Ok, now let's move on to creating our first hook.
Creating a Voyager Hook
The first thing we will want to do is install the test-hook inside of our application. You can find the source code for the test hook here: https://github.com/larapack/test-hook
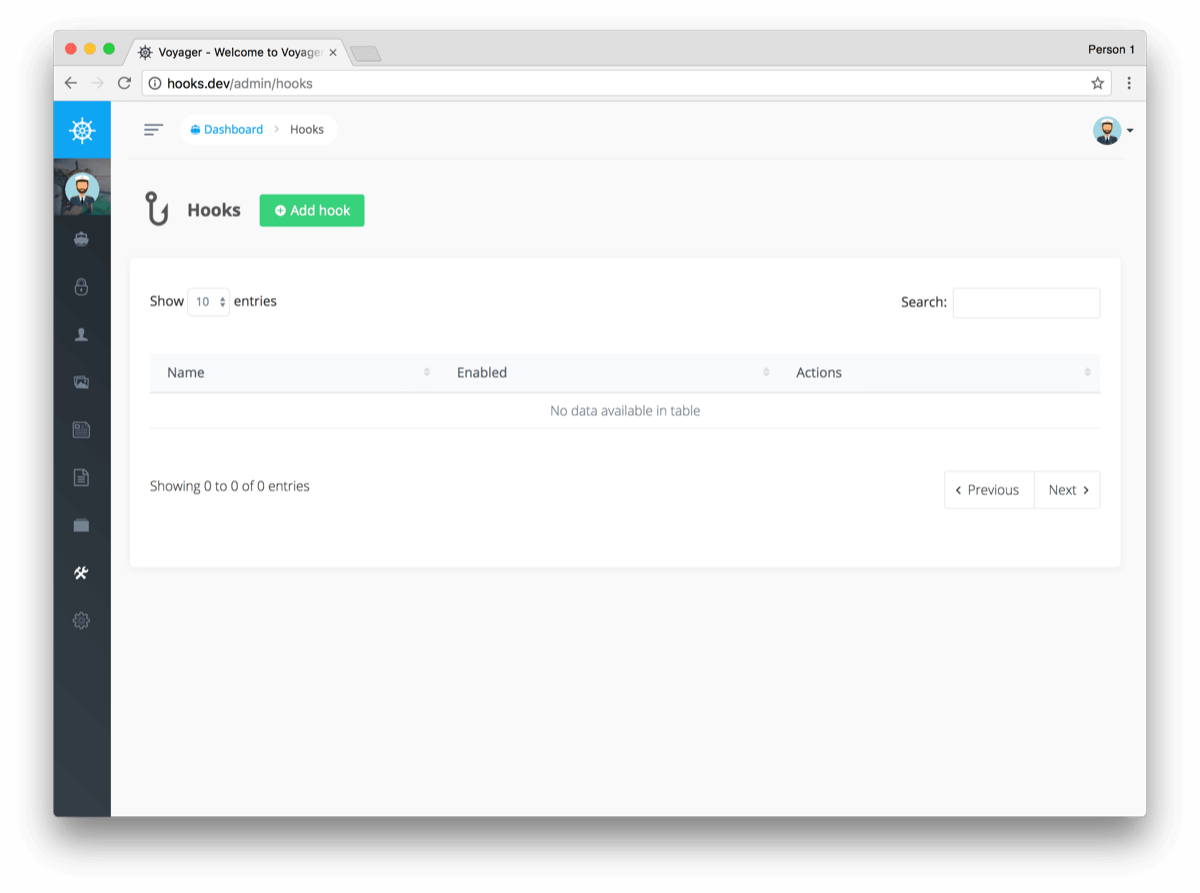
So, Let's login to our Voyager admin and click on the settings->hooks button and you will be on the Voyager hooks page.
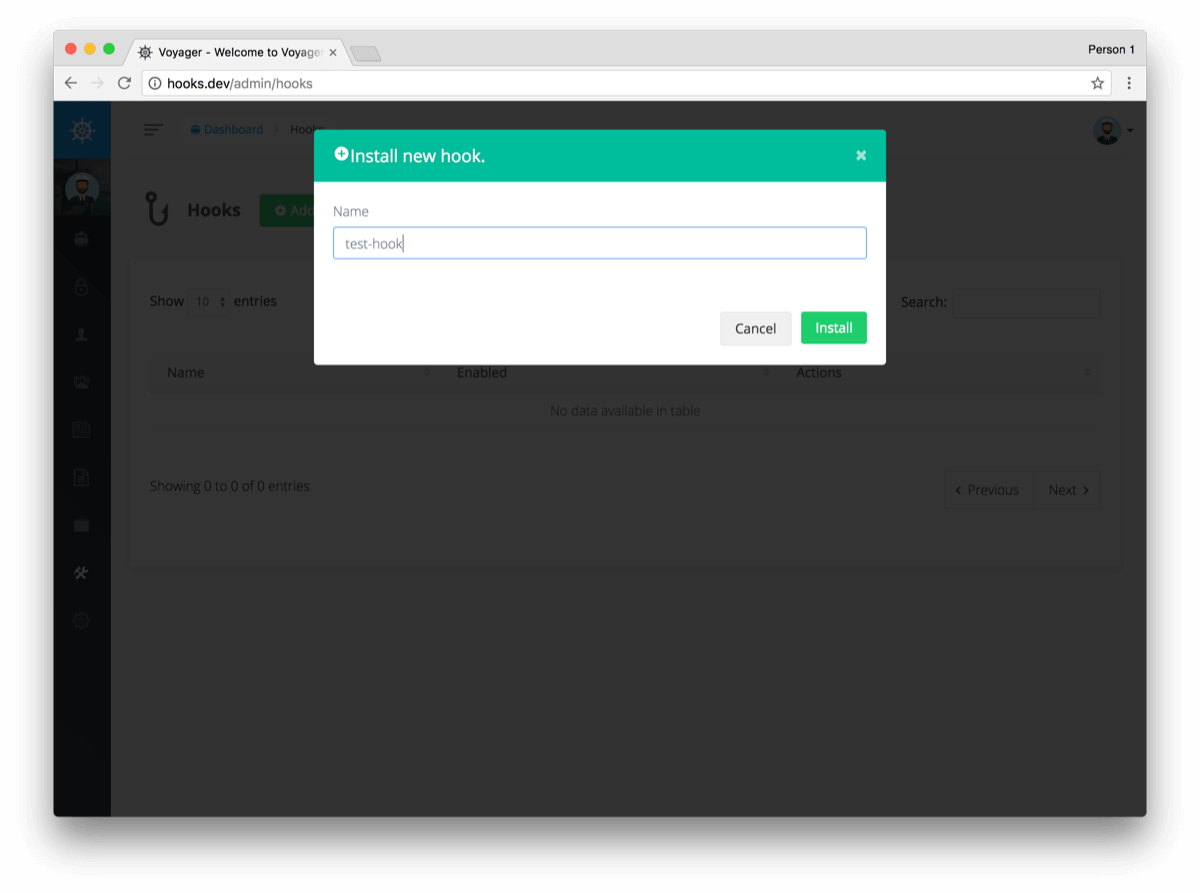
Go ahead and click the Add New button and type in test-hook and click the install button.
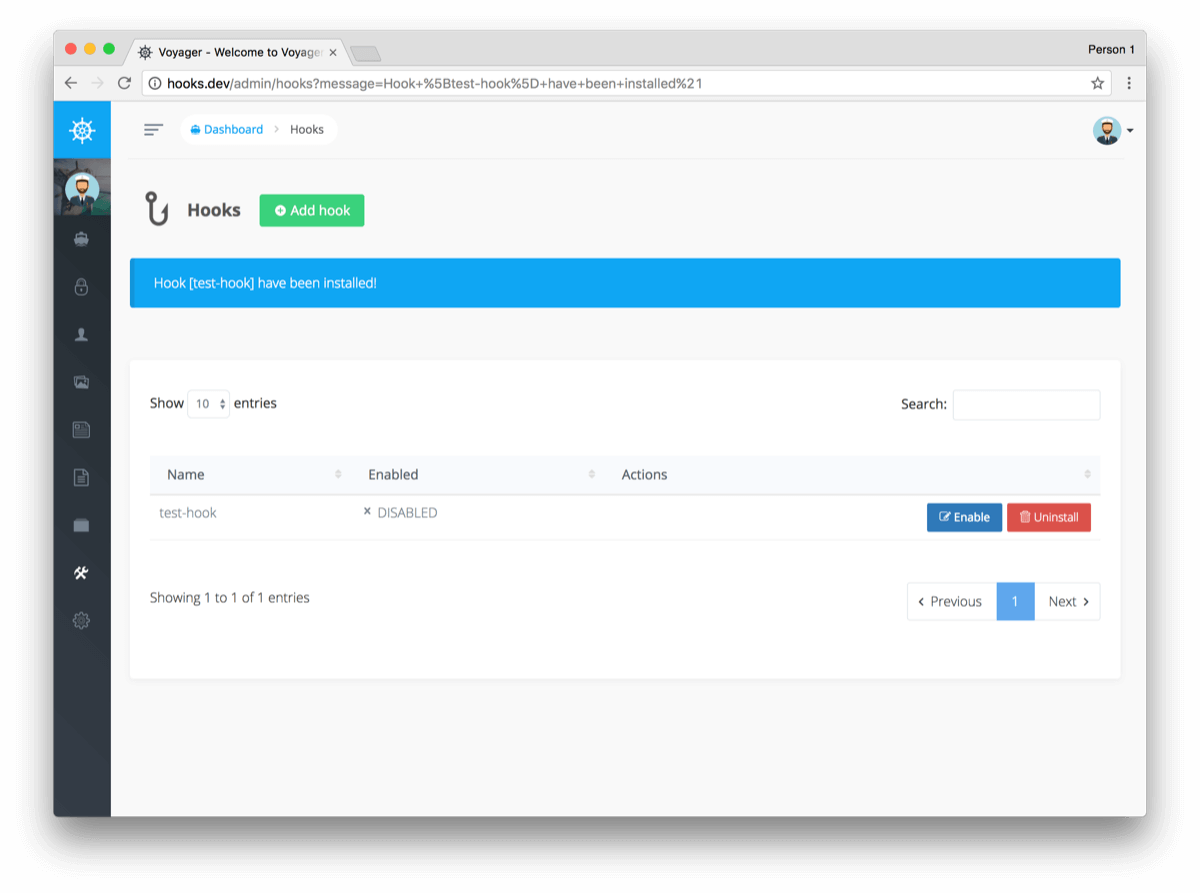
Now you will see a new hook available called test-hook and you can go ahead and click on the enable button.
After enabling it try hitting a test route at http://hooks.dev/test and you will see a simple Hello World page. You can also visit: http://hooks.dev/admin/test and see another simple output.
Ok, let's find out where these routes are being generated. If we look inside of our vendor folder you will see a new folder called test-hook, inside of that folder you will have 2 more files called:
- composer.json
- src/TestHookServiceProvider.php
If we look inside of the src/TestHookServiceProvider.php you will see the following content:
<?php

namespace TestHook;

use Illuminate\Events\Dispatcher;
use Illuminate\Support\ServiceProvider;

class TestHookServiceProvider extends ServiceProvider
{
    /**
     * Bootstrap any application services.
     *
     * @return void
     */
    public function boot()
    {
        //
    }

    /**
     * Register any application services.
     *
     * @return void
     */
    public function register()
    {
        // Add routers
        app('router')->get('test', function () {
            return 'Hello world!';
        });

        // Add routes with Voyager's prefix (group)
        app(Dispatcher::class)->listen('voyager.admin.routing', function ($router) {
            $router->get('test', function () {
                return 'Hello possibly not-logged-in user!';
            });
        });

        // Add routes behind Voyager authentication
        app(Dispatcher::class)->listen('voyager.admin.routing', function ($router) {
            $router->get('test-with-login', function () {
                return 'Hello logged-in user!';
            })->name('test');
        });
    }
}
You can see inside of the register() method is where we will want to include any of our logic. This is where those test routes are being generated.
You can include routes in the register() command or you can include models & controllers. You will be able to add any kind of logic for your hook inside of this method.
Next, the composer.json file is the file that will define all the information about your hook:
{
  "name": "test-hook",
  "description": "This is my first hook.",
  "require": {
    "larapack/hooks": "~1.0"
  },
  "autoload": {
    "psr-4": {
      "TestHook\\": "src/"
    }
  },
  "extra": {
    "hook": {
      "providers": [
        "TestHook\\TestHookServiceProvider"
      ]
    }
  }
}
So, now you can use the test-hook to build out your functionality for you new hook and test it out. And when you are ready to submit your hook you can change the TestHook reference with your own name.
Here's a quick example. Let's say that our hook name was awesome-sauce, our composer.json file would look like:
{
  "name": "awesome-sauce",
  "description": "This is my first hook call awesome sauce.",
  "require": {
    "larapack/hooks": "~1.0"
  },
  "autoload": {
    "psr-4": {
      "AwesomeSauce\\": "src/"
    }
  },
  "extra": {
    "hook": {
      "providers": [
        "AwesomeSauce\\AwesomeSauceServiceProvider"
      ]
    }
  }
}
And instead of src/TestHookServiceProvider.php we will want to rename it to src/AwesomeSauceServiceProvider.php which would look like the following:
<?php

namespace AwesomeSauce;

use Illuminate\Events\Dispatcher;
use Illuminate\Support\ServiceProvider;

class AwesomeSauceServiceProvider extends ServiceProvider
{
    /**
     * Bootstrap any application services.
     *
     * @return void
     */
    public function boot()
    {
        //
    }

    /**
     * Register any application services.
     *
     * @return void
     */
    public function register()
    {
        // Add routers and include models/controllers
        // Add logic here...
    }
}
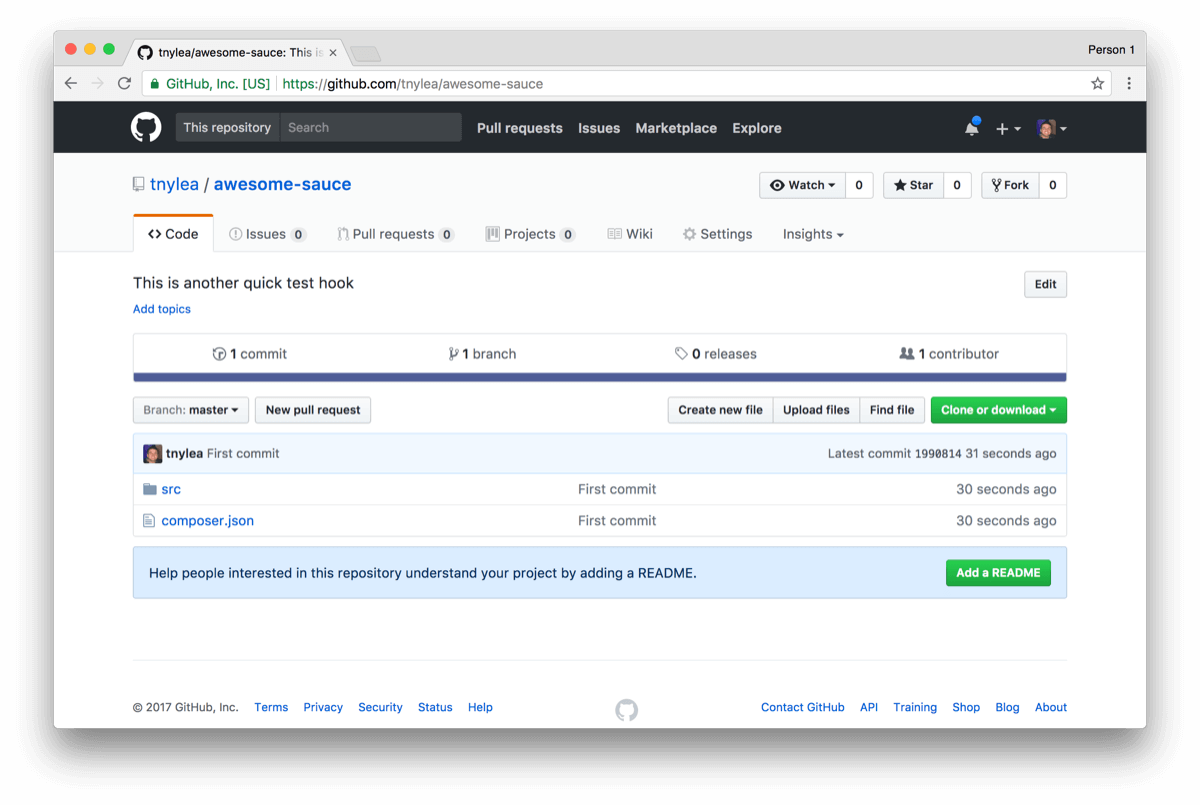
After we have created our new hook we will then want to add our composer.json and all the files inside of our src folder to a new github repo. The name of the repo will be the name of your hook, from the example above the repo will be awesome-sauce.
and then we are ready to submit our new hook to https://larapack.io
Submitting your Hook to Larapack.io
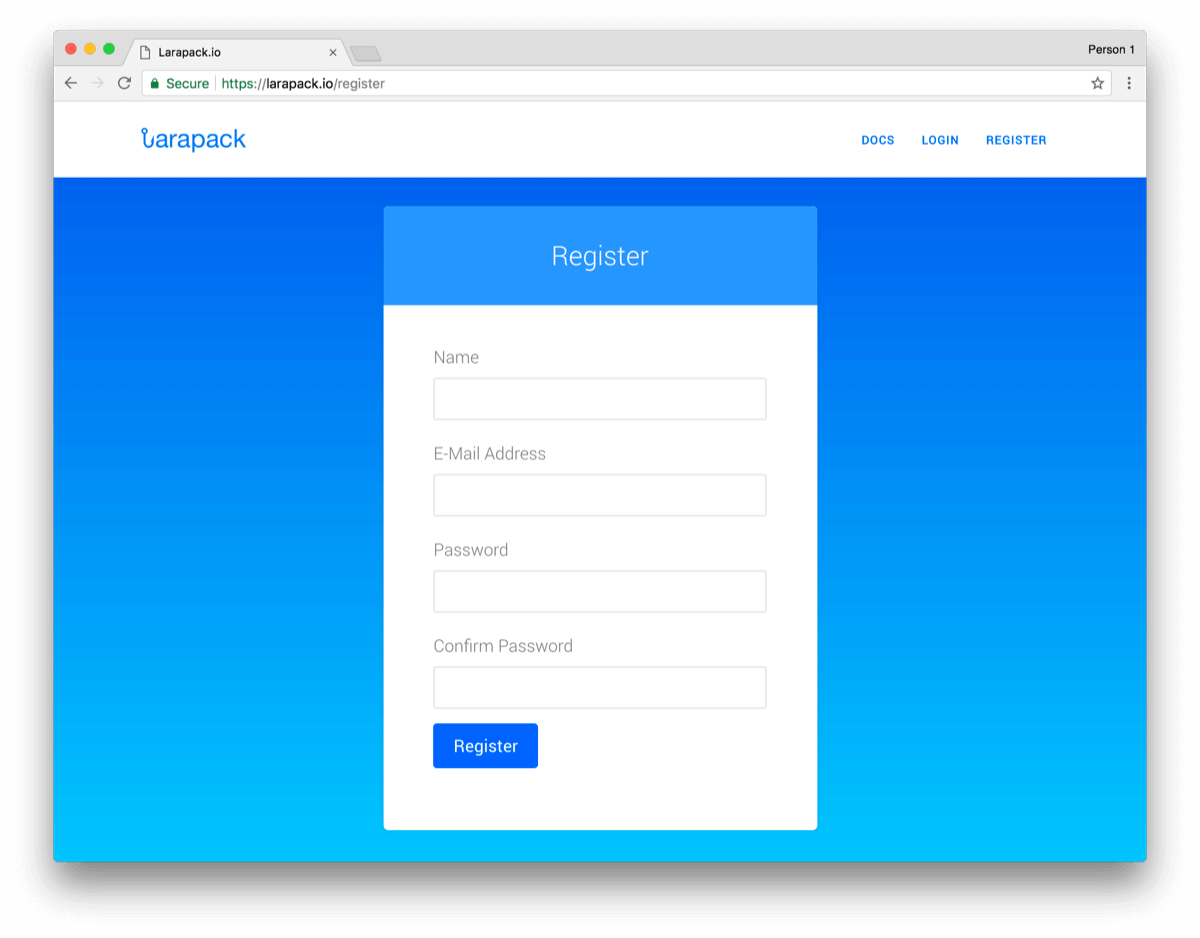
Now that we are ready to submit our package to Larapack, we can first signup for a new account at https://larapack.io/register
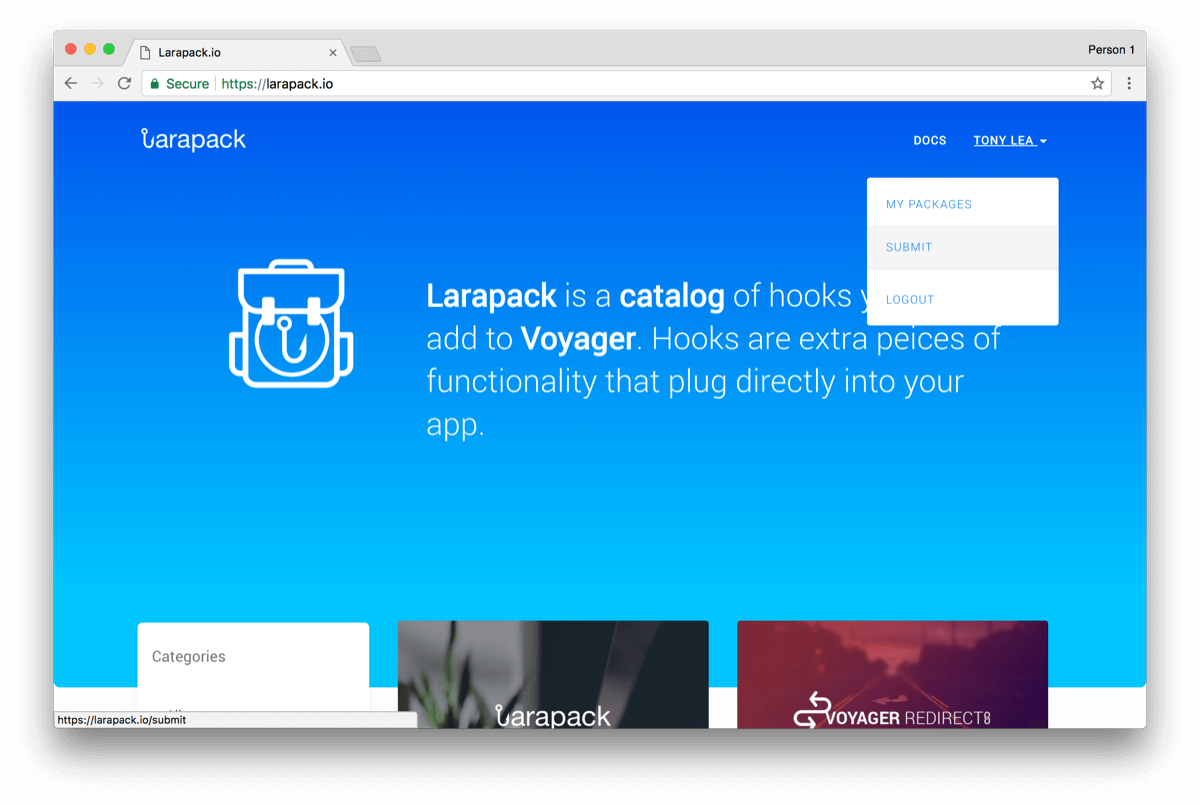
After we have logged into our account we will then want to click on our username at the top right and under the drop-down we will click on Submit
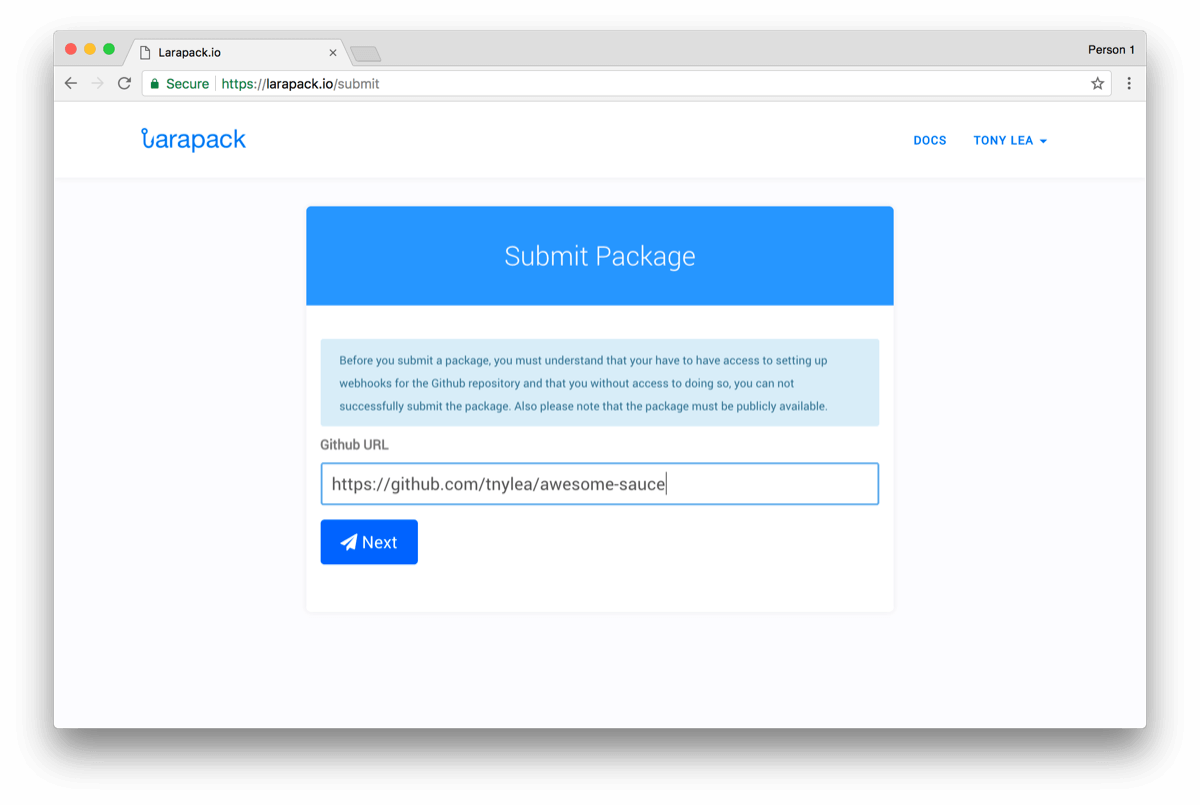
Next, we will be on the Submission page where we will want to add the URL of our Github repo:
After, clicking on the next button you will see another screen asking you to setup a Github webhook.
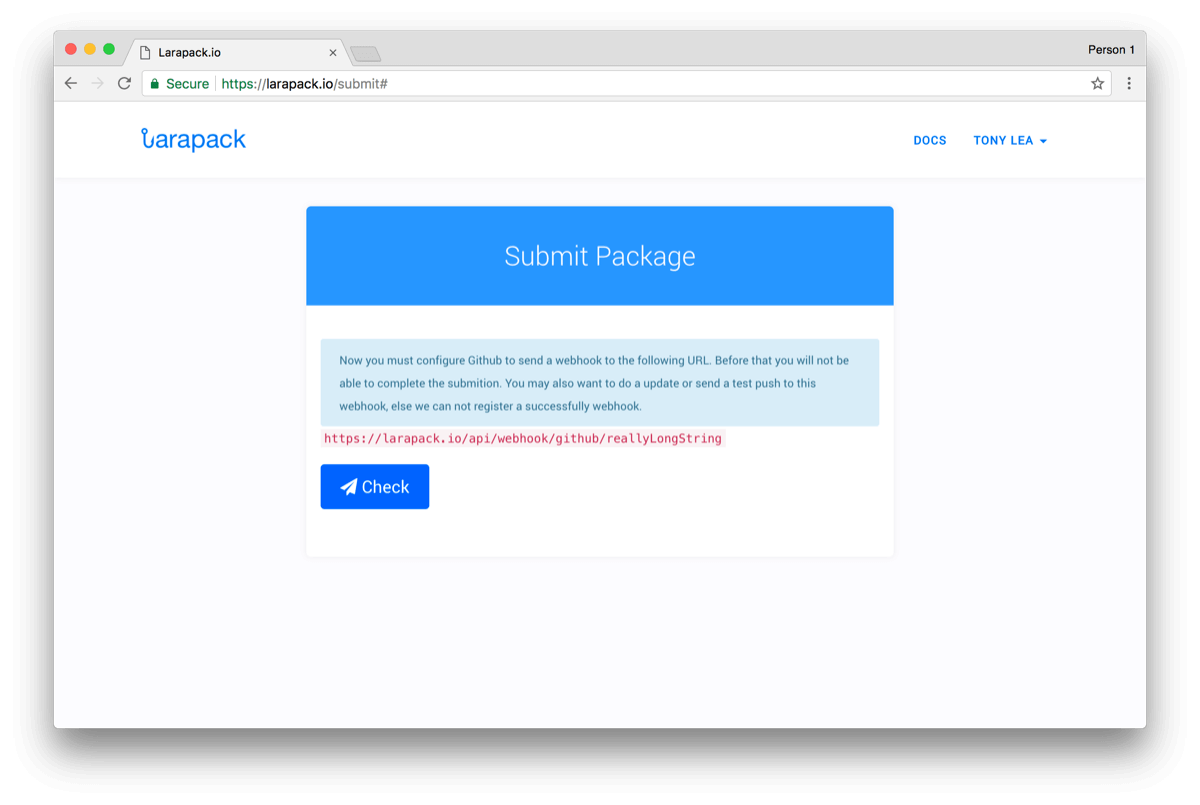
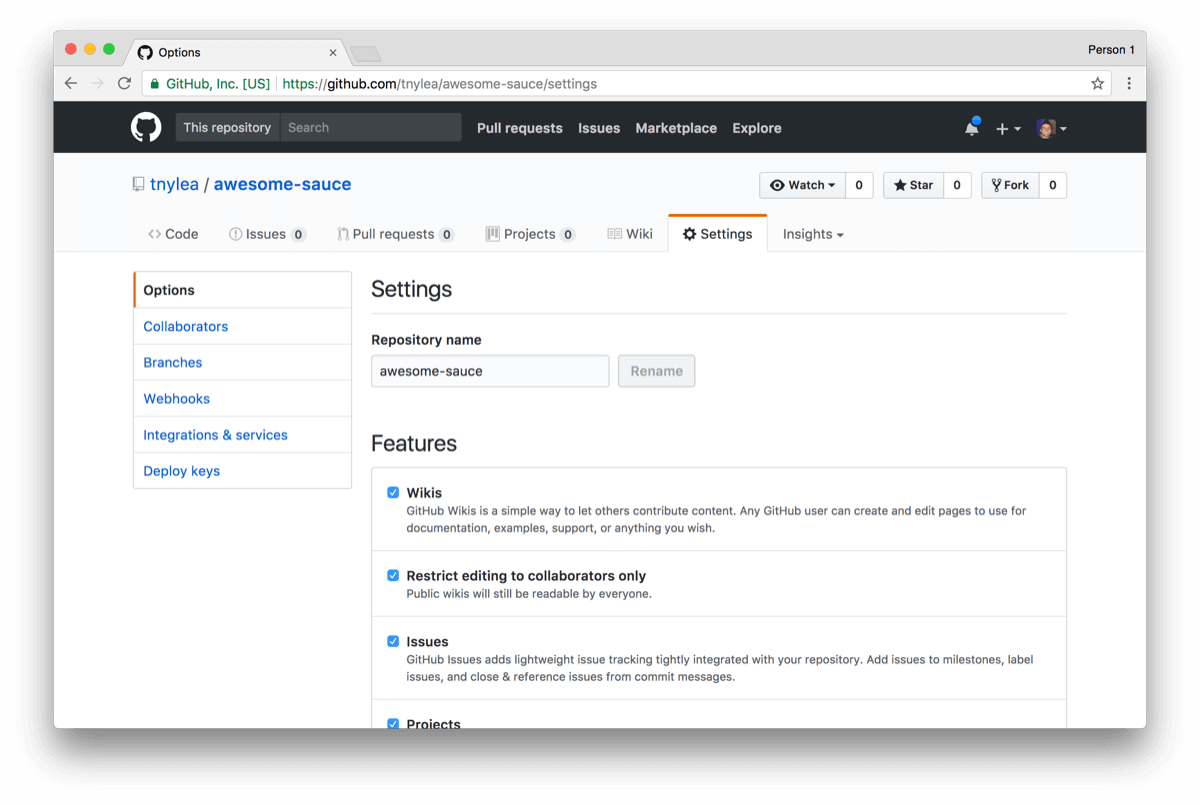
This means that we need to add the Webhook URL to our Github repo. This is really simple. To do this we need to click on the settings tab in our repo:
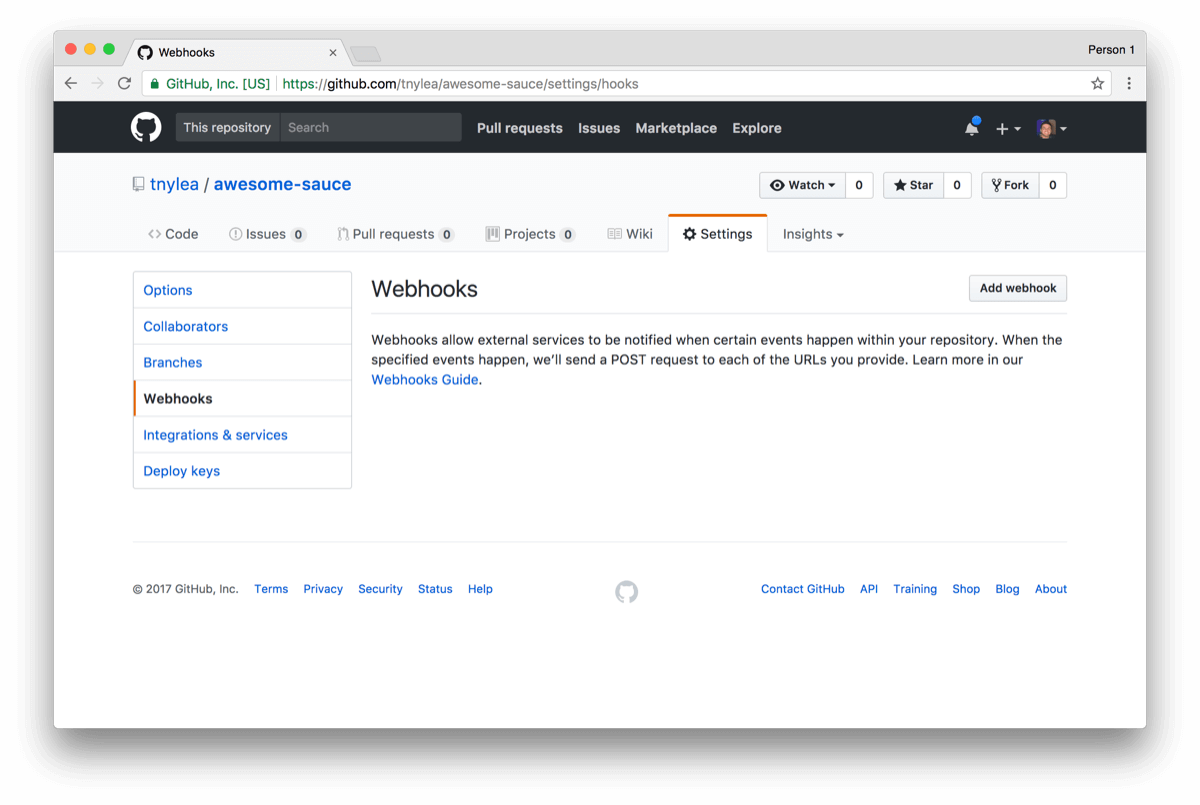
Then click on the Webhooks button on the left:
And then click 'Add Webhook':
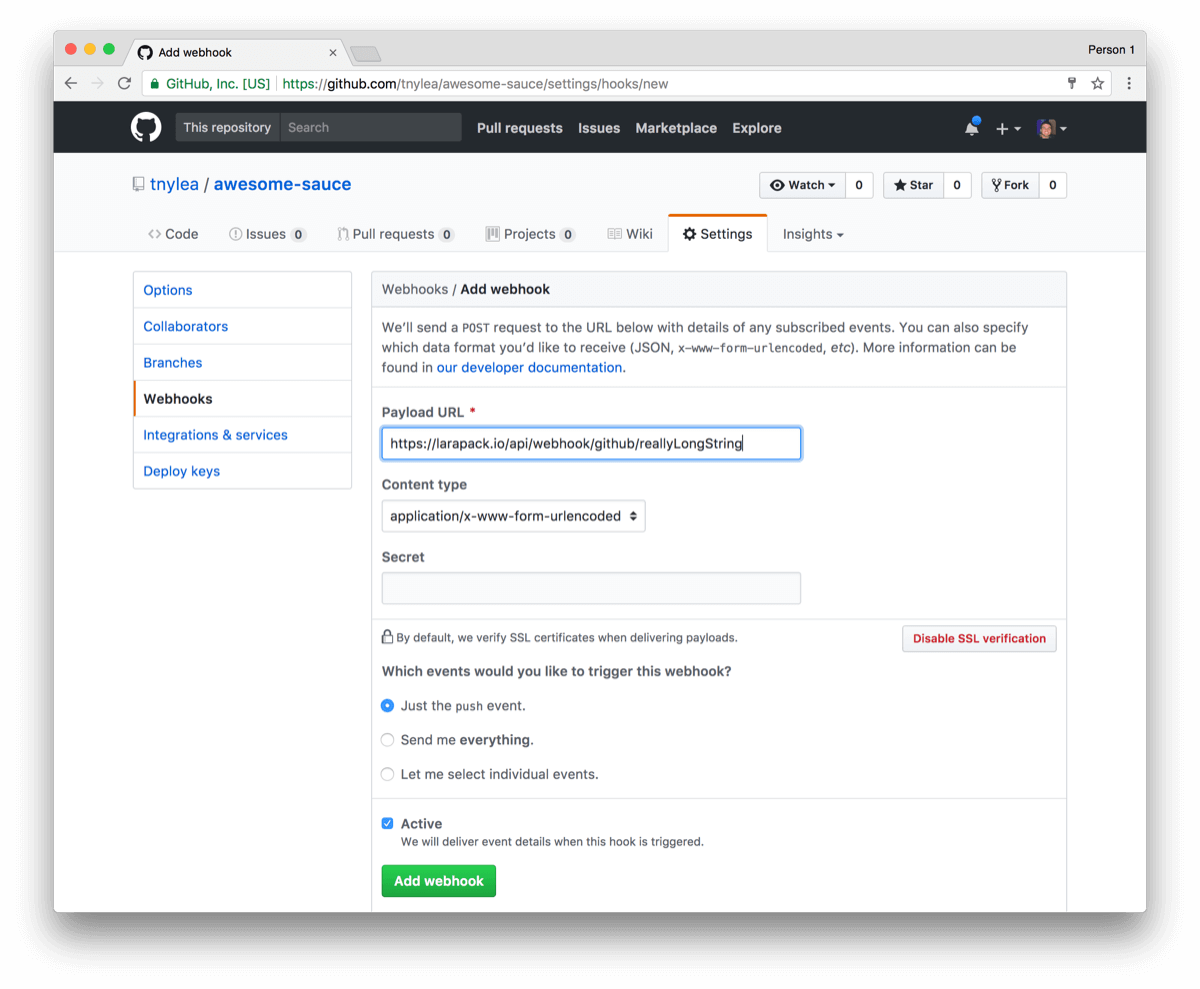
Paste in the Larapack webhook URL and click on Add Webhook.
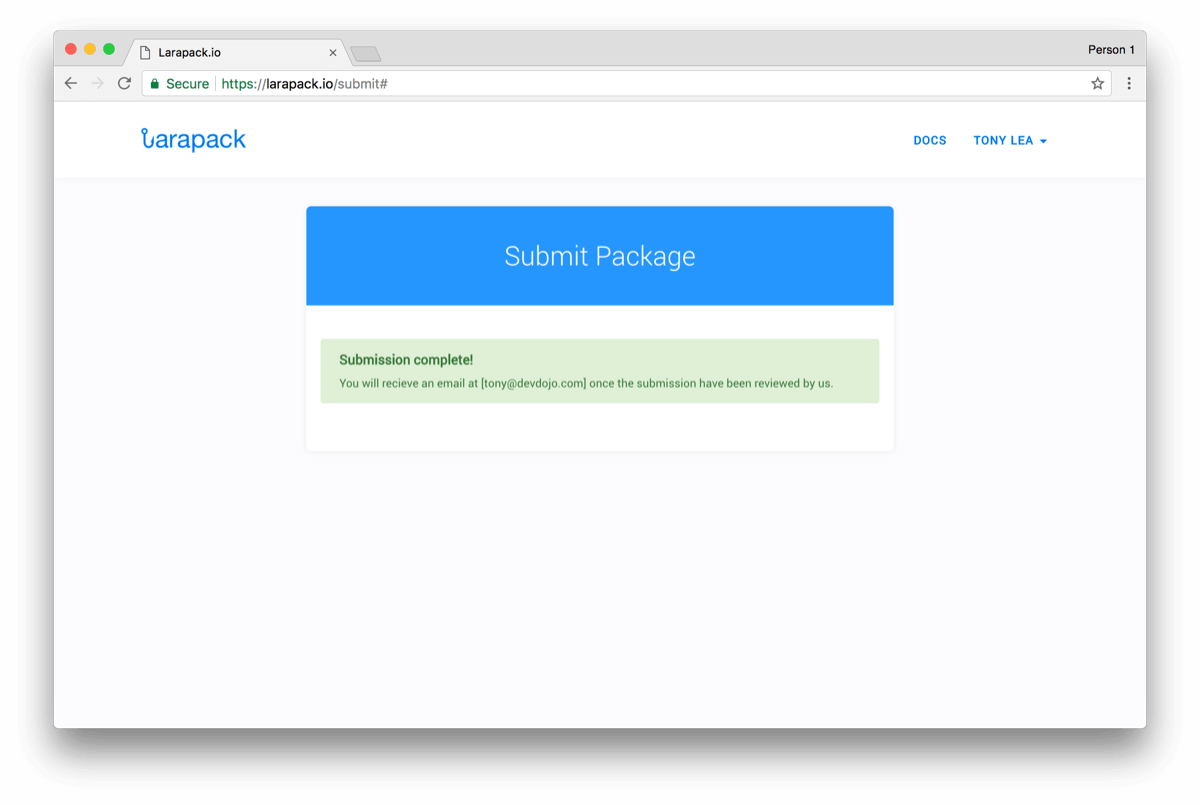
Next, go back to the page where you submitted the webhook on Larapack and after giving the page a few seconds you will see that it will detect the Webhook has been setup and give you a success message.
Now, you'll just need to sit back and wait until your hook gets approved and your Hook will be available for other Voyager users to include in their applications :)
Comments (0)