You might have seen some web apps where the header changes its color or becomes glassmorphic when you scroll down. So in this tutorial, I am going to show you how you can do the same. Let's jump right into it.
Demo
https://www.loom.com/share/432917e923304aa5807ef6a6228a38b9
Setup
Create a new react app
npx create-react-app animated-header
Cleanup
- Delete everything in the app div in
App.js.
import "./App.css";

function App() {
  return <div className="app"></div>;
}

export default App;
- Delete everything in
App.cssand add this basic styling-
.app {
  display: flex;
  flex-direction: column;
  align-items: center;
  justify-content: center;
}
- in
index.cssadd-
* {
  margin: 0;
}
Creating the navbar
Create a new file Header.js in the src folder.
I am creating a very simple navbar-
import "./Header.css";

const Header = () => {
  return (
    <nav className="header">
      <h3>I am a nav</h3>
    </nav>
  );
};

export default Header;
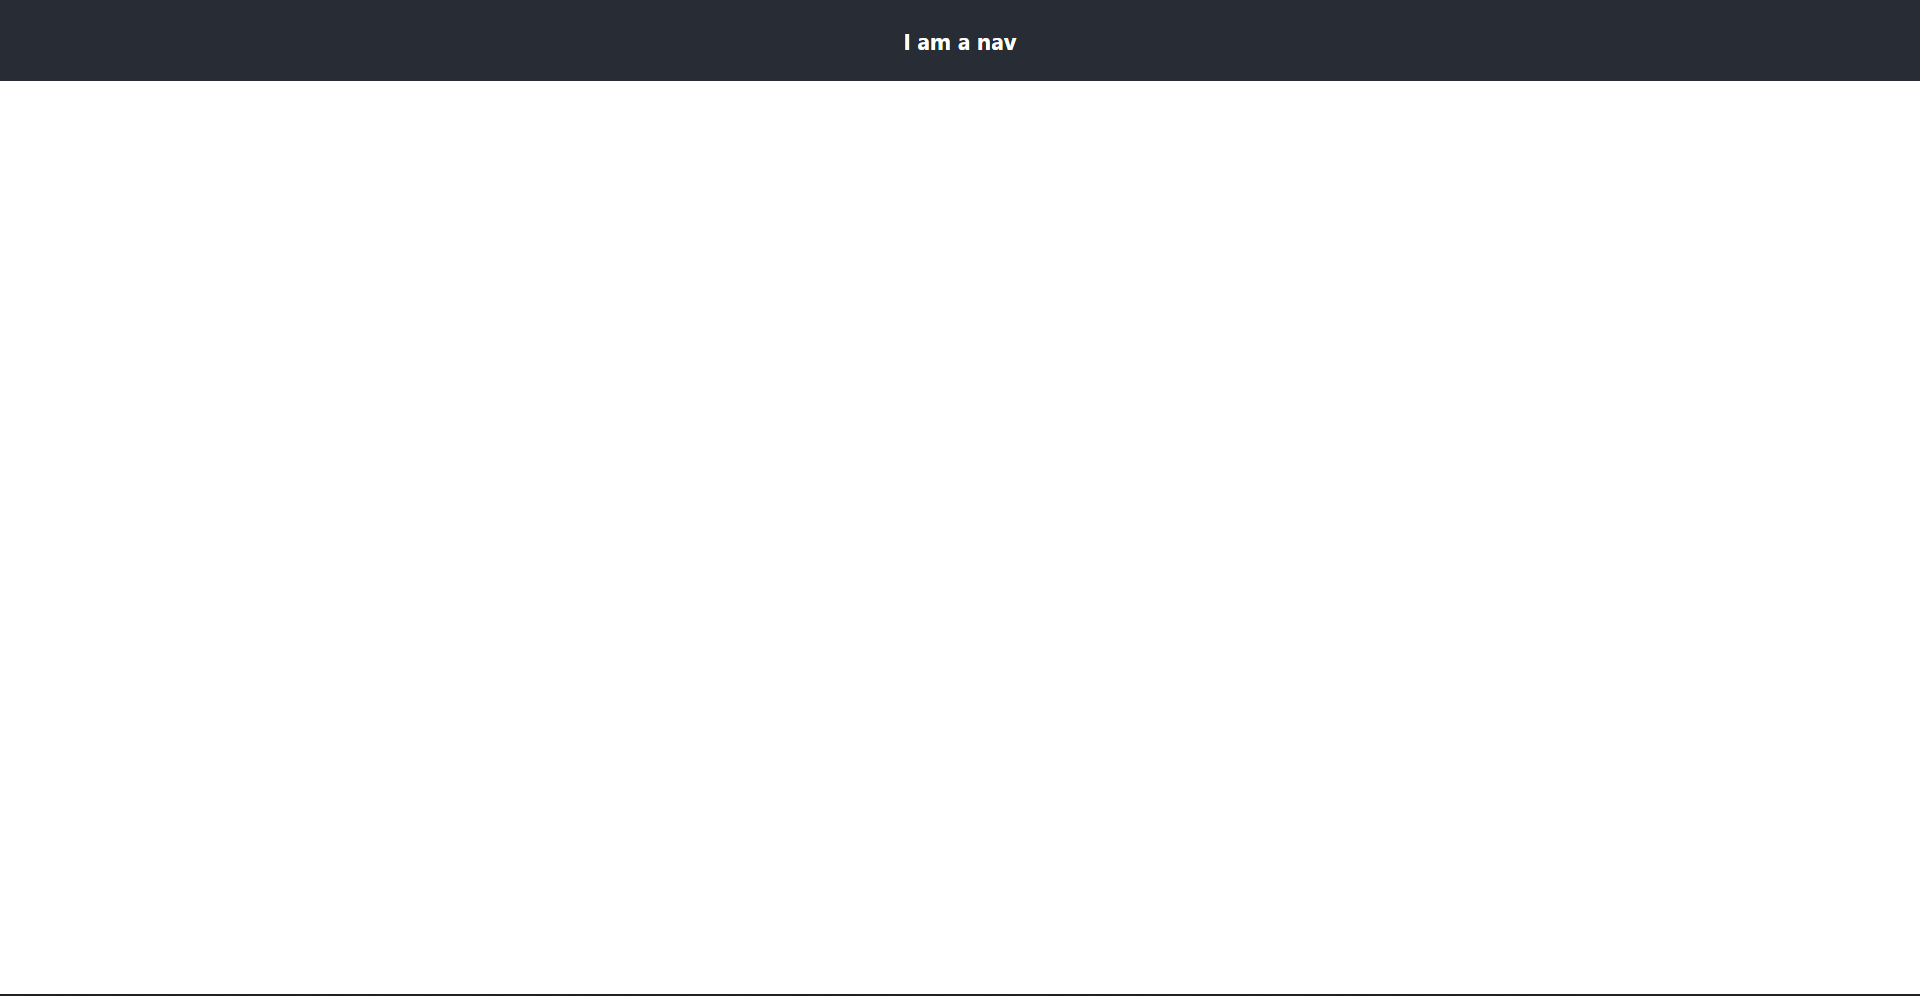
Now we need to create a Header.css file for our stylings. I am going to add very basic stylings, feel free to style it more as per your app.
.header {
  padding: 20px 0px;
  background-color: #282c34;
  text-align: center;
  position: fixed;
  top: 0;
  width: 100vw;
}

.header > h3 {
  color: white;
}
Render the Header
In App.js add the header and import it-
import "./App.css";
import Header from "./Header";

function App() {
  return (
    <div className="app">
      <Header />
    </div>
  );
}

export default App;

Adding dummy section
In App.js I am going to add a dummy section with some text, to see the navbar properly.
import "./App.css";
import Header from "./Header";

function App() {
  return (
    <div className="app">
      <Header />
      <div className="landing_page">
        <h2>
          Lorem ipsum dolor sit amet, consectetur adipisicing elit. Architecto
          nisi qui iste quos placeat sint explicabo labore. Vero quaerat odio
          reprehenderit, id laborum placeat harum fugit? Explicabo dolorem
          obcaecati nostrum.Lorem ipsum dolor sit amet, consectetur adipisicing
          elit. Architecto nisi qui iste quos placeat sint explicabo labore.
          Vero quaerat odio reprehenderit, id laborum placeat harum fugit?
          Explicabo dolorem obcaecati nostrum.Lorem ipsum dolor sit amet,
          consectetur adipisicing elit. Architecto nisi qui iste quos placeat
          sint explicabo labore. Vero quaerat odio reprehenderit, id laborum
          placeat harum fugit? Explicabo dolorem obcaecati nostrum.
        </h2>
      </div>
    </div>
  );
}

export default App;
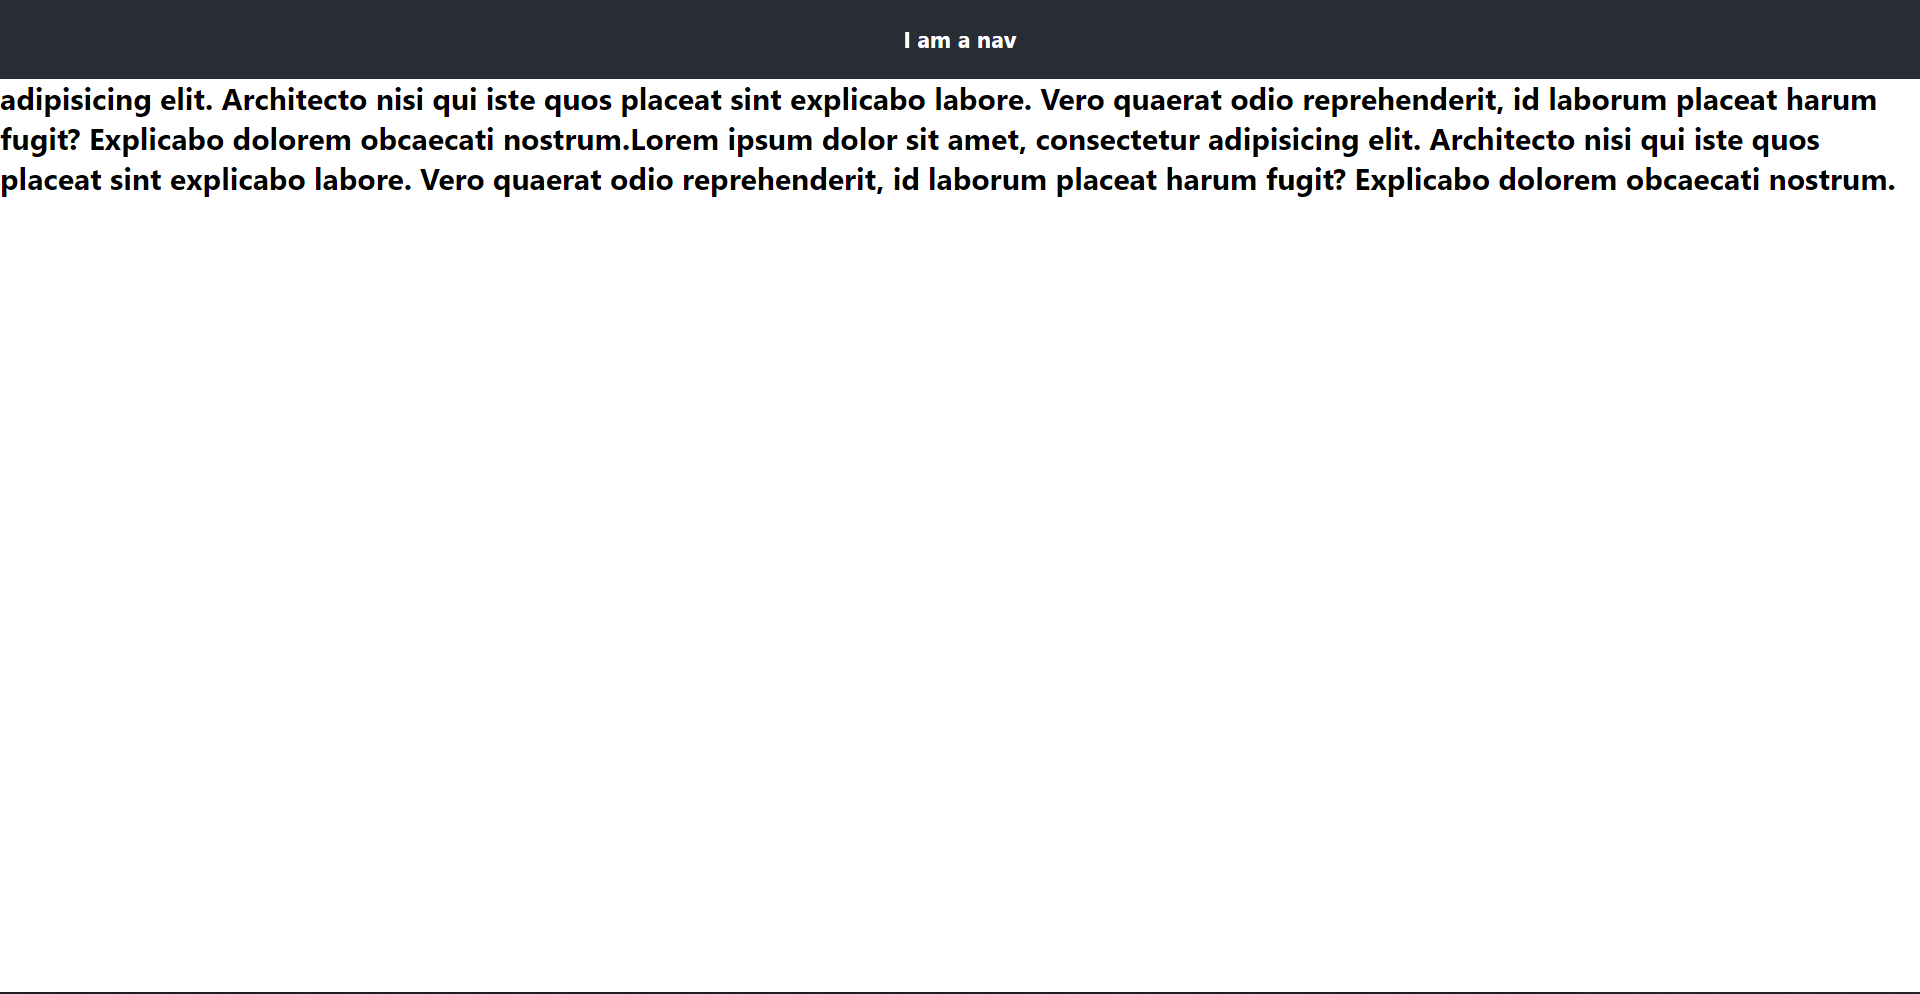
This will give us some text below our navbar like this-
 View Website
 View Website
 View Website

Now let's add some stylings to the h2 tag and the landing page div
.landing_page {
  display: flex;
  flex-direction: column;
  padding-top: 40vh;
  height: 100vh;
  width: 100vw;
  background-color: aqua;
}

.landing_page > h2 {
  margin: 0 auto;
  width: 80vw;
}
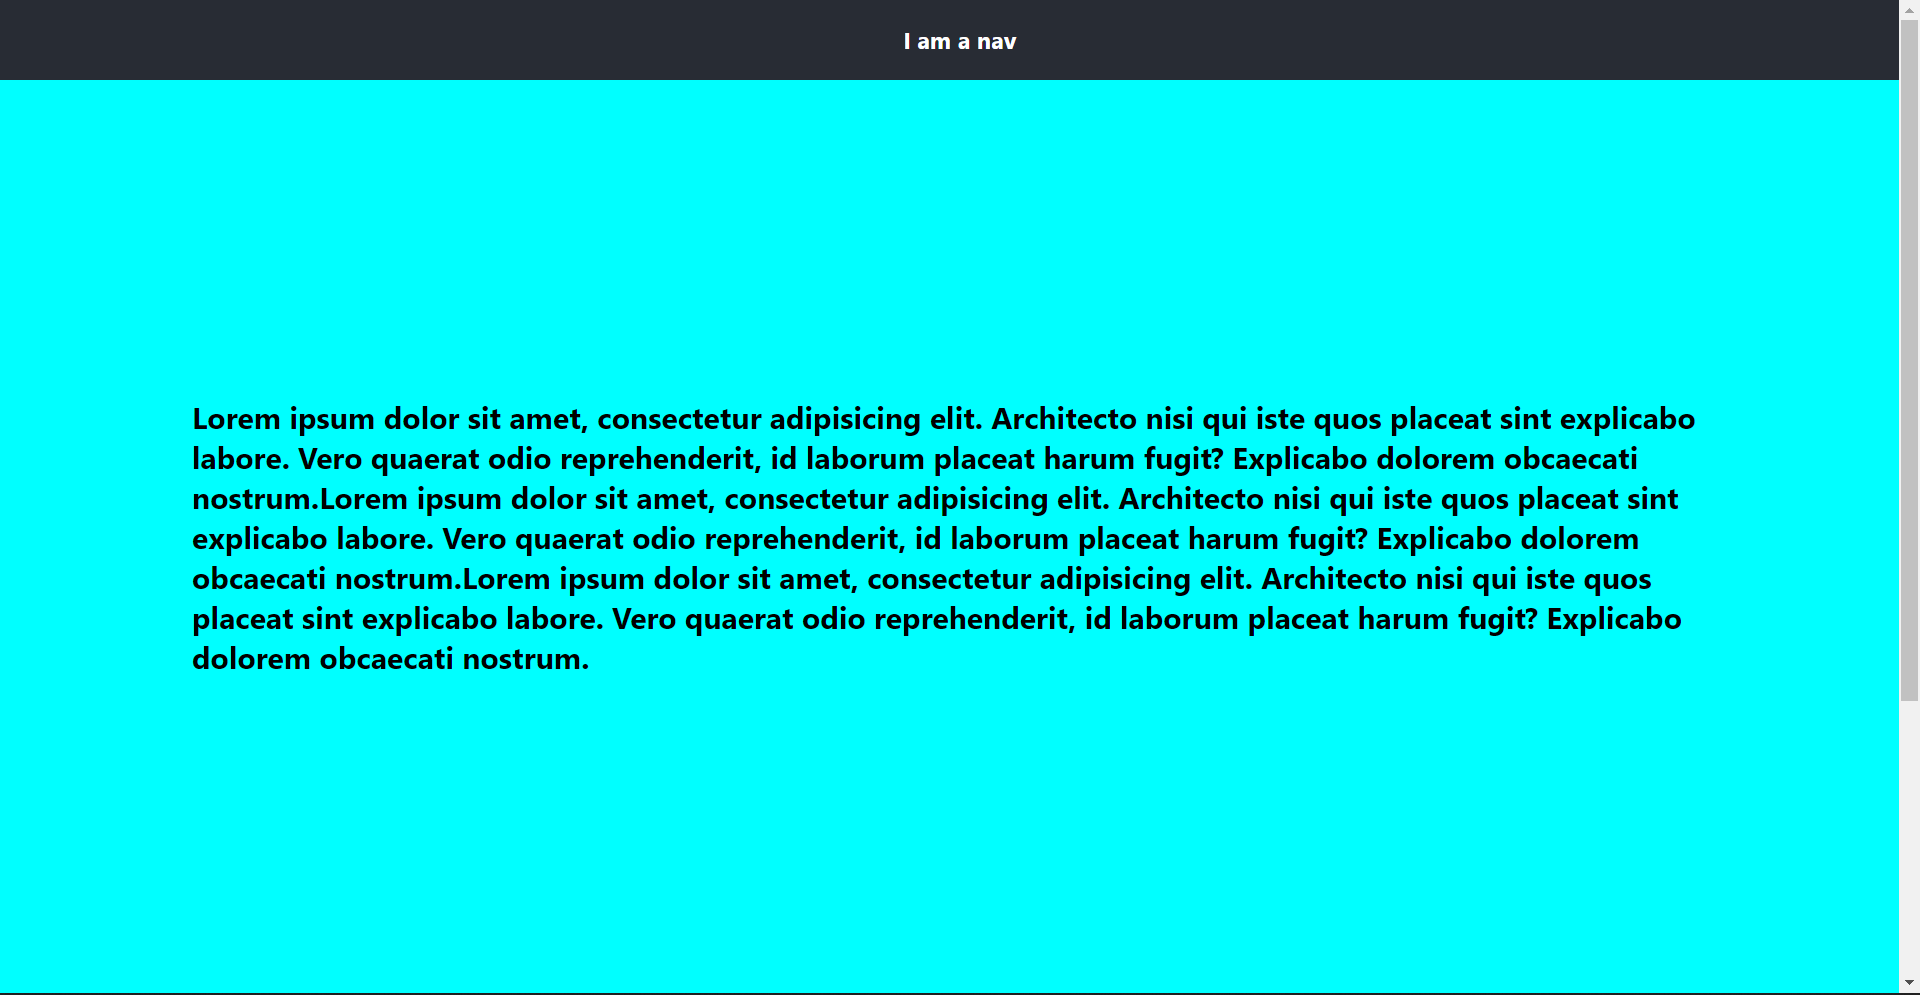
This styles will center the text and give it an aqua background with a y-axis scroll as it is more than 100vh.

Adding additional class based on scroll
Create a state to hold if we need to change the background or not.
const [animateHeader, setAnimateHeader] = useState(false);
Setting the state based on scroll-
  useEffect(() => {
    const listener = () => {
      if (window.scrollY > 140) {
        setAnimateHeader(true);
      } else setAnimateHeader(false);
    };
    window.addEventListener("scroll", listener);

    return () => {
      window.removeEventListener("scroll", listener);
    };
  }, []);
You might need to change the value for scrollY based on your app needs.
Styling the animated header
.header--animated {
  background: rgba(255, 255, 255, 0.3);
  box-shadow: 0 8px 32px 0 rgba(31, 38, 135, 0.37);
  backdrop-filter: blur(4px);
  box-shadow: rgba(255, 255, 255, 0.3);
}

.header--animated > h3 {
  color: black;
}
This will give you a glassmorphic background on scrolling.
I am also going to increase the padding a bit in the animated header-
.header--animated {
  background: rgba(255, 255, 255, 0.3);
  box-shadow: 0 8px 32px 0 rgba(31, 38, 135, 0.37);
  backdrop-filter: blur(4px);
  box-shadow: rgba(255, 255, 255, 0.3);
  padding: 25px 0px;
}
Make the animation smoother
In .header I will add one more property-
transition: all 0.1s;
I hope you could also make your header beautiful and better like this. See ya in the next one ✌️


Comments (0)