Hello Geeks 👋
This is Savio here. I'm young dev with an intention to enhance as a successful web developer. I love building web apps with React. I have proved my superiority in frontend technologies.
Let's Build The Live Markdown Editor with React Js. Let's get Started ✌️🔥
Stuffs Required for making the project
- NPM (Node Package Manager)
- Node JS
- Chrome or any other browser
Project Dependencies
- React Markdown
- React Syntax Highlighter
- Material UI
Lets Start Coding
First of all, let's create a react app by copy-pasting this code in the terminal.
npx create-react-app markdown-editor
Getting Into the project directory
cd markdown-editor/
Let's install all the dependencies using NPM. We are using 3 dependencies for our project mentioned above.
npm i react-markdown react-syntax-highlighter @material-ui/icons
Starting our server
npm start
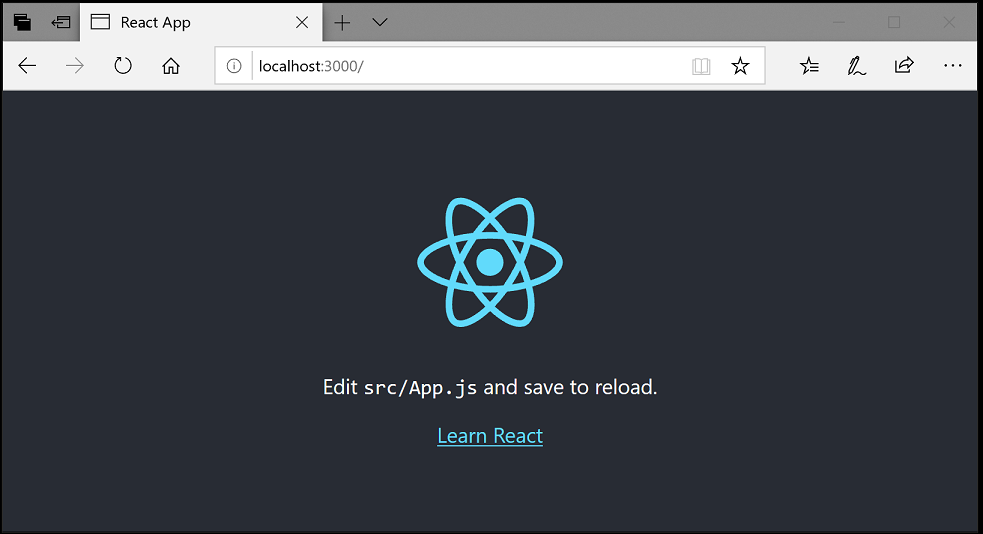
Now we can see our app running in localhost:3000

Lets start coding
We are not going to touch some unwanted files in the Src folder as well as Public folder. Editing the App.js and App.css is only necessary. So, let start.⚡
 View Website
 View Website
 View Website
First of all, let go edit the main part of our project that is the src/App.js. For making the project markdown supportive, we are using the npm module React Markdown, Everything will now work expect the code, So, to make it code supportive we are using the npm module React Syntax Highlighter, And our next step is to style our app, For it I am gonna write some code manually and also make use of Material UI.
This is how our App.js should look.
import "./App.css";
import React, { useState } from "react";
import ReactMarkdown from "react-markdown";
import SyntaxHighlighter from "react-syntax-highlighter";
import { docco } from "react-syntax-highlighter/dist/esm/styles/hljs";
import VisibilityIcon from "@material-ui/icons/Visibility";

function App() {
  const [input, setInput] = useState();
  return (
    <div className="App">
      <div className="cont">
        <div className="nav">
          <VisibilityIcon />
          MARKDOWN
        </div>
        <textarea
          className="textarea"
          value={input}
          autoFocus
          onChange={(e) => setInput(e.target.value)}
        ></textarea>
      </div>

      <div className="cont">
        <div className="nav">
          <VisibilityIcon />
          PREIVEW
        </div>
        <ReactMarkdown
          source={input}
          renderers={{
            code: Component,
          }}
          className="markdown"
        />
      </div>
    </div>
  );
}
const Component = ({ value, language }) => {
  const codeString = "(num) => num + 1";
  return (
    <SyntaxHighlighter language={language ?? null} style={docco}>
      {value ?? ""}
    </SyntaxHighlighter>
  );
};
export default App
Now, for making our app look great we can go write some code manually in App.css
@import url("https://fonts.googleapis.com/css2?family=Open+Sans&display=swap");
* {
  margin: 0;
  padding: 0;
  font-family: "Open Sans", sans-serif;
}
body {
  height: 100vh;
  width: 100%;
  overflow: hidden;
}
.App {
  display: flex;
  height: 100vh;
  width: 100%;
  align-items: center;
  justify-content: center;
}
.cont {
  width: 45%;
  height: 95%;
  margin: 20px;
  background: #f7fafc;
  outline: none;
  border: 1px solid #ddd;
  display: flex;
  flex-direction: column;
}
.nav {
  width: 100%;
  height: 40px;
  border-bottom: 1px solid #ddd;
  display: flex;
  background: #fff;
  align-items: center;
  font-size: 15px;
}
.MuiSvgIcon-root {
  padding: 10px;
  color: #888;
}
textarea {
  padding: 12px;
  border: none;
  outline: none !important;
  width: 96%;
  height: 100%;
  overflow-x: hidden;
  font-size: 18px;
  resize: none;
  background: #f7fafc;
}

.markdown {
  padding: 12px;
  border: none;
  outline: none !important;
  width: 96%;
  height: 100%;
  overflow-x: hidden;
  resize: none;
  background: #fff;
}
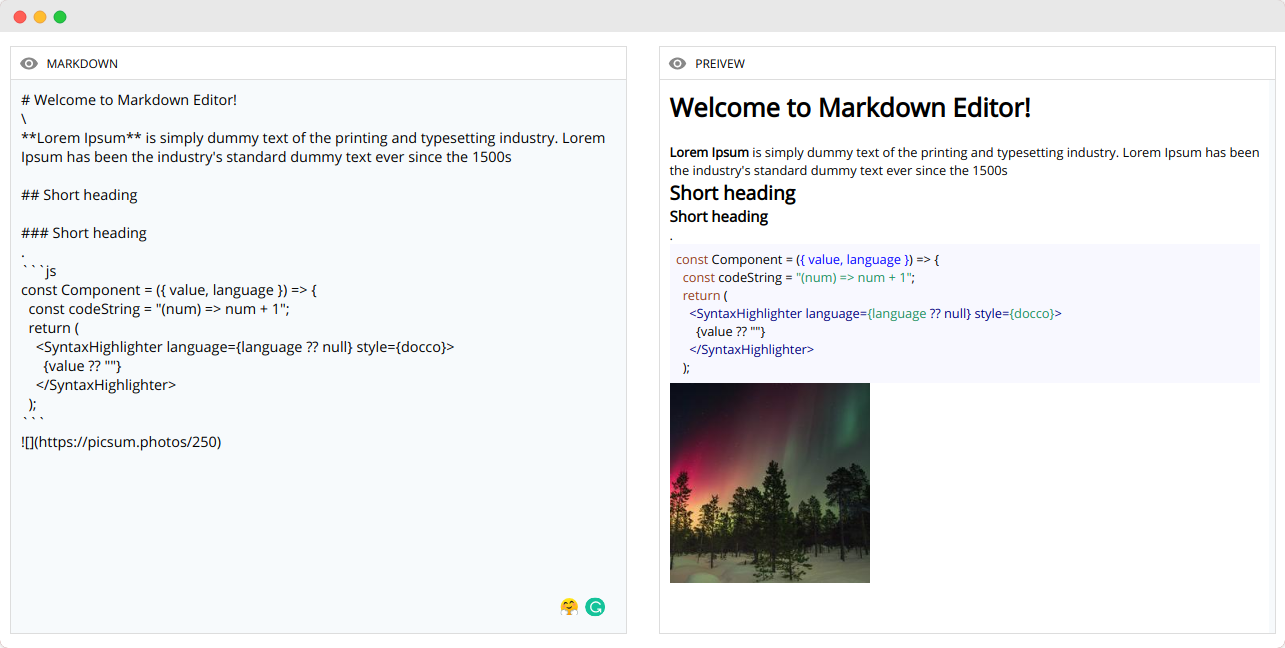
Hurray, We completed our App under 5 minutes. Now, The app's work is finished and it is to be reviewed. Our App now works perfect and have very good UI. Share it with friends, help me grow.
App Demo ✌️😅

Full Code is here but try to code on your own and boost up your skills. 🚀🚀
https://github.com/saviomartin/markdown-editor
👀 Wrapping Up
Yeah, that's a wrap. Hope you enjoyed the article. Do not hesitate to share your feedback.


Comments (0)