User Profiles
When building your SAAS application you may want your users to provide more information. With profiles and profile fields this couldn’t be easier. Let’s dig into how this works.
User Profile Page
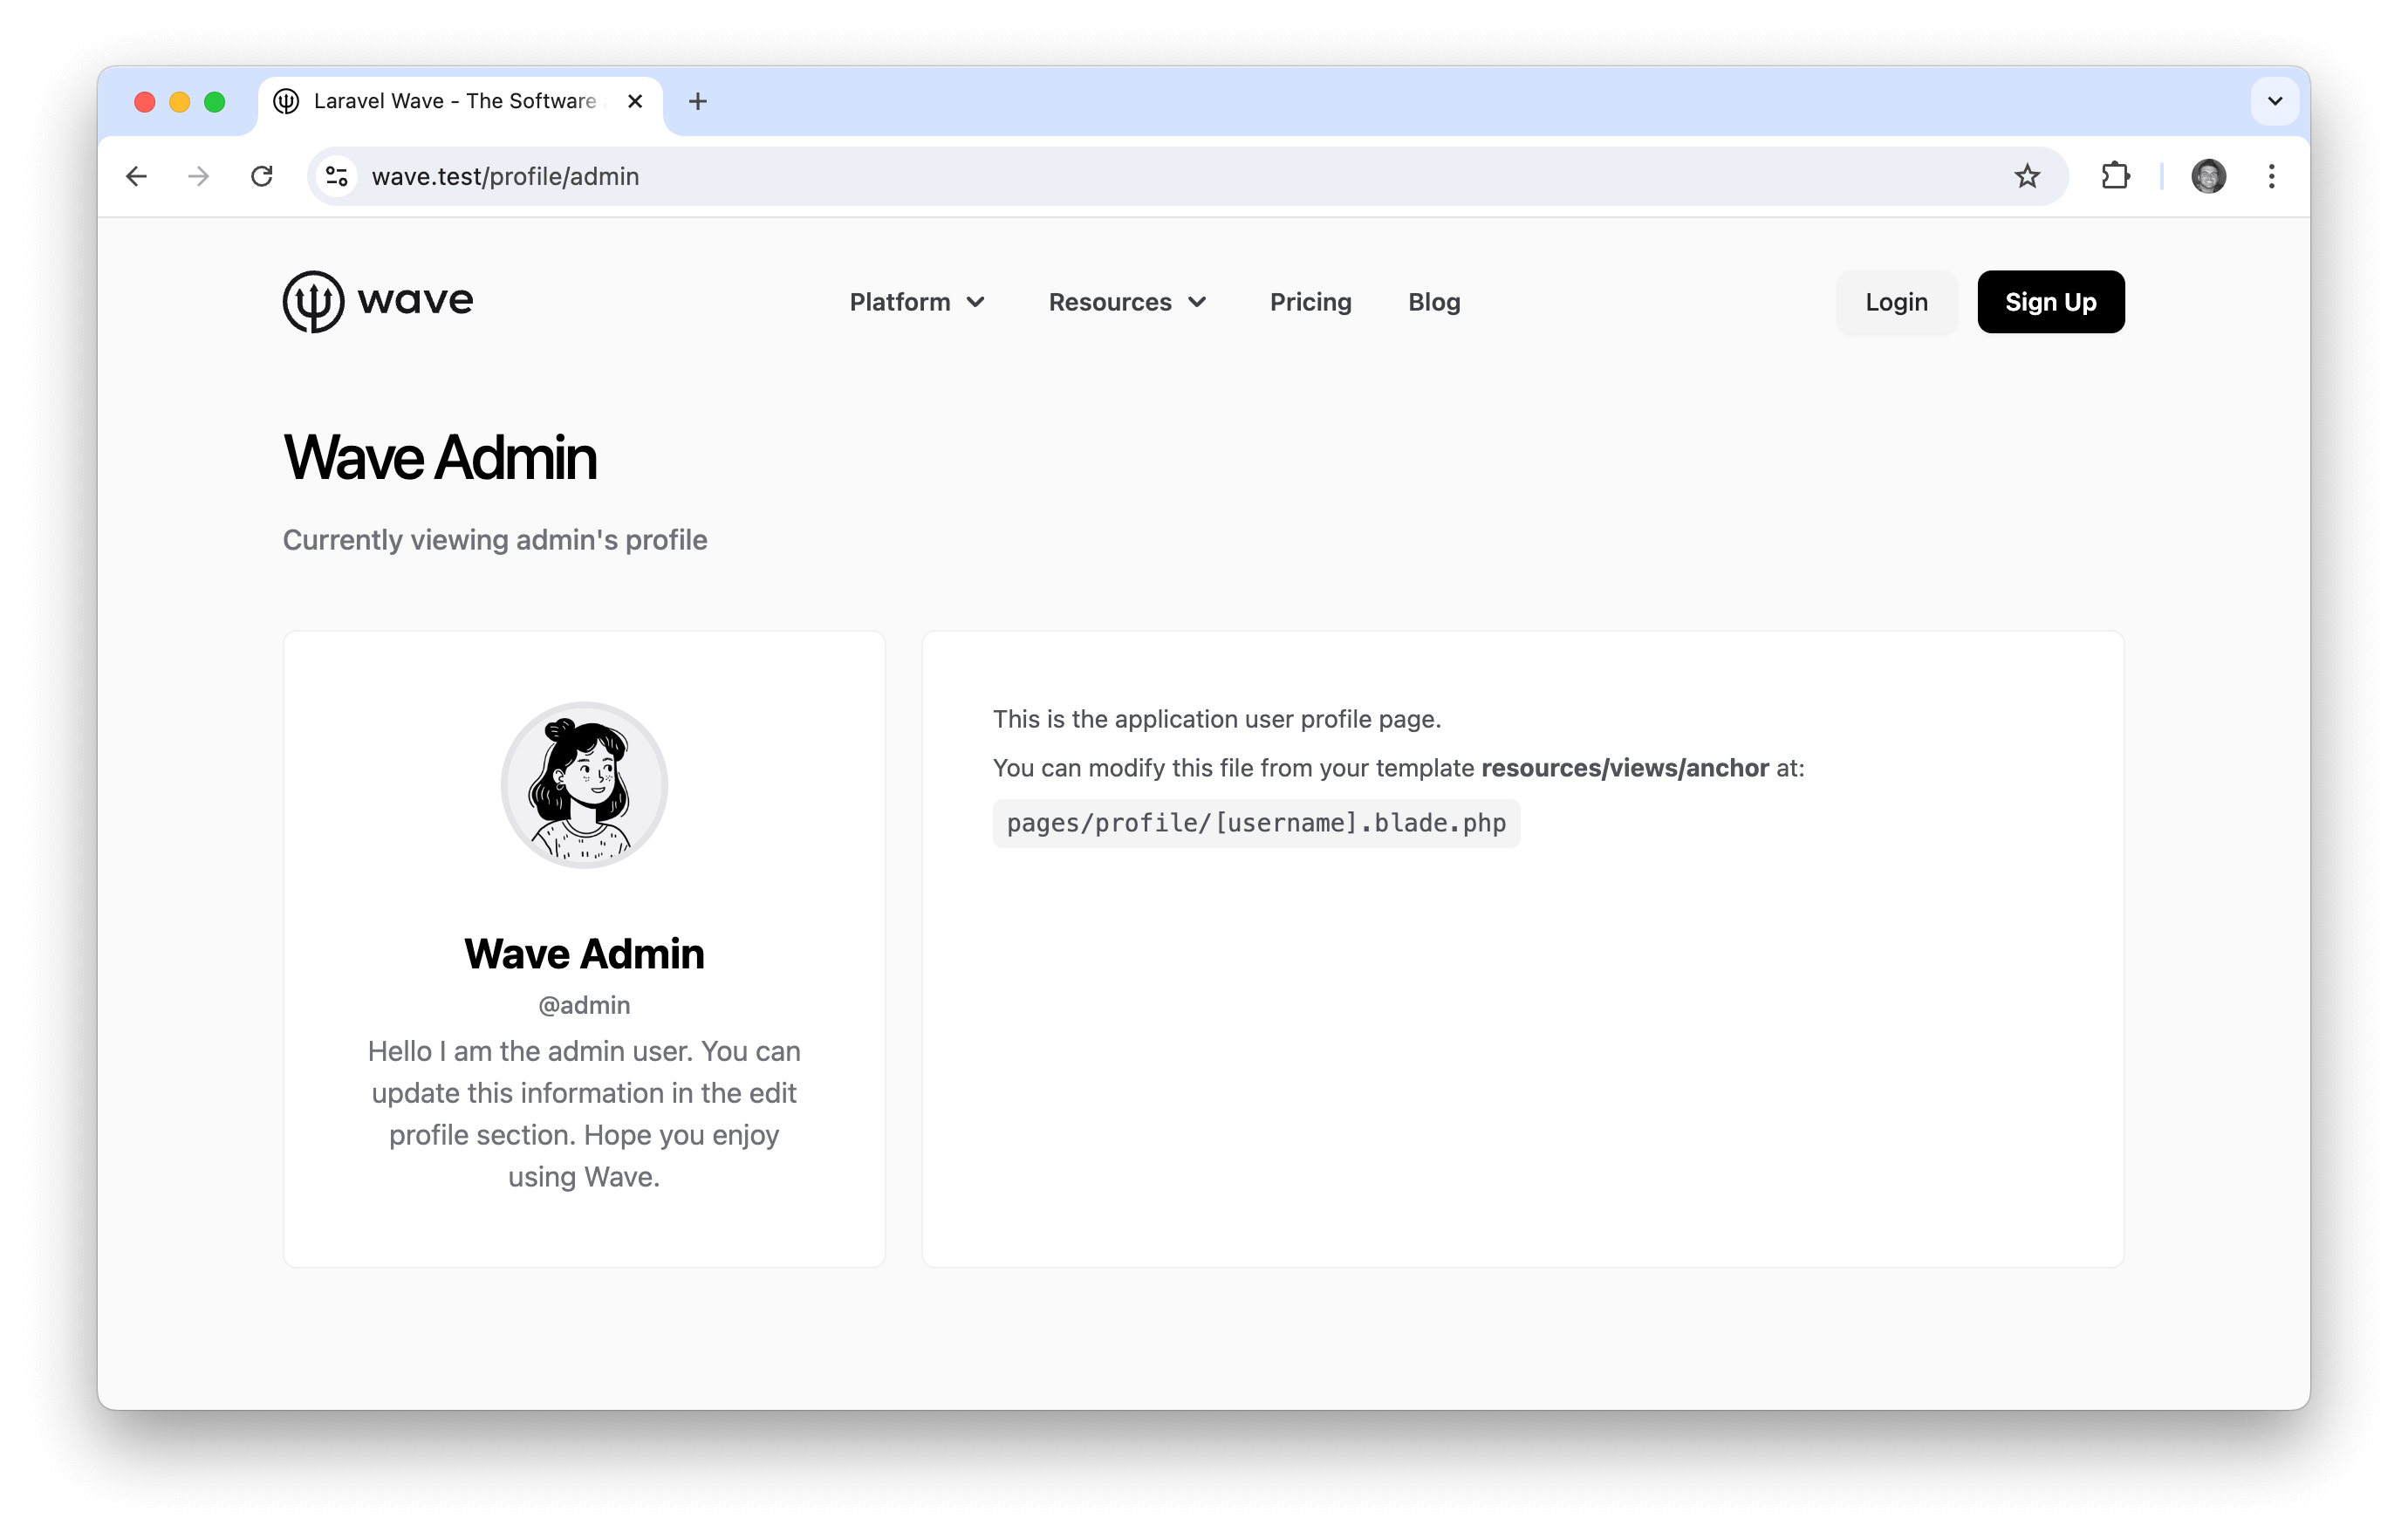
Every user in your application will have a public profile page. The user will be able to visit /profile/username and view their profile. By default the profile page is public, which means anyone can visit that user profile. The profile view will show the application layout (app.blade.php) if the user is authenticated or the marketing layout (marketing.blade.php) if the user is a guest.

In some applications you may not have a need for a profile page. In that case, you can include the following route:
Route::redirect('profile/{username}', '/');
This will disable user profiles and redirect any user profile page back to the homepage.
User Profile Settings
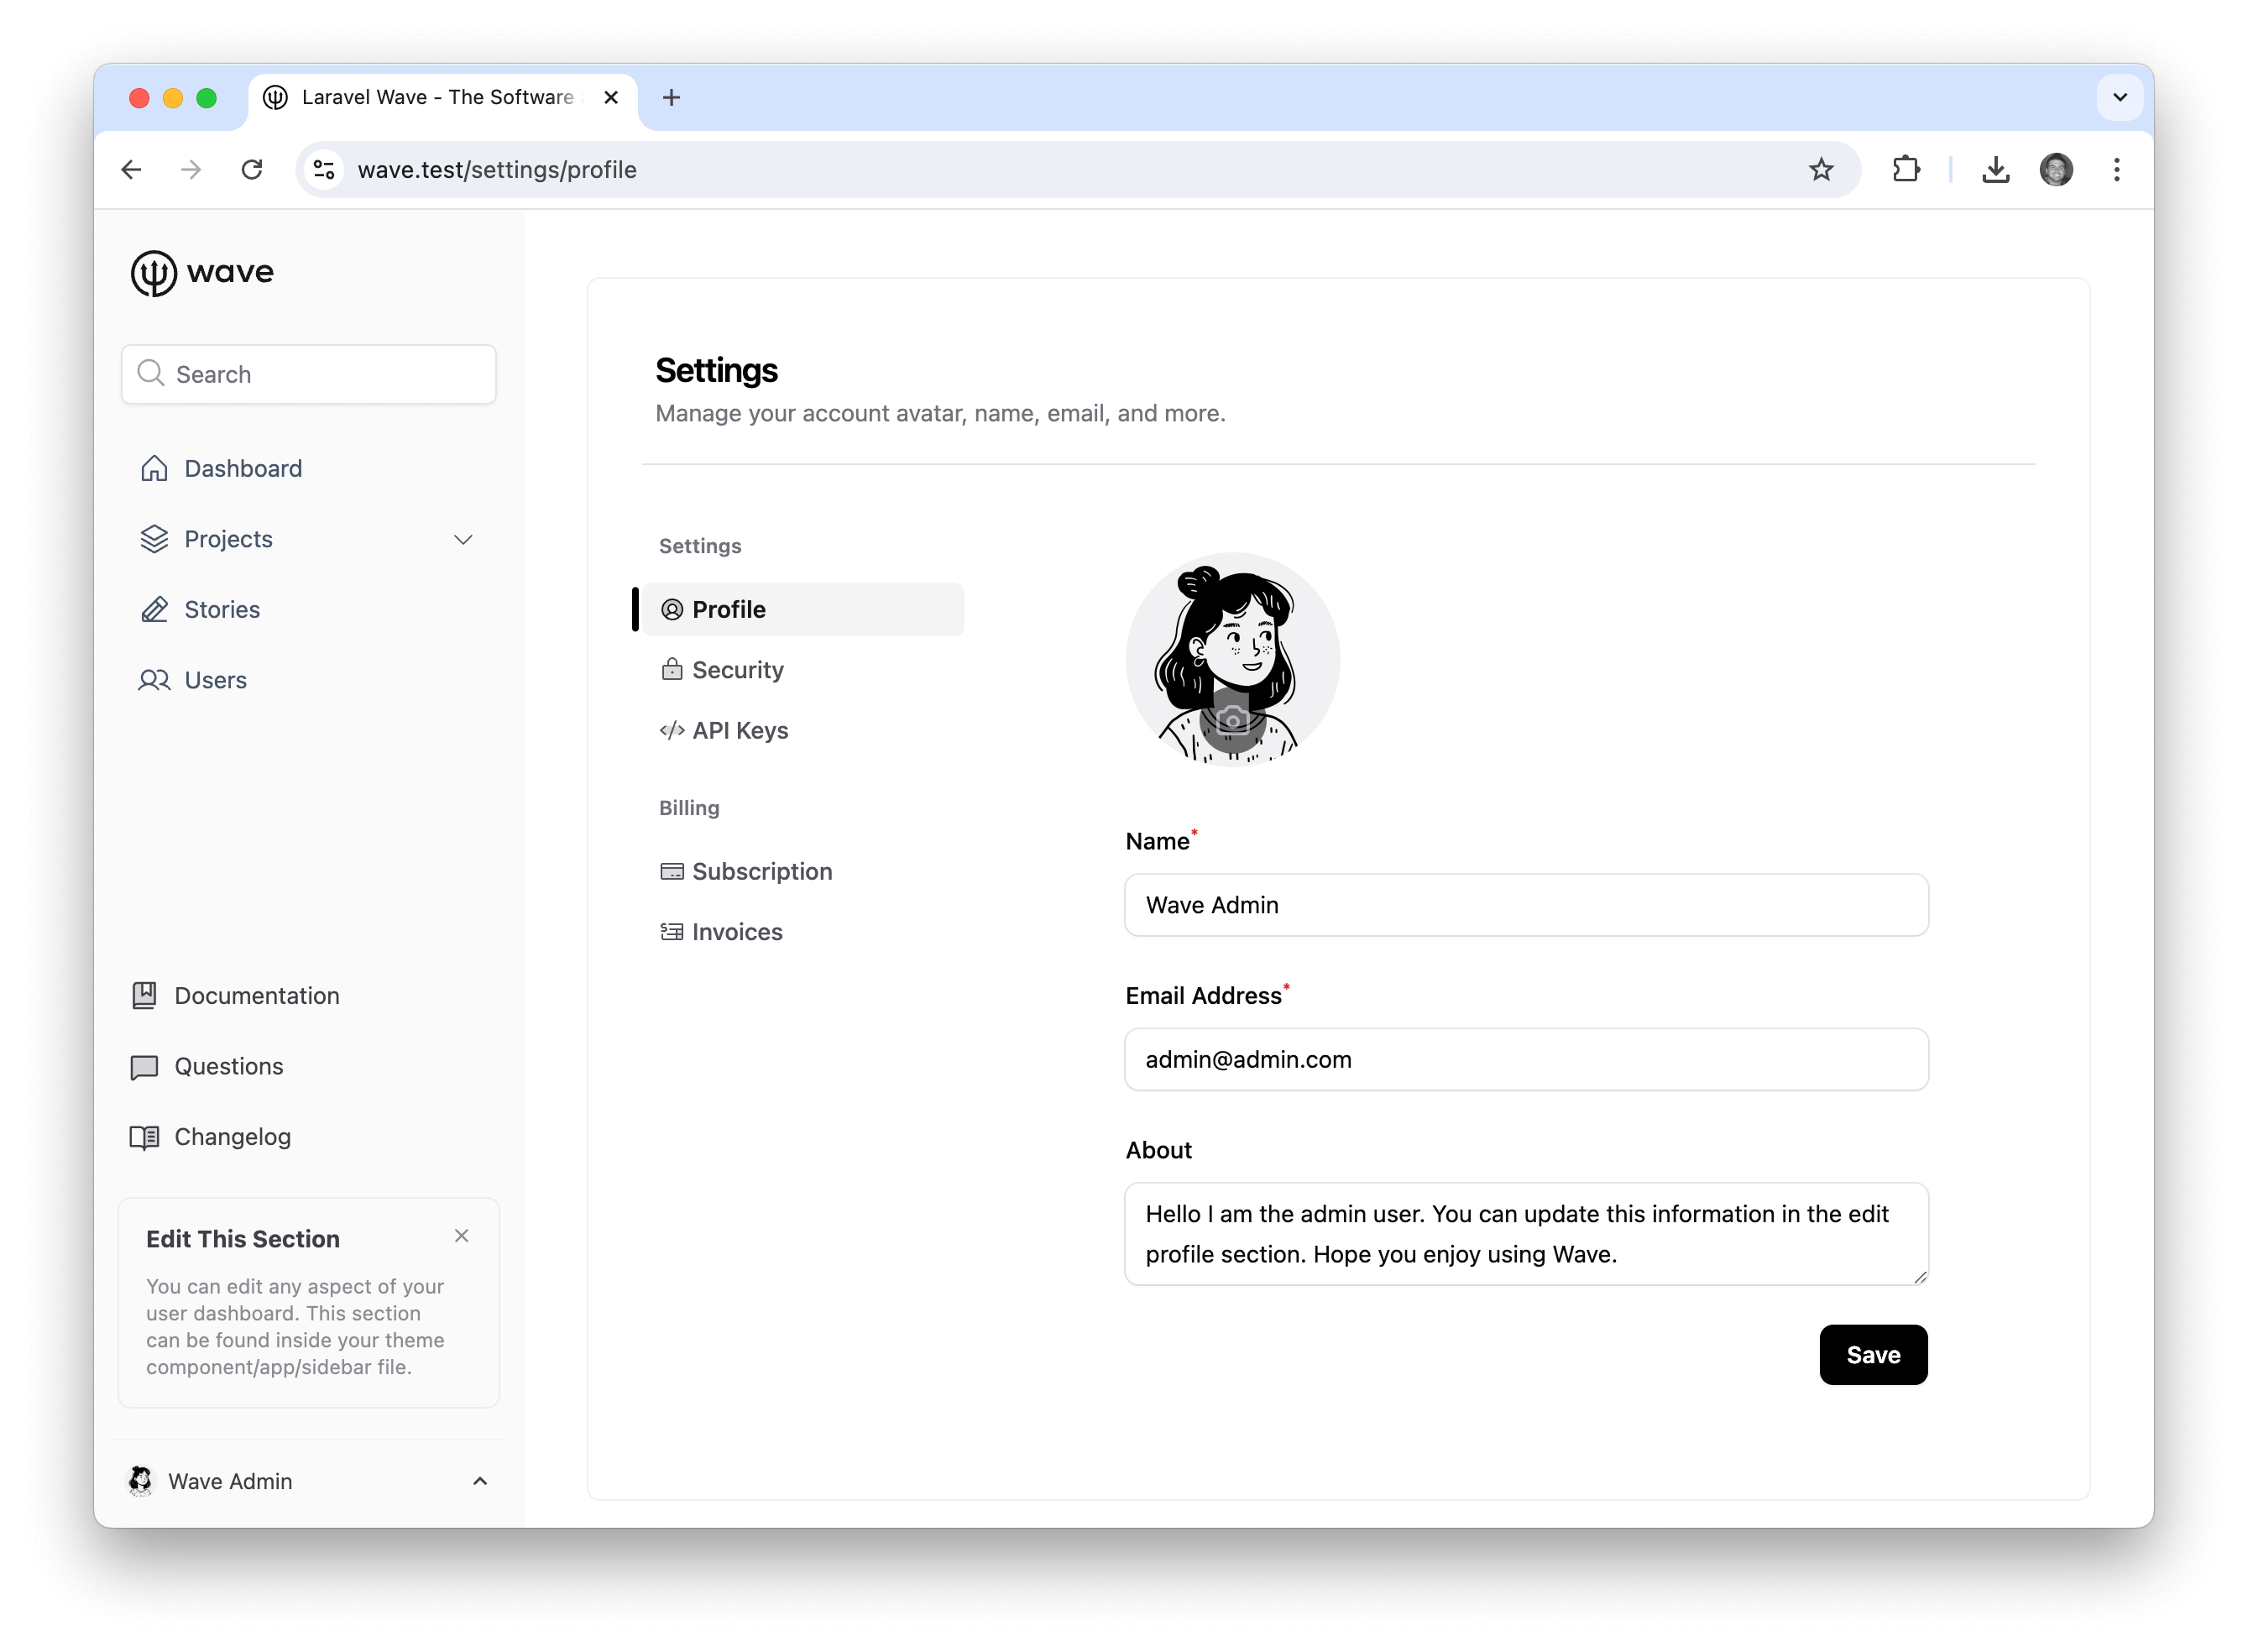
When a user registers for an account they will be able to edit their profile information by clicking settings in their user menu.
On the user profile page the user can update their avatar, name, and email address. You will also see one more field, called about, this is an example of a custom profile field. Let's learn more about custom profile fields below.

Custom Profile Fields
In addition to a user name, email address and avatar you may also want to store more information about each user. You can easily do that with Custom Profile Fields. Let's learn more about them below.
Add Custom Profile Fields
You can easily add custom profile fields by adding them to config/profiles.php. If you look inside the current file in a new installation, you'll see that the contents looks like this:
<?php

return [
    'fields' => [
        'about' => [
            'label' => 'About',
            'type' => 'Textarea',
            'rules' => 'required'
        ],
    ],
];
Adding a new profile field is as simple as adding another item in the fields array. The key should be unique, in this case it's the about key. But let's say that you wanted to create another field that's called occupation and it's a TextInput field. We could add that to the fields array, like so:
<?php

return [
    'fields' => [
        'about' => [
            ...
        ],
        'occupation' => [
            'label' => 'What do you do for a living?',
            'type' => 'TextInput',
            'rules' => ''
        ]
    ],
];
Users can now save their profile with the updated fields and the data will be saved for any new data they enter. The profile data is stored inside of the profilekeyvalue table. Next, now that you can add new fields, you also need a way to retrieve the data from the custom fields.
Get Profile Field Data
When you want to retrieve any profile information for a particular user, you can do so with the following method:
auth()->user()->profile('occupation');
This will return a string value for the authenticated user. Inside of the profile() method, you pass the key of the field you want to retrieve. This could be about, occupation, or any other custom field type you've added.
Profile Field Types
We are utilizing the Filament Form Builder to handle the Custom Profile Fields functionality. This means that we could use any of the field types offered in the Form Builder:
- TextInput
- Select
- Checkbox
- Toggle
- CheckboxList
- Radio
- DateTimePicker
- FileUpload
- RichEditor
- MarkdownEditor
- TagsInput
- Textarea
- ColorPicker
- ToggleButtons
You can even add a Filament plug-in and utilize that plugin custom Form Field. In this case you would need to specify the type as the full namespace to the Field. Example: FilamentTiptapEditor\TiptapEditor.
Be sure to check out the Filament Form builder documentation to learn more about how you can utilize this to easily build forms in your application.