Authentication
Wave is built on top of DevDojo Auth, which means your application will have all the authentication features you need for most use-cases. Be sure to refer to the Auth docs for more advanced configurations.
Auth Customizations
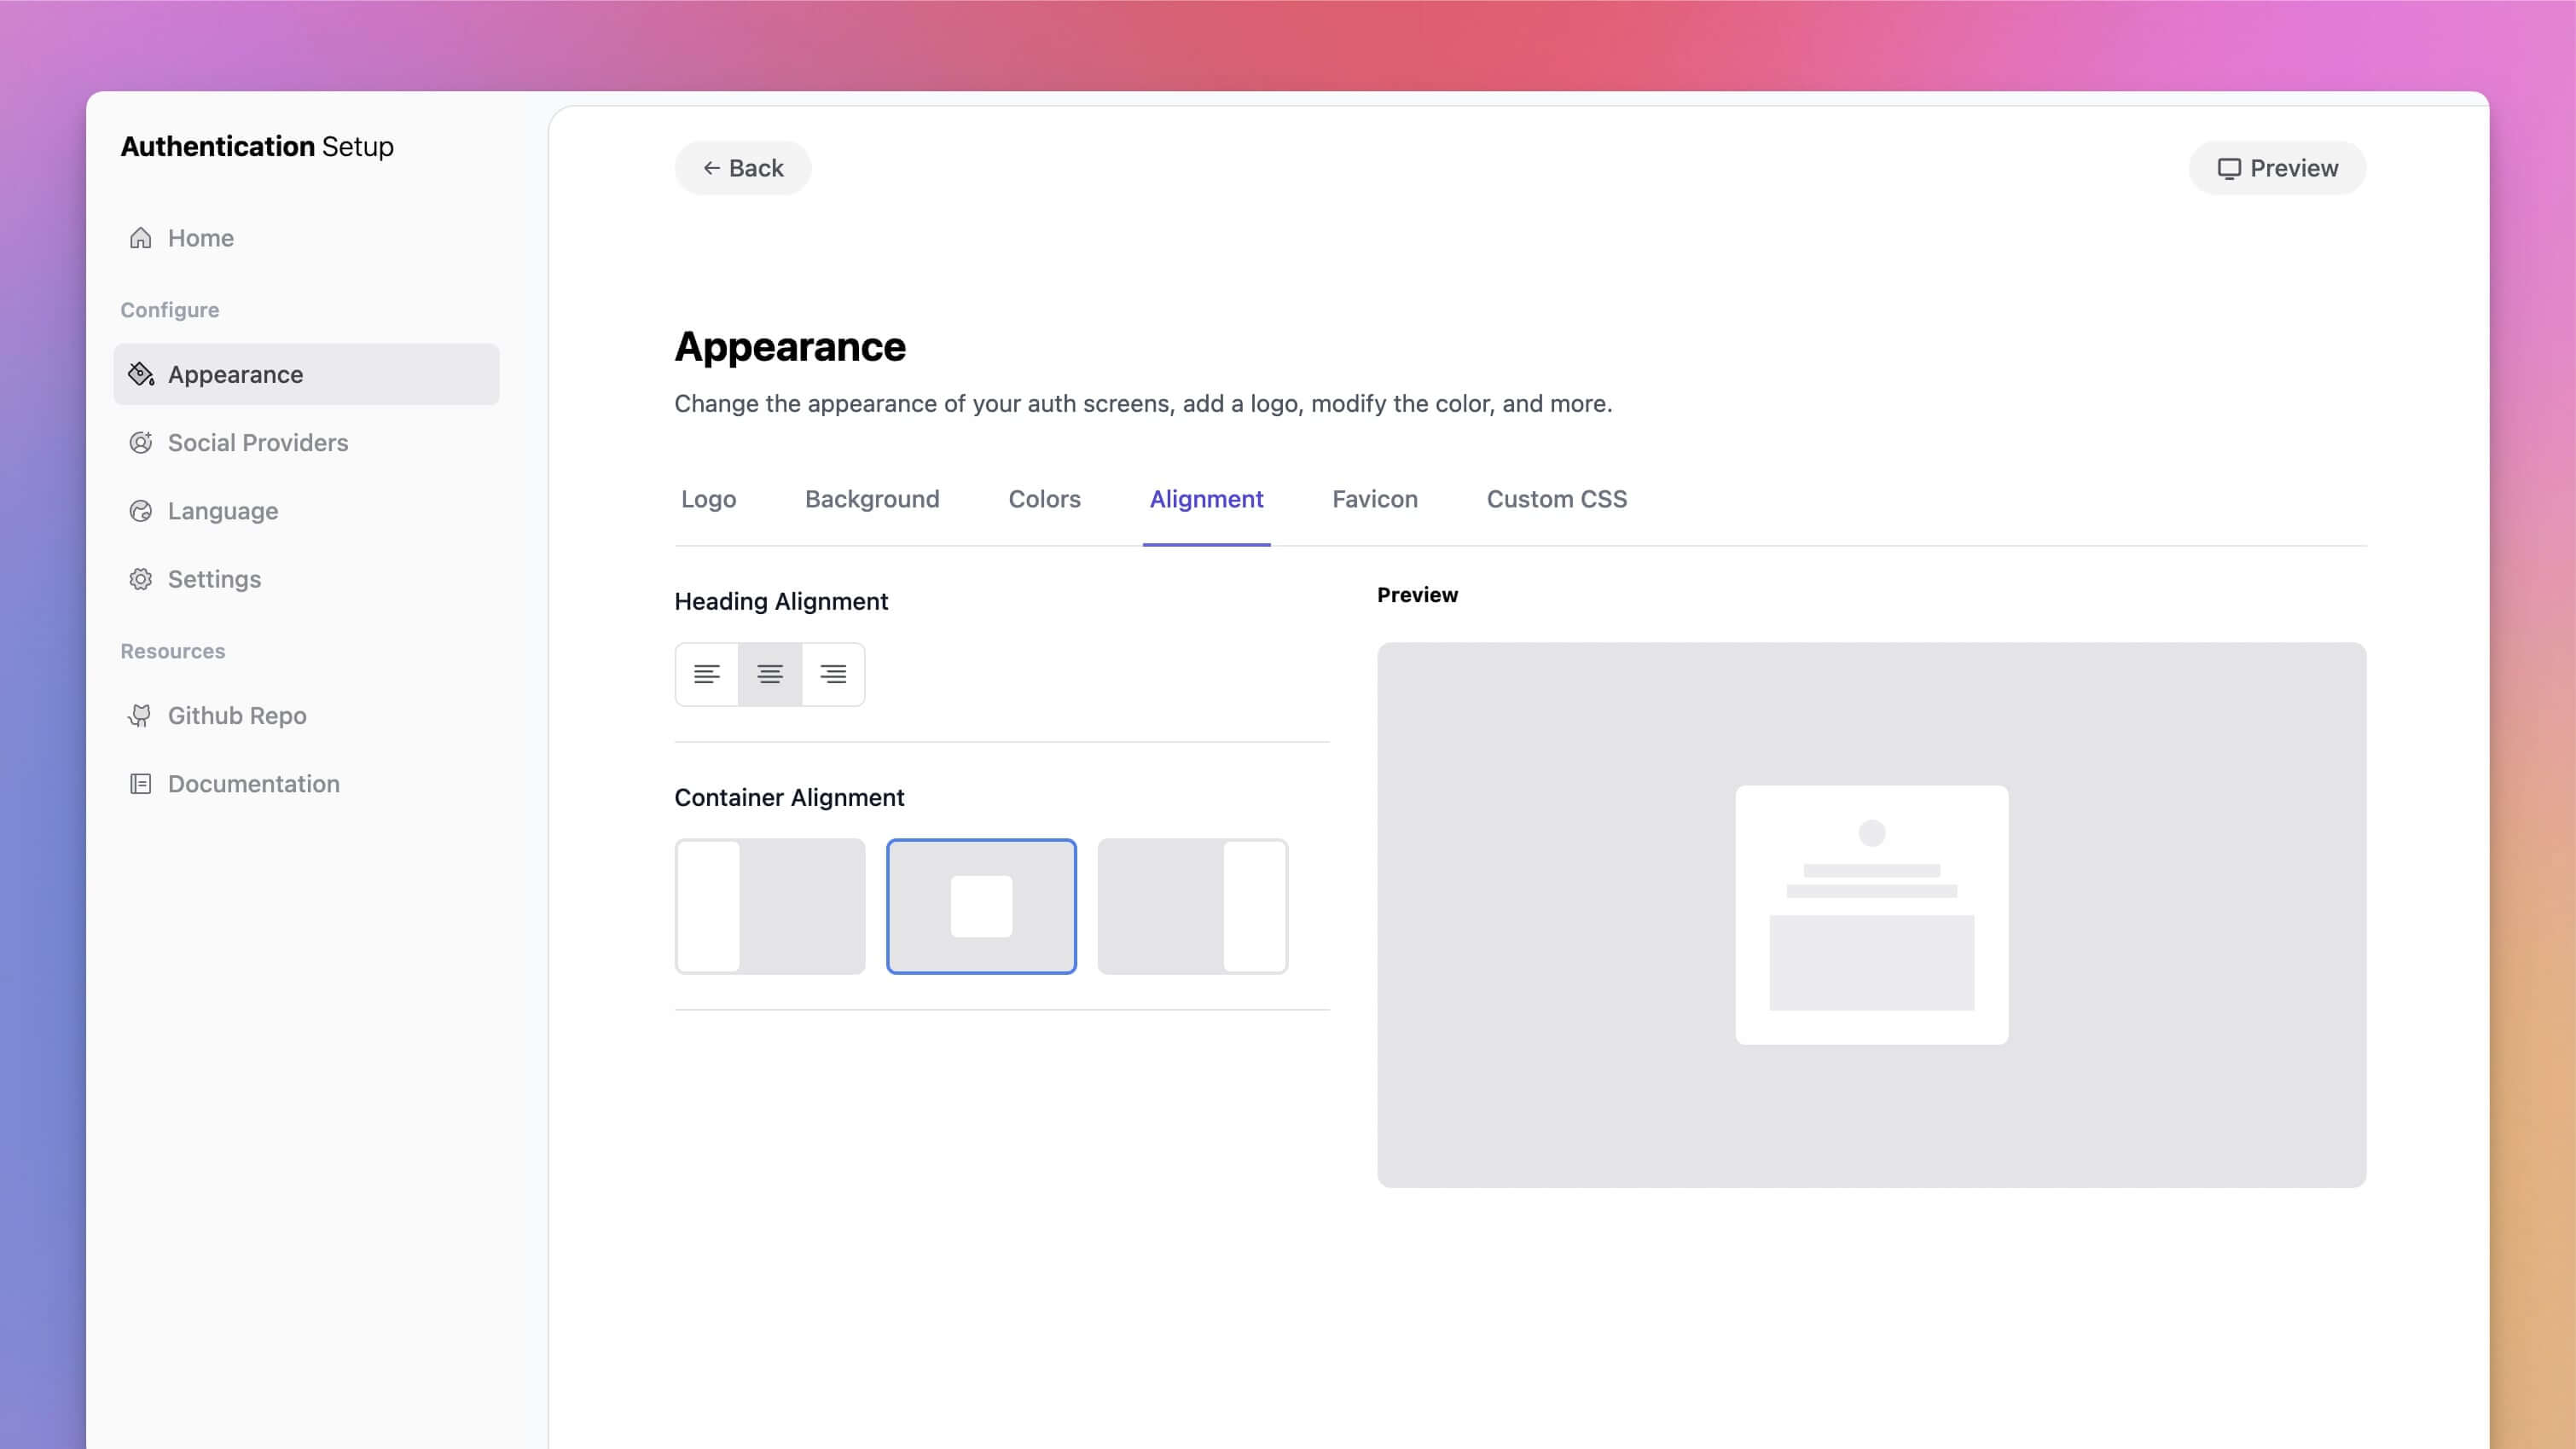
Our Auth package includes a setup route that will allow you to upload a logo, change your color scheme and more. If you visit /auth/setup you'll see a setup page in front of you that will provide a handful of customization options.

Available Authentication Pages
Below is a quick list of all the authentication pages you get out of the box:
- Login
- Register
- Verify Email
- Password Confirmation
- Password Reset Request
- Password Reset
- Two-Factor Challenge
Let's dig into each page a little deeper.
Login
After a user has created an account through your application, they can login by visiting the /auth/login route. After successfully logging in the user will then be redirected to their dashboard.
With a fresh installation of Wave your app will have a default admin account. To use this account you can login with the following email
[email protected]and password aspassword
Registration
By default, all users can register for a free account; however, if you wanted users to be a subscriber before accessing your app, you can add the subscribed middleware to the dashboard and many other pages. This will restrict access to a specific page unless a user is a subscriber.
You can use the
subscribedmiddleware in place of theauthmiddleware, no need to include them both. Thesubscribedmiddleware will also check that the user is logged in and if not it will redirect them to the login page.
Otherwise, you may offer your users a Free minified version of your SaaS and encourage them to upgrade to a subscription plan with more advanced and bonus features.
If you wish to add some additional functionality when a user registers, you may add this to your App\Models\User model inside of the boot() method. As you can see we've already added some functionality to dynamically create a username from an email and assign the user with the default user role upon registration.
protected static function boot()
{
    parent::boot();

    // Listen for the creating event of the model
    static::creating(function ($user) {
        // Check if the username attribute is empty
        if (empty($user->username)) {
            // Use the name to generate a slugified username
            $username = Str::slug($user->name, '');
            $i = 1;
            while (self::where('username', $username)->exists()) {
                $username = Str::slug($user->name, '') . $i;
                $i++;
            }
            $user->username = $username;
        }
    });

    // Listen for the created event of the model
    static::created(function ($user) {
        // Remove all roles
        $user->syncRoles([]);
        // Assign the default role
        $user->assignRole( config('wave.default_user_role', 'registered') );
    });
}
You may modify this functionality as needed or add more functionality to it.
Verify Email
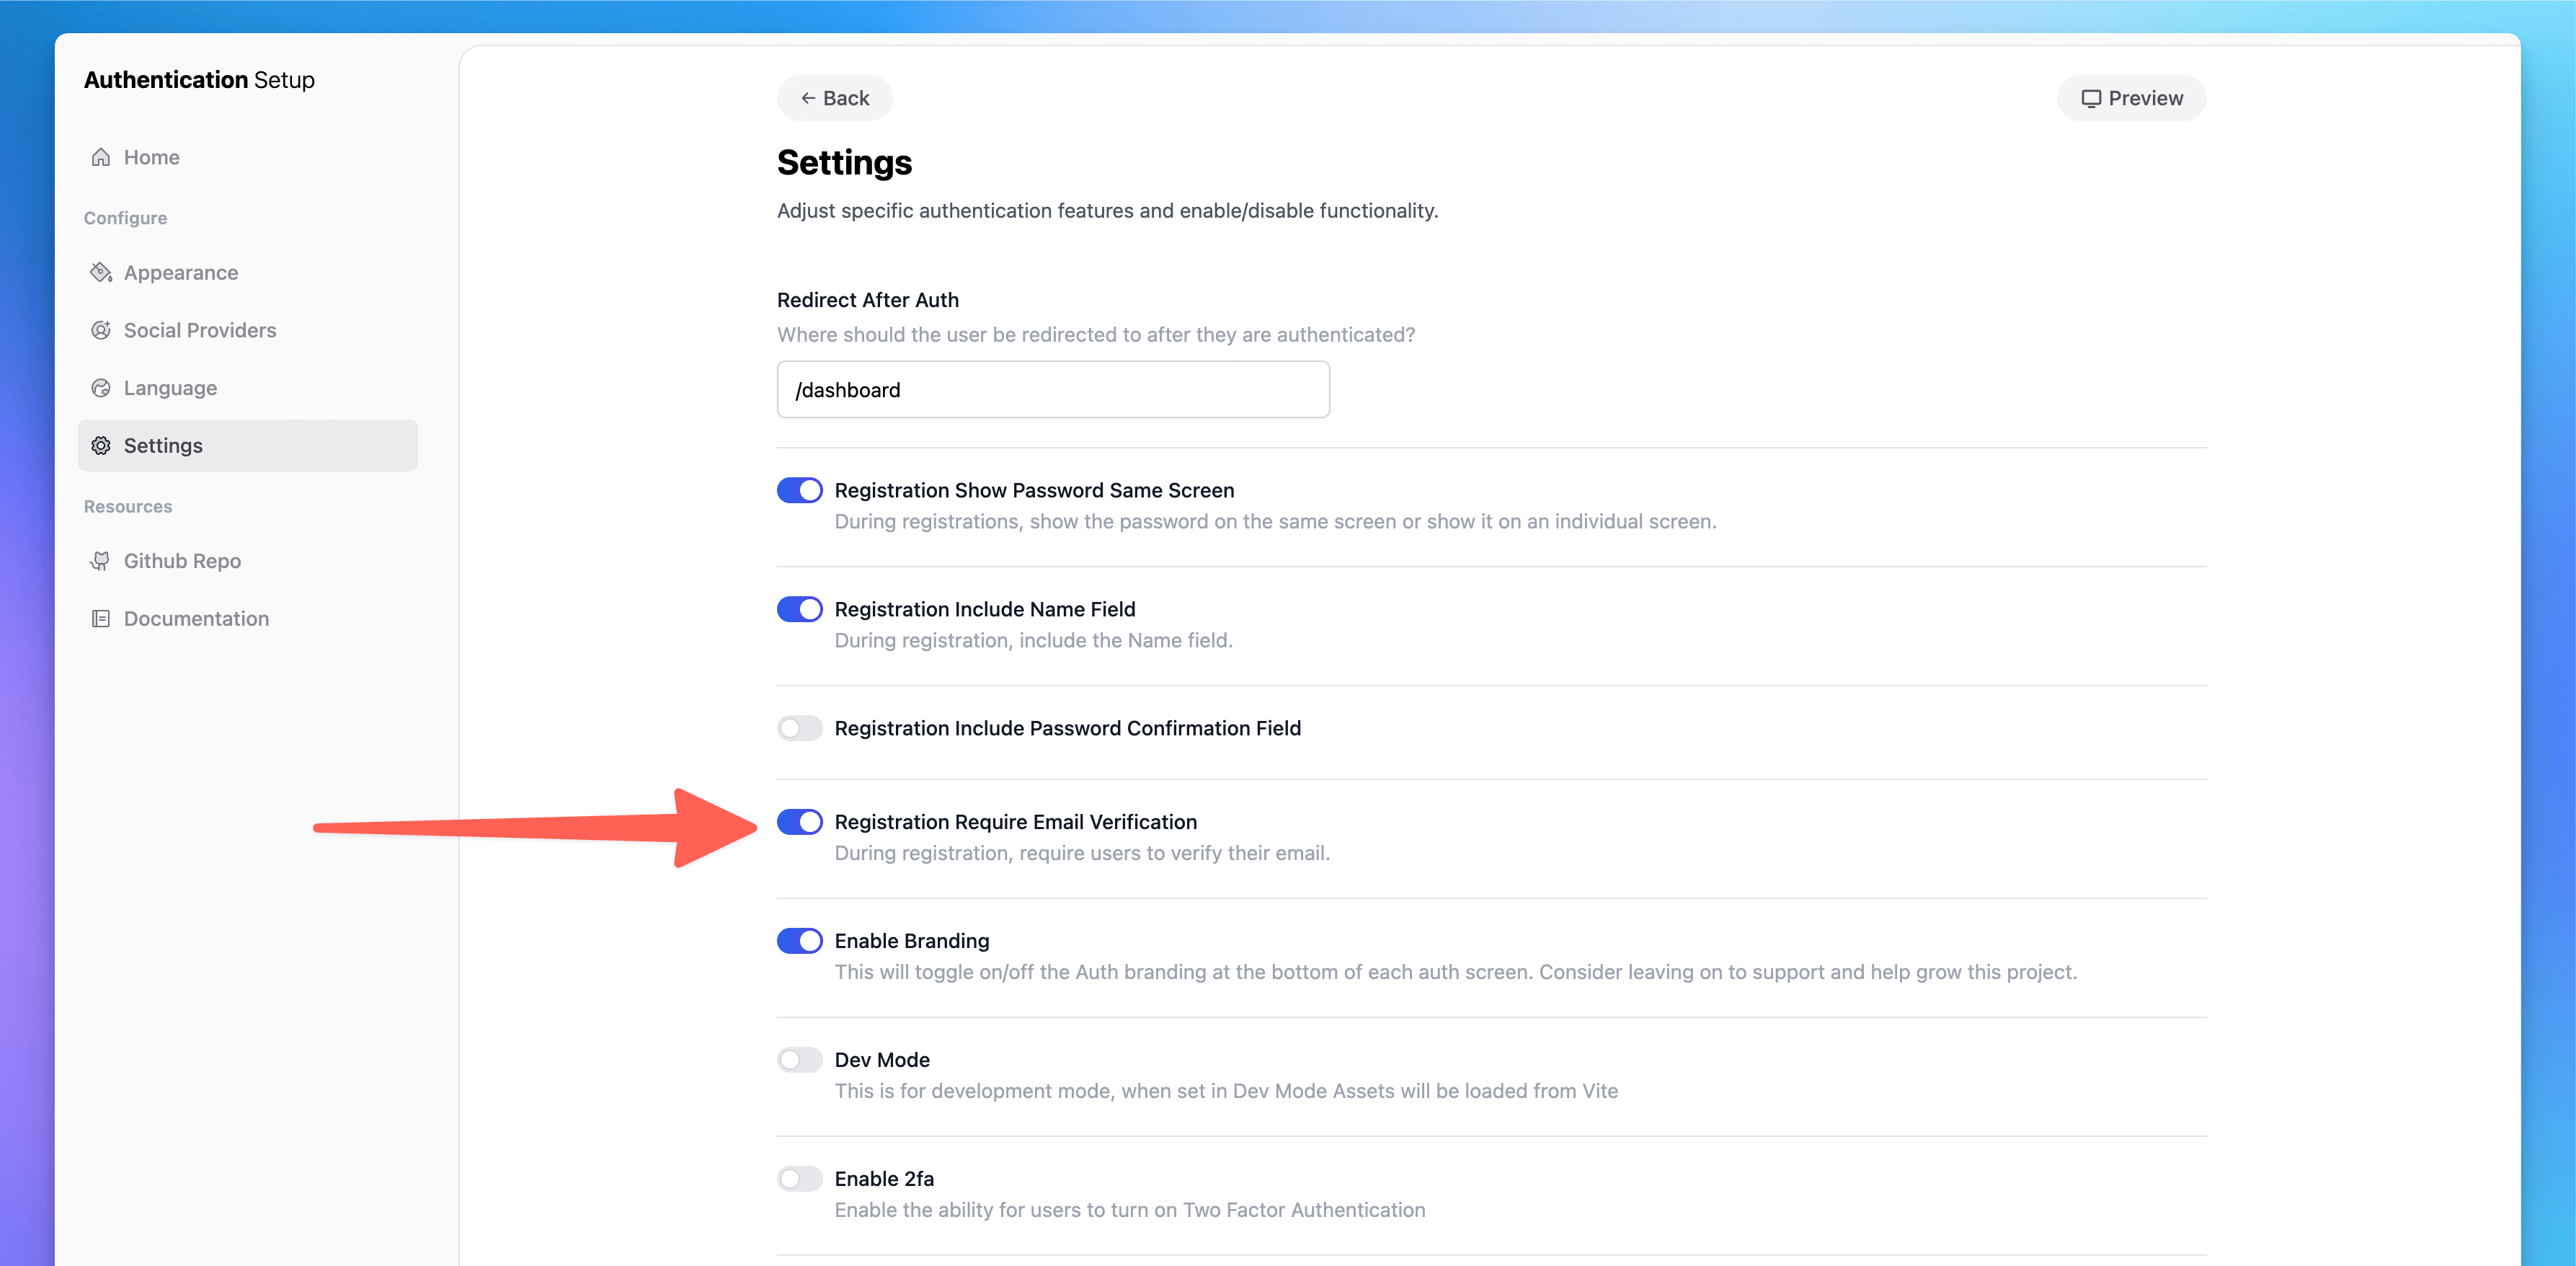
In order to turn on Email Verification and require your users to verify their email before accessing your application, you can toggle that setting from the Auth Settings page (/auth/setup/settings), toggle on the Registration Require Email Verification, and users will now be required to verify email before accessing your application.

Please refer to this documentation to learn how to modify the logo in your emails.
Password Confirmation
There may be parts of your application where you want users to confirm their password before being able to access your application. You can add the middleware name confirm to any page/route and the user will be required to re-enter their password.
Password Reset/Request
The password Request page allows users to enter in their email address. They will then be sent a unique password link in their email. Upon visiting that link they will be prompted to reset their password.
Two-Factor Challenge
You can also give your users the option of enabling Two-Factor auth to gaurantee security in their account. Learn more about setting up 2FA and enabling it for your users here.
Social Authentication
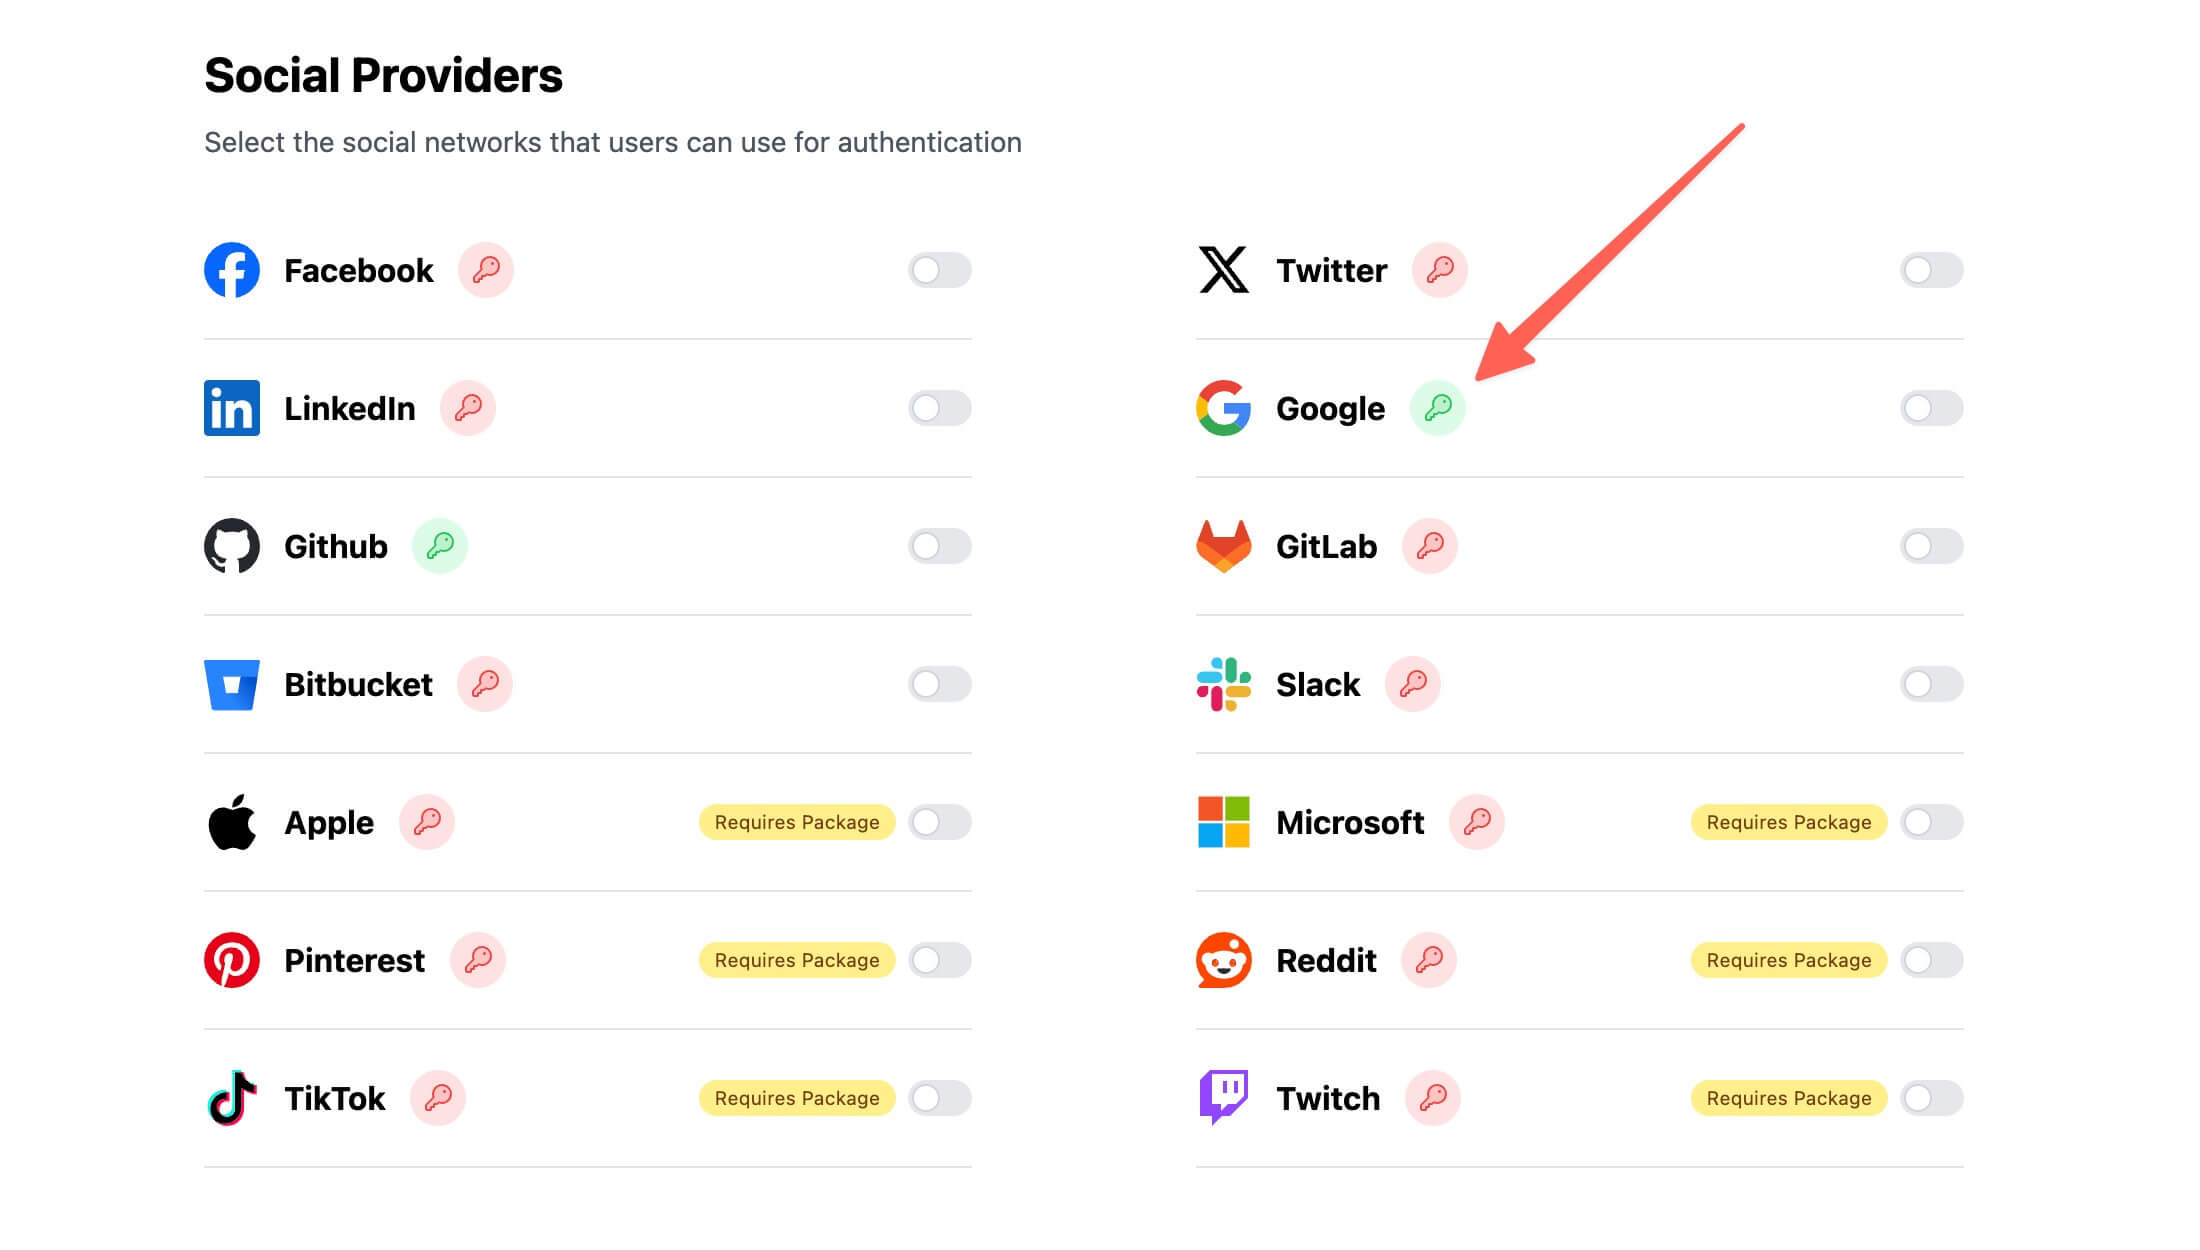
Setting up Social Authentication is very simple thanks to the Auth Package. From inside the /auth/setup/providers you can toggle the social networks you want to enable.

You will also need to add the social network API keys in order to successfully enable the provider. Learn more about that here.