Admin
The Wave admin is built using FilamentPHP. We have utilized the Panel Builder to create a simple and intutive admin interface for you to easily manage your application content, users, and more.
Admin Interface
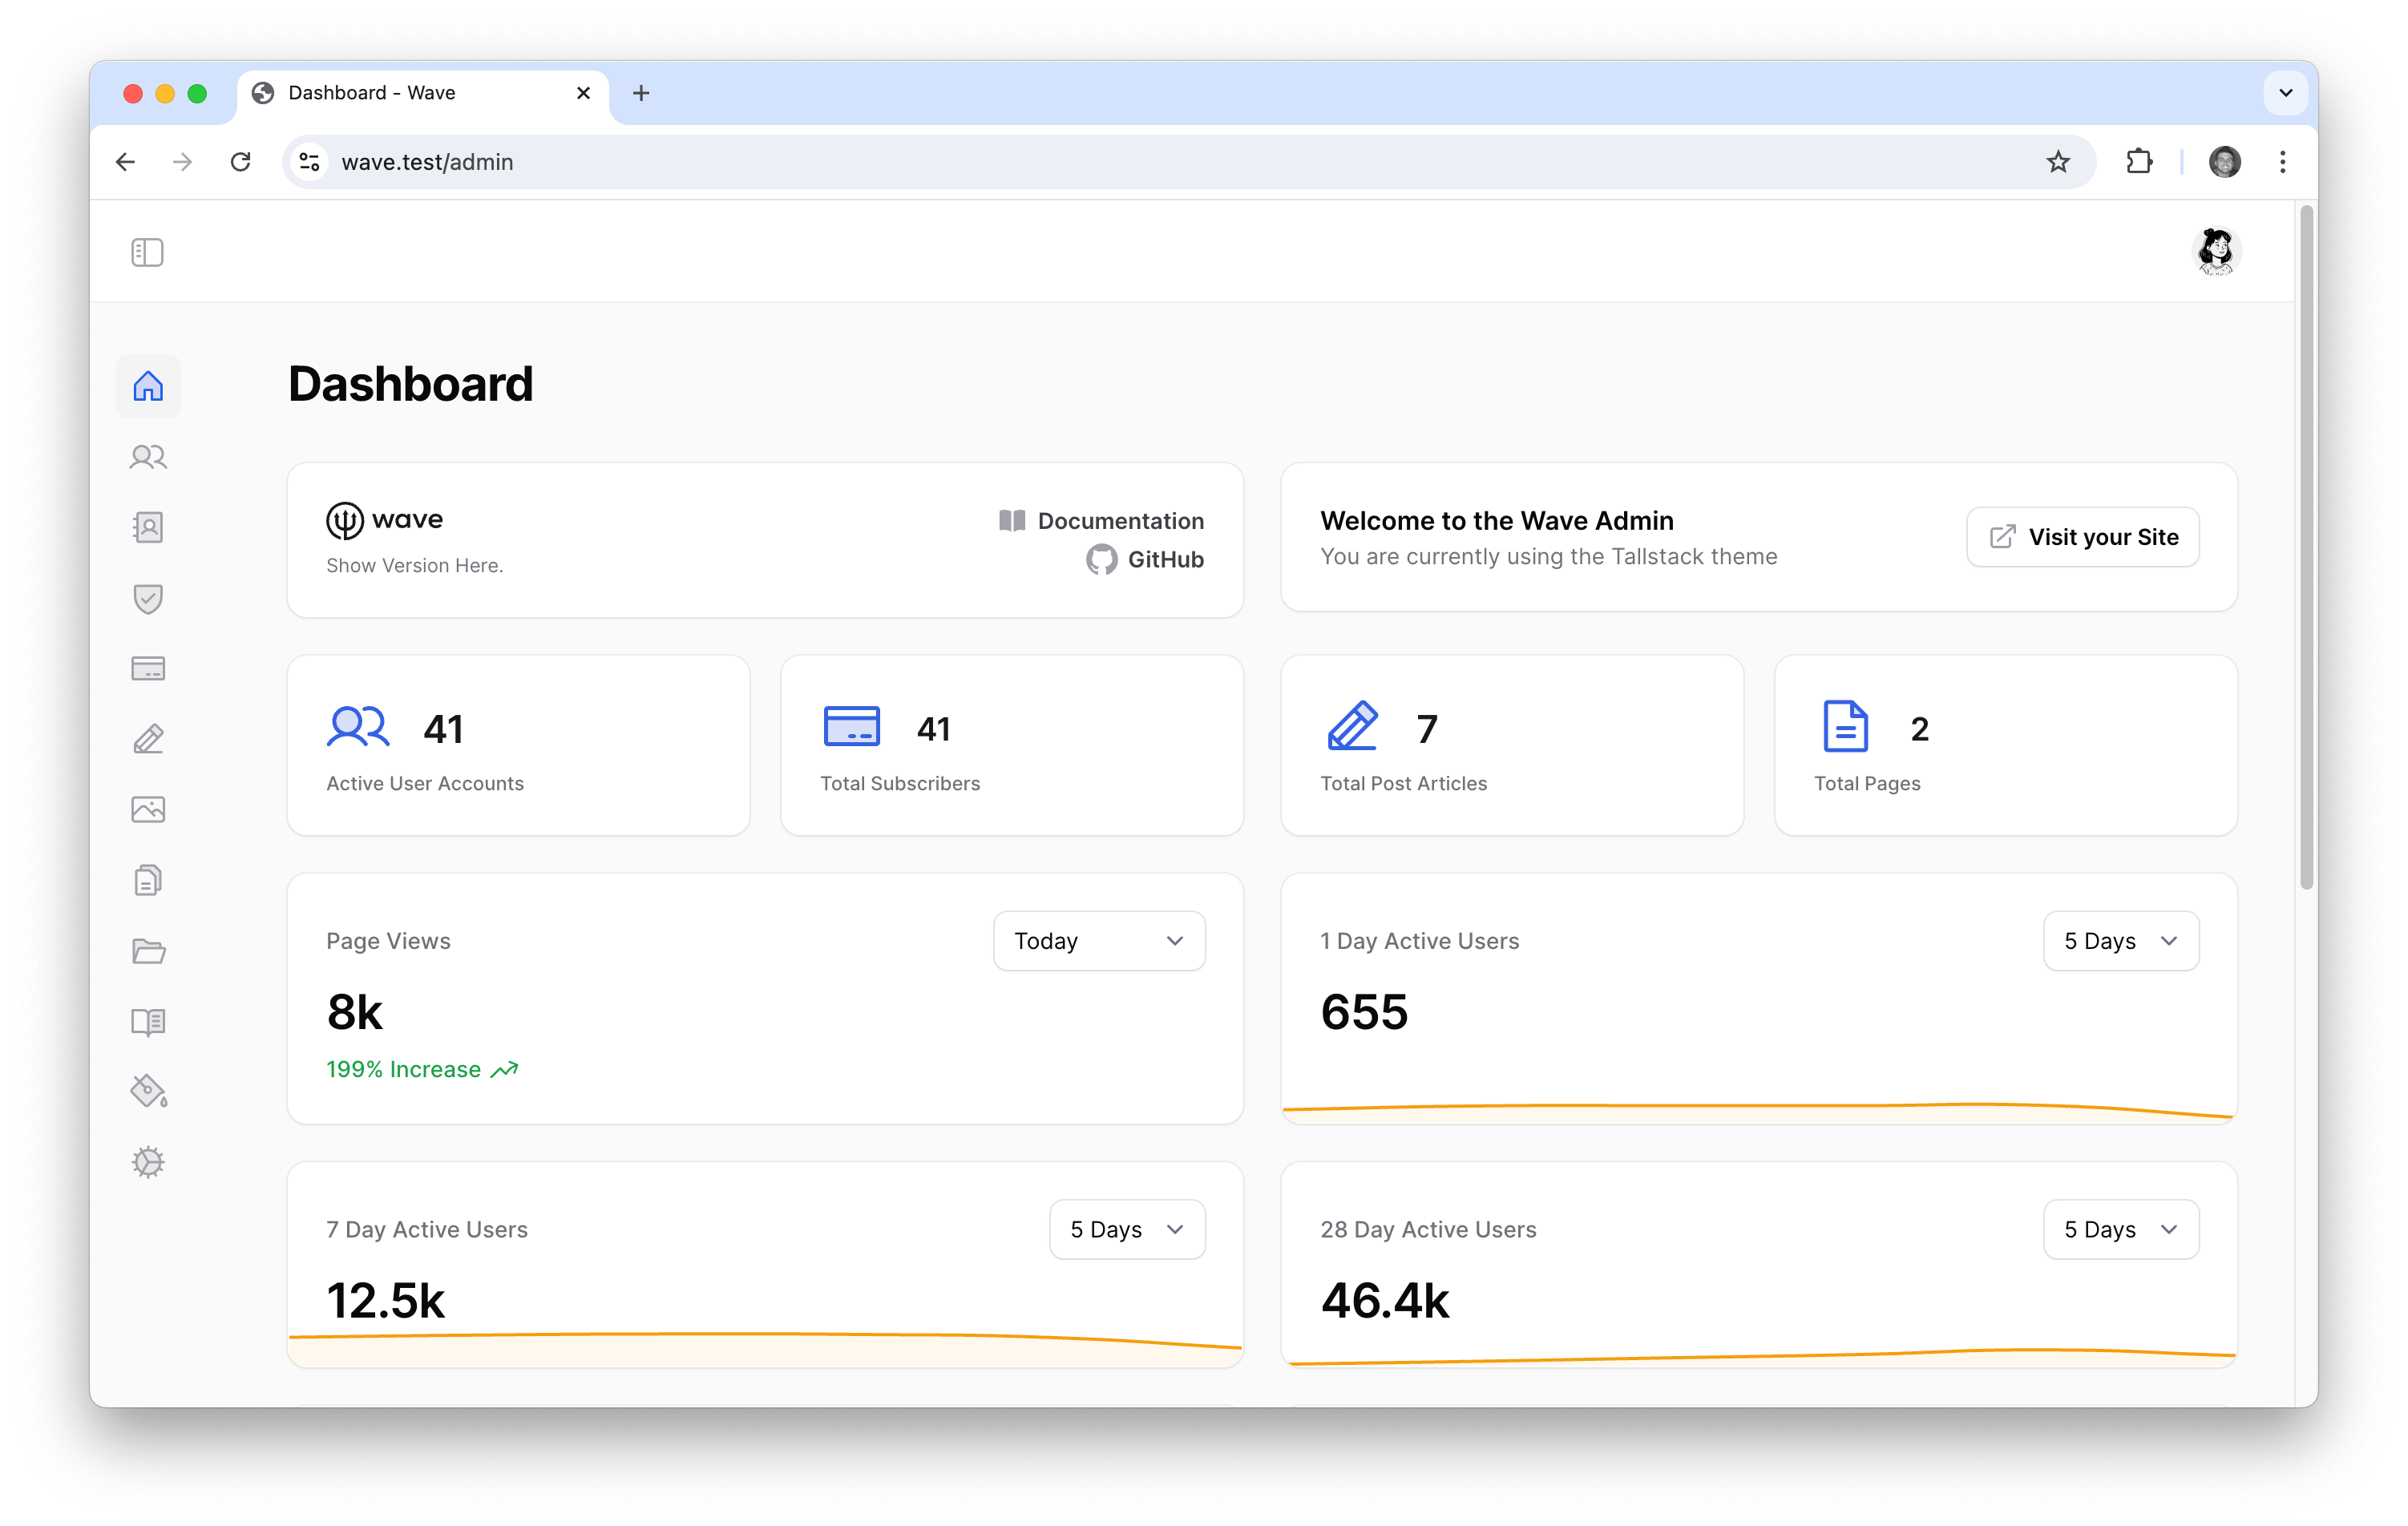
You can visit the admin interface by navigating to /admin and you will see the admin interface similar to the image below.
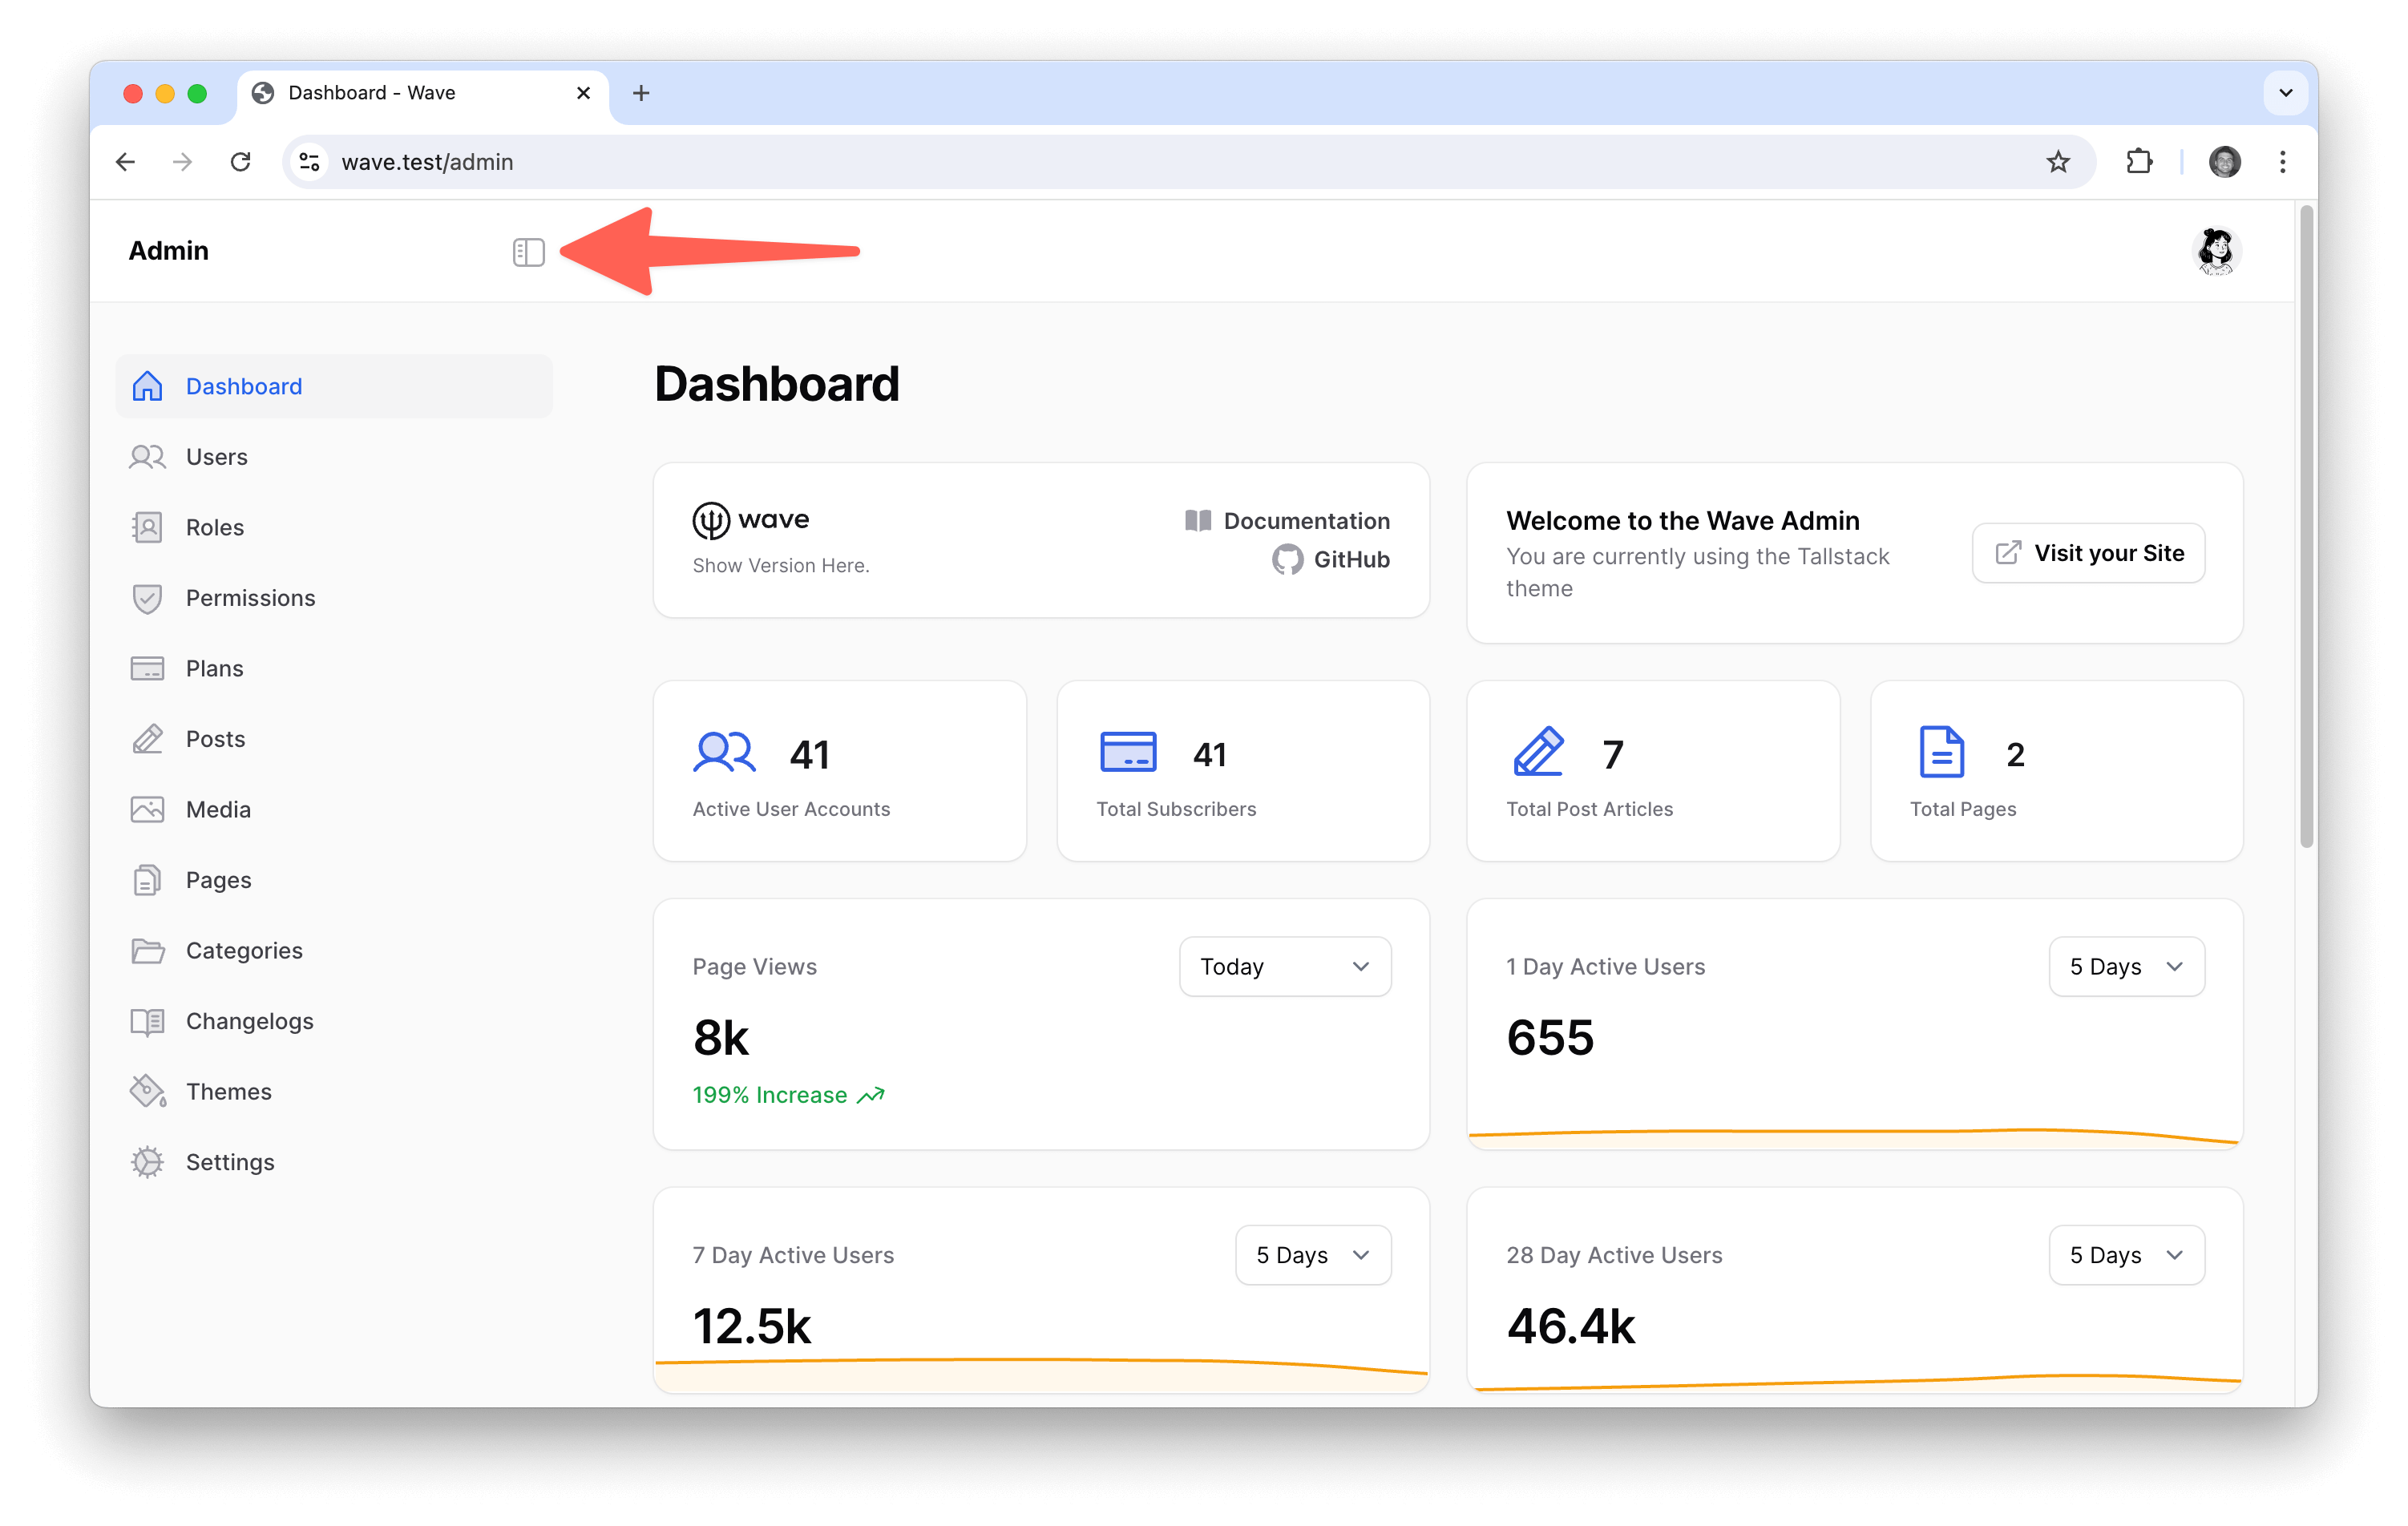
You can collapse or uncollapse the sidebar, by clicking on the sidebar button.
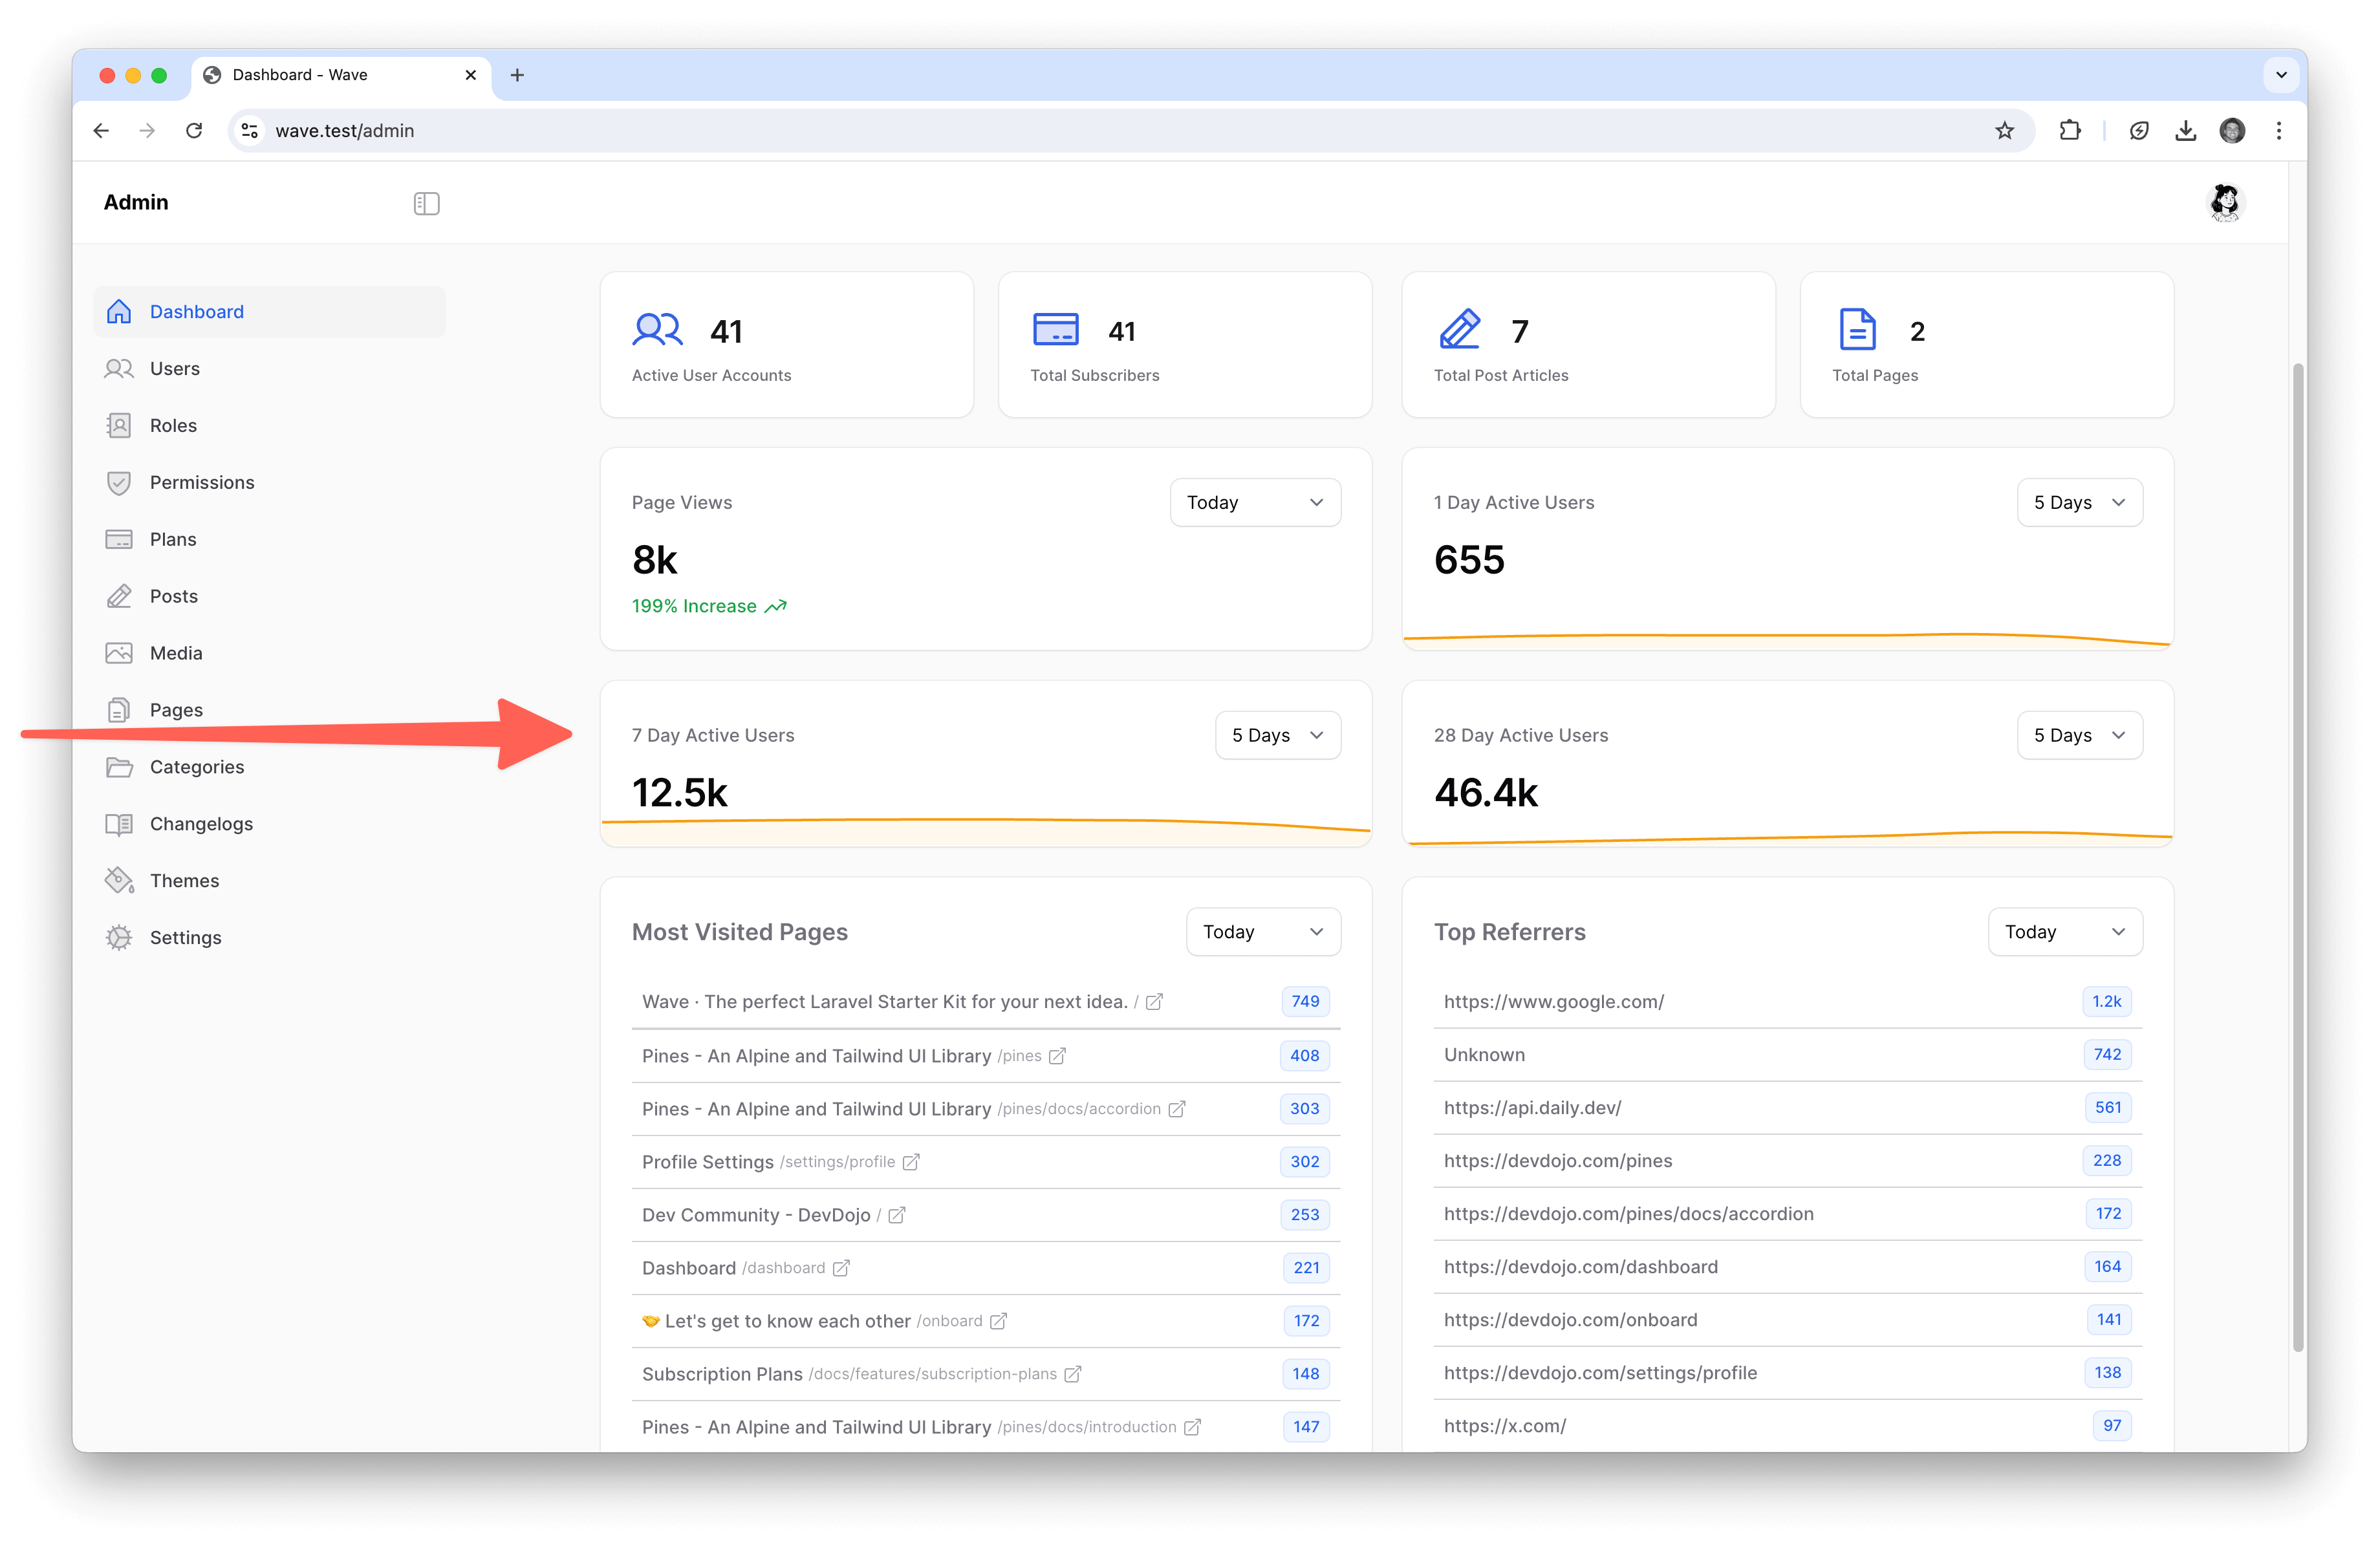
You'll see that you can administer many parts of your application such as the Users, Roles, Permissions, Plans, Posts, Media, Pages, Categories, Changelogs, Themes, and Settings.
Dashboard Analytics
We are using the Filament Google Analytics Plugin, which under the hood uses the Spatie Laravel Analytics package.
This is great because you can easily add your Google Analytics API keys and you'll see live analytics of visitors and users directly from the admin dashboard.
Inside of your .env file you will need to add your ANALYTICS_PROPERTY_ID, like so:
ANALYTICS_PROPERTY_ID=XXXXXXXXX
You will also need to add your Google Analytics Service Account Credentials. This will be a JSON file that you download from your Google Console and place it located at storage/app/analytics/servive-account-credentials.json. Here are detailed instructions here https://github.com/spatie/laravel-analytics on how to obtain those credentials.
After you've correclty added your Google Analytics keys you'll be able to view real-time analytics from your Admin Dashboard.
Filament Admin
Filament offers so many great features that make building CRUD systems as simple as possible. You will want to refer to their documentation as much as possible when you want to modify your Admin Panel for your application.
Filament Customer Panel
You may use the Filment Panel Builder to create a Customer Panel that users may access in order to gain access to features, or you can build your own application dashboard from your theme dashboard/index.blade.php file.
It might make more sense to build your own application dashboard from the theme files because it will give you more flexibility and it will allow you to customize the look, feel, and functionality. This will help ensure that your customer dashboard is unique and perfectly aligned with your vision.
Filament Table Builder
The Filament Table Builder is an excellent component that will allow you and your customers to display and filter data. You can utilize this component directly from inside any of your theme files. You can reference how we use the table builder directly from the resources/themes/{theme}/pages/settings/api.blade.php. Inside this file we utilize the Table builder to display all the API keys for each user. The table() method is responsible for defining the schema of this table.
public function table(Table $table): Table
{
    return $table->query(Wave\ApiKey::query()->where('user_id', auth()->user()->id))
        ->columns([
            TextColumn::make('name'),
            TextColumn::make('created_at')->label('Created'),
        ])
        ->actions([
            ViewAction::make()
                ->slideOver()
                ->modalWidth('md')
                ->form([
                    TextInput::make('name'),
                    TextInput::make('key')
                    // ...
                ]),
            EditAction::make()
                ->slideOver()
                ->modalWidth('md')
                ->form([
                    TextInput::make('name')
                        ->required()
                        ->maxLength(255),
                    // ...
                ]),
            DeleteAction::make(),
    ]);
}
Then, inside the view you can simply add {{ $this->table }} and the table will be displayed.
The table builder is very powerful and can easily be added to any of your Folio Volt pages inside of your theme.
Filament Form Builder
You may also use the Filament Form Builder to create forms inside of your application. The form builder also works with any theme view file. You can also see an example of the form builder from the resources/themes/{theme}/pages/settings/api.blade.php file. The form is defined in the form() method, like so:
public function form(Form $form): Form
{
    return $form
        ->schema([
            TextInput::make('key')
                ->label('Create a new API Key')
                ->required()
        ])
        ->statePath('data');
}
Then, you may output that form by simply outputting `$this->form inside your view.
Digging Deeper
As always, if you want to dig deeper into the Admin functionality and learning more about Filament be sure to head to their documentation and read up on how to use all the different components.