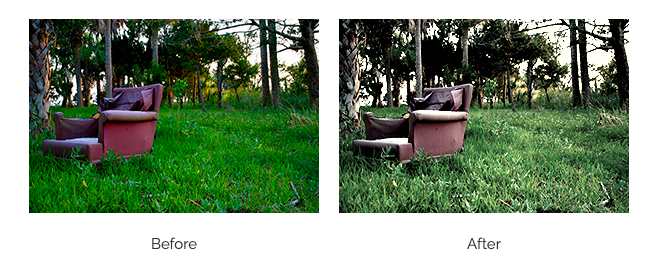
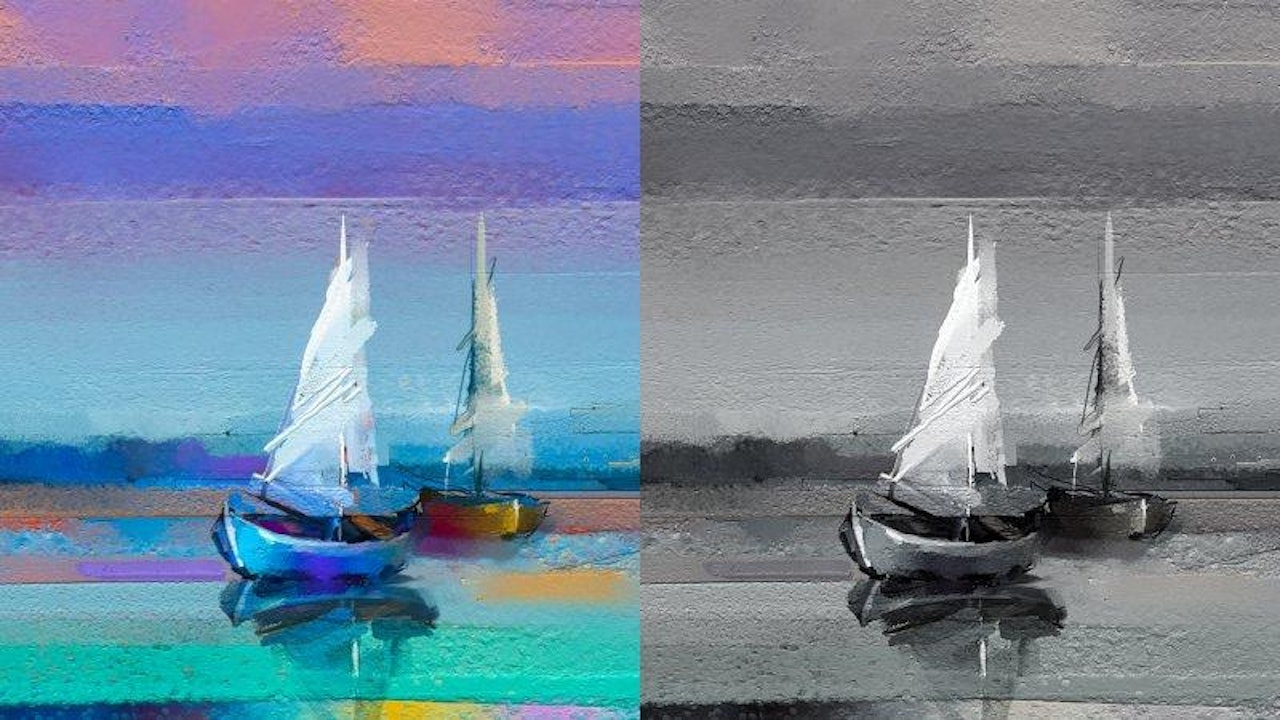
Introduction
CamanJS is used for doing (ca)nvas (man)ipulation in JavaScript(JS). It is very easy to extend with new filters and plugins, and it comes with a wide array of image editing functionality, which continues to grow. It's completely library independent and works both in NodeJS and the browser.
Getting Started
Before we can start using different features of the library, we will have to include it in our project. This can be done either by downloading the library or linking directly to a CDN.
<script src="https://cdnjs.cloudflare.com/ajax/libs/camanjs/4.1.2/caman.full.min.js" integrity="sha512-JjFeUD2H//RHt+DjVf1BTuy1X5ZPtMl0svQ3RopX641DWoSilJ89LsFGq4Sw/6BSBfULqUW/CfnVopV5CfvRXA==" crossorigin="anonymous"></script>
Basics
There are two ways to use the library:
- Using the
data-camanattribute with our image elements. This attribute can accept a combination of different CamanJS filters as its value.
  <img src="path/to/image.jpg"
    data-caman="brightness(10) contrast(30) sepia(60) saturation(-30)">
- Calling
Caman()with the id of thecanvaswhere we have rendered the image and different filters that we want to apply to the rendered image. This method assumes we already have a canvas element in the page, and we would like to load an image via URL into the canvas for editing with CamanJS. We can also give DOM objects instead of Strings if we prefer.
  Caman("#canvas-id", "path/to/image.jpg", function () {
    this.brightness(10);
    this.contrast(30);
    this.sepia(60);
    this.saturation(-30);
    this.render();
  });

In this article, we will be going the JavaScript way to build our image editor.
Upload Image
We need to provide users with a way to upload the images they want to edit so that we can render them on the canvas for further manipulation.
<input type="file" id="upload-file"></input>
<canvas id="canvas"></canvas>
const canvas = document.getElementById("canvas");
const ctx = canvas.getContext("2d");
const uploadFile = document.getElementById("upload-file");
let img = new Image();
let fileName = "";
// upload File
uploadFile.addEventListener("change", () => {
      const file = document.getElementById("upload-file").files[0];
      // init FileReader API
      const reader = new FileReader();
      if (file) {
        fileName = file.name;
        // read data as URL
        reader.readAsDataURL(file);
      }

      // add image to canvas
      reader.addEventListener(
        "load",
        () => {
          img = new Image();
          img.src = reader.result;
          img.onload = function () {
            canvas.width = img.width;
            canvas.height = img.height;
            ctx.drawImage(img, 0, 0, img.width, img.height);
            canvas.removeAttribute("data-caman-id");
          };
        },
        false
      );
});
Let's walk through the above code.
HTML snippet:
<input>element withtype="file": let the user choose one or more files from their device storage.<canvas>element: used to draw graphics on a web page via scripting.
JS snippet:
 View Website
 View Website
 View Website
-
The
<canvas>element has a method calledgetContext(), used to obtain the rendering context and its drawing functions. ThisgetContext()takes one parameter, thetype of context. For 2D graphics, such as those covered by this article, we specify2dto get aCanvasRenderingContext2D. -
The
File APImakes it possible to access aFileListcontainingFileobjects representing the files selected by the user. We used a classic DOM selectorconst file = document.getElementById("upload-file").files[0]to access the first selected file. -
The
FileReaderobject lets web applications asynchronously read the contents of files stored on the user's computer. The object usesreadAsDataURLmethod to read the contents of the specifiedFile. Then, we added a listener for theloadevent which is fired when a read has completed successfully. -
The
Image()constructor creates a newHTMLImageElementinstance. It is functionally equivalent todocument.createElement('img'). We set thesrcattribute toreader.resultwhich is a string with a data: URL representing the file's data. -
Once the image has loaded successfully, we set the width and height of our
<canvas>to be equal to the width and height of the image selected by the user. Finally, we draw the image on our<canvas>usingdrawImage(image,x,y)method.
Applying Filters
CamanJS has a wealth of built-in functionality from basic image filters to color conversion utility functions, and much more. All of these filters are included in the core library.
<div role="group">
    <button className="filter-btn brightness-add" type="button">+</button>
    <span>Brightness</span>
    <button className="filter-btn brightness-remove" type="button">-</button>
</div>
<div role="group">
    <button className="filter-btn contrast-add" type="button">+</button>
    <span>Contrast</span>
    <button className="filter-btn contrast-remove" type="button">-</button>
</div>
<!--preset filters-->
<button className="filter-btn vintage-add" type="button">
    Vintage
</button>
<button className="filter-btn nostalgia-add" type="button">
    Nostalgia
</button>
    document.addEventListener("click", (e) => {
      if (e.target.classList.contains("filter-btn")) {
        if (e.target.classList.contains("brightness-add")) {
          Caman("#canvas", img, function () {
            this.brightness(5).render();
          });
        } else if (e.target.classList.contains("brightness-remove")) {
          Caman("#canvas", img, function () {
            this.brightness(-5).render();
          });
        } else if (e.target.classList.contains("contrast-add")) {
          Caman("#canvas", img, function () {
            this.contrast(5).render();
          });
        } else if (e.target.classList.contains("contrast-remove")) {
          Caman("#canvas", img, function () {
            this.contrast(-5).render();
          });
        } else if (e.target.classList.contains("vintage-add")) {
          Caman("#canvas", img, function () {
            this.vintage().render();
          });
        } else if (e.target.classList.contains("nostalgia-add")) {
          Caman("#canvas", img, function () {
            this.nostalgia().render();
          });
        }
      }
    });
Let's walk through the above code.
HTML snippet:
-
Filters like
brightnessandcontrasthave been given increase and decrease buttons. -
Preset filters like
vintageandnostalgiado not require a parameter.
JS snippet:
-
Instead of having event listeners for each filter buttons, we are listening to all the
clickevents in thedocument. The target event propertye.targetreturns the element that triggered the event. -
Then, we have a
ifstatement checking if the element has a classfilter-btnmaking sure that the event is triggered from one of our filter buttons. Inside it we have nestedif-elseifstatements further checking which filter button fired theclickevent. -
Finally, we have
Caman()to will apply the respective filters based on the button clicked.
Download Image
Once the users have made the changes, they should also be able to download the edited images.
<button id="download" type="button">
    Download
</button>
const downloadBtn = document.getElementById("download");
    if (downloadBtn) {
      downloadBtn.addEventListener("click", () => {
        // get extension
        const fileExtension = fileName.slice(-4);
        let newFilename;

        // check image type
        if (fileExtension === ".jpg" || fileExtension === ".png") {
          newFilename =
            fileName.substring(0, fileName.length - 4) + "-edited.jpg";
        }
        download(canvas, newFilename);
      });

      function download(canvas, filename) {
        // init event
        let e;
        // create link
        const link = document.createElement("a");
        link.download = filename;
        link.href = canvas.toDataURL("image/jpeg", 0.8);
        e = new MouseEvent("click");
        link.dispatchEvent(e);
      }
    }
Let's walk through the above code.
-
The above code removes the file extension from the name of the image file selected by the user and replaces it with the suffix
-edited.jpg. This name is then passed to thedownloadfunction along with a reference to the canvas where we rendered and edited the image. -
The
downloadfunction creates alinkand sets itsdownloadattribute to filename. Thehrefattribute is set tocanvas.toDataURL(type, encoderOptions)which returns the data URI containing the representation of the image in the format specified by thetypeparameter and quality specified by theencoderOptions. After setting the value of these two attributes, we programmatically fire theclickevent for our newly created link. This event starts the download of the edited image.
Mini Project shows the snippets in action.
Some filters & bigger images might take some time before you see their final outcome. In such cases, users might think that the filter is not working. We can make use of events to keep a track on the progress of a filter.
Conclusion
Now, we have a basic understanding on how to build an image editor with upload and download functionality. CamanJS offers many advanced and efficient image/canvas editing techniques. Be sure to read the documentation to explore the possibilities.


Comments (0)