-
Tails
Create websites with TailwindCSS
-
Blocks
Design blocks for your website
-
Wave
Start building the next great SAAS
-
Pines
Alpine & Tailwind UI Library
-
Auth
Plug'n Play Authentication for Laravel
-
Designer comingsoon
Create website designs with AI
-
DevBlog comingsoon
Blog platform for developers
-
Static
Build a simple static website
-
SaaS Adventure
21-day program to build a SAAS
Ninja Media Script - Viral Fun Media Sharing Site

About
Ninja Media Script is a Viral Fun Media Sharing Site! Add unlimited images, videos, gifs, etc... Loaded with themes and functionality to make the site your own. It was built using the Laravel Voyager Admin as the back-end of the site. Be sure to checkout the demo to learn more.
You can find the product page, buy page, demo page, laravel page and voyager page links below:
Next, let's learn about some of the system requirements you will need in order to install the script.
Requirements
Ninja Media Script was built using Laravel 5.5, this means that the same system requirements needed for the script are the same as the system requirements for Laravel 5.5.
- PHP >= 7.0.0
- OpenSSL PHP Extension
- PDO PHP Extension
- Mbstring PHP Extension
- Tokenizer PHP Extension
- XML PHP Extension
- GD Image Library
file_get_contentsenabledfile_put_contentsenabled
To learn more about the system requirements needed to run a Laravel 5.5 script checkout the following Server Requirements
Next, we'll get started by learning how you can download the latest version of the script.
Getting Started
With a Premium Subscription on the DevDojo you will be able to download all the PHP scripts and self host them (optionally, as a Premium subscriber you can take advantage of our free hosting solution).
With the self-hosted version you will want to download the script by visiting the product page at https://devdojo.com/scripts/php/ninja-media-script

Click on the download button to download the latest version of the script.
Next, we'll move on to learning how to install the Ninja Media Script.
Installation
After downloading the script you will need to unzip the ninja-media-script.zip file. Next you will want to copy the contents of the unzipped folder to your server.
Before running through the installation wizard, you will need to create a MySQL database for your site. Make sure to have your database name, database user, and database password handy to continue through the installation.
After Moving all the necessary files to your server and creating a database you will want to perform the following 3 steps:
Step 1: Install Composer Dependencies - You will need to install the composer dependencies in your application by running the following command inside the root directory of your app.
composer install
Step 2: Add Your Database Credentials - Next, you will need to add your database credentials to your environment config. In the root folder you will see a file called .env.example, you will want to rename this file to: .env. After renaming the file, open it up in a text editor and you should see something that looks similar to the following:
DB_CONNECTION=mysql
DB_HOST=127.0.0.1
DB_PORT=3306

APP_URL=
DB_DATABASE=
DB_USERNAME=
DB_PASSWORD=
...
Hint: Files with a
.before their name are called hidden files so if you do not see the.env.examplefile you may have to set hidden files to visible. Learn How To Show Hidden Files Here.
The lines that you will want to pay attention to will be the DB_HOST, APP_URL, DB_DATABASE, DB_USERNAME, and DB_PASSWORD. You will need to enter in the URL of your application as well as your database host, name, username, and password. An example might look like this:
DB_CONNECTION=mysql
DB_HOST=localhost
DB_PORT=3306

APP_URL=http://website.com
DB_DATABASE=database_name
DB_USERNAME=database_user
DB_PASSWORD=database_pass
Step 3: Run Your Database Migrations & Seeds - Next, we need to run our database migrations which will add all our database tables for our application. Inside of the command line in the root of our application we will want to run the following command:
php artisan migrate
And you should see an output on your screen that looks similar to this:

Next, we will need to seed our database with some data. Run the following command in the root of your application:
php artisan db:seed
And you should see an output that looks similar to:

Lastly, you will need to make sure you storage symlink is created by running the following command:
php artisan storage:link
That's it! The script is now installed and you will see your Ninja Media Script website in front of you 🎉
Default Login
After successfully installing the script you may want to login using the default admin account to add/edit/delete posts, pages, menu items, etc. to your site.
As an admin you can login to the site in 2 locations:
1. Login Through the Front-end
You may login through the typical front-end of your site like every other user by visiting site.com/login
And you'll see the default login screen in front of you.
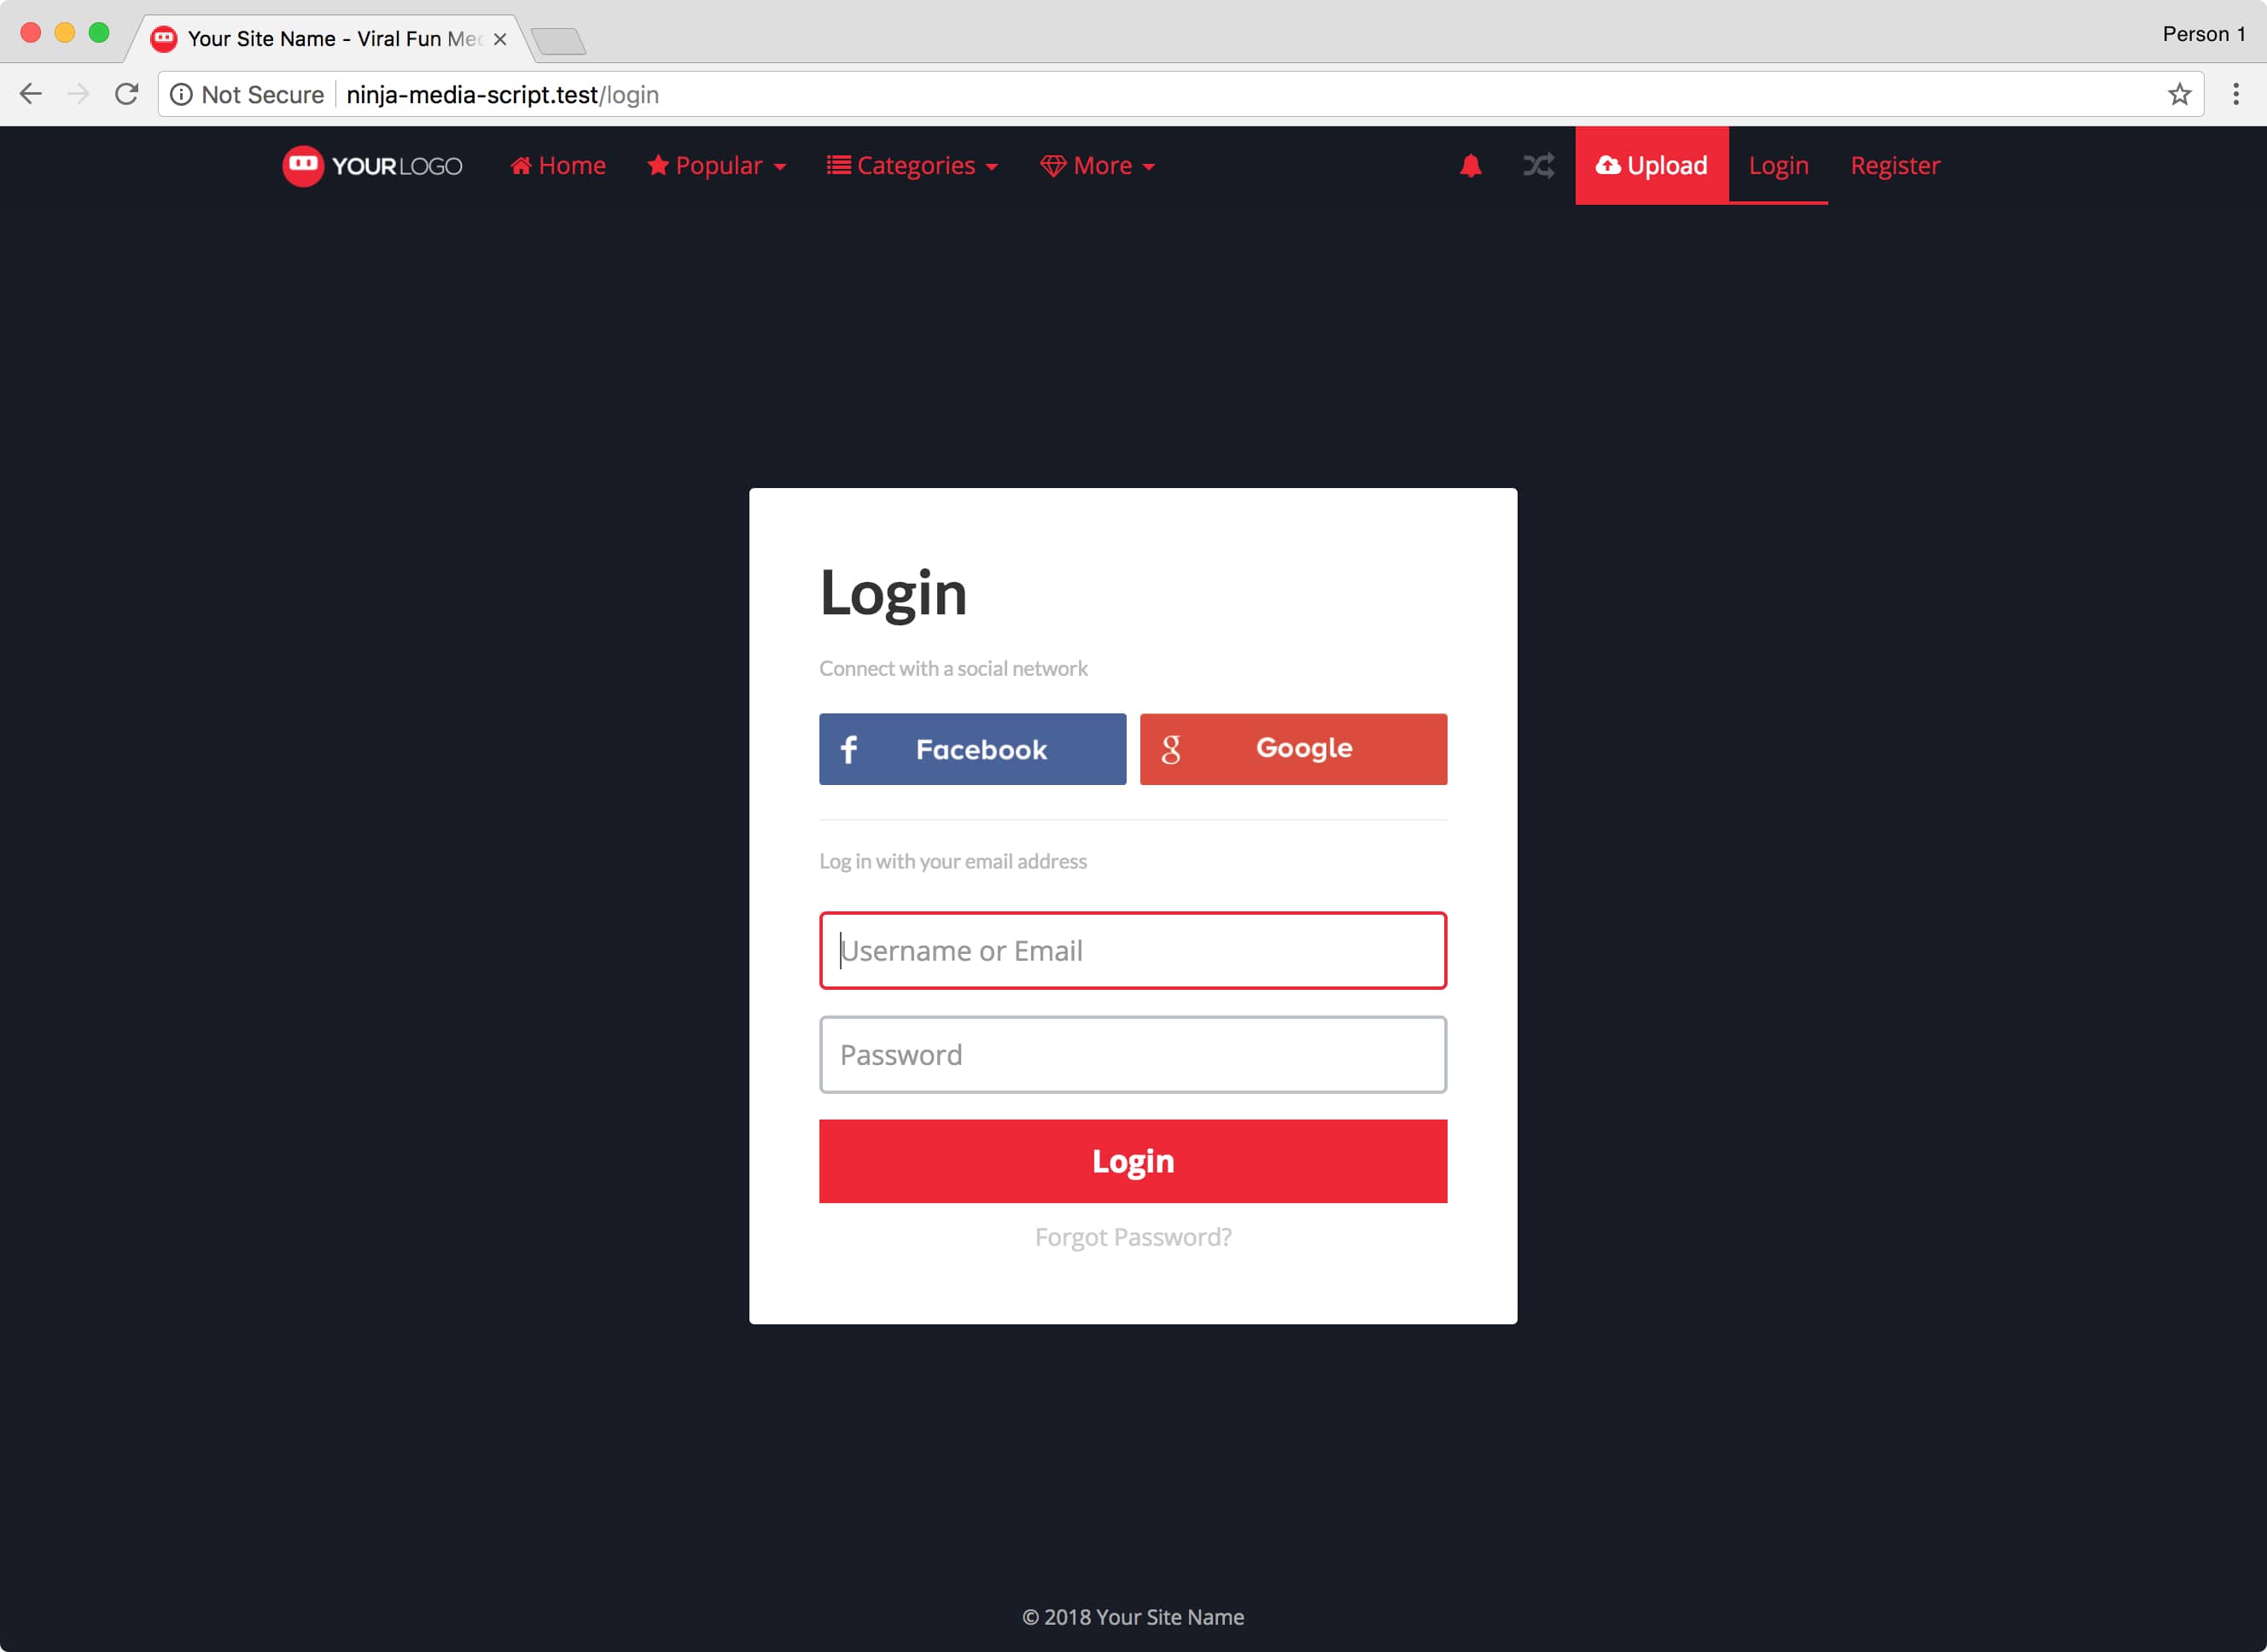
You can now login using the following Admin Login credentials:
email: admin@admin.com
password: password
After logging in, hover over the user menu in the top right and you will see a button called Admin.
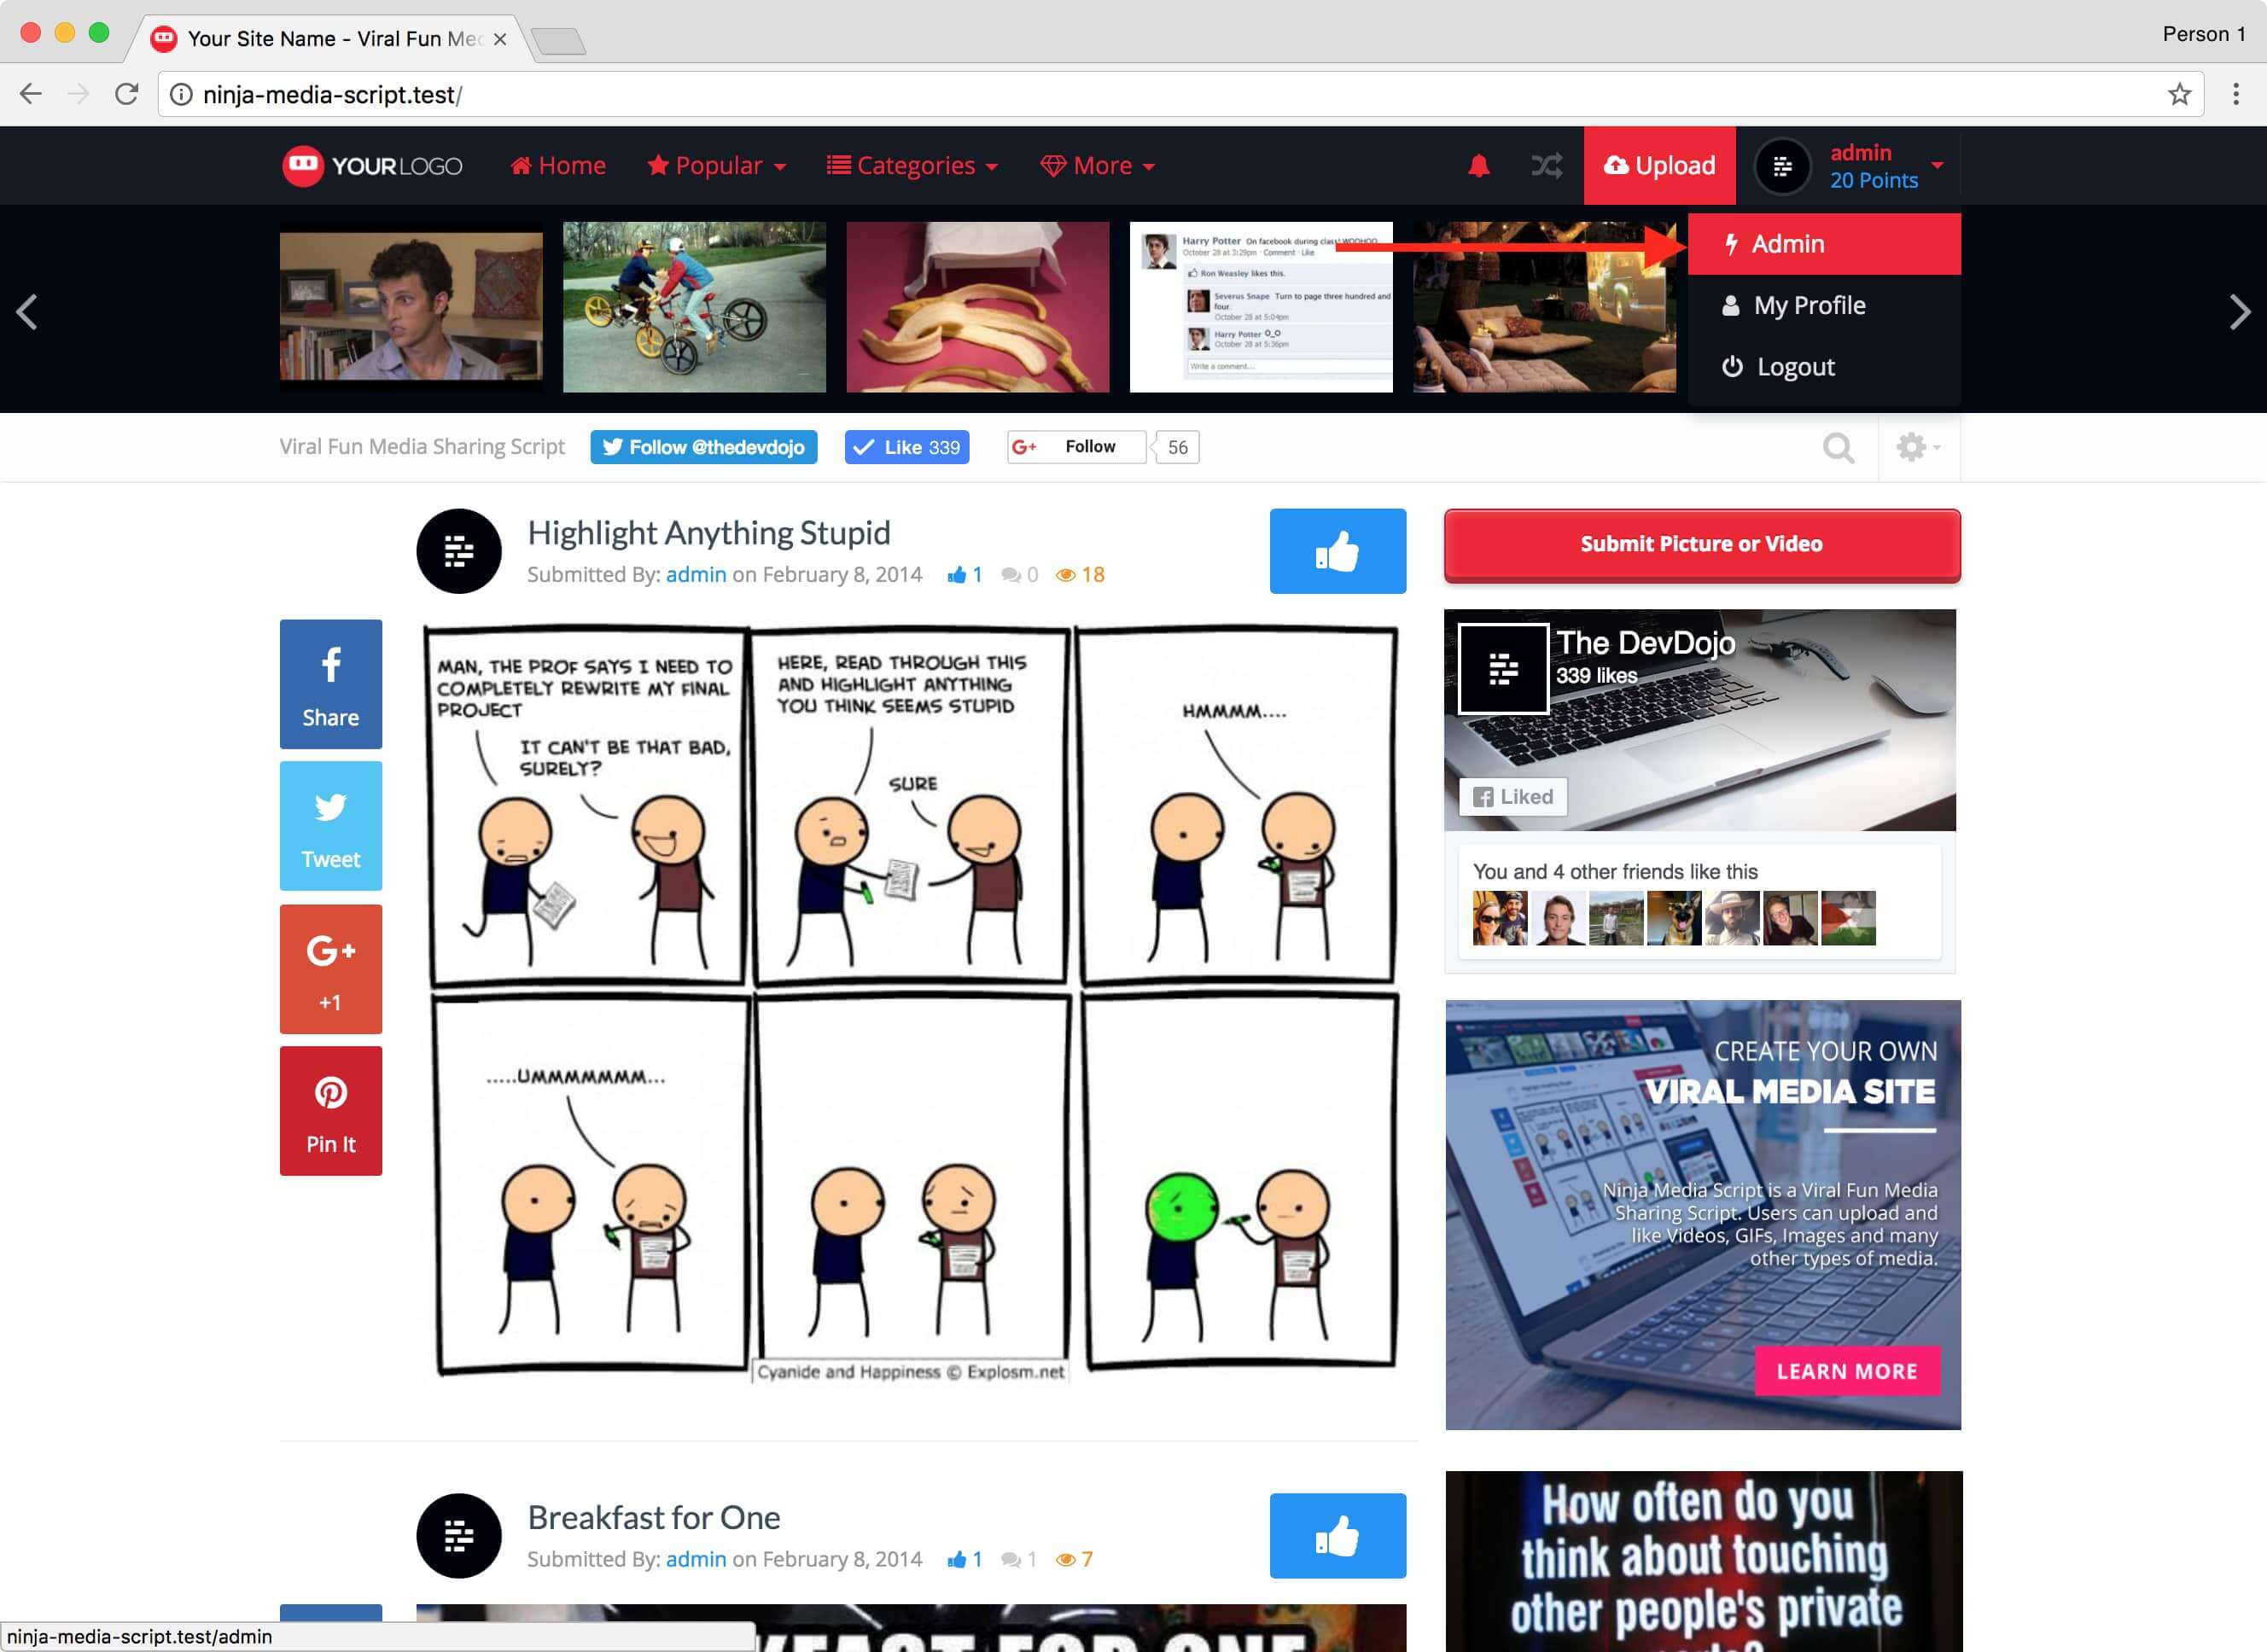
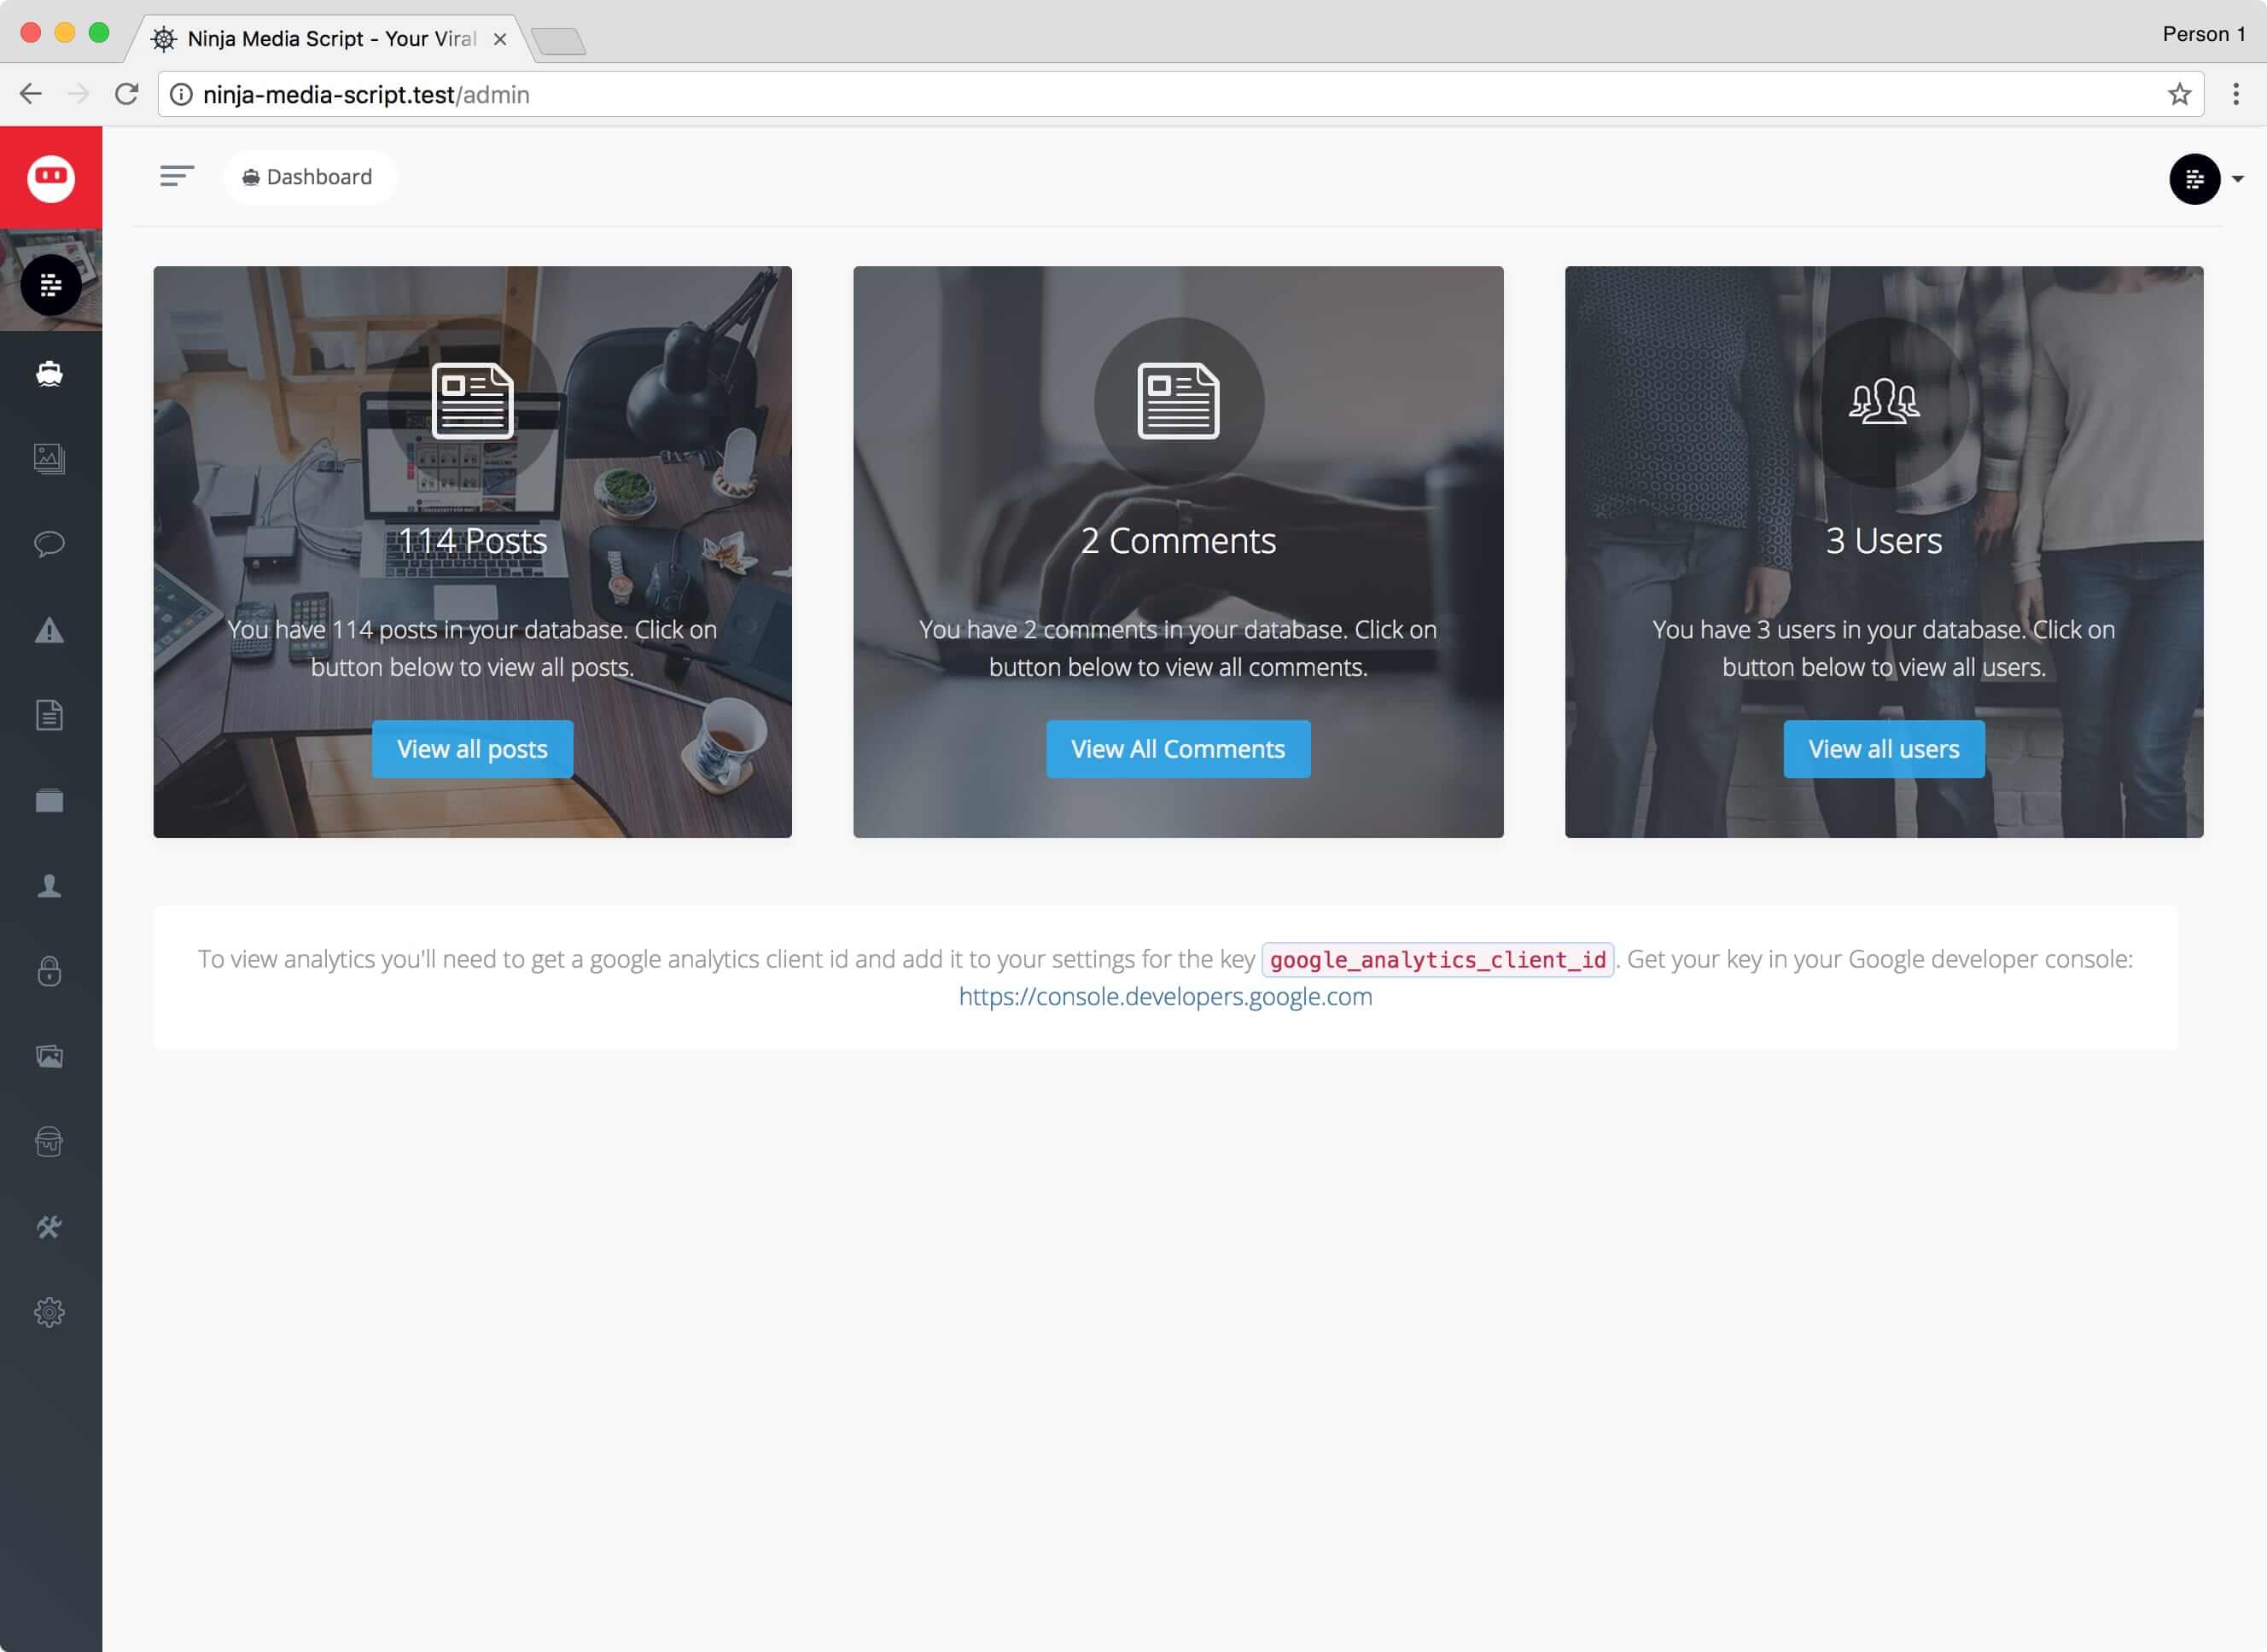
Click on Admin link and you will now be sent to your admin dashboard:
2. Login From the Back-end
Since you are an admin user you will also be able to visit: site.com/admin/login and you should see the new admin login screen in front of you.
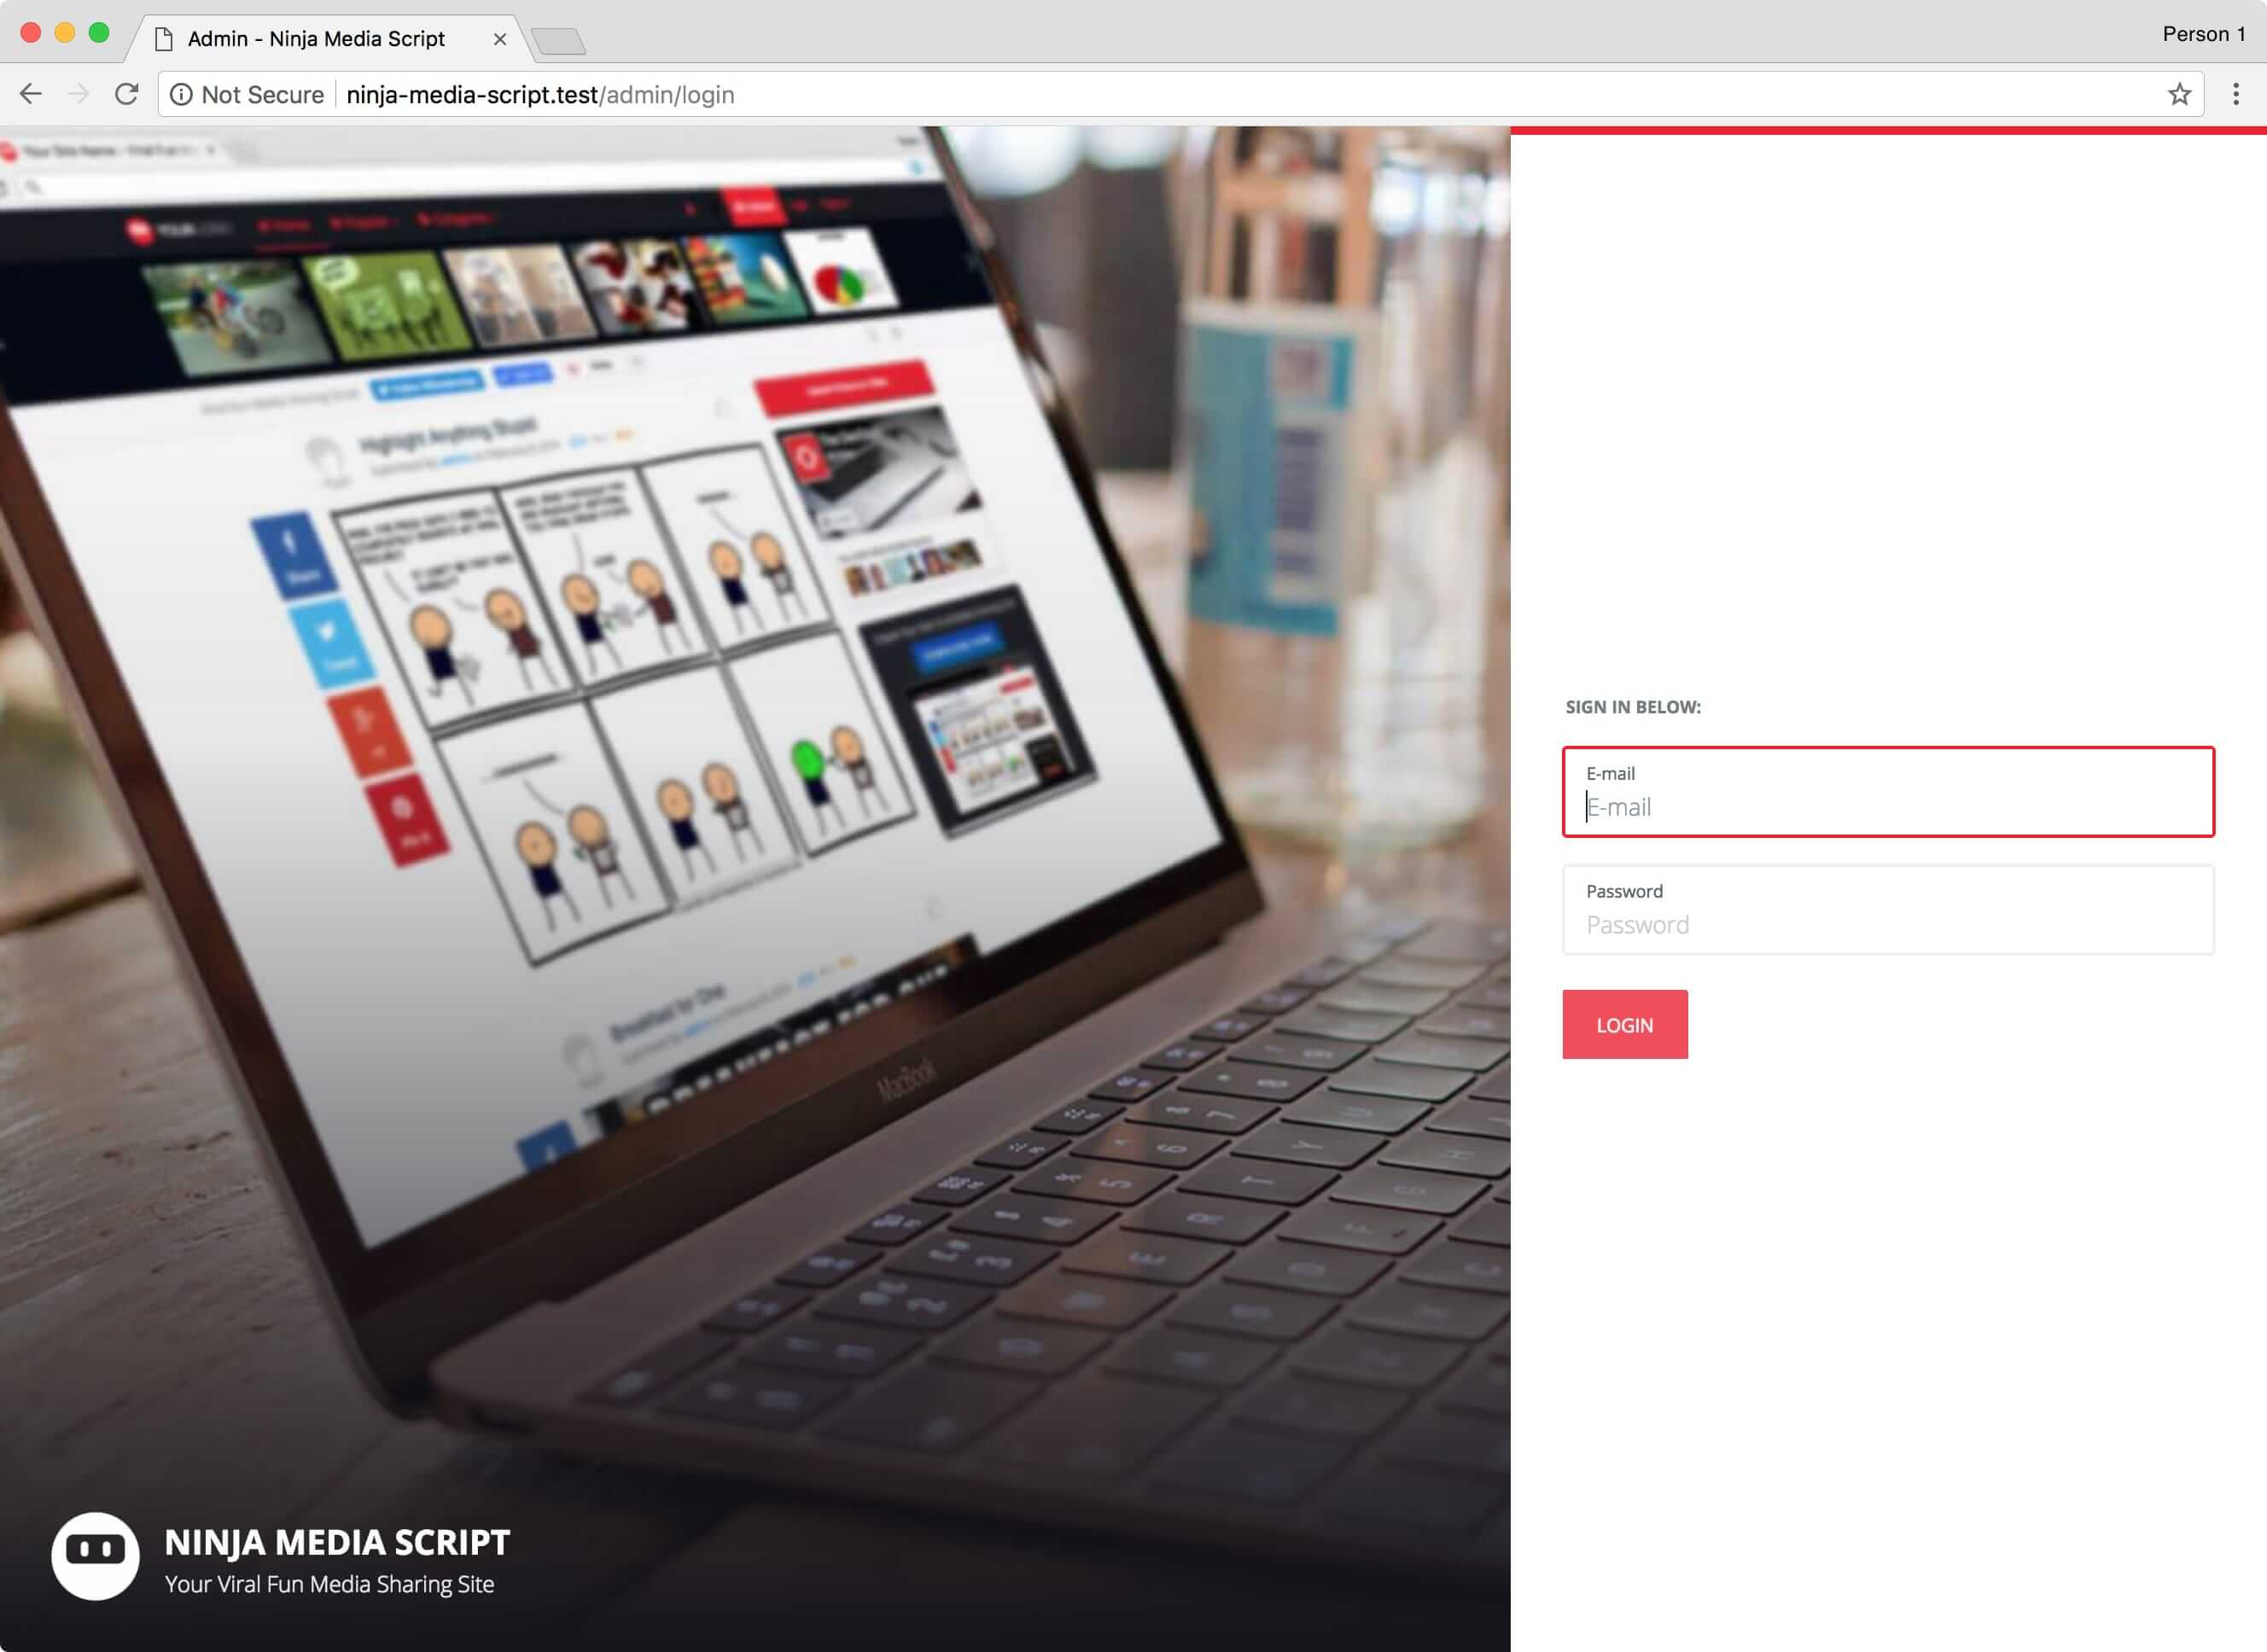
Simply enter the default Admin Login credentials:
email: admin@admin.com
password: password
And you will be redirected to your admin dashboard.
Changing your Admin Login credentials
You will probably wish to change your login credentials for your admin user. You can easily do this by visiting yoursite.com/user/admin and then click on Edit Profile and now you can update your Name, Email, Avatar, and Password.
Next, let's move on to learning more about the admin dashboard.
Admin Dashboard
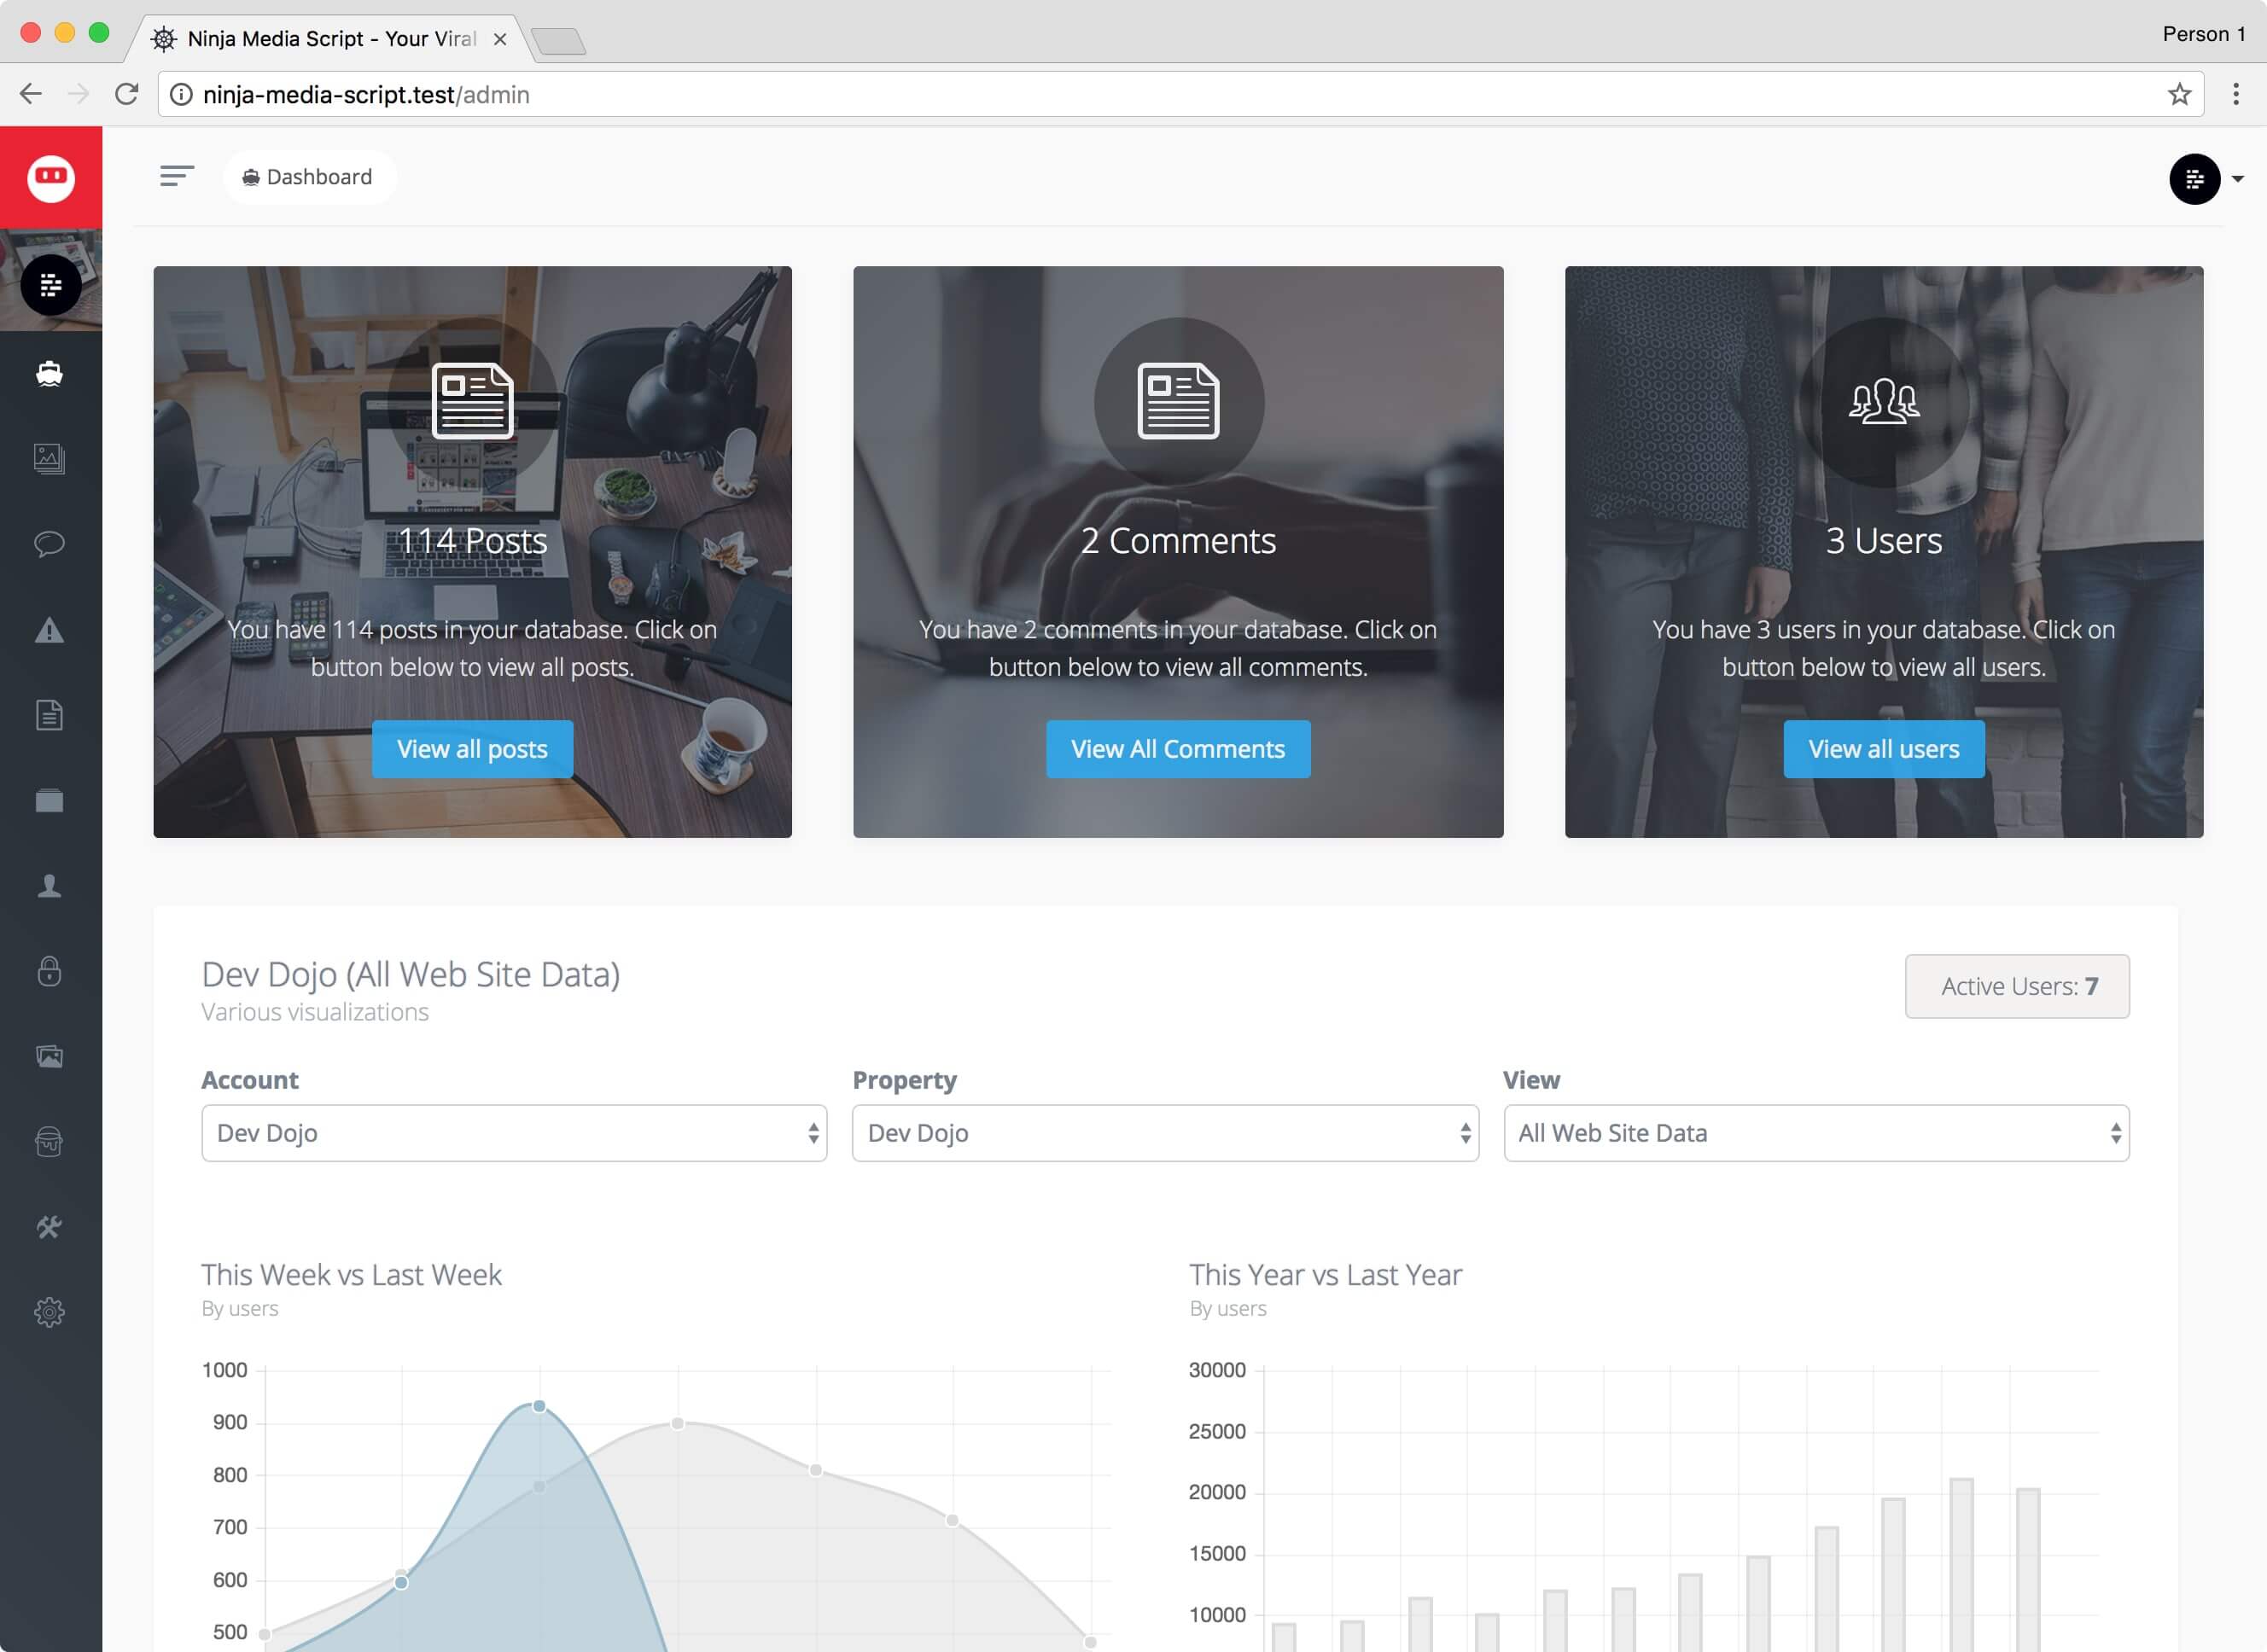
After you have logged in with the admin user you can then visit your site at site.com/admin and you will find yourself in the Admin Dashboard
To the left is your main navigation where you can visit the following sections respectively.
- Dashboard
- Posts
- Comments
- Comment Flags
- Pages
- Categories
- Users
- Roles
- Media
- Themes
- Menu Builder
- Database
- Settings
Dashboard

The Dashboard is where you will find basic information about your website including how many image posts, users, and pages are on your site.
You can also view Analytics data if you add your Google Analytics information into your Site settings. You can read more about how to do this here https://devdojo.com/blog/tutorials/setup-google-analytics-for-laravel-voyager
Posts

Users will be able to upload their own images and videos on the front-end, by visiting yoursite.com/upload, as an admin you can choose to edit/add/delete/approve any of these posts. As an admin you may also add new posts to the back-end as opposed through the front-end like a normal user.
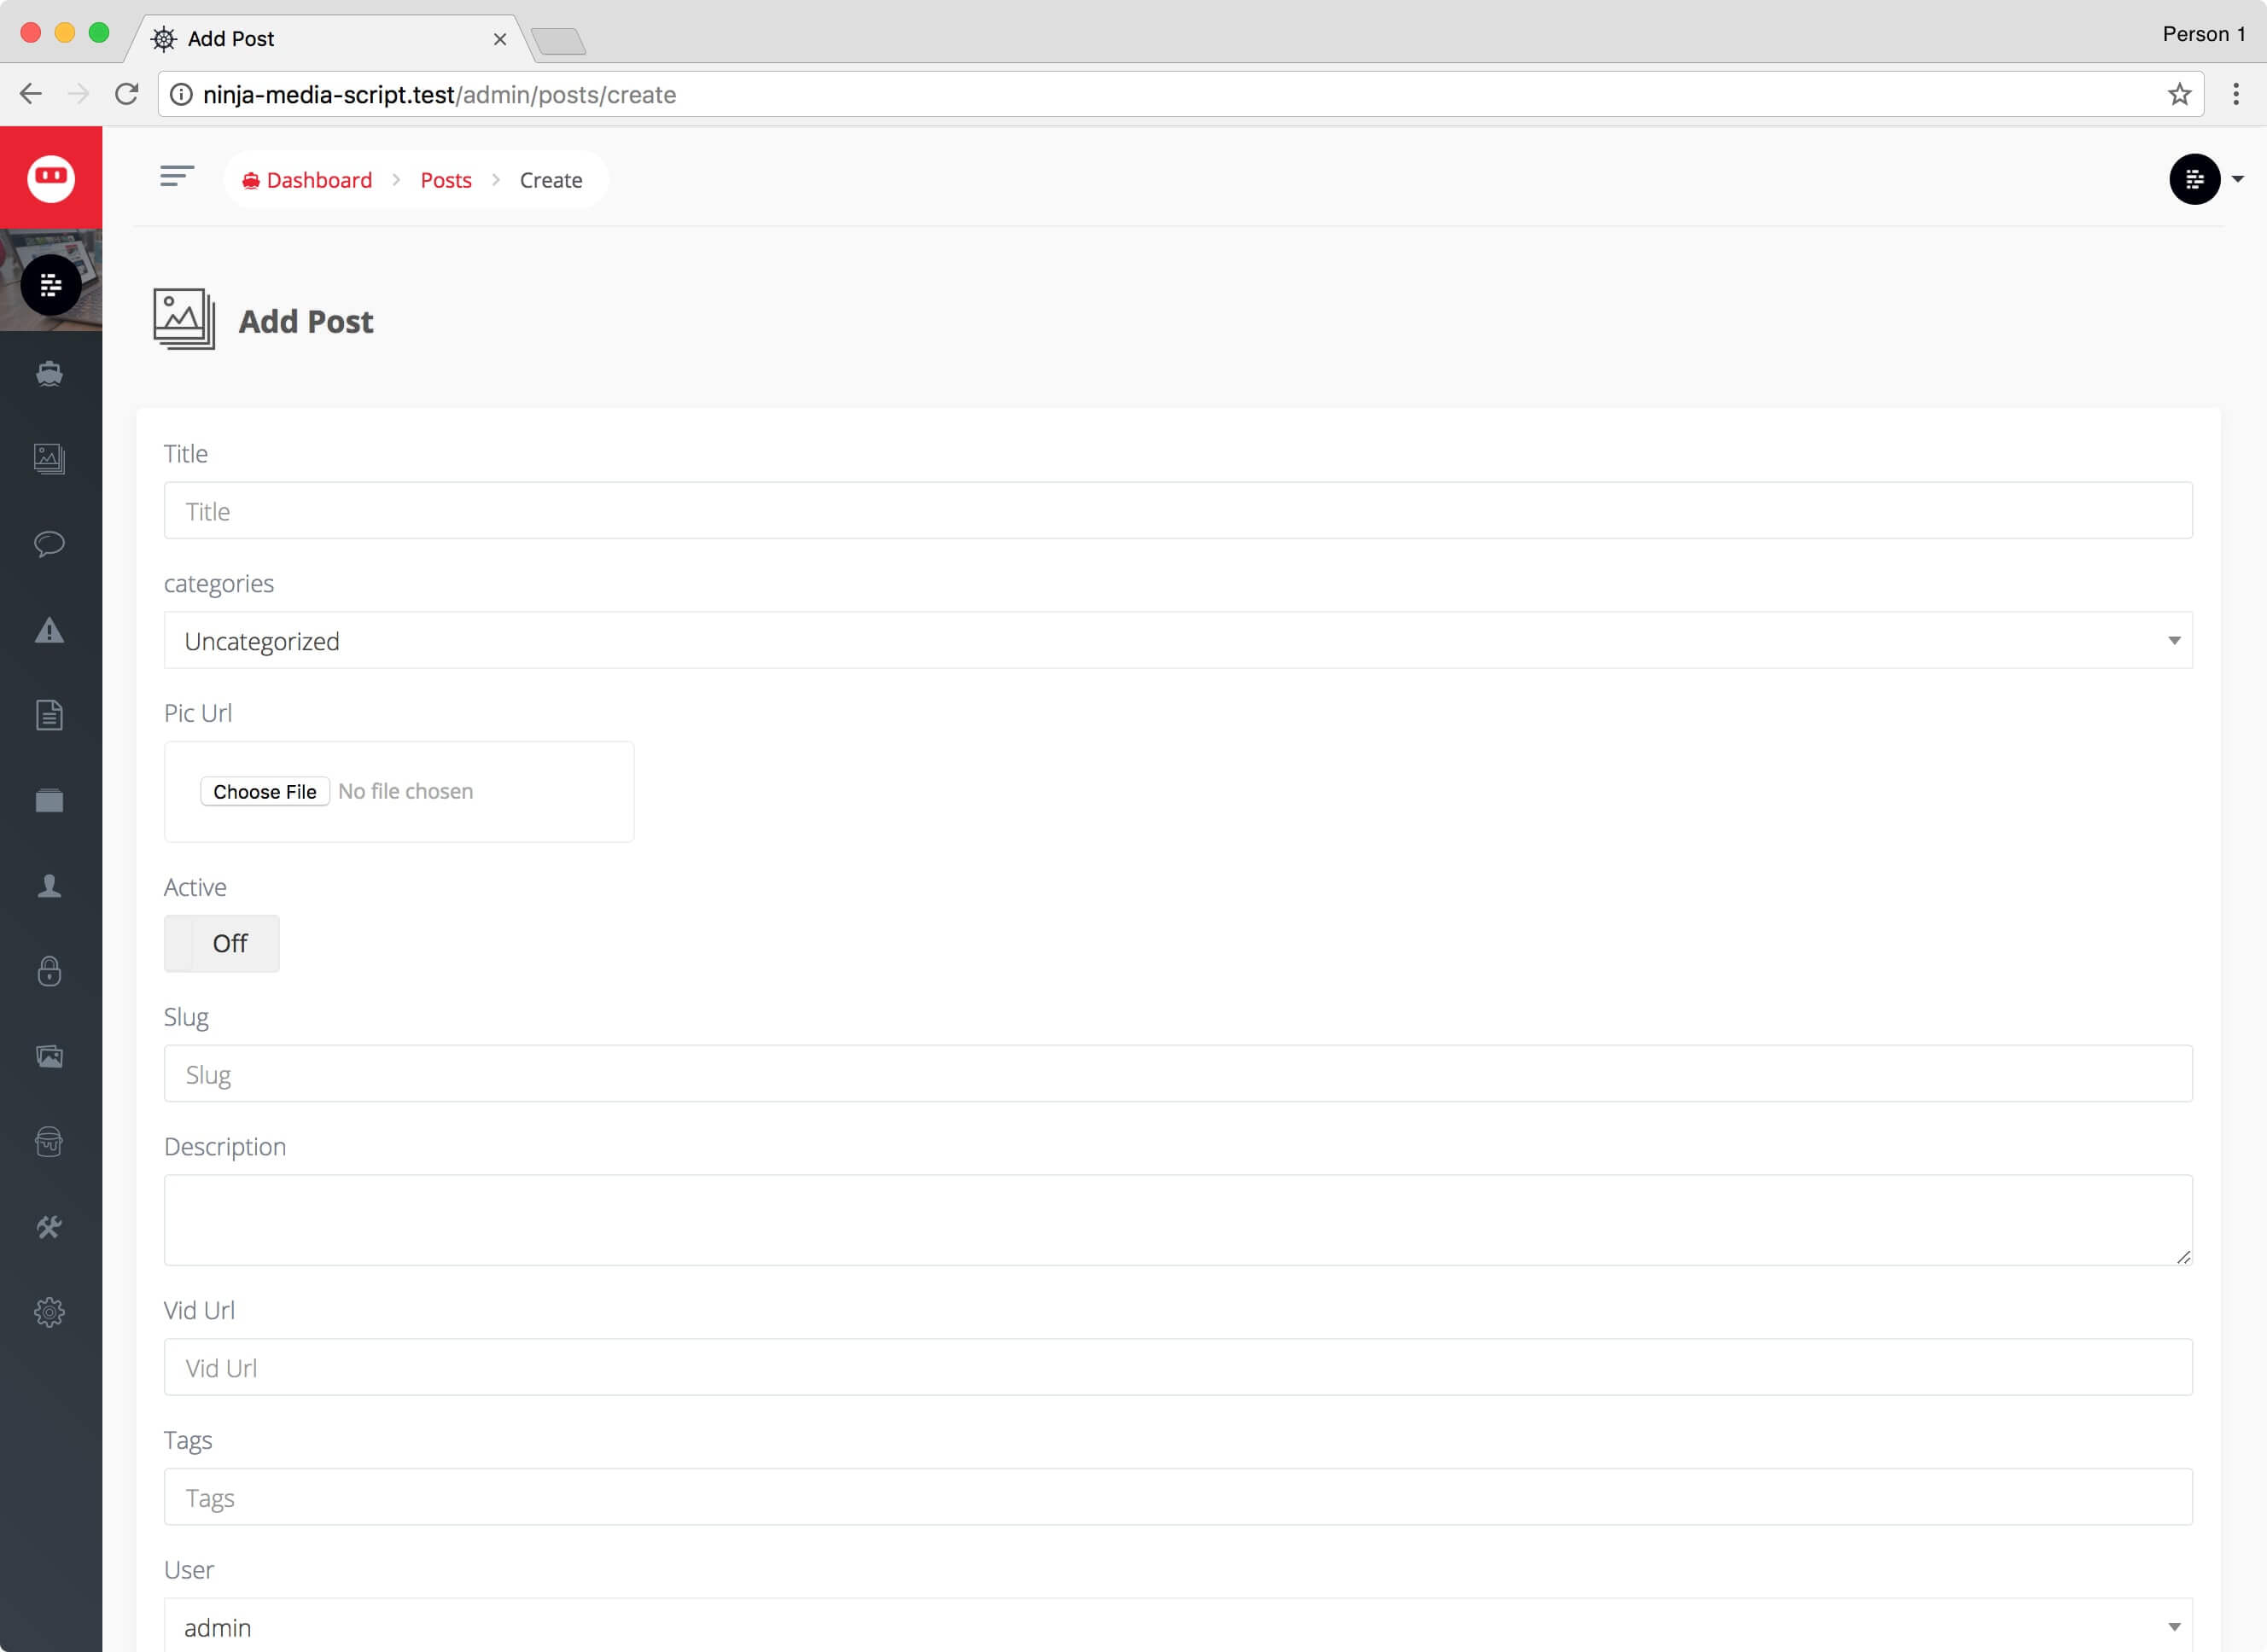
If you wish to create a new image post in the backend, you can click on Add New and fill in the fields to add your new image post through the admin.
Comments

You can view all the user comments in the comment admin section. You can choose to delete or edit any existing comment.
Comment Flags

Users may leave innappropriate comments from time to time and you can choose to view when someone has flagged a comment as innappropriate. You can then decide if you want to delete that comment or if you want to keep the comment and delete the comment flag.
Pages

Instead of adding a post you may wish to add, edit, or delete pages for certain sections such as an about page or a contact page.
Categories

In the categories section you can view all the current categories that are available. You can edit the existing categories or delete the existing categories. Additionally, you can add your own category.
Note: by adding a new category this does not automatically mean it will be added to the menu. You will need to add this item to the menu separately. We will go over the Menu Builder further on down the documentation.
Users

In the users section you can view all the current users on your website. Additionally you will see your admin user in this list. You can edit or delete any user from your site from the user section.
Roles
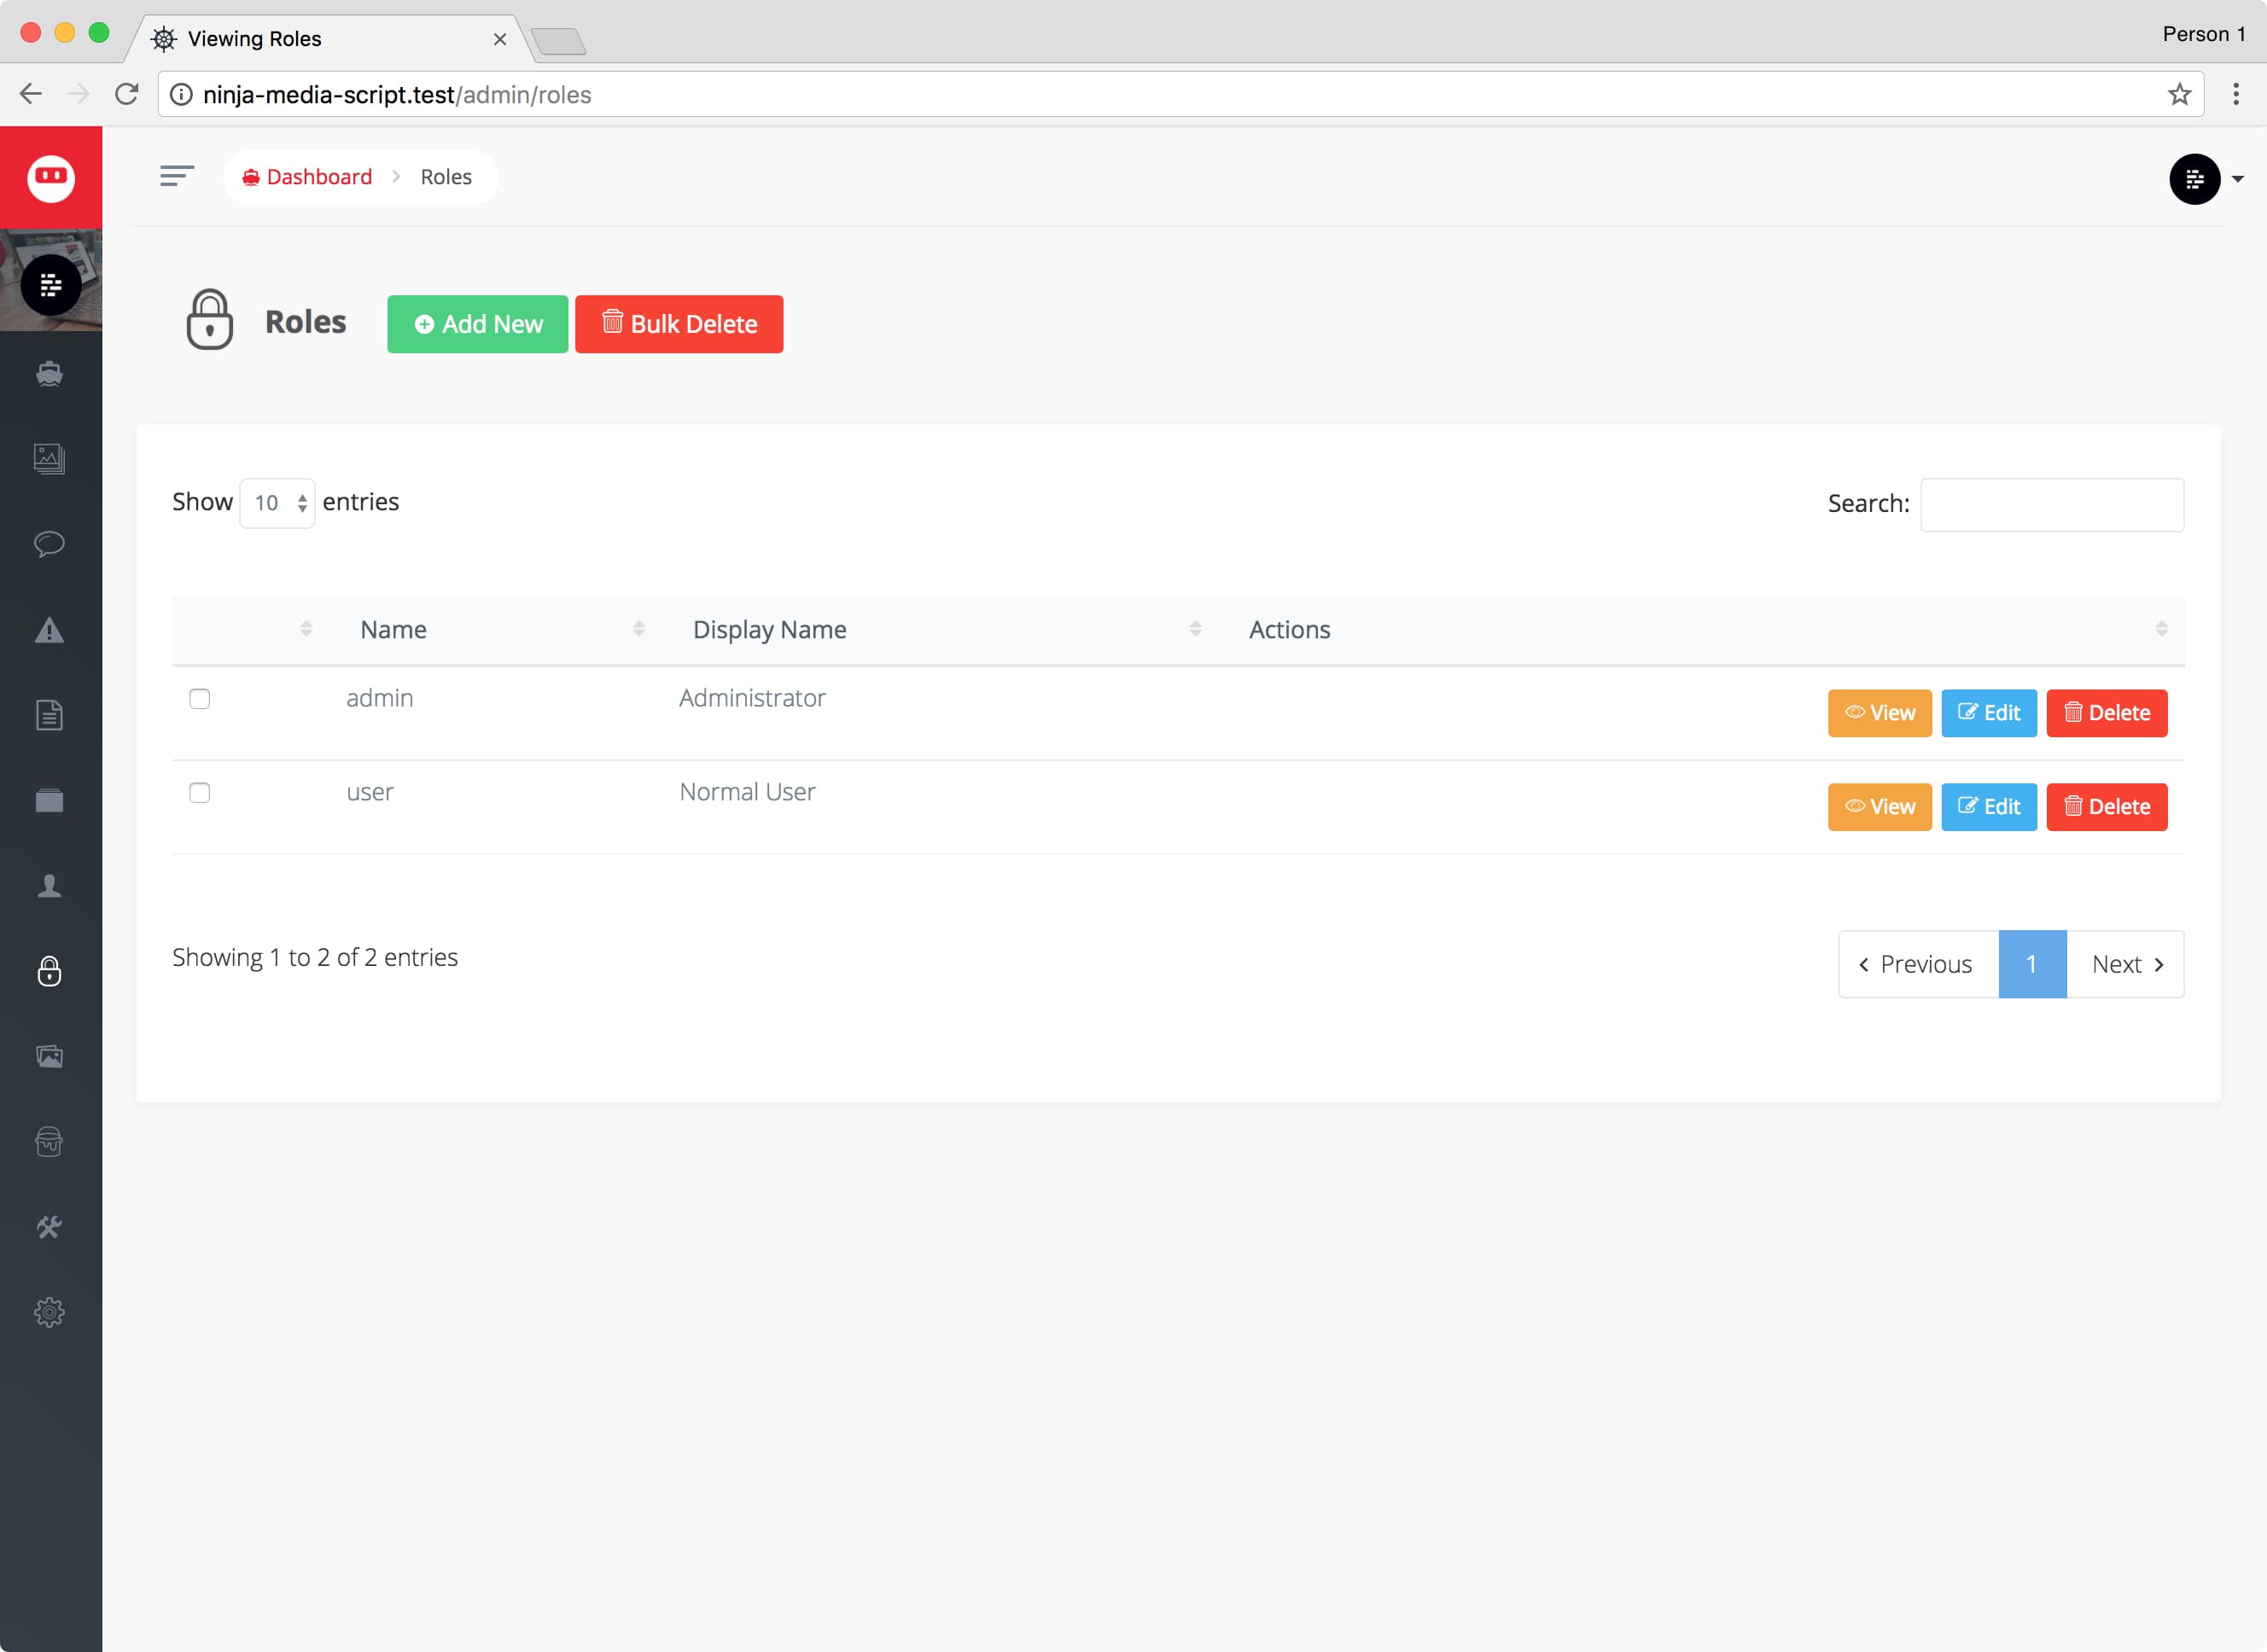
Each user has a role that allows them access to different sections of the apps. Currently in Ninja Media Script there are 2 roles which is a Normal User and an Admin User. A Normal User only has access to all the front-end sections of your site; whereas the Admin User has access to both the front-end and the back-end admin of the website.
Media Manager
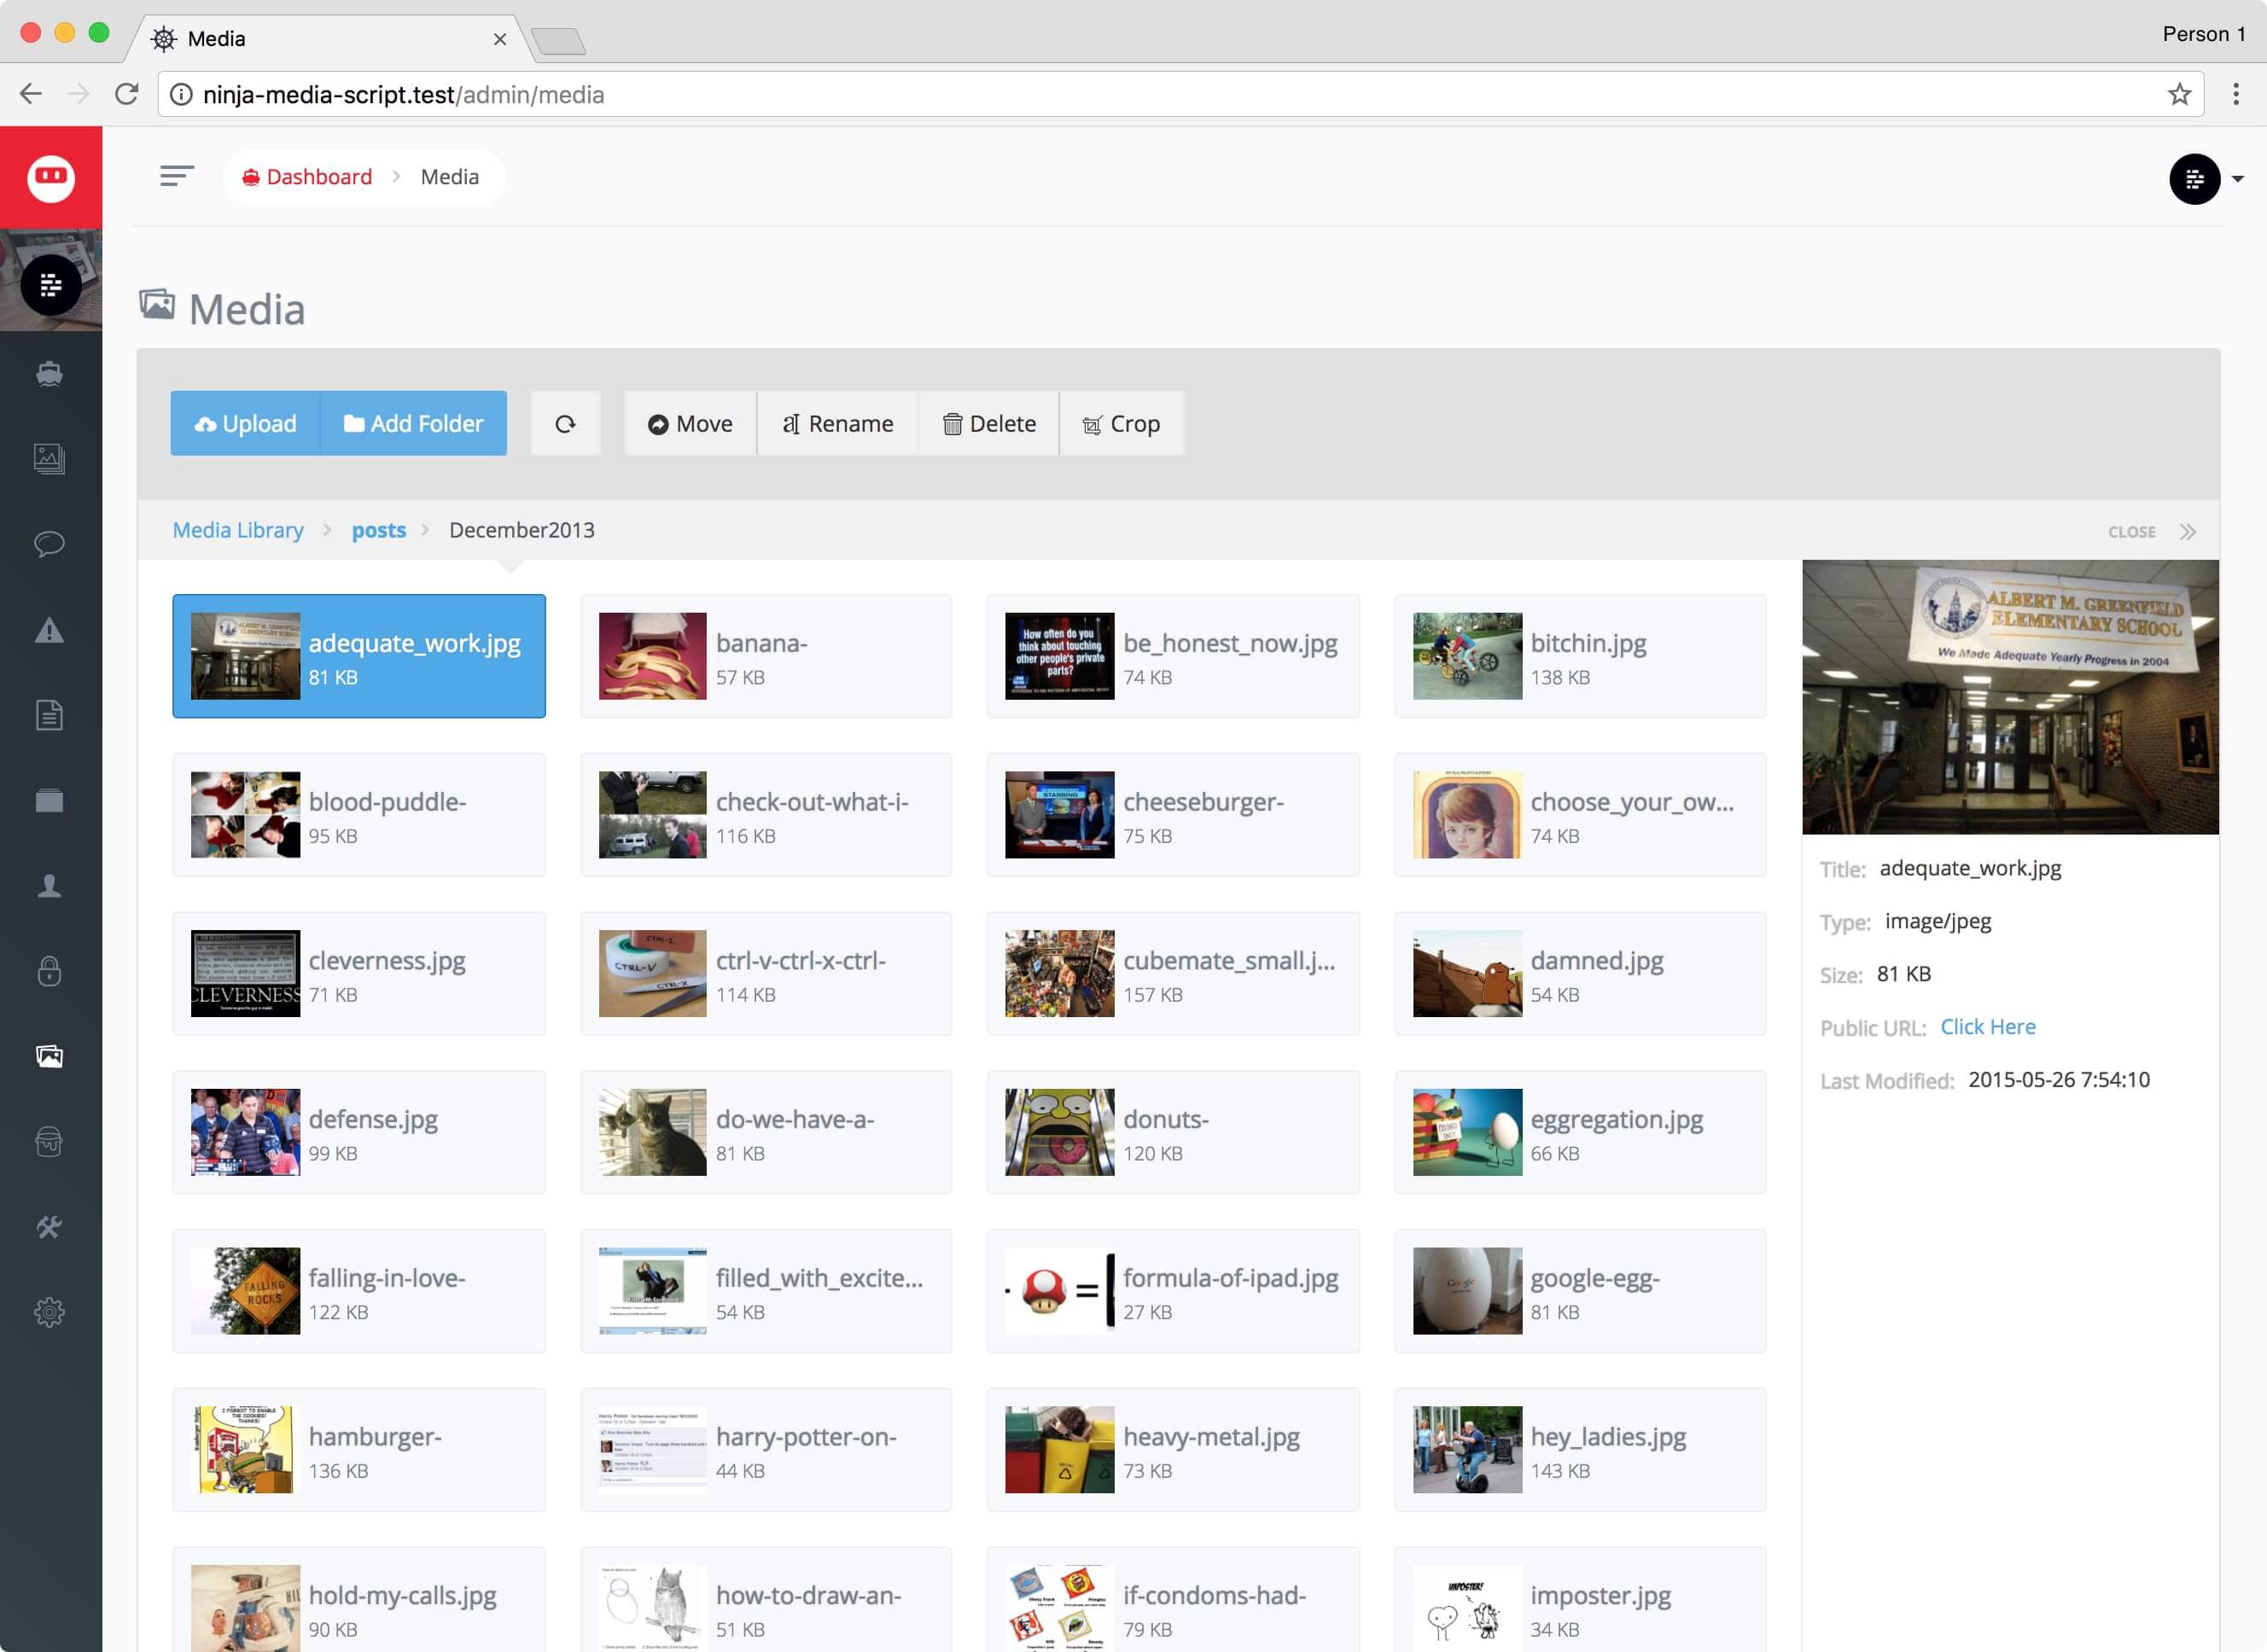
Using the media manager you can easily manage any images or content that gets added to your site. You may wish to rename or delete files and folders as well as add new content through the media manager.
Warning: Be careful when deleting content because if you delete images that are linked to a post they may show a broken image when that post is being viewed.
Menu Builder

Using the Menu builder you can create multiple menus to use throughout your site. There are currently 2 menus that you will see.
- main is the front-end top navigation of your site.
- admin is the back-end menu that you currently see in your admin.
When you click on the green Builder button you will be taken to the builder page for that menu.
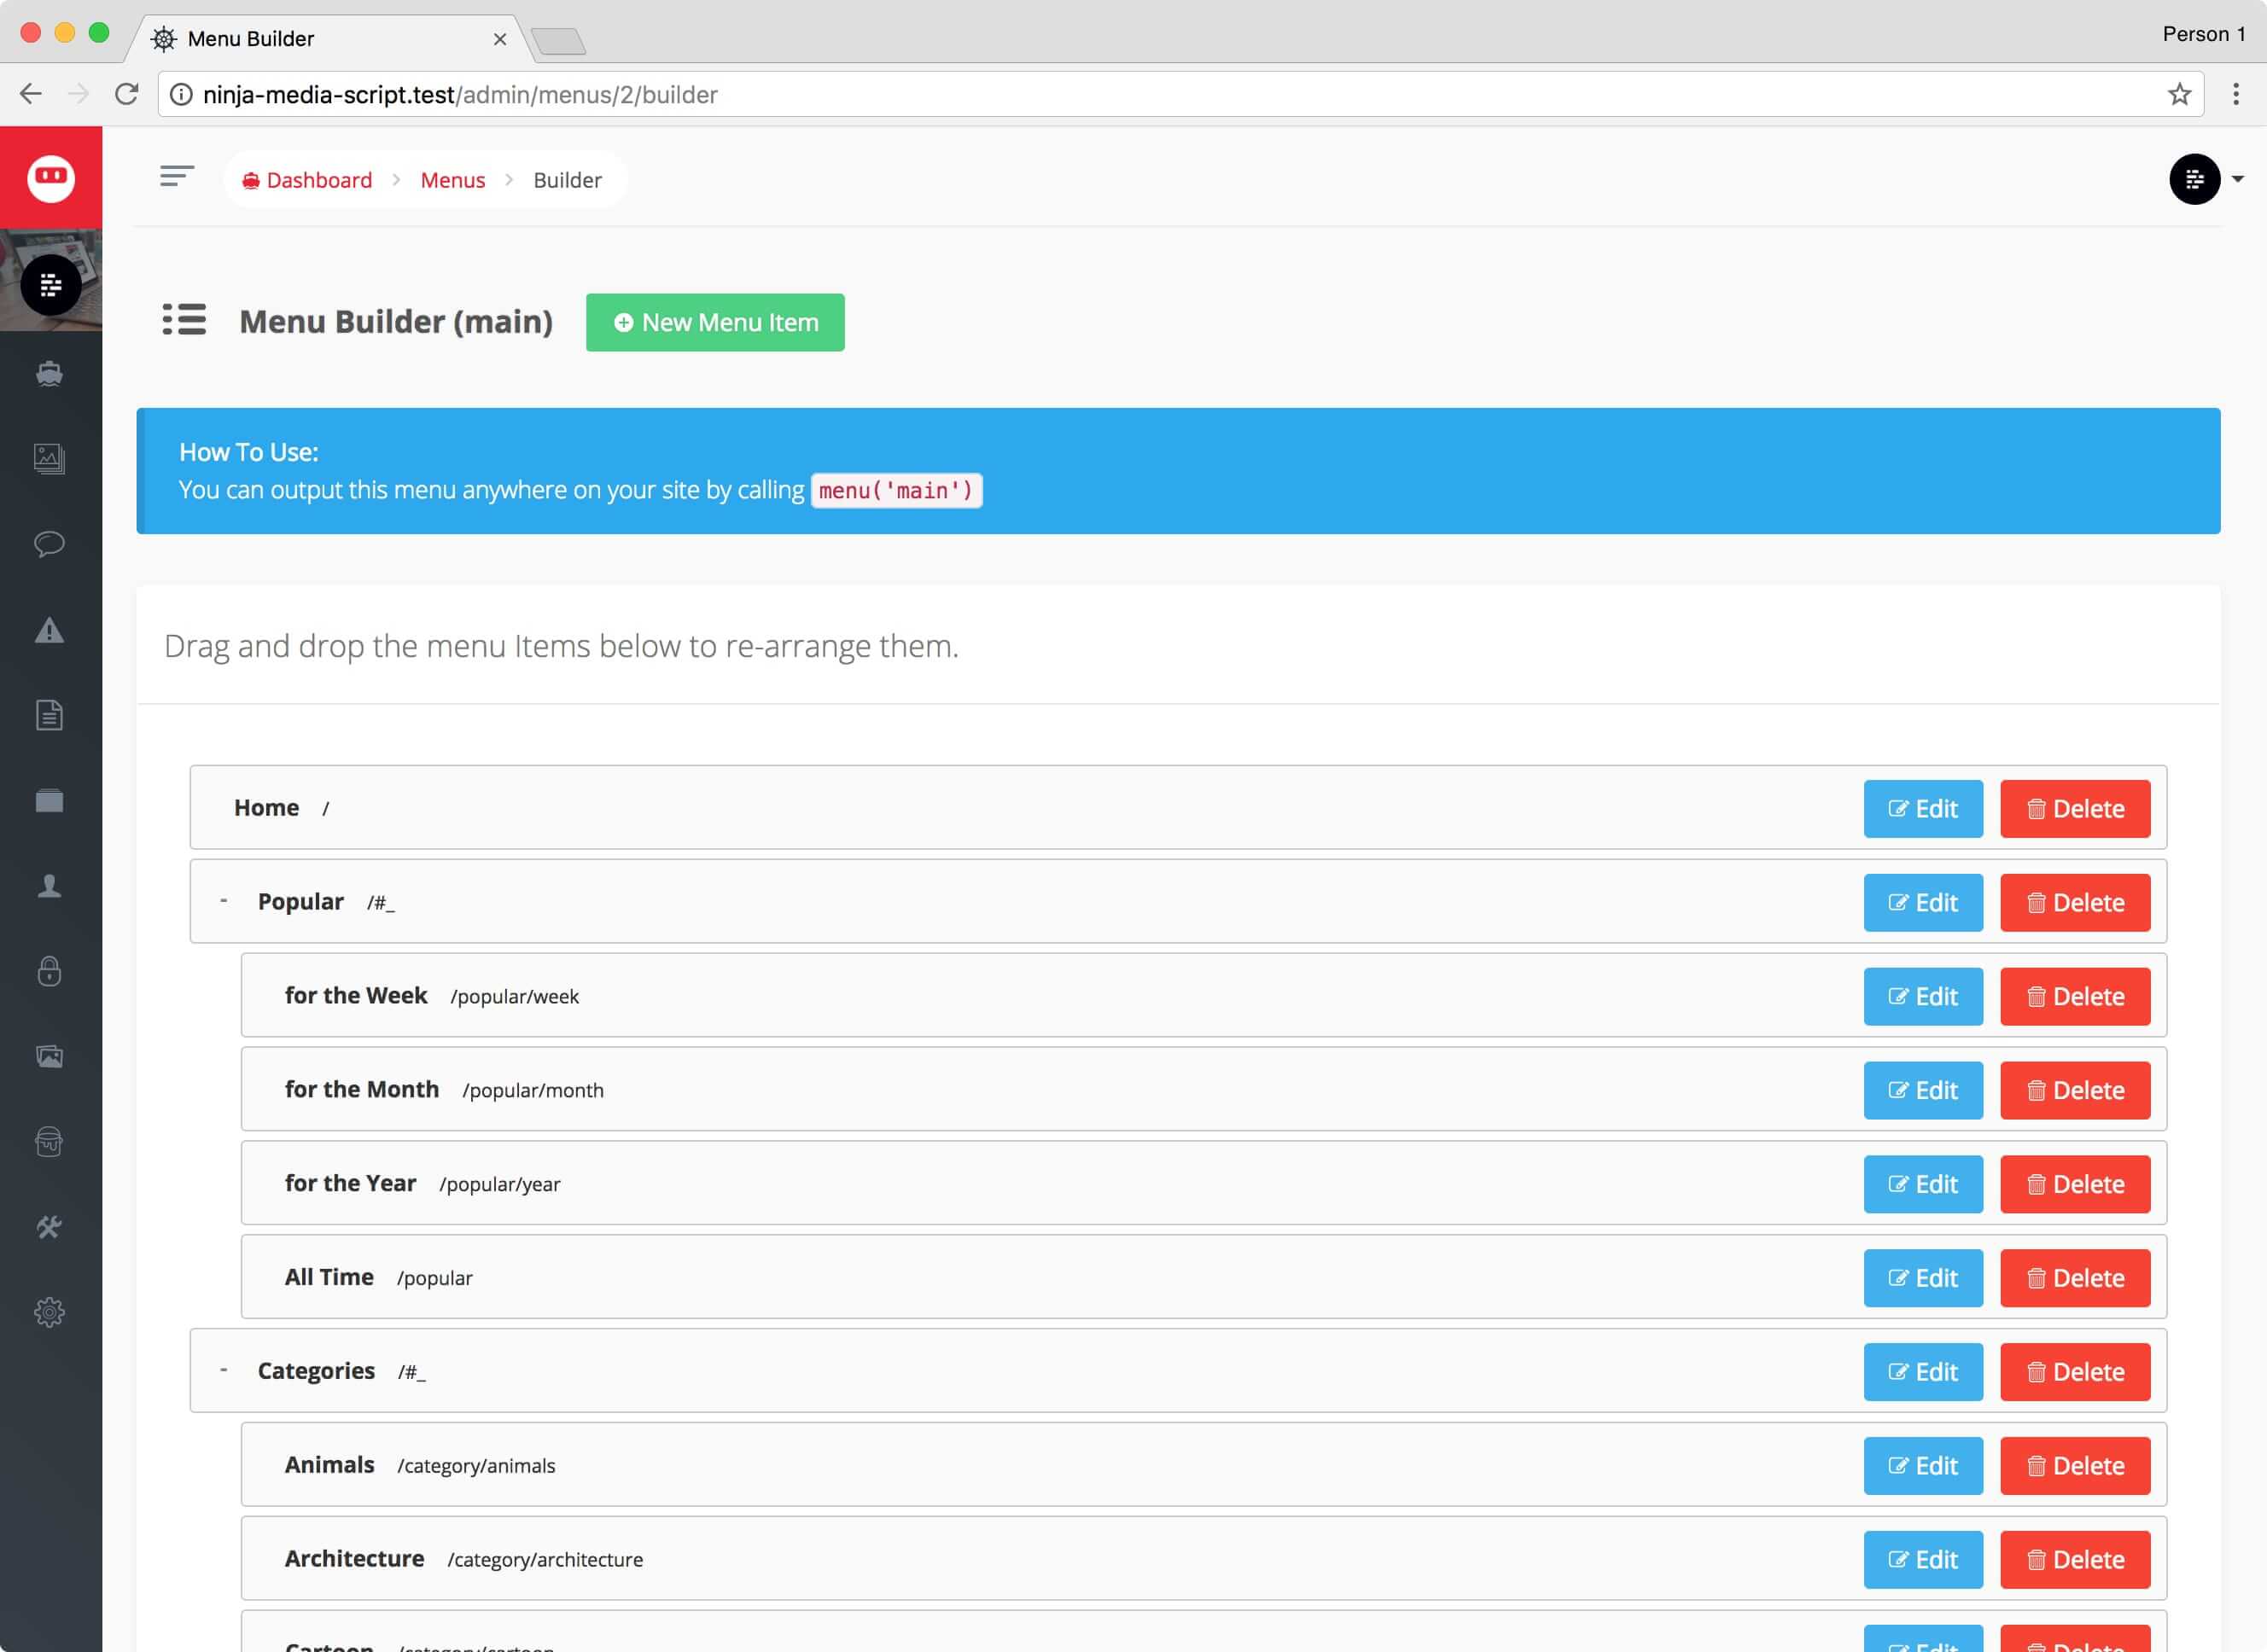
In the Menu Builder section you can drag and drop current menu items to the position you would like them to appear. You can also Add, Edit, or Delete menu items from that particular menu.
Themes

You can choose to change the themes for Ninja Media Script. By default you will only have one theme, but head on over to devdojo.com/products to get additional themes.
To modify the theme options page. Click on the options button next to the activate theme button and you can upload logos, change color schemes, and many other theme options.
Database

In the database section of the site you can see all the tables associated with your application.
If you are not a developer it might be a good idea to leave this section alone unless you know what you are doing.
In the database section you can also change the way your Browse, Read, Edit, Add, and Delete functionality works throughout your site. You can learn more about the BREAD system here https://voyager.readme.io/docs/bread
Settings
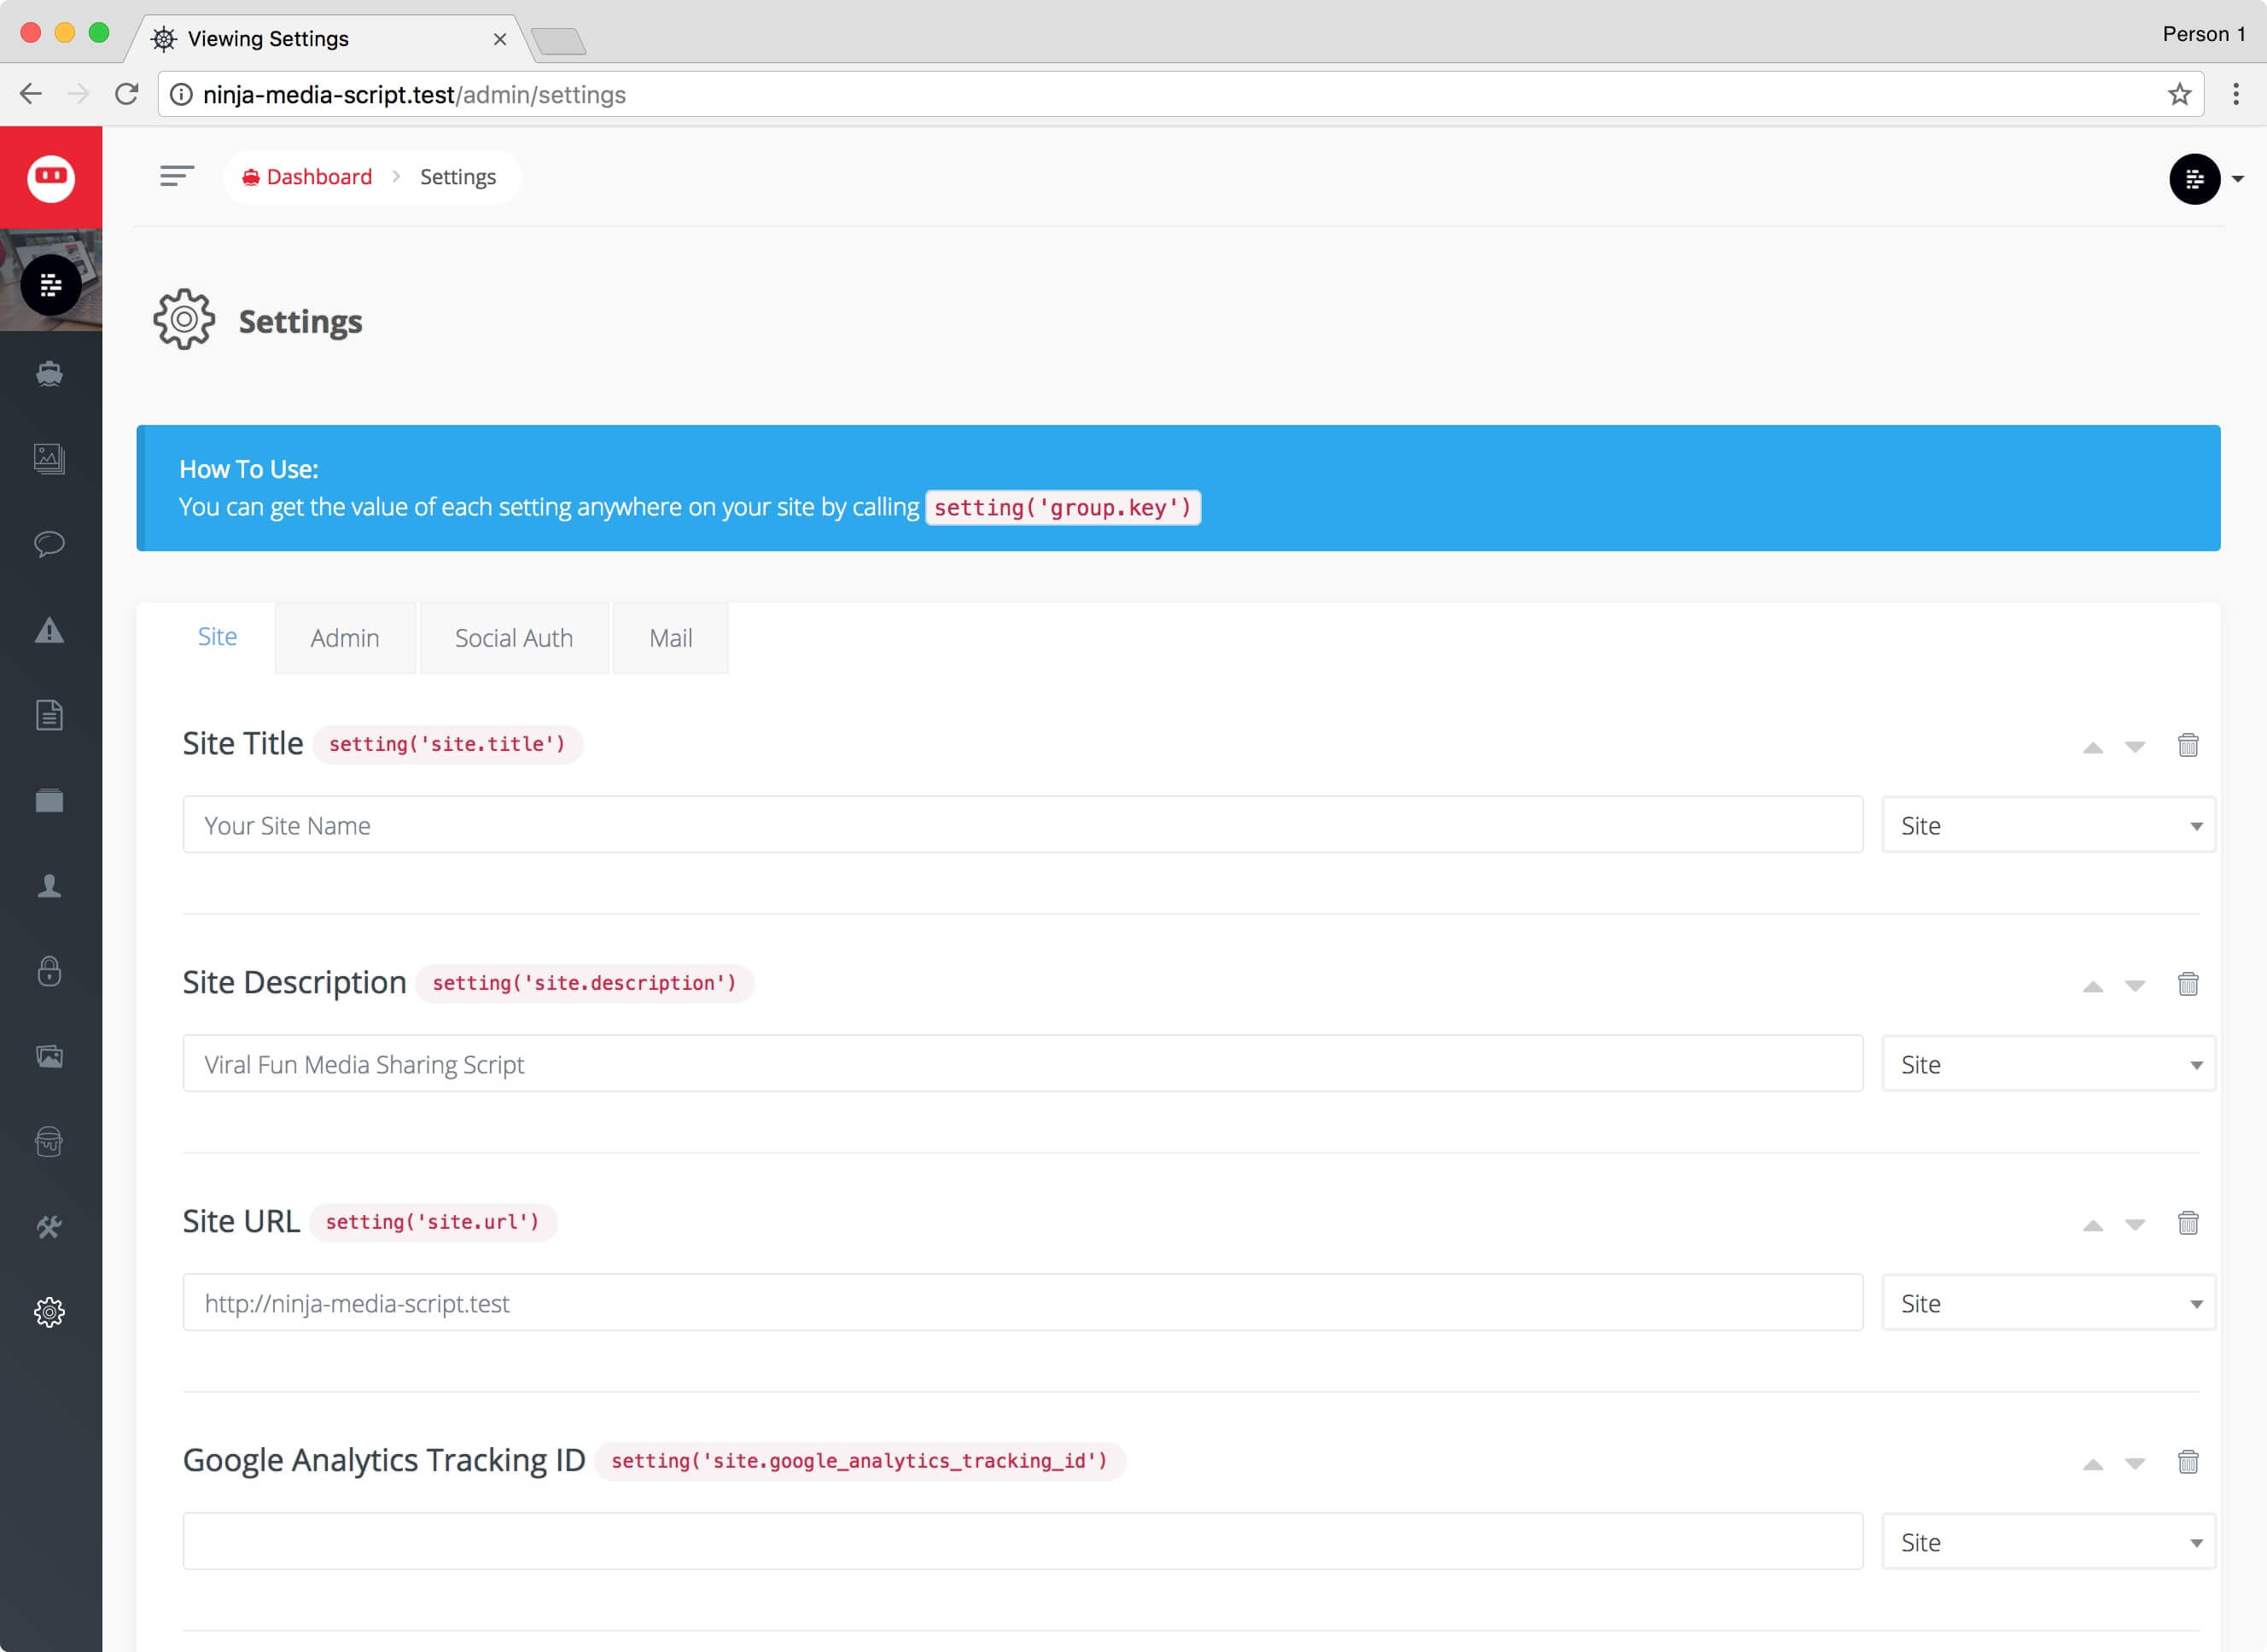
The settings section allows you to customize different aspects of your site including site copy, social settings, and many other various settings. Continue reading more below to learn how to configure and customize your site.
Configuration
There are many configurations or customizations you can change on your site. To change these customizations you will want to visit yoursite.com/admin/settings and you will be able to modify the current configurations.
Site Title This is the title of your site and this will show up in the header title of your homepage.
Site Description This is a description of your site and this will be used as the meta description for your site homepage.
Site URL This is the URL of your site and it will be used many places throughout your app so that way assets and images are linked up correctly. Be sure to set your website URL in here.
Google Analytics Tracking ID
This is your Google Analytics tracking ID. such as UA-92832 you will get this number when you create a new site to be tracked through Google Analtyics
Require User Email Verification You can choose whether you would like your new user signups to verify their email before using the application. If set to true, users will receive an email with a link to activate their account.
Twitter Username This is your twitter username where users can follow you.
Facebook Page/User This is your facebook page.
Google+ Page Your Google Plus page user.
Like Icon
You can choose which Icon you would like to use on the front-end. You can choose between Thumbs Up, Star, Heart, Sun, Smile, Checkmark.
Site Favicon This is the small favicon that will be used throughout your site.
Auto Approve Posts When a user submits a post, you can choose to have it auto-approved or manually approved.
Debug Mode If you are getting an error in your application you may need to turn on Debug mode to investigate it further.
Demo Mode
This is only used for the demo purposes of the script. This will allow a user to change a theme by passing ?theme=theme-name. If Demo Mode is turned off this functionality will not be available.
Troubleshooting
If you are having any troubles with your site please try the following commands to see if it will resolve any of them.
Make sure your storage link is linked correctly If you are not seeing images on your site you may need to run the following command from the root folder of your app.
php artisan storage:link
Make sure your system meets the minimum requirements You can check the system requirements above against the software you have on your server.
Still having an issue or a problem? Visit our product support forum section at https://devdojo.com/forums/category/product-support