End to end testing is the process of testing your whole application to ensure that all the functionality is working as intended. This kind of testing is very important and actually very easy thanks to CasperJS. Let's go over a quick example of what an end-to-end test is all about.
Say that your app has a login page and you want to test out the login process. How would you go about doing this?
Well, you could always open up a browser, go to your login page, enter in your username and password, and then click login to check if your app is working. That is a simple end-to-end test that you just performed!
But.... You'll soon realize that as your application grows, the process of manually testing all your functionality and pages will feel a lot like getting shot in the face. So, instead of manually testing all of this functionality, why don't we let CasperJS make our lives a little easier.

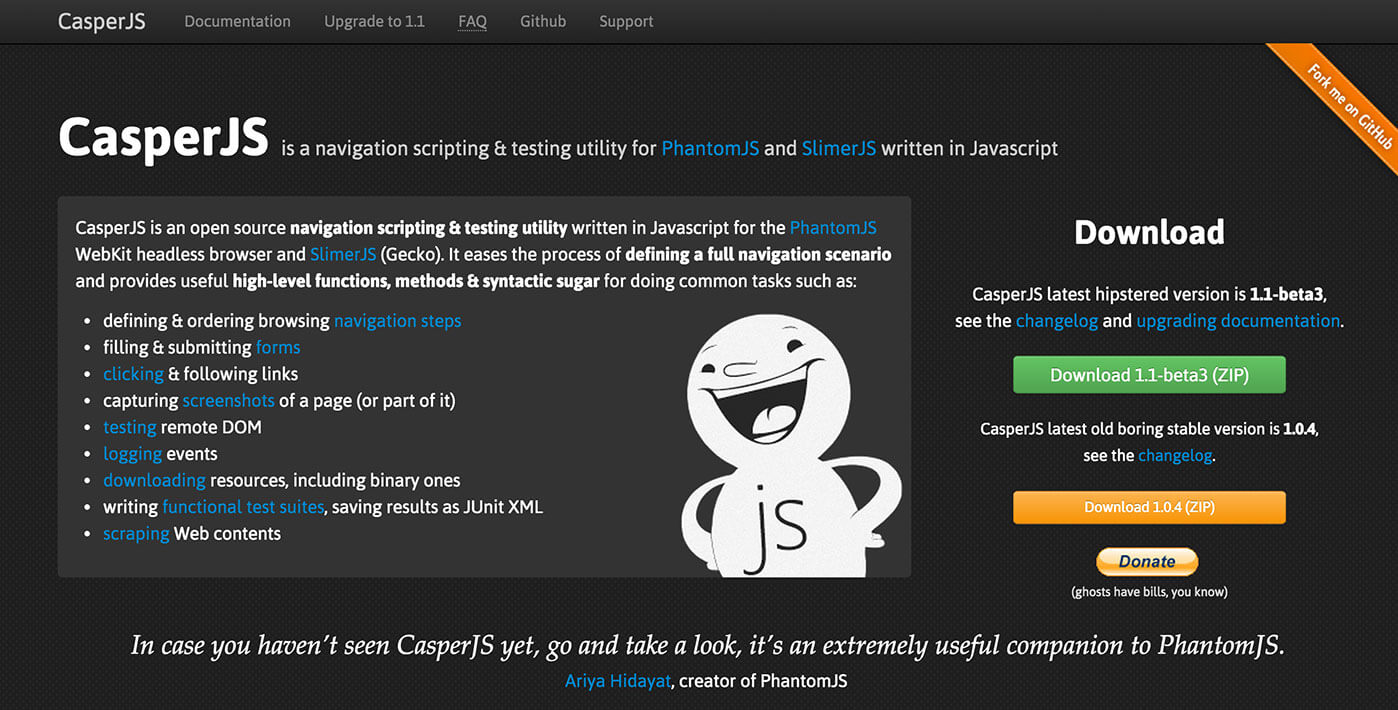
CasperJS is a navigation scripting & testing utility written in JavaScript (essentially it is a JavaScript library that will allow us to automate end-to-end testing). CasperJS is a library built for the PhantomJS WebKit headless browser. Visit http://phantomjs.org to learn more about PhantomJS and Webkit headless browsers.
Wanna see just how easy Casper is to use? Next up, we'll show you how to install CasperJS and then we'll show you how to create your first end-to-end test.
Installing CasperJS
We're going to assume you have a basic understanding of Node and NPM, if not you may want to do a little reading up on Node and NPM. (You'll need to be sure that http://nodejs.org is installed to run the NPM commands below)
Let's globally install Casper. Open up terminal or a shell command and enter the following NPM command:
$ npm install -g casperjsNext, we'll also want to globally install PhantomJS. Go ahead and enter the following command:
 View Website
 View Website
 View Website
$ npm install -g phantomjsGreat! How simple was that? Next we'll need to write our first test.
Creating your First End-to-End Test
If you thought that installing CasperJS was easy, writing a test will be even easier. What I'm going to test is that our logo exists on The Control Group homepage at http://www.thecontrolgroup.com.
So, what I'll need to do is create a new file. You can put this file anywhere on your computer that you want to store your tests for your project. So, I've created a new file called index.js and I've inserted the following code:
casper.test.begin('The header logo exists', 1, function suite(test) {
    casper.start('http://www.thecontrolgroup.com', function() {
        test.assertExists('a.header-logo');
    }).run(function() {
        test.done();
    });
});
It's very self explanatory, but I'll give you a brief overview of what's happening above. On the first line, we are saying that we want to start a test with a closure and the title of this test is 'The header logo exists'. Then inside our closure we are telling Casper to start and open our domain and then check if the CSS element 'a.header-logo' exists.
So, after we've created this file we'll need to open up terminal and navigate to the folder where our test file exists, and we can run the following command:
casperjs test index.js And our test will run. If everything comes back successful, you will see an output that looks like the following:

Of course this is just a simple test to check if our logo exists on the homepage, and that's not even scraping the surface of what CasperJS can do. Be sure to head over to their site and check out the documentation on how you can write full end-to-end tests and rest soundly knowing that your application is functioning correctly.
Happy Testing.


Comments (0)